So we have to find another job that will bring us indoors.
I don't have many of those left now, but one thing I haven't touched is the oil tank.
Its the right tank, but it has a number of problems:
- The filler neck is bent, and the thread damaged on one side. It looks as though some clumsy oaf has dropped it neck down on a hard floor.
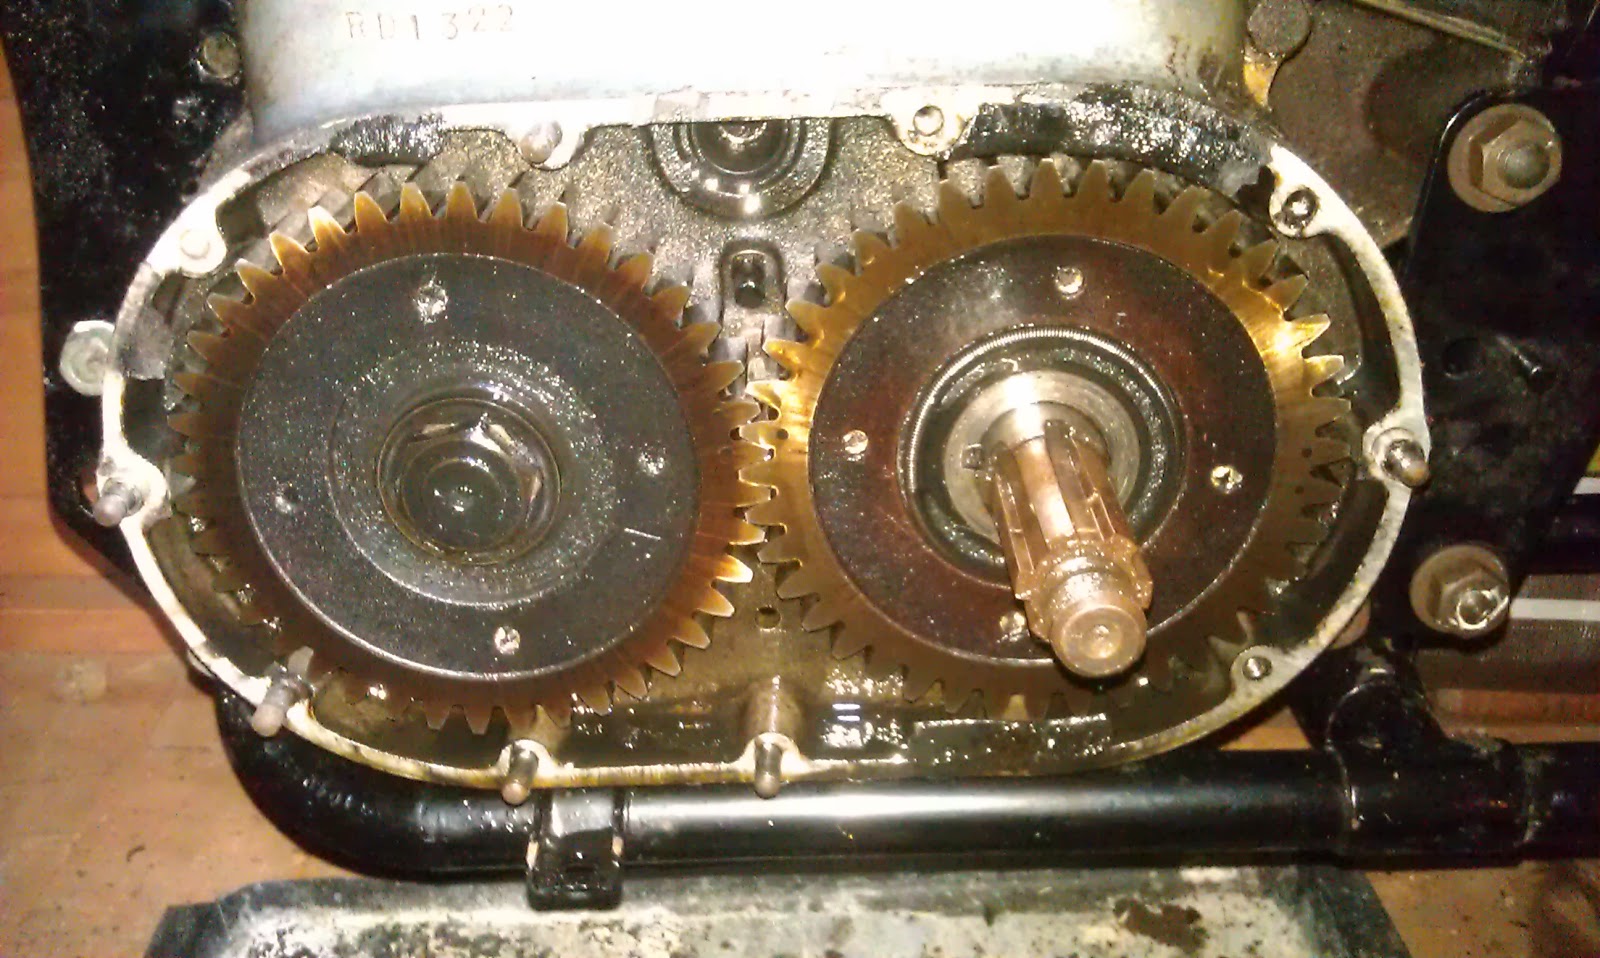
- The breather connection is bent, caused by said oaf probably in the same floor-dropping activity. The picture above shows this one, and the filler neck, though I had started work on it when I took this shot (as witnessed by the 38 mm socket acting as a former)
- The filter is missing
- There is a hummungous dent in the side that is hidden by the battery

The first of these little gems that I tackled was the damage to the filler neck. The bend was on one side and had splintered the crests of some of the thread away from the base material. Looking closely at this I decided that the material must be relatively hard, so I elected to normalise the metal.
Normalizing is the heating of steel to above its critical temperature followed by cooling in air. The piece is usually left somewhere warm. Normalizing is a quick method of softening a piece to the point where you can harden and temper it for use for your chosen purpose.
I used the trusty Rothenberger Superfire 2 to heat the area to bright red, and played the flame at a distance to bring the temperature down as slowly as possible.
Then, using a large socket in the vice, I placed the neck over the socket to use the socket as an anvil. I used a 38 mm socket, which supports the neck nicely and is a close fit.
With the material cooled & annealed, I was able to push the bent neck back into shape with a variety of drifts & chisels. This went very well, which just left me with the thread to fix.
I did this in two stages, possible needlessly. I started by grinding out the damaged part with the Dremel, since it was confined to about 15 degrees of the full circumference and maybe 6-7 pitches. I cleaned it up using a 1/2" CEI plug tap as a chaser.

Looking backward, I could probably have saved more of the original material if I had started with the tap. Still, the cap will now happily go all the way down to the seal!
The next job I had to tackle was the breather tower. I had a very good picture of what this is supposed to look like from (The Ever Helpful) Brenton Roy of the AOMCC.
As you can see from the pictures, the delightful minaret shape of the breather was a pale shadow of it's former self after the short bungee-less jump onto the garage floor, and I was afraid that much grief provided by attempting to cold form it back into shape would:
So, I figured some hot work was called for, though at this point I hadn't decided if I might do this with the breather detached from the tank. Holding the tank by the lower mount (so I could pull up on the breather connection) I heated the breather bright red and held the little tube in a mole grip, with a suitable rod (actually a masonry nail).
I found that the tube would move from side to side quite easily once the material was hot enough, and this with some upward pressure was enought to roll the minaret up and out of it's inverted position. A couple of cycles of this and it was back to a very passable representation of it's former self.

Next job: the dent in the side.


 A massive pit and some odd wear marks in the outer race. There were possibly some wear marks on the inner race as well, but we need to look further before passing judgement on those.


 The first of these little gems that I tackled was the damage to the filler neck. The bend was on one side and had splintered the crests of some of the thread away from the base material. Looking closely at this I decided that the material must be relatively hard, so I elected to normalise the metal.
 Looking backward, I could probably have saved more of the original material if I had started with the tap. Still, the cap will now happily go all the way down to the seal!
