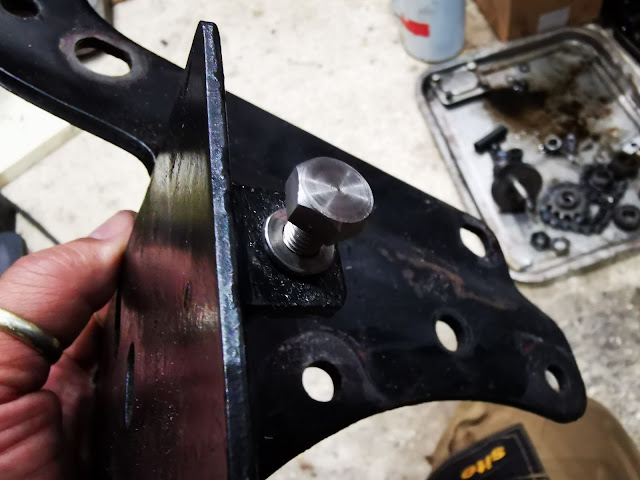
The AOMCC forum is a wonderful place to learn stuff about your bike. A while back, I fixed a broken lug on the W/NG timing case which supports the magneto platform; the magneto platform is a steel plate welded to the offside rear engine plate down it's centre line, so it needs support to resist the tension from the magneto chain.
You can see it here, roughly assembled to my crankcases:
You figured out that this picture shows the same assembly but upside down, right?
So, we have the engine apart so we will make a new one. This is a bit of scrap steel, about 4 mm thick and maybe 20 mm x 15 mm. I've marked a line down the middle where I want a tapped hole 1/4" x 26 CEI.
I've put the plate behind the hole, so that my marked line sits in the middle of the hole. I'll hold it here and scribe a line in the paint around it.
Using the scribed line, I dot punched the corners of my lug position before removing the paint with the Dremel. The dot punched holes let me see the position after attacking the surface with a sanding wheel. I'll clamp it in place with a toolmaker's clamp:
Then, we have a dose of TIG at 60 A. It's a thick bit of plate so it needs a lot of current - it also needs a lot of stick-out as it's a bit awkward to get the torch in.
Now, after cooling and cleaning up on the wheel we can repaint the plate. Then we have to assemble the plates into the frame with the crankcases:
With it all bolted up, we can mark the position of the tapped hole through the other plate using a scriber:
We can pull the plate off leaving most of the assembly still together, and we find a neatly marked hole which can be drilled and tapped:
Next, I need to remove the crankcases and put the main bearings in.


No comments:
Post a Comment