Wednesday, 1 June 2016

All quiet


Nothing happening here. The weather is terrible, but the tappets are done. Number 8 was strangely loose, and I don't think the 1 1/2 thou feeler gauge will last much longer.

Next I need to read this article, which may help me understand what is going on with these NGK B6HS plugs:


They look rather too cold to me. Maybe I should try a set of B5HS which will burn off that carbon.

Meanwhile, as it has been raining, I have been writing an article for the AOMCC magazine, Cheval de Fer.

Saturday, 7 May 2016

Clips & cables

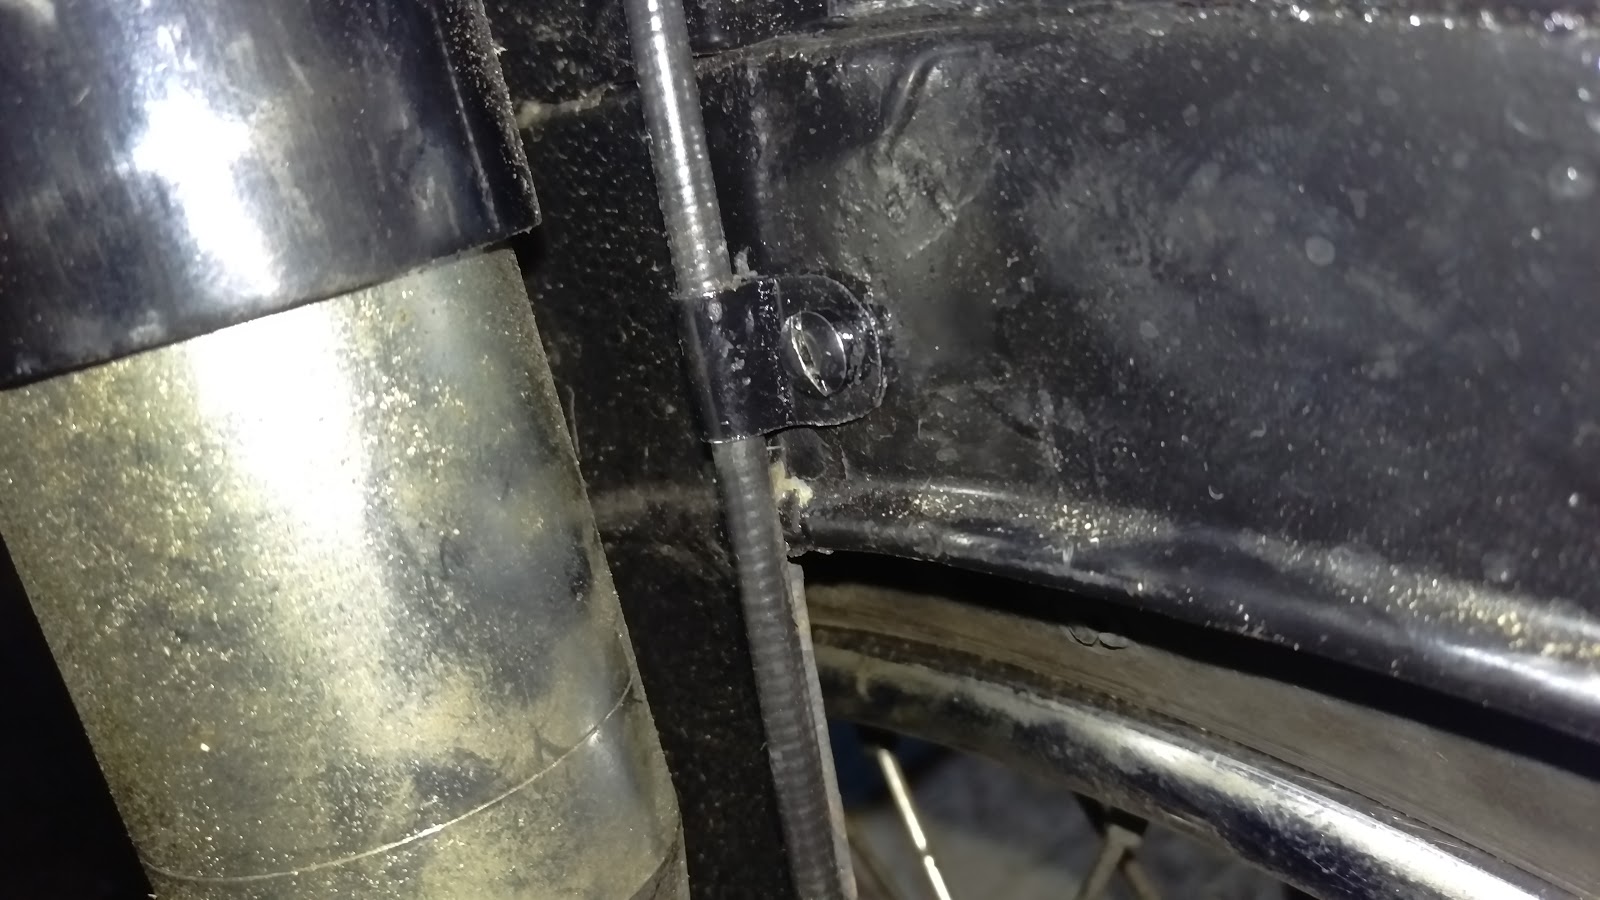
In a recent discussion on cable clips, to which I contributed, I learned from Ray Tolman's post to the AOMCC forum that the front brake cable clip on the mudguard until 1955 looked like this:


Which was not what I had fitted, and it is not obtainable. So this is my version of the H33-46 with a fillister head 3BA screw, shakeproof washer and nut holding it to the mudguard, inspired by Ray's post:


It's just  a simple piece of folded sheet. It shouldn't have such a small radius curve on the end, as that would be more difficult to press cleanly:


On a similar theme this is a 4842-32 cable clip:


And here is one with a fillister head 3BA screw, holding the clutch and throttle cables to the head stock on my SQ4:


And here is the one on the other side, with the main harness:


Friday, 6 May 2016

Servicing begins

Well, its been a beautiful day here in North Norfolk, the sun is shining, it's quiet but I have spent most of the day in the office. A lunchtime walk revealed the tide out and an empty beach, just to underline how lucky we are to live here.


I had a couple of hours spare in the evening to repair some floorboards and make a start on servicing the Square Four. I had a number of jobs to look at before the summer season, so stripping had to start.

Its always a bit of a fiddle to get the oil pressure gauge line undone, and as usual I used only the tools I carry on the bike. This revealed that you need two 3/16" BSW open spanners, so I added another to the tool kit. Once the tank was off, I planned to remove the plugs, carburetter and distributor in order to re-torque the head and cylinder bolts.

The spark plug spanner I made last year is intended to replicate the one in the spare parts list, and it works well in getting to the number two plug which is now confined by the new bi-starter parts:


The plugs themselves, one to four from left to right are a little sooty; we will keep an eye on that, but there is no evidence of any oiling. The oil comes from the weeping head gasket!


Once I had the carburetter off, I was able to tackle the head bolts with the usual variety of spanners including my new baby torque wrench, using the torques Ariel specified.


I was able to get a half turn on most of the bolts, which I expected.


I planned on removing the distributor to turn it through 180 degrees, to put the condenser 'bulge' near to the oil tank and give myself enough clearance for a carburetter insulator. Having done this, and attempted to re-time the engine I realised that the position of the distributor did not now allow it sufficient movement to adjust the timing. Furthermore, there was no way I could add a carburetter insulator without new manifold studs - so back to square one.

However on putting the distributor back in I realised it was not turning freely - so off it came again. I found that the shaft was so stiff I could barely turn it by hand. It freed off, with WD40 and some light oil, but how was it intended to be lubricated? I could see the 3/32" hole in the body, and the milled flat down into the drive housing, but there was nothing to introduce oil to the shaft. Was I missing something? I think that there was a modification in this area for the Mk2?

Actually the modification Ariel recommended was to allow oil to drain out of the distributor but Paul Ptak, on the AOMCC Forum came to the rescue. He said:

Pull the rotor arm off and drip some light oil into the shaft? The machine screw under the rotor arm is drilled though and I believe the shaft is cross drilled to allow the oil to get from inside the shaft on to the bushings.


Why didn't I think of that? I've done it hundreds of times on distributors on various cars... I must be losing the plot. Thanks Paul!

So that was almost it for the evening. I didn't fancy rebuilding the distributor (good thing - I was obviously tired) but I did try the new-first-paint tank in place:


And I also stared to look at various missing clips. Having bits in stock, especially fasteners, is a wonderful thing. These are from Draganfly:


 Here's one I made earlier:


Obviously needs a hole and some paint but we will replace the one holding the brake cable to the mudguard with this.

Tuesday, 3 May 2016

Speedometer Clutch Repair

I have intermittent faults with my speedometer, as I may have mentioned once or twice - either sticks at zero or runs around to full scale and stays there. This is caused by the clutch slipping and leaving the camshaft either with the commander pinion engaged, driving the needle right round, or failing to engage the pinion at all, leaving the needle at zero. As with many speedo failures, this is caused by over lubrication.

The first step is to pull the speedo out. Fed up with trying to maneuvre my hands under the top yoke, I removed the headlamp first:


This means that you can remove the cable, the speedo lamp and the little M6 nuts securing the speedo into the yoke very easily.

This post is not going to be a speedo rebuild tutorial. There is a lot of that already on this blog, and more in my forthcoming book. No, this post is just to record the rebuild of the speedo clutch; this first step is to strip the speedo down to the movement and then take the movement apart for cleaning and inspection.


This is the clutch, disassembled with the parts in the correct sequence. I have cleaned them with methylated spirit and a brush.


They are lying on a sheet of white paper - very useful for cleaning wheels!

Wednesday, 27 April 2016

An unexpected trip to Peterborough

With a trip to Russia impending, and only four months left on my passport there was no option but to go and spend the day fluffing around Peterborough, to get my passport replaced using the same-day service.

The 75 mile drive over from Sheringham was very pleasant in the morning sun and I was soon parked up in the centre of Peterborough, on the top floor of the Market Street car park, which commands a good view of the 12th century Cathedral.


This is the west door, usually the most impressive facade of any cathedral.


Having had my interview at the passport office, narrowly avoiding losing my favourite pen knife to the security guards I had four hours to kill before collecting it. I needed somewhere to sit down, do some emails and get some breakfast (although it was almost lunchtime), so I walked down to Railworld near the Peterborough East Coast Mainline station. Railworld is located on the site of the former LNWR Woodstone Locomotive Shed, closed in 1932, which is next to the Peterborough terminus of the Nene Valley Railway. They have a variety of international locomotives, other rolling stock, model railways, and a peaceful wildlife garden .


This is a Vauclain 4 cylinder compound Pacific locomotive which saw service with the Danish State Railway until the 1950's, though it is a Swedish locomotive originally. It's part of an ongoing restoration at RailWorld.

Various wagons are also stored at RailWorld in varying states of decay:


I had a walk around the Wildlife Haven at lunchtime.


Beehives:


Bridges, originally part of an aqueduct from Abbots Ripton in Cambridgeshire. Each piece weighs 22 tonnes and carried the river over the railway until 1987.


The NVR station at Peterborough is a modern incarnation, opened in 1986. The signal-box came from Welland Bridge in Spalding and there are some freight wagons to look at while you wait for your train.


Here's my train, hauled by the LMS Black 5 45337, which I'm sure I have seen on the NNR. I was very lucky, since I happened to be in Peterborough on the first day of operations for 2016.


LMS Class 5 4-6-0s, known as Black 5s, were designed by LMS Locomotive Superintendant Sir William Stanier and introduced in 1934; they were built, with some modifications from George Ivatt, until 1951. There were five LMS Black 5 locomotives sent to Barry Scrapyard in the 1960s; 45337 was purchased in 1984 and was restored to working order at the East Lancashire Railway in Bury.

As the name suggests, the railway follows the River Nene away from Peterborough in a westerly direction passing through peaceful countryside and a number of small stations.


It's quite flat - well, it is a river valley...


Arriving at Wansford, the NVR's main station the first loco we see is Wissington, on test after arriving from the NNR. Wissington is owned by the Midland & Great Northern Joint Railway Society and has been a regular sight in our neck of the woods. It's currently on loan to the NVR to take part in their Small Engines Gala.


The Black 5 at Wansford, posing for a few snaps before departing for run around at Yarwell Junction:


A view of the yard and station at Wansford, looking east.


Here's something I've never seen in the flesh - a turntable! The turntable bridge was recovered from Ipswich and was built by Ransomes & Rapier of Ipswich in 1933.


This is the Wansford signal box, grade 2 listed and sitting over the level crossing where the old Great North Road crosses the line. It's a large 60 lever box built in 1907 and it replaced three earlier signal-boxes. The signalman also controls the level crossing gates.


Wansford yard again, looking west toward the loco sheds.


This was my first time in a heritage railway tunnel!


The 617 yards long. Wansford tunnel is straight and level and has no ventilation shafts. At the western end of the tunnel, the NVR have a halt at Yarwell Junction where the locomotive runs around for the return trip to Peterborough.


Here's the Black 5 back at Peterborough about to run around for the return trip to Wansford. Arriving on a weekday afternoon, there weren't a huge number of visitors about and I was able to chat to most of the train crew. A very friendly bunch who really helped me enjoy my day out. Thanks guys!


Just to counter those who suggest that I might be slightly obsessed by ancient technology, here's an example of new technology lurking in a street in Peterborough:


Friday, 15 April 2016

Ian Soady's Web Page

As part of my writing activities, I came across Ian Soady; Ian was kind enough to provide an illustration, hitherto published in RealClassic Magazine, for the Bantam Restoration Guide. Here's his website - check out the Sunbeam restoration:

http://www.iansoady.org.uk/

Here's Ian on George Brough's SS100 at the National Motorcycle Museum's "Ride a Classic" day: