
Saturday, 12 October 2019

Rad & Tacho

It's a well established fact that Honda screws of the 1970's are made of Cheddar with a thin coating of Stilton, and these radiator cowling screws, which face into the weather are no exception.


Fortunately cheese is no match for High Speed Steel and the heads are soon removed.


The radiator cover comes off easily after I have drilled the heads off all but one of the screws.


This exposes the radiator, which is in fine shape and will just need a clean and a repaint. I will run a tap through those rusty screw holes:


Handy use for that cat-litter tray:
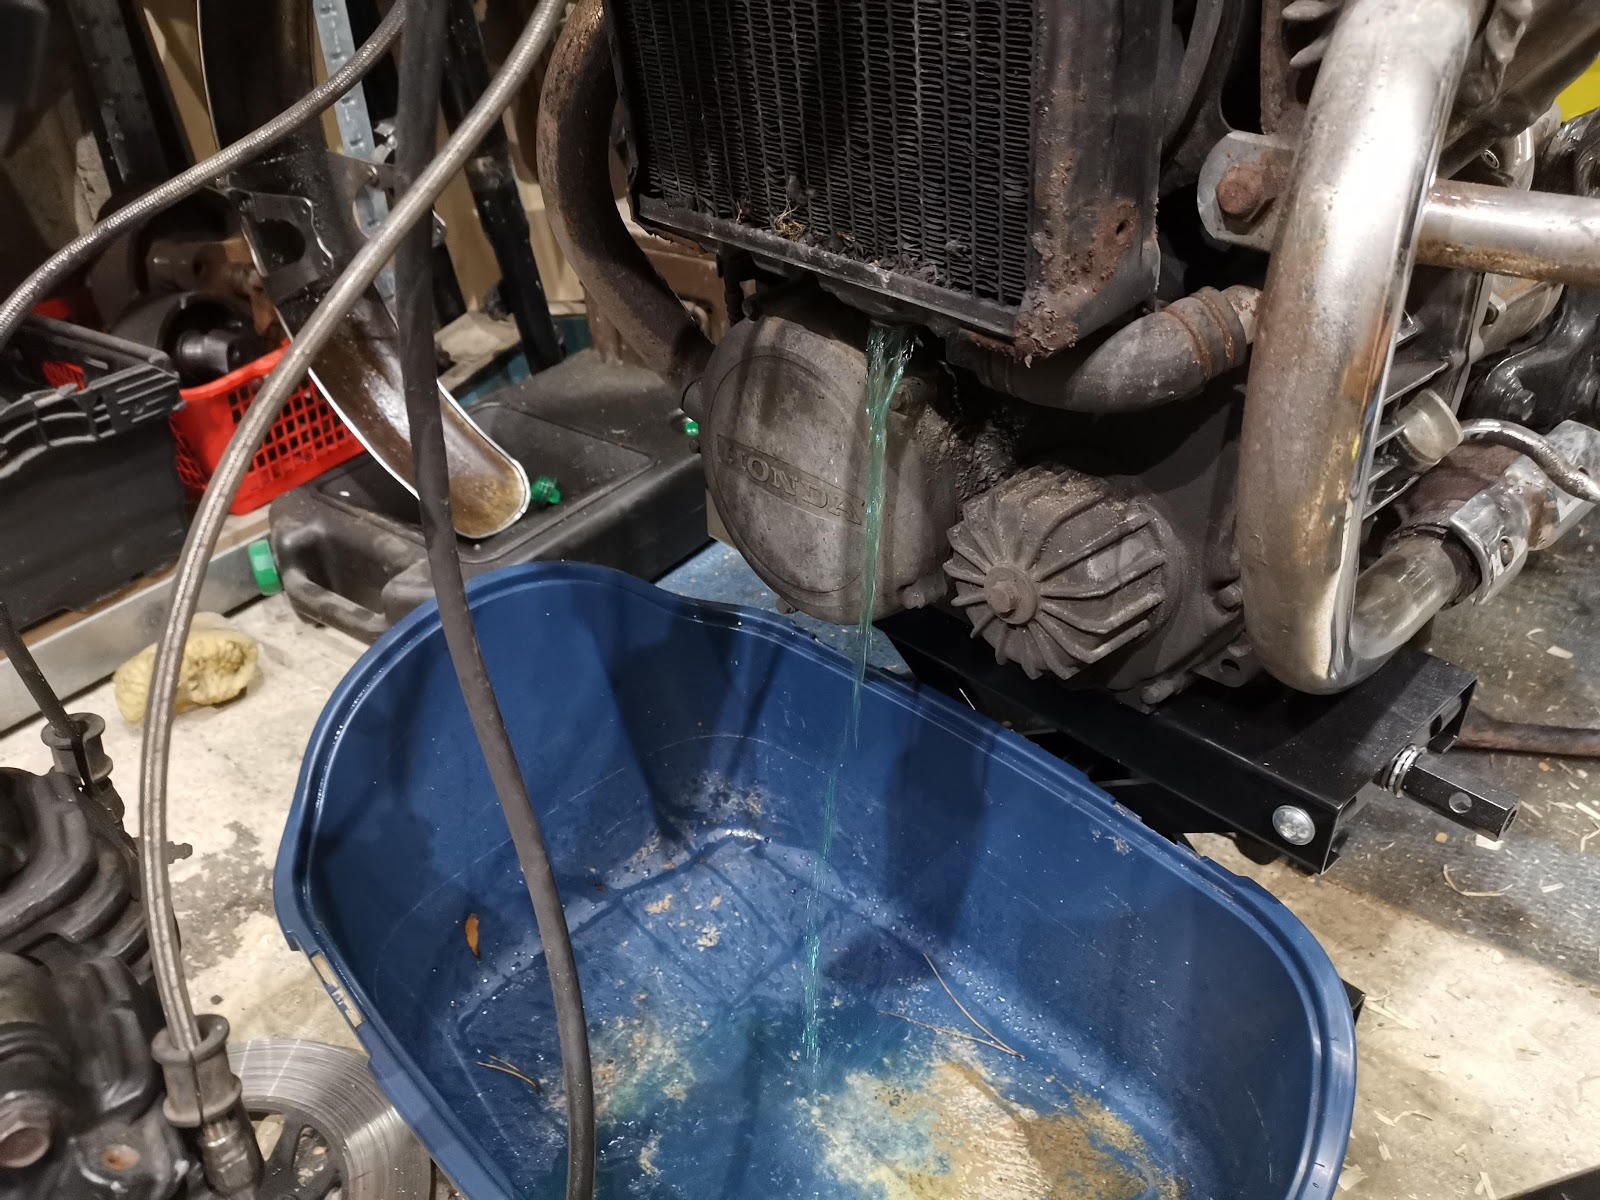

Anyone involved in vehicle restoration will understand the presence of the bolt cutters I'm sure. In this case, they made short work of one of the hose clamp screws, allowing me to release the clamp without destroying the wire part


With the radiator off, we can see the fan.


Now the method usually recommended for removing the fan is to push it off with an M14 x 1.5 thread, which, the forums tell me helpfully exists in the front wheel spindle:

Honda CX500 Fan Removal

Of course, what the forums fail to mention is that the nose of the wheel spindle is slightly tapered, and when you screw that into the fan boss the threads are not engage to full depth. Then, when you put some force on the spindle, the aluminium boss threads strip!

Honda CX500 Fan Boss

Idiot, should have checked. Now we will attempt to re-cut the thread and use a better quality puller - if not, 9/16 UNC may be an option.

The four engine mounts are used to retain both the fan shroud and the crash bars. The CX looks better without it's crash bars doesn't it:


Much slimmer:


The fan shroud is full of oily muck. I suspect the cam nose oil seal has had it:


Fortunately, there is enough thread in the fan to allow to be removed with an M14 x 1.5 screw:


And more oily muck. The camshaft nose looks wet:


To get the camshaft holder off, I want to relieve as much spring pressure on the cams as I can. So, with one side set to TDC and the valve clearance adjusters backed off on the other side, I can pull the holder off more easily.


Having discovered that the non-functioning tacho was not down to a faulty cable and that the drive spade was not turning, I hoped to find the tacho drive shaft broken or the driven gear stripped.

Unfortunately, it was not to be and I found the drive worm on the camshaft had lost all its teeth.


The only way to fix this is by changing the camshaft. Longer term, I will fix this and I will start looking for a new camshaft. For now, since I know the cam chain does not yet need replacing, I will put it all back together safe in the knowledge that I have freed all the rusted nuts and can pull it apart again quickly. I don't have the bench space to tackle this now. If it transpires that the starter clutch is dodgy - its quite rattly - or the camchain wears out, or the stator fails, then I will pull it apart but since all I have is an instrument failure - hardly mission critical - then it stays together for the foreseeable future.

Friday, 4 October 2019

Sprucing up the CX

You might remember a few weeks ago I mentioned that the CX500 has very old tyres, amongst other faults. It's now wearing a set of Avon Roadriders, a tyre I have been keen to try out; these are the same size as I would fit to the Square Four, so this is a kind of test for that too since Amelia's tyres are 6-7 years old now.

CX500 Comstar Wheels with Avon AM26 tyres

I'm taking the opportunity to spruce it up a bit, while riding around in the last of the warm weather on the SQ4.

I'm painting the ComStar wheels:

Painting CX500 motorcycle Comstar Wheel

I will also blacken the little 'Honda' logos that cover up the spoke to rim joints:

Honda Comstar Wheel Spoke Trim

This one was done with silicone:

Honda Comstar Wheel Spoke Trim

I've changed the fork seals:

Honda Motorcycle Front Fork Seal

I've replaced the torn gaiters with the original short covers:

Honda Motorcycle Front Fork

I'll polish up the fork legs a bit:

Honda Motorcycle Front Forks

I've acquired an original toolkit:

Honda CX500 Motorcycle Tool Kit

I've also acquired these little closing panels that fit in the back of the nose cowling:

Honda CX500 Motorcycle Nose Cowling Trim

I've repainted the handlebar clamp:

Honda CX500 Motorcycle Instrument Cluster

Now it looks like this:

Honda CX500 Motorcycle Instrument Cluster

This piece of tin covers the gap between the bevel drive and the wheel. It's got some black paint remaining on it:

Honda CX500 Motorcycle Final Drive

The wire wheel makes short work of that, with some etch primer and Rustoleum Satin Black:

Honda CX500 Motorcycle Final Drive Cover

That was a mistake, they appear to have been silver. Here goes:

Honda CX500 Motorcycle Final Drive

When I have finished this little lot, I will think about the cowl and the tank; then I will strip off the radiator and sort out the tacho drive.


Monday, 16 September 2019

Fashionable gear for 40's Weekend

First published October 2018

Some of you will know that we have a fabulous 1940's weekend here in Sheringham. The event was initially organised by the North Norfolk Railway and is still a mainstay event of their calendar, but in recent years '40's weekend has extended into the rest of the town.


Some 20,000 people visited Sheringham for this year's event, many of them turned out in 1940's costume. These YouTube videos give a good flavour of the event:

https://www.youtube.com/watch?v=n2JeqVro8eU

https://www.youtube.com/watch?v=R5nx0tCIU_g

And there is a display of vintage military and civilian vehicles at the main locations: Holt NNR Station, Weybourne NNR Station, Sheringham NNR station and in Sheringham itself.


There's always a few bikes to look at:

2015 Event - Ariel W/NG from the Norfolk Motorcycle Museum at North Walsham

2015 Event - Royal Enfield WD/CO

2016 Event - Matchless G3L

And here's another G3L, a visitor from London at the 2018 event:


There's a vehicle parade on the Saturday, and this year I was riding my 1942 W/NG. Not being at all well prepared, I had no period attire to wear and I wore my Barbour lookalike - originally designed in 1936 - but that was about it. The modern flip front helmet didn't help.


The bike looks OK, the rider is trying....
So for next year I have a new hat to wear. It's a period Slazenger helmet, from the 1950's in reality:


It must be a good one, look at those famous names:


It's actually my size...


I'm not going to win any fashion competitions though.

Does my nose look big in this?
I've got these brown leather gauntlets made by Lawson's of London, known by the previous owner to date to 1960 or earlier:


They are in great condition, sheepskin inside and very comfortable. Just the sort of thing I used to wear when I started riding in the '70's.


And here it is in use in 2019, with a dapper chap from the VMCC Anglian Section on a Guzzi 500S - from 1936:


Saturday, 7 September 2019

Another newcomer

Here's the CX500 again, that I showed you a while ago. This week, it's circumstances changed somewhat: The bike's story is that it was bought by my son, who has a keen interest in older bikes but also has a full time job, wife, a four year old, two year old and one more imminently arriving - he struggled to find the time to sort it out & went and bought a brand new RE Interceptor which he loves - the CX has come to join my small stable of Ariels.

It's a 1978 'Z' model, first registered in April 1979 - so it is quite an early one and if any of them become collectable, it will be the early ones. Its got the barrel shaped front brake master cylinder; black tabs where the Comstar wheel spokes join the wheel rims; black plastic one piece radiator shroud; no flyscreen and a rear drum brake. The steering lock is on the left side of the headstock and the engine breather pipes from cylinder heads to T-pipe junction thence to airbox: all adds up to a genuine 1978 bike.

It's done 31,000 miles and has had the camchain tensioner modification. I rode it 27 miles across Norfolk to collect it and it goes well...


It's got a few faults:
  • the tacho doesn't work - probably the cable, notoriously difficult to get to
  • the tyres are Dunlop Arrowmax, 100/90-19 on the front and 110/90-18 on the rear, both manufactured in 1998. They are hard - you can feel it white lining and twitching in corners. I'll be replacing those shortly
  • the sidestand was stiff - now that I have lubricated it it is wobbly. Worn, and the spring is weak
  • the gear lever is bent and I cannot easily get my foot under it
  • the fork gaiters are loose (it should have the short wipers, typical of the late 1970's) and the forks need their seals replacing; they probably need oil too
  • the offside rear damper is leaking
  • the helmet lock is missing
  • the toolkit is missing
  • it probably needs an oil & filter change and the coolant replacing
  • it needs a good clean and a repaint in several areas; various bits need replating
It arrived with a top box and a horrid rack - my son replaced the rack with the correct grab rail and repainted the tailpiece. It also had this peculiar seat - the PO was a quite a short bloke and had this low seat made for him. Son Thomas replaced it with an eBay seat and recovered it.


He also cleaned the carburetters, replaced the battery and cleaned up the stator connections, chasing a misfire. Since it runs fine for me, I guess he found it.

This is a 1978 Honda brochure. After much deliberation, questions to the VJMC and to the CX Forum, I have realised that I also need some stripes and to paint the nose cowling Helios red...