Sunday, 24 July 2022

July Run Out

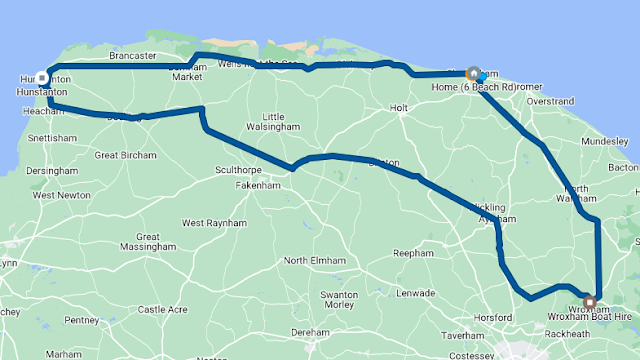
 Son Thomas and I had planned to do the VMCC Round Norfolk Run back in June this year, only to be discouraged by torrential rain - the run went ahead, but the ride down to the start point at Seething would have seen both of us soaked to the skin before we had even started. - So, we decided on a run to sunny Hunstanton instead!

We took the W/NG and the SQ4 on a 100 mile run around Norfolk - by the end of the day both bikes had done 145 miles from different starting points.


The SQ4 performed perfectly on it's new tyres, with scarcely a drop of oil lost and returned 50 mpg. The W/NG on the other hand was a bit tricky to hot start a few times (I've forgotten the technique), shed a lot of oil over the back tyre (over full chain case) and the horn fell off, which was easily fixed with some spare bolts from the panniers. We filled it up, to find it was doing about 100 mpg!


We had a great time, and we will do it again soon.

Tuesday, 5 July 2022

SQ4 - New tyres

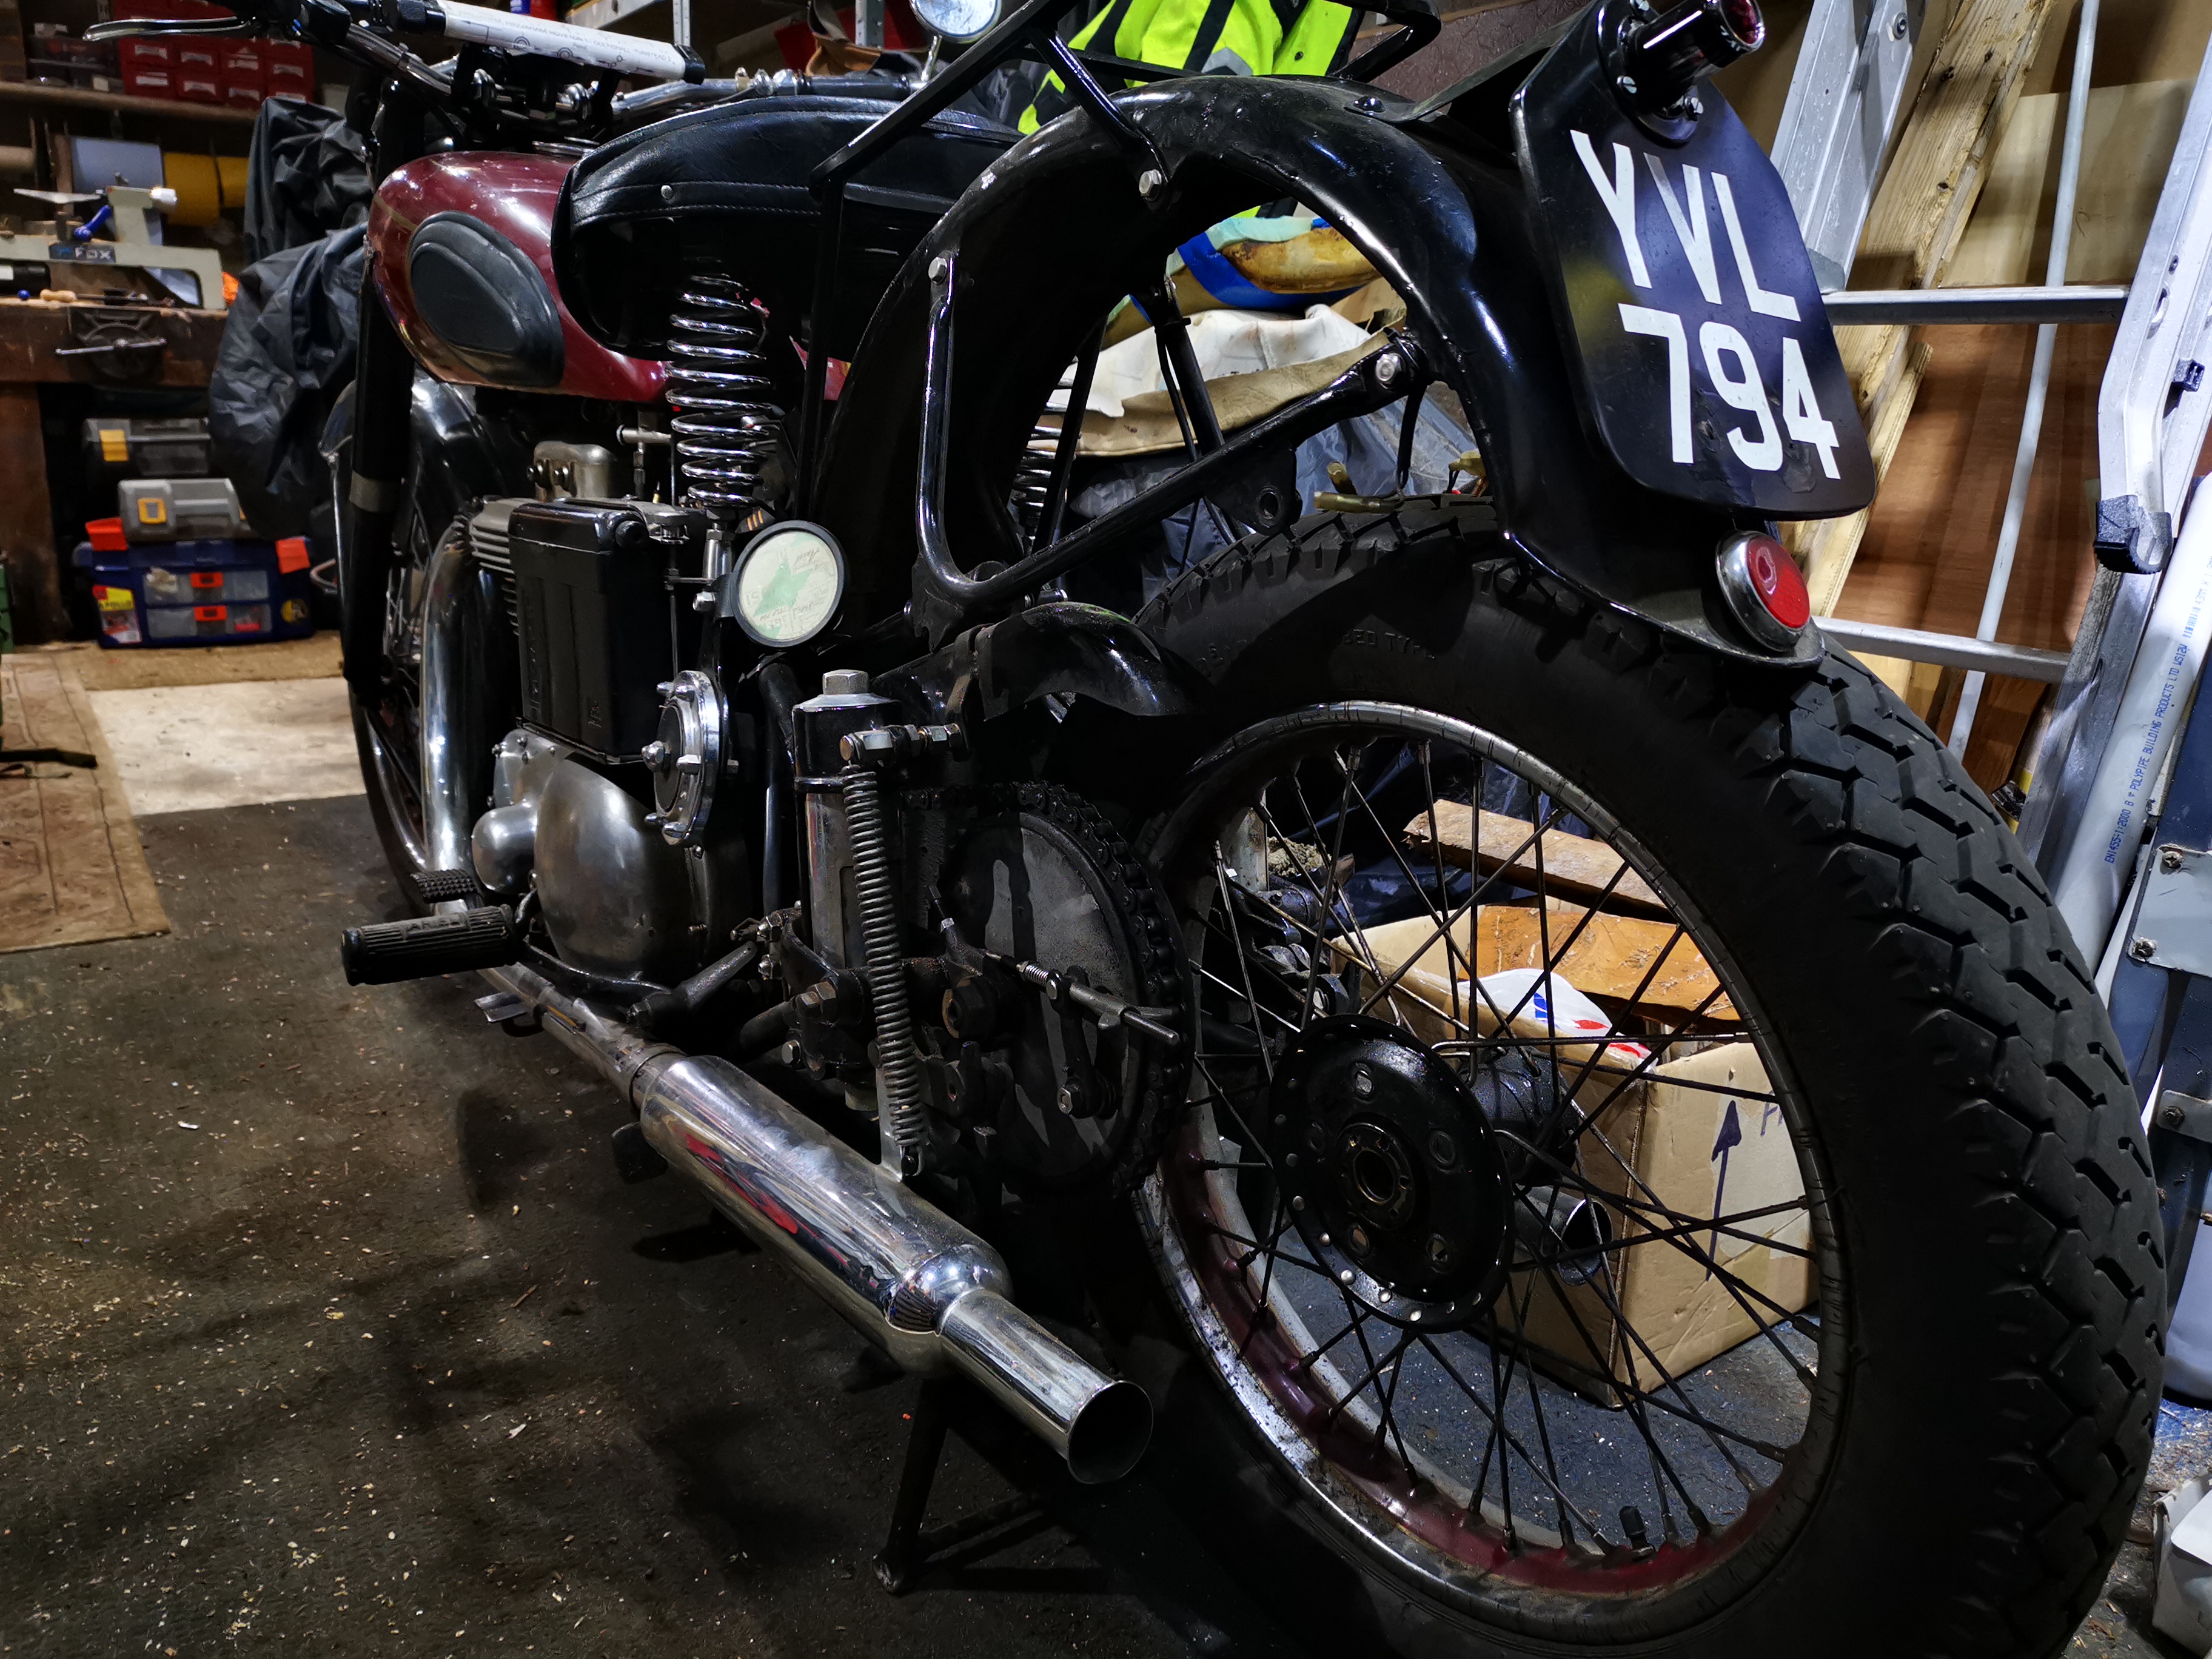
One of the things I have always admired about these old machines is the ease with which you can remove the wheels. OK, so I do have a QD rear wheel on the SQ4 and the W/NG is a little more difficult but at least I have two stands and can remove both wheels at the same time! Try doing that on a modern bike.


Something that is less impressive is the front brake cable adjuster, which doesn't fit any of the toolkit spanners - it appears to be 2 BA across the flats, but it is a pattern part so perhaps that is the reason. I have a 2 BA spanner in the toolkit especially for it.


The front stand is very useful, though you have to lift most of the engine weight to use it. The trick is to make sure it is slack enough to swing down, and then tighten it up again.


The reason for all this was that the Avon Speedmaster & SM MkII tyres are now 9 years old and it's time to replace them. I've bought a set of Avon Roadrider MkIIs, just like I put on the CX500 back in 2019.

I might tackle that damaged paint on the brake drum before they go back on. But then again, I could just as easily do that when it was on the bike and get riding it again!

For the record, I am running these at 28 psi and 36 psi, at least for the moment.

Friday, 3 June 2022

SQ4 - Oil Leak from the Rocker Feed

 This may be a seminal moment in the history of my SQ4. For years it's had an oil leak which I have always assumed to be poorly sealed pushrod tunnels at the head joint. However, having addressed a problem with a leak from the oil tank cap, something else which it has always done, I resolved to look at the drip from the rocker feed pipe. 

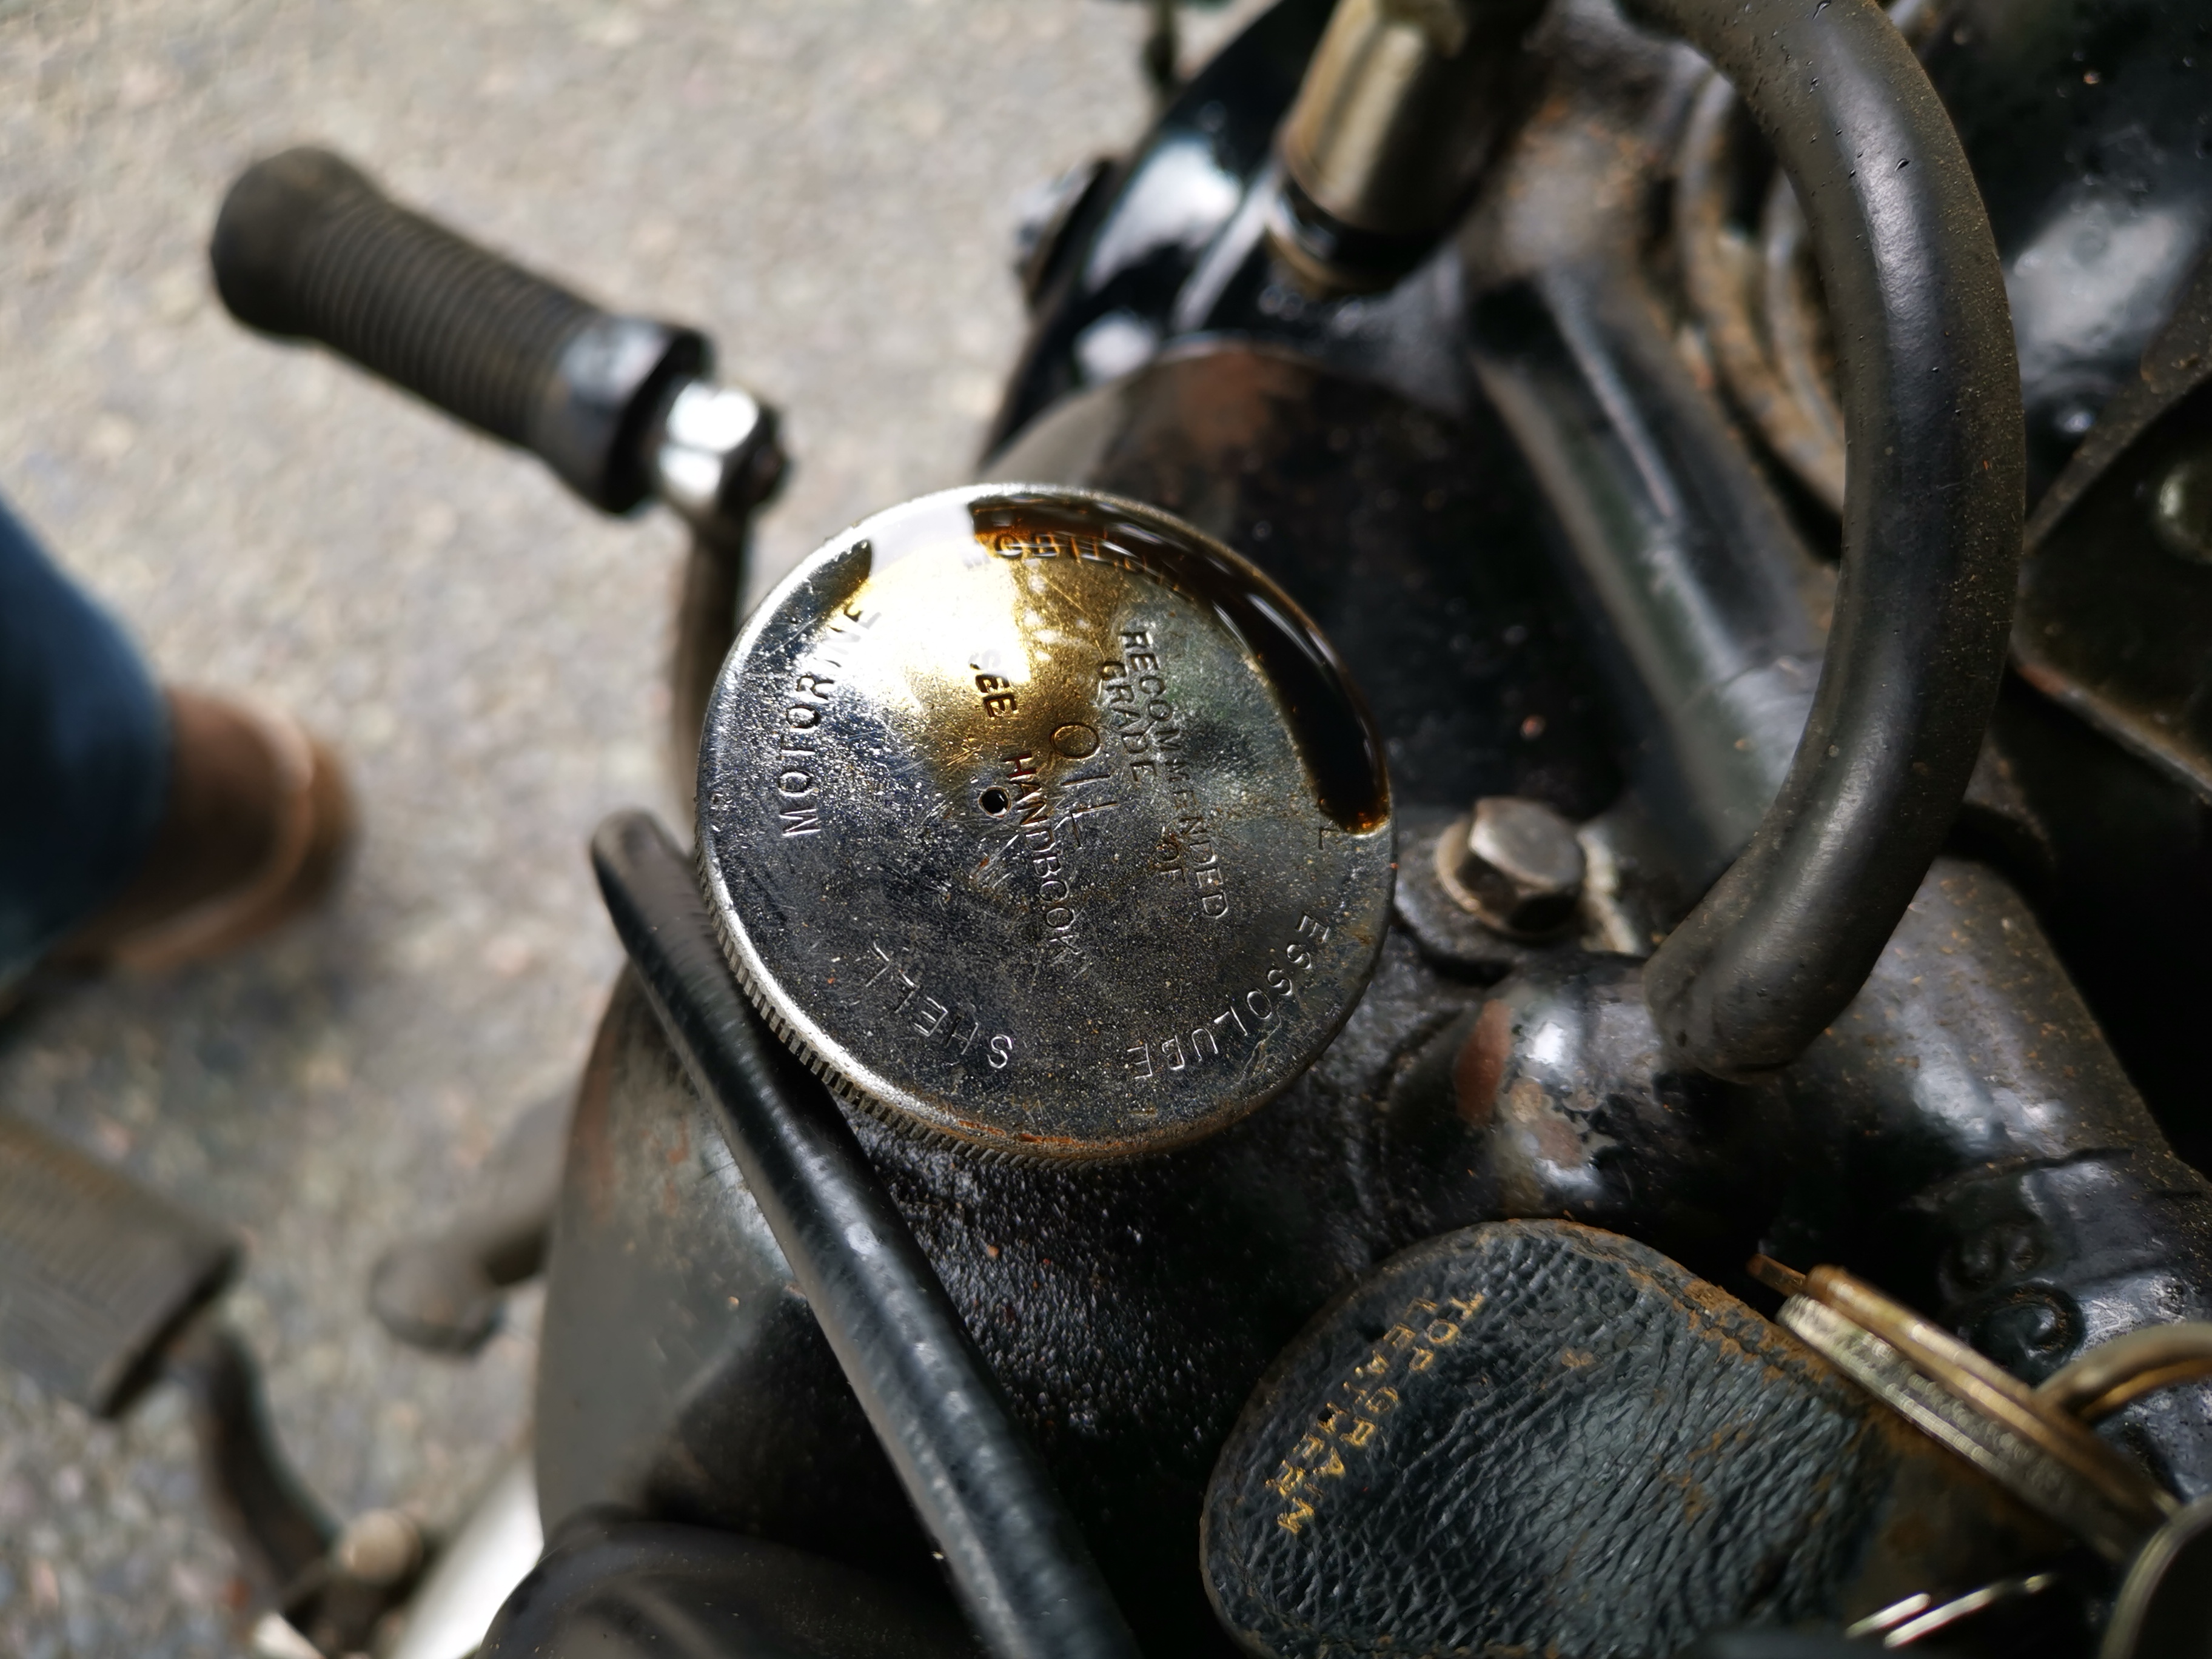
The oil tank cap has always had a weep from the breather:


Which translates to a wet leg on a long, fast run:

Looking at that first picture, I got to wondering why the cap has a vent hole when the tank has a piped breather that I have taken past the rear wheel. Surely the cap should be sealed?

It turns out that Square Fours don't use the same cap as other Ariels. I noticed that the 1951 SQ4 parts list has a -32 number for the cap - most bikes (other than Square Fours) I've seen use a -29 number. Maybe 5854-32 has no breather hole.

A blob of solder will sort it.

Onto the rocker feed. I ran the engine cold (75 psi on the gauge) and as the oil warmed up the leak appeared:

Now, my bad - I forgot to take a camera to the workshop when I fixed it. It turned out the tube was not pushed into the fitting at all - it was just held in place with a fillet of solder at one end, and had been like that for years - probably eight years. It's been leaking for most of that.

All fixed now.

Wednesday, 11 May 2022

Charlie's Shed - adapting threads

The FH kit came with a lot of original Ariel cables, most of which were pretty rusty but which still had their original adjusters and nipples. The cable layout changed with the advent of the swinging arm bikes, in that the mid-length and gearbox end adjusters moved up to the handlebars for the front brake and clutch. The thing is, most of the handlebars out there use the later 5/16" BSF adjusters, but Ariel used the earlier 1/4" adjusters to the end. Guess what? Levers with 1/4" adjusters are like hen's teeth!

So what to do? after looking at eBay for ages, and noting that Draganfly are out of stock I decided to modify what I had by sleeving the existing 5/16" thread. The issue is that putting a 1/4" thread inside a 5/16" thread leaves very little wall thickness, so the part would be weak. Here's how I set about it:


First job is to turn a bit of scrap brass to the correct OD - 5/16", and put a thread on it - these are BSF threads in these levers, by the way - so it's 5/16" x 22 tpi. Next, we can drill a hole, tapping size for 1/4" BSF, but we won't tap it yet. Next we can try it out in the lever perch and if all is well retain it with some Loctite 263 high strength thread locker:


Next job it to file the ends flush, and tap the hole. Currently I don't have a tap long enough to go all the way through, but it's long enough for the adjuster. Cut the cable slot with a hack saw and a needle file:


Job done!


Tuesday, 10 May 2022

FH Dry Build - Speedometer Bracket

Today's little bit of progress is this - a speedometer bracket folded up from a scrap of flat bar. 


Monday, 9 May 2022

FH Dry Build - Carburetter

 Some while back, actually in this post, I outlined the trial fit of the carburetter and the fact that the shiny new bell mouth didn't fit very well - as you see here:

Having checked the threads for damage I concluded that the undercut on the carburetter body wasn't deep enough, and/or that the last thread was not cut fully to depth since the new bell mouth did not want to screw fully on. 

I noticed that the horrible plastic one had a short length where the thread was relieved, and not wishing to set the carburetter up on a face plate and recut both the thread and the undercut, I put the bell mouth in the three jaw chuck very lightly to avoid distorting it:


I relieved the thread with some very light cuts for a few millimetres - the bell mouth fits perfectly now:

Sunday, 24 April 2022

SQ4 Luggage Carrier

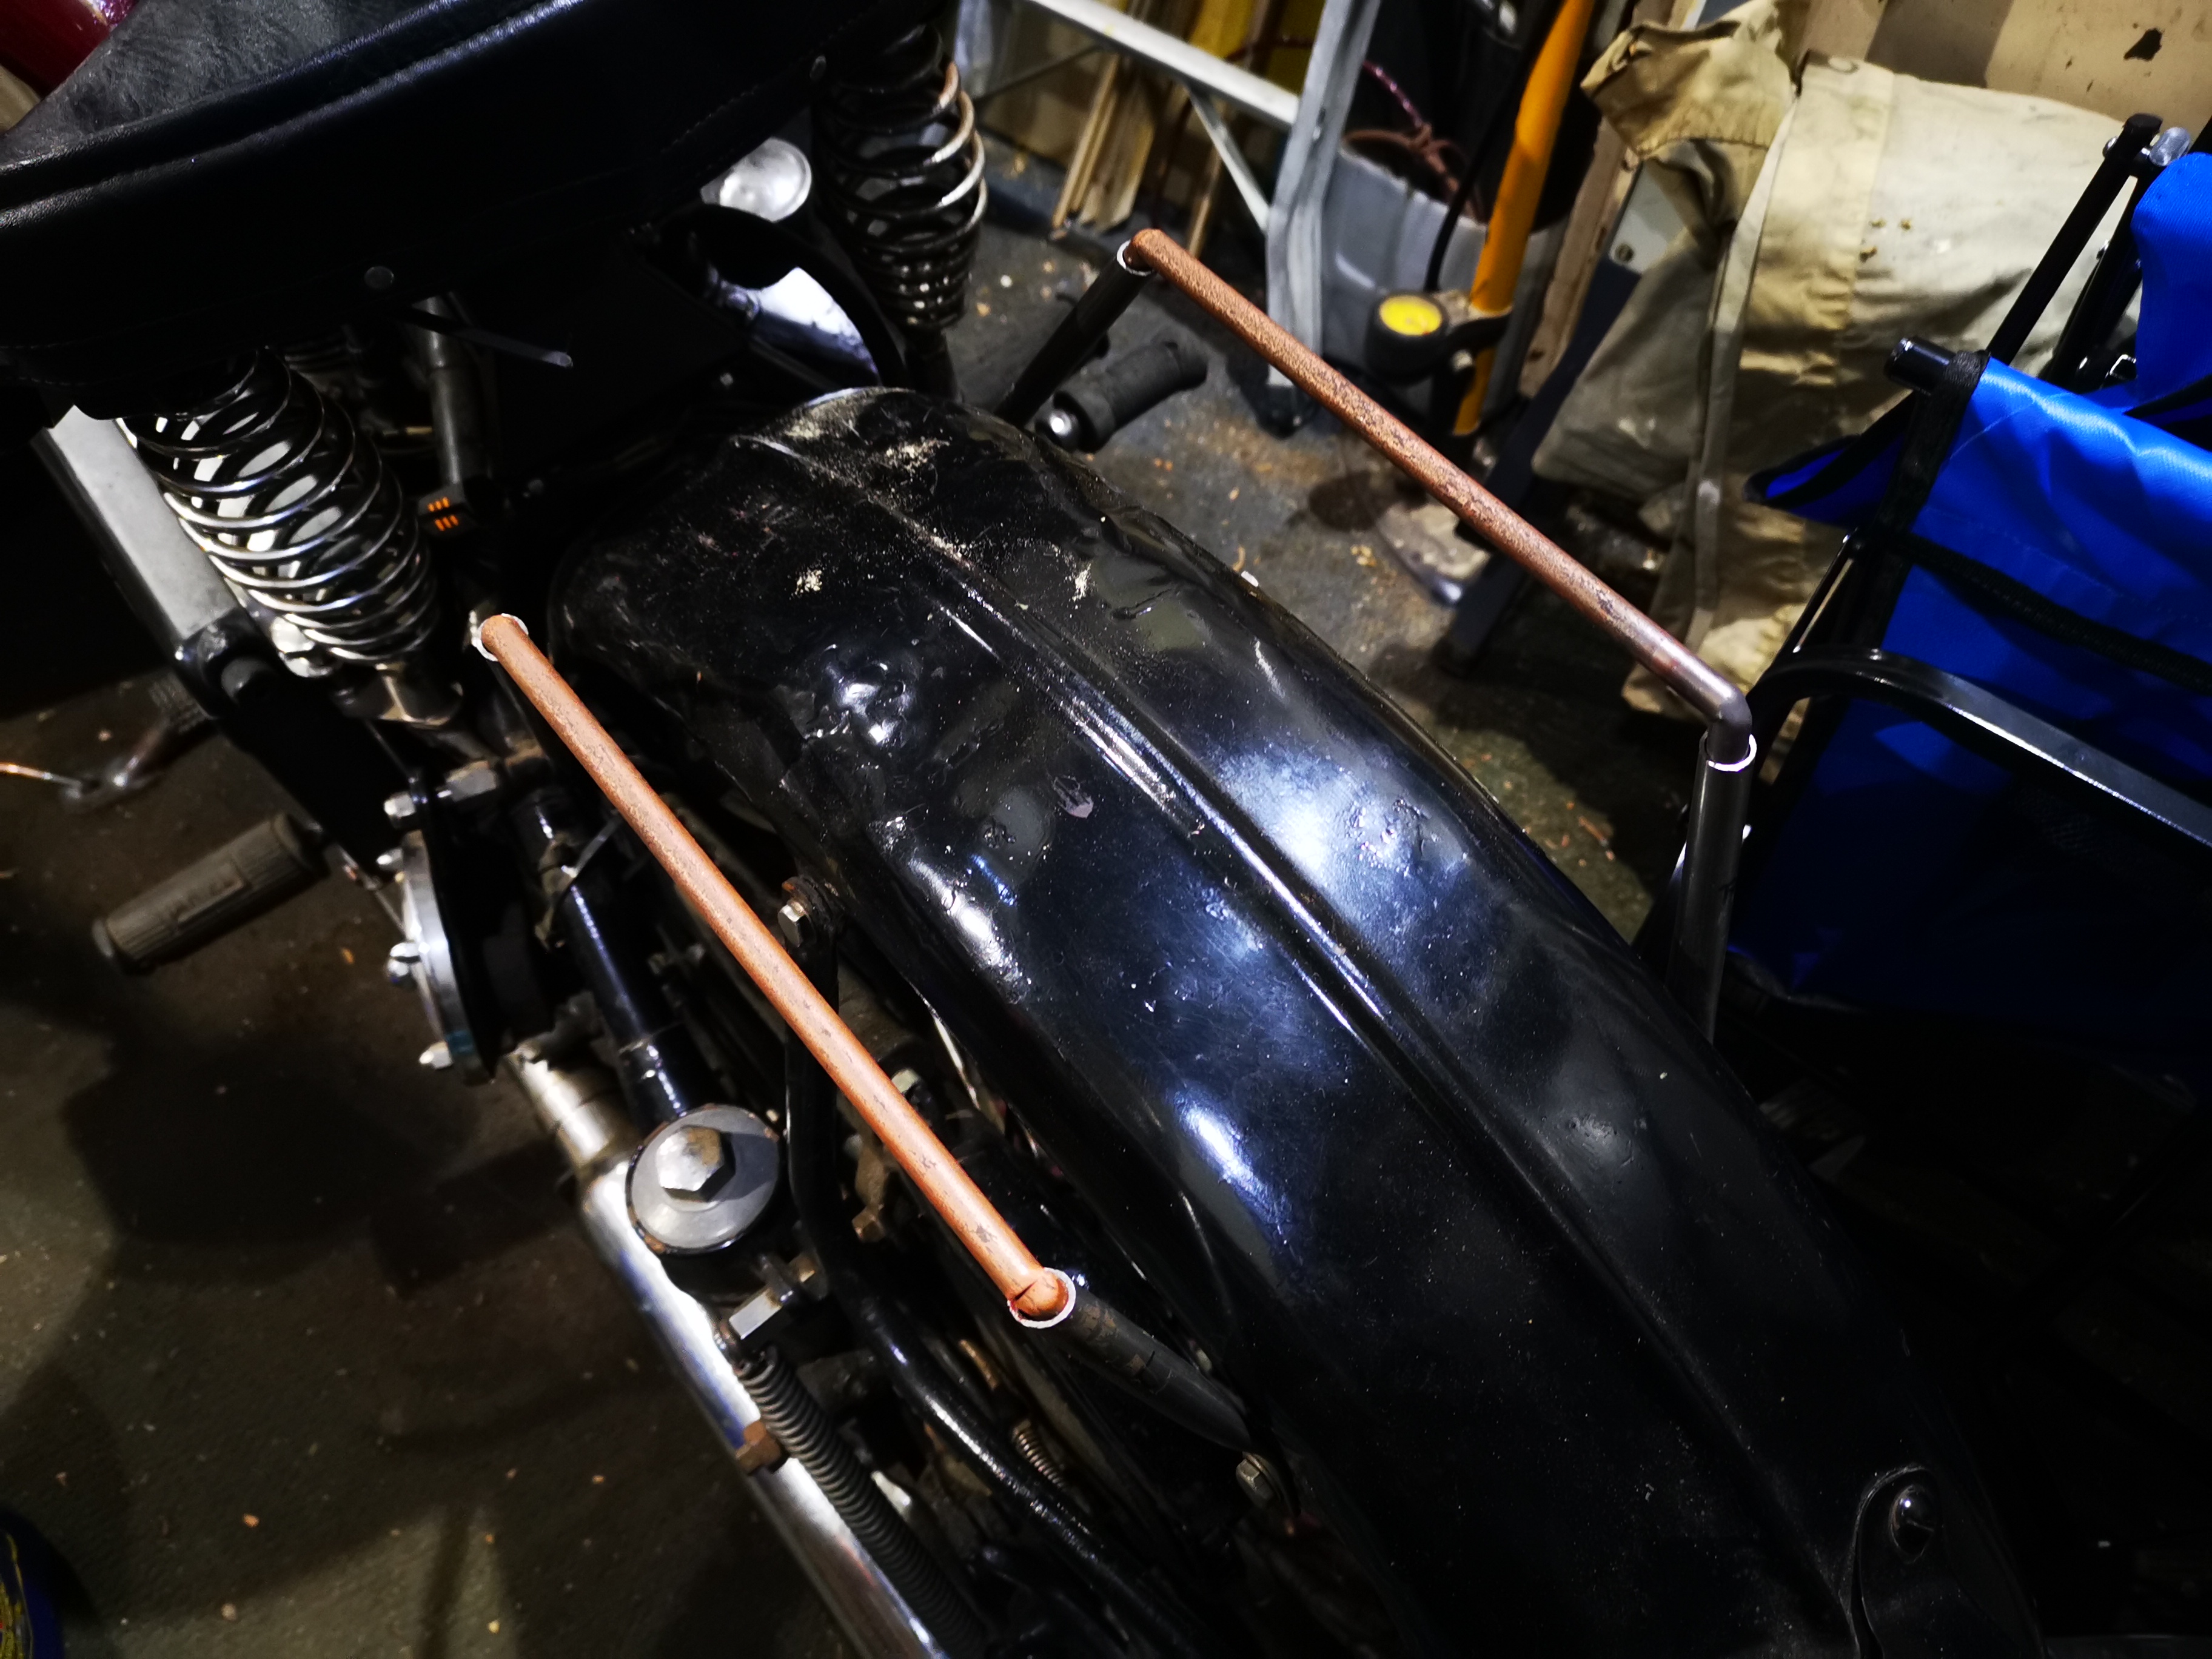
 The Four has never had a luggage carrier - they are pretty unusual for that period in Ariel history if surviving examples are anything to go by. Tom and I have a notion to do the VMCC Round Norfolk run this year, and I had realised that I really needed something better than 1958 Pattern Webbing 'Large Packs' suspended from the rear mudguard.

So, we start with the carrier - the ladder part is available from AOMCC Singles Spares:


It’s very nice indeed - 18 swg cold rolled sheet. Loosely laid on the lifting handle, which is not fitted when the carrier is used we can see how it’s going to look:


The members of the ladder frame are about 1/2" wide, so we will use 1/2" tubing for the stays.


The rear stays are swaged to one side - I have arranged two heavy rolled steel angles in the vice with the tube clamped against them, and I squash the tube between this and one side of my swaging die, as shown below:


The test piece comes out reasonably well:


The front stays are swaged both sides, so I need two shaped swaging dies:


The first attempt at rear stays is a bit long, leading to the carrier sitting too high:


I believe this is Markus Nikot's KH, with original carrier. See how low it is compared to the rib in the mudguard?


Shortening the stays has mine in a similar position:


Now, it doesn't appear that the ladder provides the strength the carrier needs to replace the lifting handle, or to carry much of a load without failing through fatigue so we will connect the front and rear stays with a solid 3/8" bar. The bends in these are made with a mitre cut 2/3 of the way through the bar and welded up again:


The original luggage carrier on my Model A has the rearmost member, the one you want to grip to pull the bike onto the rear stand, rolled into a tubular shape around a solid bar - which makes it much nicer to hold. I've replicated the arrangement with a piece of 3/8" folded into the rear-most rung of the ladder:


Here it is, swaged in:


Next step is to weld the bars into the stays while they are in position on the bike. These are just tacks, and the welds were completed off the bike:


The carrier is coming on nicely and looks the part. Having got this far, I could investigate how the carrier interrupted the raising of the mudguard; in fact, the guard hits the wheel at the bottom long before the carrier hits the seat, so you have to remove the wheel to find out if it really still works.


Here's the round lifting bar welded in at each end:


The next step is to attach the ladder to the side bars. I want to preserve the shape of the pressing, so I have decided to plug weld the ladder to the bars from above. I've realised that the secret to good plug welding is to drill a big enough hole such that the arc strikes the bar underneath, and not the edge of the hole - then you can back fill the hole completing the weld in a controlled fashion. These holes are 8 mm:


I tacked through these holes to fix the whole carrier together whilst it was still on the bike. When I removed it, I welded the stays to the carrier on the inside, and left the outside free of weld to emulate the original.


Next I finished off the plug welds:

The final step is to dress the welds and apply some paint, then when it's dry and hard we can reassemble the back end of the bike.

And here it is, with several coats of U-Pol:


It's actually bent down slightly at the front, drive side corner


It might need a bit of adjustment, but it looks good for now!

Sunday, 17 April 2022

Huntmaster Toolkit

Updated: First published April 2018

As you know, I have a bit of a passion for getting the tool kits right on my bikes. Some while ago, I started a post on the tool roll for the FH, which took a while materialise but the secret to finding these bits is to do your research and start looking, in the knowledge that it might be a while before you find everything...

Here is the toolkit list from the 1956 parts list. Added to this for 1957 is a 'single ended box spanner for rear wheel nuts', number 6601-57, probably when the fully enclosed rear chain case was introduced:


Here's a list I made to collate what I had. Decimal dimensions come from the factory drawings in Ray Tolman's list.:

Item
Ariel PN
Old PN
Function
End 1
End 2
1
6600-32
G1/110
Spanner for brake fulcrum adjustment
2
6600-36
G1/125
Double Ended Spanner
3/16
1/4
3
6603-28
G1/59
Double Ended Spanner
5/16
3/8
4
6603-56
Double Ended Spanner (rear wheel spindle nut)
5
6604-55
Tappet Spanner
6
6605-28
G1/66
Double Ended Spanner
7/16
½
7
6606-27
G1/55
Double Ended Spanner, steering head nuts
1.01"
9/16" BSW
1.1"
5/8" BSW
8
6608-56
Spanner for sparking plug
9
6611-55
Box Spanner for rear wheel
10
6611-31
G1/99
Tube Spanner for hub spindle nut
0.825"
7/16" BSW
0.925"
1/2" BSW
11
6616-26
G1/33
Screwdriver
12
6616-29
G1/86
Screwdriver for clutch spring nuts
13
6617-56
Magneto Spanner
14
6625-26
Tyre Lever
15
6625-55
Tyre Lever and tommy bar
16
6636-54
Tyre Inflator
17
6601-57

Single Ended Box Spanner for rear wheel nuts


6640-54
Tool roll only

My FH tool kit started off looking like this:

A tool box full of spanners
So we need to set to and find the tools. Item 1 is easy, and I already have one for the FH:

Item 1, Brake Fulcrum Spanner
Item 2 is also easy, once you remember that these spanners were bought in by Ariel, the makers names ground off and 'Ariel' stamped in their place. They are also notable for the fact that they are marked with BSW sizes unlike most Ariel spanners, which are marked with BSF or BSC sizes:

Item 2 Double Ended Spanner
Item 3 is another common Ariel spanner, the G1/59. This one is the later oval shank style:

Item 3, Double Ended Spanner
Item 3 is a bit tired and will need some material adding.

Item 4 is a complete guess, supported by Ray Tolman's opinion:

Item 4, Double Ended Spanner
Is this BSA spanner similar to item 5, given the provenance of the FH engine?


Giving it some thought I decided this later BSA spanner would be more appropriate.


Item 6 is one of the most common Ariel spanners. This one is pre-war (rectangular shank style):

Item 6, Double Ended Spanner
Item 7 is also very common, though this one has been filed out...

Item 7, Double Ended Spanner
This one fits the spark plug, but other than that is a complete guess:

Item 8, Spark Plug Spanner
Since item 9 has a 1955 part number, I assume it must be the wheel spindle spanner: 

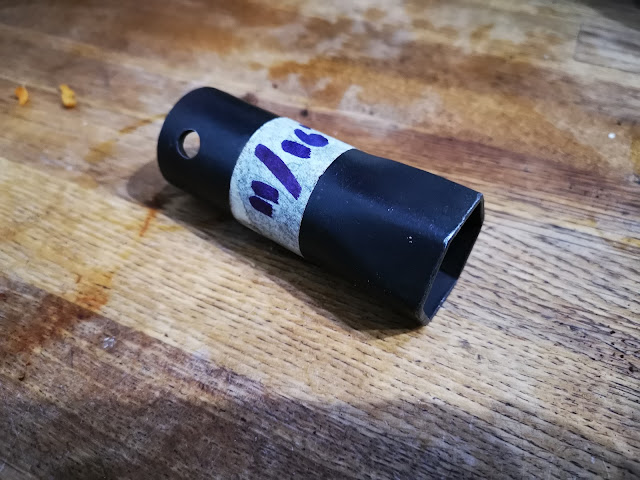
Item 9, Box spanner for rear wheel

Here's a modern equivalent for item 10:

Item 10, Modern Version
Item 11 is just the usual wire formed screwdriver:

Item 11, Screwdriver
The clutch screwdriver is also easy:

Item 12, Clutch Screwdriver
Item 13 is a standard Lucas magneto spanner:

Item 13, magneto spanner

Item 14 is a tyre lever, which I assume is similar to either to the 'third hand' type included in the military tool kits, or more probably the Dunlop spoon type. Since I have a spare cranked one, we'll add that for now:

Item 14, Tyre lever

Would item 15 be something like this, used by Triumph?


Here's my attempt, almost there:

Item 15, Tyre Lever and tommy bar

The tyre inflator:

Item 16, Thapex Tyre Pump

Here's the last item, which I guess was added when the FERC was introduced in 1956, making it difficult to get to the QD hub nuts:

Item 17, A single ended 3/8 BSW spanner suitable for the hub nuts

So now I have this, and a bit more searching to do.


In addition to the standard tool kit, we'll need this 10 thou feeler gauge and a 1/8" hex key for the Triumph socket head tappet adjusting screws I fitted in this post:


Here's the repro tool roll I made in this post:


The little pile of tools fits the bag nicely:


And the bag fits in the tool box:


Here are a few links to my other toolkit pages: