Monday, 20 February 2023

FH - Seat Base Repairs

The FH kit came with the original dual seat, cover intact, which I dismantled:


There was some foam, some original, some replaced:


The top of the seat base was in very good condition:

Underneath, there is enough space for a sandwich or two and I toyed with making the seat lift up for a while - I even made some hinges to try it out but considering the options for locking I realised that I was on a crusade that would be neat, but wouldn't achieve very much. I put the idea away for another day.

The seats were originally retained with Spire clips and screws, fastened from underneath before the oil tank was fitted - you cannot get to all the screws with the oil tank in place. Most of the holes for these had been damaged over the years, some severely.

As you know, I'm not a cheque book restorer and I hate throwing things away, so I resolved to repair the seat base. Since the Spire clips are not available and were meant to aid rapid assembly - no need for a separate operation to fit weld studs, for example - I decided to repair the holes with small plates with weld nuts.

I cut the holes out with a thin cutting wheel in the Dremel.


Another pet hate is mixed fasteners on bikes - so no metric bolts here, and no Unified series either. While it crossed my mind to make some proper weld nuts out of square bar, I decided no-one would ever see them and opted for off the shelf full hex nuts instead, 5/16" CEI.


I made all the plates and fitted them to the holes I had cut, labelling them A-D, before I drilled the holes for the nuts. I fixed one in place with duct tape and tried it on the bike, marking the bolt position from underneath. I drilled the hole, welded the first nut in place and tacked the plate to the seat base.

Refitting the seat base to the bike, I repeated the process with the second bolt, then the third and fourth so that at each step I could be sure the seat was in the right place and the bolts all fitted.

With them all done, I completed the welding. The metal is about 1.0 mm thick (20 SWG or so) and the SIP HG1800 DC TIG machine was set to 20 A. These are generally autogenous butt welds but I used some filler wire in places.

Not too shabby. There's a bit more to do at the back - those curved closing plates are holed but more of that later.

Tuesday, 3 January 2023

W/NG - Cleaning the fuel tap

 One embarrassing thing that happened last year was a shortage of fuel - or rather not. I ran out of fuel out in the wilds of Norfolk having given son Thomas a lecture about coming out without checking the tank, discovering a little while later that not only had I run out of fuel but that the reserve tap wasn't working.

Emptying the tank, I pulled the tap off to check and found the filter torn and the reserve port full of paint chips:


A few minutes poking around soon had that clear, and I fitted a new filter:

I realised later that this one is of a coarser mesh than I would have liked - I'll have to replace it again...

Tuesday, 27 December 2022

W/NG - Lucas DU42

 Originality creeps closer with every passing blog post at the moment, this time with a genuine Lucas DU42 headlamp. The bike has worn an Indian replica since I've had it, and since one came up within the club a while back I've had a plan to replace it, with a bit of help from Wali Taylor who came up with the proper flat glass.

This picture comes from the W/NG workshop manual and shows the BA15 bulb holder, with adjustable focus (C), held in place with the long spring clip and the early rim clip (A) my bike would have worn:

The long spring clips (B) are retained to the reflector with two little sheet metal clips, riveted to the reflector. One of mine was rusted away, so here is the replacement made from a scrap of 0.5 mm sheet steel:


Here's the beginning of a rivet made from 2.5 mm² annealed copper wire:


The next thing we need is the gasket and the glass, shown in this later diagram from a 1944 parts book where the ammeter has been deleted and the headlamp switch moved to under the seat, with the new hi/lo pushbutton in the headlamp panel:


I've decided to use round section foam strip for the gasket; the glass is original, from Wali Taylor of the AOMCC.


The clip came from eBay, but didn't fit until I gave it some attention. The rim was full of dents too, but with a panel beating hammer and a dolly I soon had that smoothed out.


The clip is retained with a bit of piano wire - this is about 2 mm in diameter:


Onto the bulb holder. This is a military pattern bulb holder - there is only one contact for the main bulb, and I guess I will make another. Also very visible here is the clamping screw that allows the bulb holder to move backwards and forwards to position the filament at the primary focal point of the reflector.


Here's the view from the other side. Needs a clean but it is in good shape - it's not distorted at all.


Next is the instrument & switch panel. This is the illustration in the manual:


This is the one that came with the shell: it's a bit early for the W/NG as it has the fitting for the half charge resistor - that little casting between the ammeter and the switch hole:


This switch panel would be 1932-36, as the earlier H52 headlamp is quite different and the half-charge resistor disappeared with the introduction of the MCR1 mechanical charge regulator in 1937. I might use this or perhaps the repro one that is fitted to the bike at the moment.

This is the only original Lucas shell I have with the holes for the rubber string seal. Here it is in place - it’s a 2 mm sponge EPDM round section:


There will be a bit of wiring to do as the repro ammeter currently on the bike has terminal posts and ring terminals, and the headlamp is wired up with Japanese bullets:

I've chosen a CDRC Double Dipper Pro projector headlamp bulb:


This is the beam it produces, in a picture taken on my phone using the 'night' setting.

With the camera set for daytime you can see the bulb is using the high beam LED and the low beam LED:

The completed headlamp:

Installed:



Friday, 9 December 2022

W/NG - Luggage Rack 3

A bursting need to achieve something other than walking the dogs in these days of dire weather saw me retreat to a cold garage and put the newly painted luggage carrier and pannier frames, complete with brackets, on the W/NG:

Nearside rear:

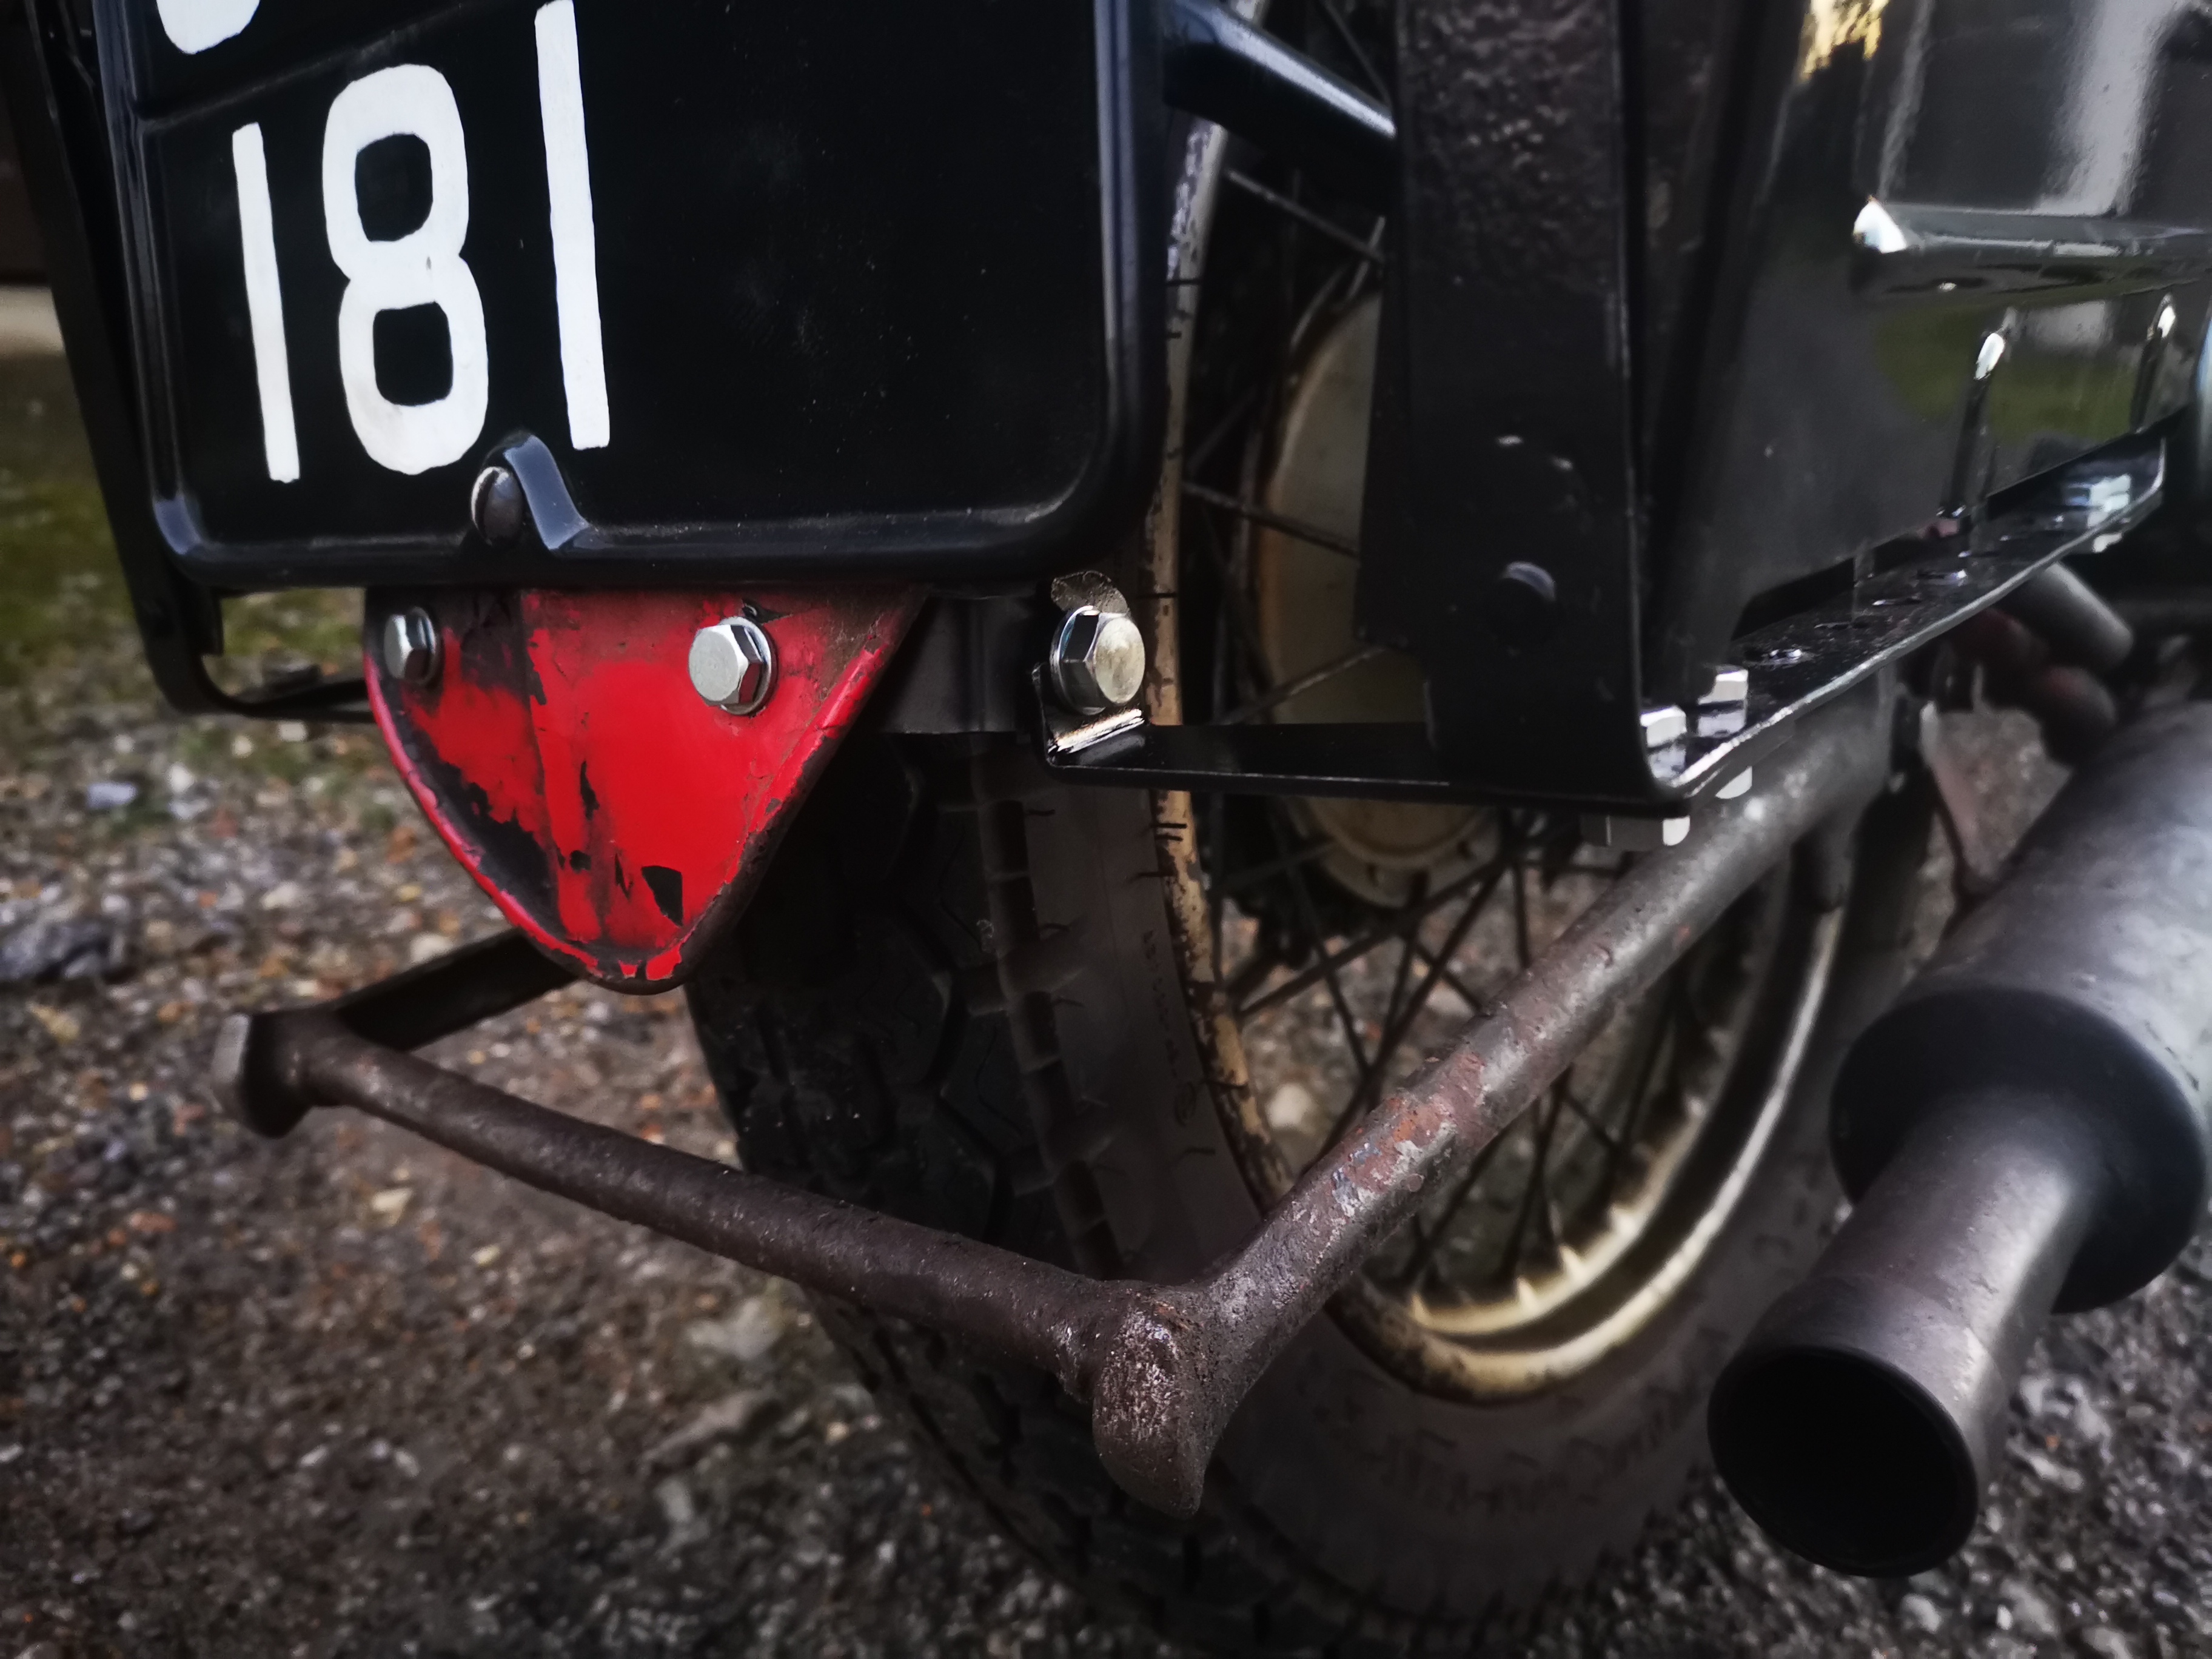
Rear brackets - the stand must be fouling somewhere, it usually comes to rest higher than that:

Front bracket, lightly modified from the Drags one to make it look more like an original:

I think the answer is that the spring lug on the stand is hitting the pannier frame bracket. Here's the offside view:


 A bit of railway tomorrow - then I will take some pictures with the bags in place.

Here's one now:


Monday, 5 December 2022

W/NG - Luggage Rack 2

 Armed with a full bottle of Argon I set about making the pannier frame brackets to hang off the carrier. These are cut from a bit of 25 x 3 mm flat bar, actually an Ikea towel rail that I took off a scrap door.

The rear bracket is a bit tricky to bend. I used heat and a bit of scaffold pole to put the curve in, then made the 90° bend before drilling the hole last. It took a bit of adjusting to make the curved part land on the carrier properly:

As you see here, it's not quite there yet. The front bracket is much easier.


Here are the two tacked in place, with the pannier frame. Of course I used the holes in the pannier frame to locate the brackets - the bit of copper wire was holding the frame with the brackets bolted to it while I tacked the brackets on the carrier.


Fully welding the bars at 90A. I'm amazed at what the little TIG machine will do, even if the battery voltage drops quite low - the inverter low voltage alarm was beeping away when I let the arc get too long, but then it was dark outside when I did this:


More brackets for the offside:


These were a lot more difficult. Eventually I realised that the holes in the second pannier frame were not in the same place as the first one and needed a bit of adjustment.

With a bit more welding it was soon finished:


No apologies here - I wanted to keep the red finish to maintain some part of the Italian influence this bike had - and is steadily losing as I bring it back to standard.

I won't be painting it khaki though!

Sunday, 20 November 2022

W/NG - Panniers

 Here are the panniers I'm fitting - replica WD panniers from eBay, probably made in India. They are rather nice:

The frames are powder coated steel and fold up and down, just like the originals, though the pannier bags themselves are identical - originally they were handed to the extent that one was provided with a buckle to receive that central strap on the back, so you could sling them over the luggage carrier like a pair of modern throw-over panniers:

I made this little strap to allow them to be tied together. It's a new bit of 2" webbing stitched to a pair of original buckles:

I've got this set of brackets from Draganfly - very nicely made too, though I had to clear the threads of scale, open the holes to clear 1/4" CEI and replicate the slots shown in the Ariel parts list:


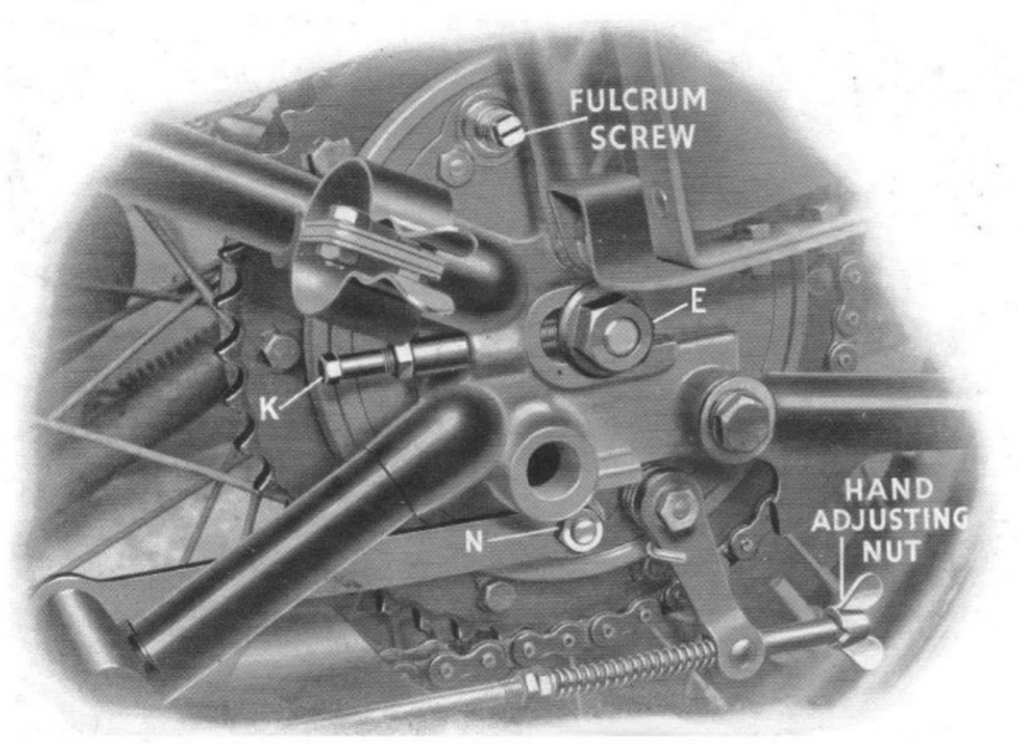
Position 'B; shows the rear mounting, with the end of the mudguard bracket just visible. There's a 5/16" CEI bolt at 'B', which you use when you want to lift the tail of the mudguard or remove the pannier frame:

The other end shows the pannier frame and the front bracket above the axle nut 'E'. It's retained behind the mudguard stay bolt:

More later, when I have finished the luggage carrier!

Friday, 18 November 2022

Pillar Drill Spindle Bearings

My cheapo pillar drill is a project in itself also I've had it for quite a few years now and it's had a few modifications to improve its performance .

I probably should have bought a better one in the first place!

This blog post was useful guide to what to expect when pulling the drill apart:

It's got a bit of run-out on the spindle and in this picture the run-out doesn't look like much. However the main problem is the quill itself which wobbles around in its bearings.


The pulleys are a bit loose too, but this is down to burrs and a loose grub screw


This is the return spring - simple, but appears to work adequately:


The three handles on the quill pinion constantly come loose and are now held in with Loctite:


I made this bracket to support the end of the depth stop and as a place to hold the chuck key. The bracket replaces a crappy plastic one that came with the drill and broke quite quickly:


Here's the top spindle bearing in the quill. There's no play here.


The play is here, in the body of the drill. There's not a great deal I can do to improve this...


What I've done is to put a screw into the body which pushes on the quill, taking out some of the play.


Another area of weakness is in the table which bends as it is only made of rather flexible sheet metal.


It can be stiffened up quite easily with the welder:


The next thing we might do is stiffen up the base of the drill as well, as again this is quite flexible. However this is only affecting accuracy if your work is standing on the base.