A bit of a workshop tidy this afternoon left me with the opportunity to move the primary side on a little. I can't fix anything until the secondary chain and gearbox sprocket is fitted, but we'll get there.
Here's a few pictures:



A bit of a workshop tidy this afternoon left me with the opportunity to move the primary side on a little. I can't fix anything until the secondary chain and gearbox sprocket is fitted, but we'll get there.
Here's a few pictures:
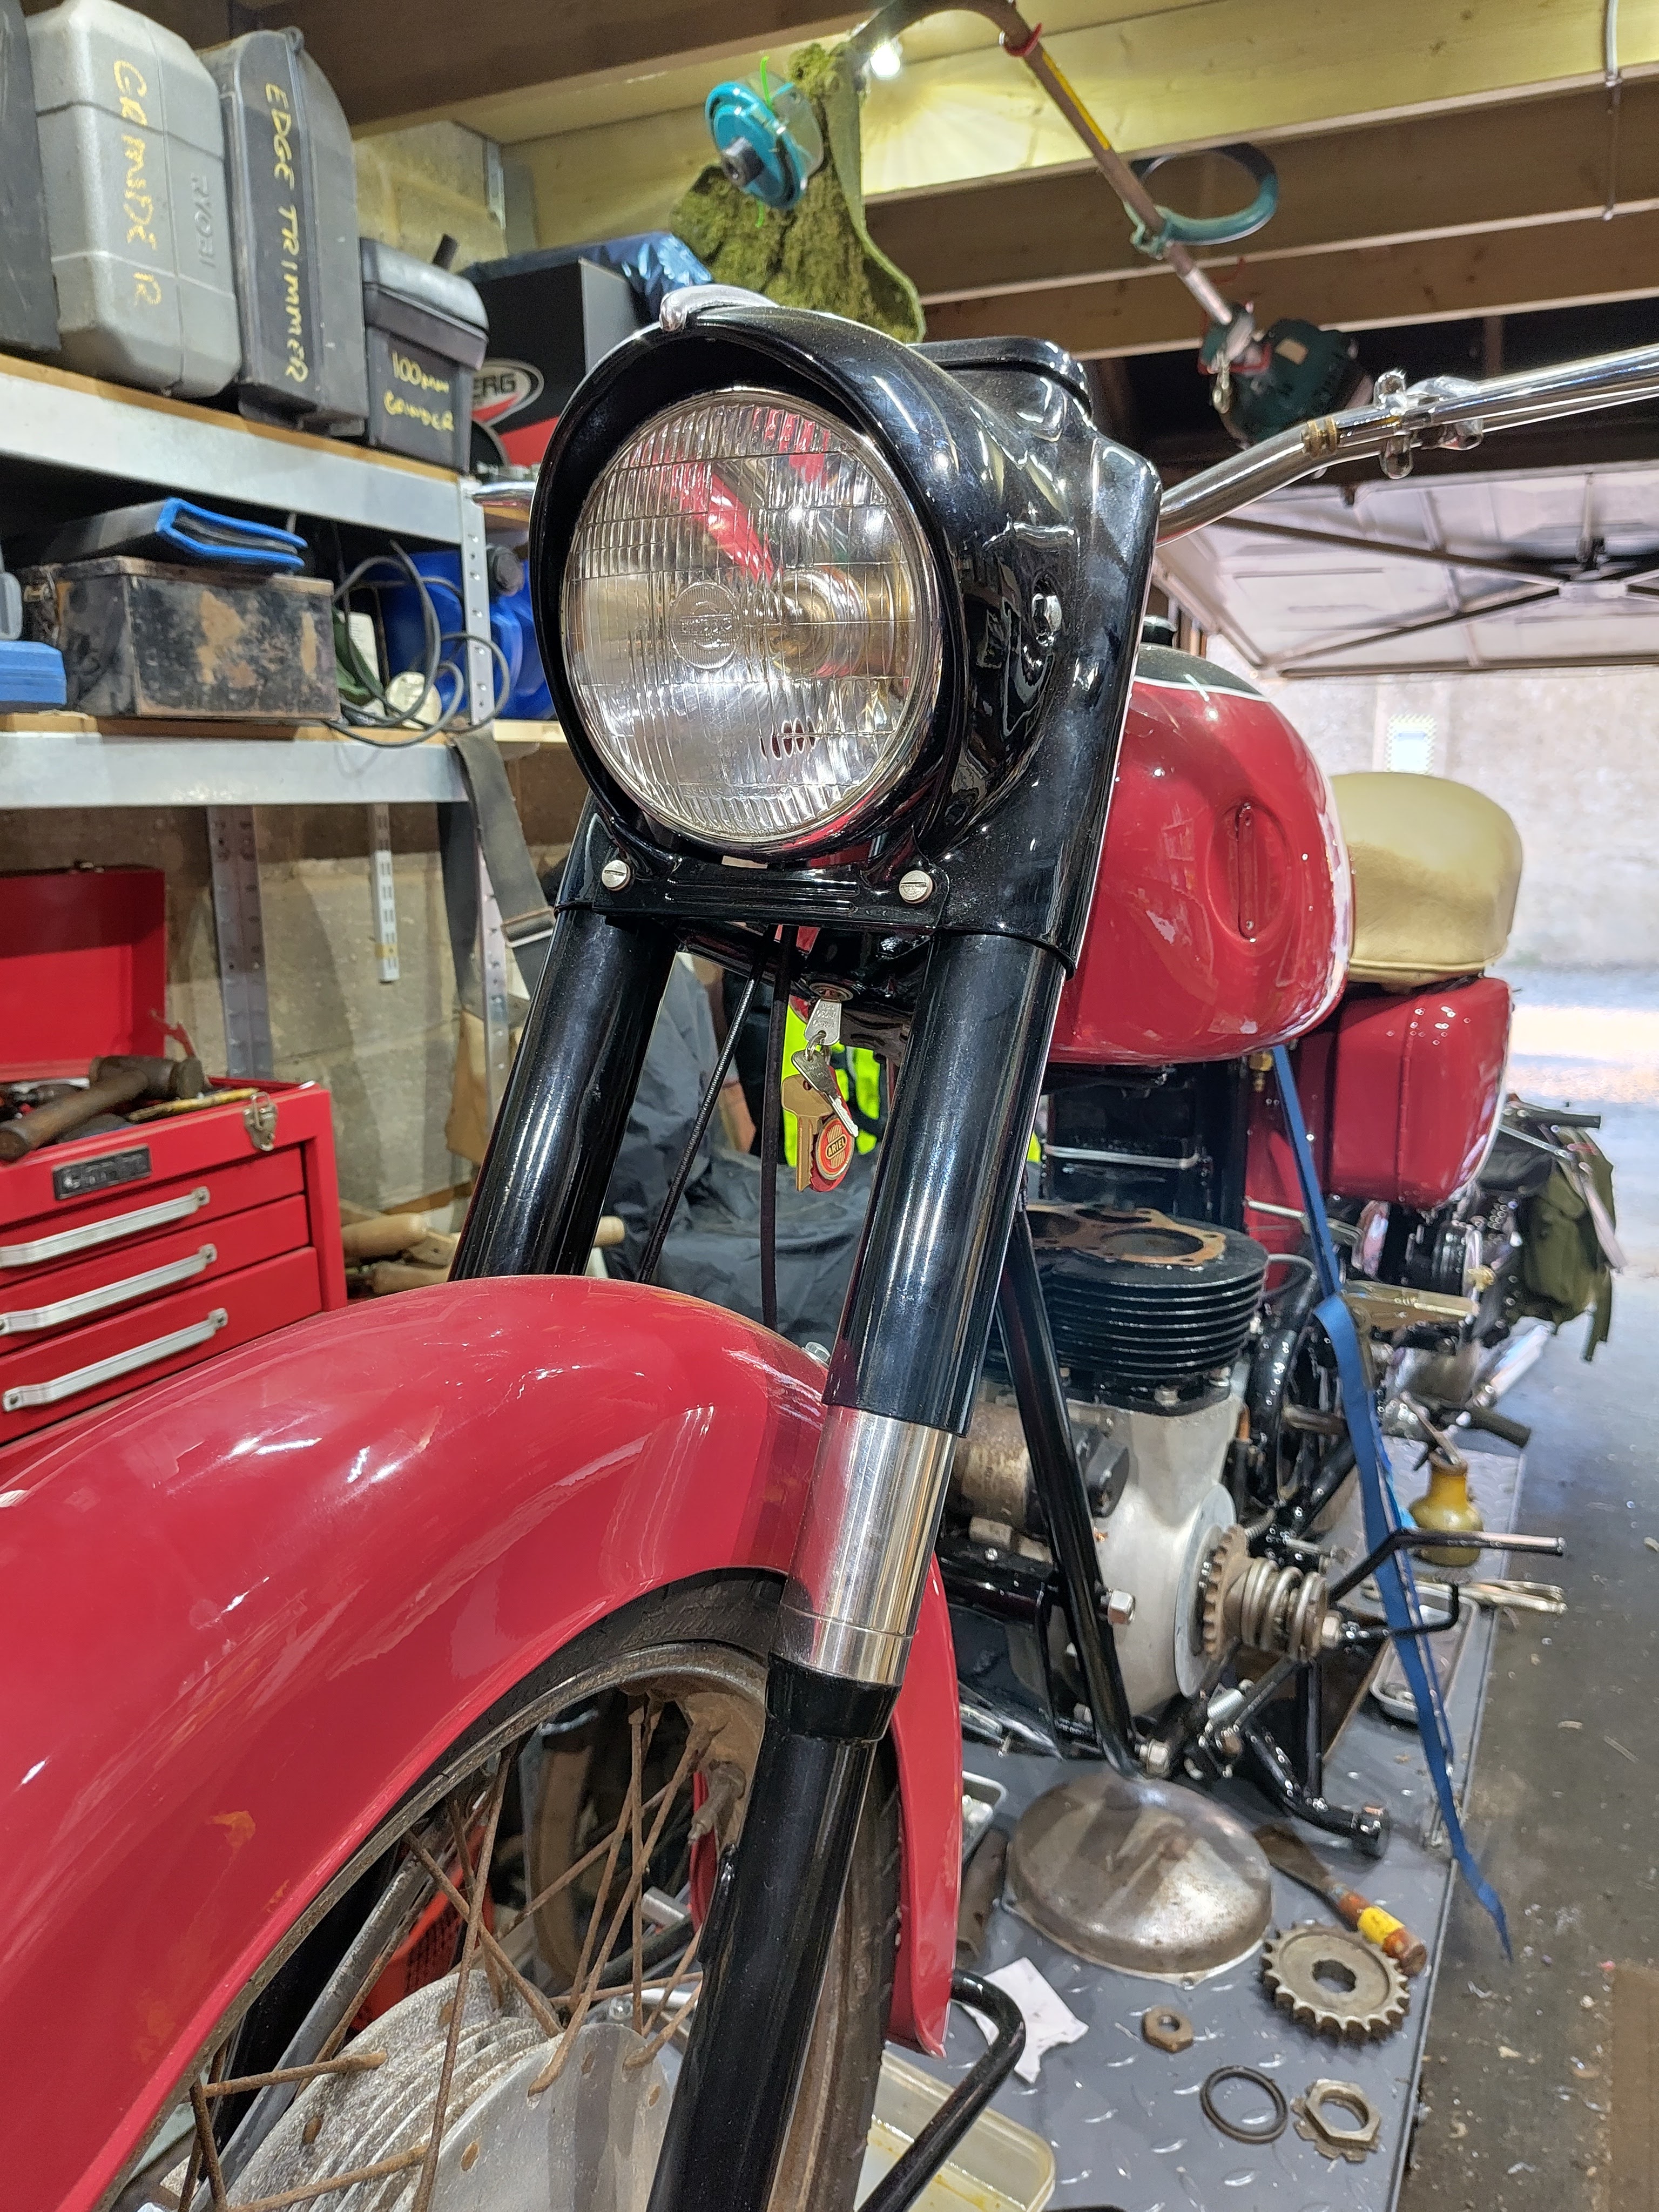
A few minutes in the workshop yesterday allowed a bit more progress on the Huntmaster. The headlamp is now fitted, with the grommet at the top. This seems to be the only way I can fit it and still allow access to the rim clamp:


Last thing for today, and this is a bit lazy, is to look at the dynamo. I've cleaned it, motored it and fitted it - it motors ok and in the right direction so it is working and polarised correctly:


One thing I forgot - I've fitted the oil line unions to the engine, with new washers from the gasket set. The bottom one is the feed, the top is the return:

Lots of work faces now, but an interim look at the cylinder head reveals that the valves and guides are beyond use - there is a couple of millimetres of rock at the edge of the valve head, with the valve half out of the guide.
So, while I wait for a new set of guides, valves and springs let's start on the timing gear. Fitting the pinions is straightforward once I have deburred the Woodruff keys. The timing is set to the marks:

I've cleaned the dynamo straps since you have to have the inner timing case off to fit them. I'll plate these at some stage if I'm not too busy riding the bike:


That's it for now. Next I will probably fit the dynamo drive sprocket and it's seal, but then to do any more in here I need the dynamo and the Automatic Timing Device. Both of these bits need rebuilding.


The ultrasonic bath fixed that, and revealed some scoring. If this leads to excessive wet-sumping we will have to replace the pump.


Strangely enough I enjoy this job. It’s methodical, I have six mops with their associated compounds and if you have the time it’s quite fulfilling to see a mirror shine appearing before your eyes.
These are the two halves of the timing cover, currently going through the process with 300 grit on a stitched mop.

A nice little jaunt this evening to see the grandchildren and to help son Thomas replace the chain and sprockets on his 2019 RE Interceptor, supplemented by spaghetti & meatballs to keep us going.
The gearbox sprocket is easily accessible under an alloy cover retained by three screws and the gearchange lever:


If any of you recall this post from last year, you'll know that the Huntmaster kit arrived with an Amal 928 Concentric carburetter:

Now that we are getting around to fitting the cylinder head, we'll need to sort out the jetting for this carburetter. A plea to the AOMCC forum revealed that revered Huntmaster rider Steve's FH is fitted with a 626 Concentric with a 200 main jet and a 3 1/2 slide with the needle clip in the middle position.
The difference between a 928 and a 626 is the body size - the 900 series is the larger. The 600 Series comes in 22mm, 24mm, 26mm and 27mm bore sizes and the 900 Series in 28mm, 30mm, and 32mm bore sizes. Presumably a 626 has a 26 mm throat and a 928 has a 28 mm throat; for the record, 28 mm is just over 1 3/32".
As you'll know from this post, this FH is built to Cyclone spec, more or less equivalent to a Road Rocket. Later Road Rockets use a 1 1/8" Monobloc; earlier ones use a 1 1/16" 10TT9 with a 340 main jet, so this 928 should be there or thereabouts but jetting it might be fun. We learned from the forum that Concentrics run about 10% richer than Monoblocs, so we should fit 10% smaller jets and a slide one size smaller.
Standard fitting for the 1958 FH is a 376/12 Monobloc, which is 1 1/16" throat diameter. Jetting is as follows:
Standard fitting for the 1958 Road Rocket is a 376/36 Monobloc, which is 1 1/8" throat diameter. Jetting is as follows:
The kit 928 R300 is set up like this:


First published 12th March 2023
Legend has it that the bike lift is, or at least becomes (with advancing years) one of the most useful tools in the workshop. Some while back I spent a few hours faffing about with drawings, replanning the workshop in an attempt to fit one in.
Thoughts turned to this again recently and looking around I discovered this Switzer lift, marketed by KMS, which is shorter and less wide than most.
I posted a question on the AOMCC FB page and got a host of encouragement from the members, including one who had exactly the same lift and was happy to take some measurements that were not available on the KMS website. Using these measurements, I modelled the space the lift would take up on the garage floor with some timber and paint pots, and lived with it for a week.
And I'm glad I did! The model didn't get in the way unduly and I took the plunge. Actually, when the lift is in place, particularly in the raised position, it seems to liberate space - it effectively gives you another bench and more foot room than having the bike on the floor.


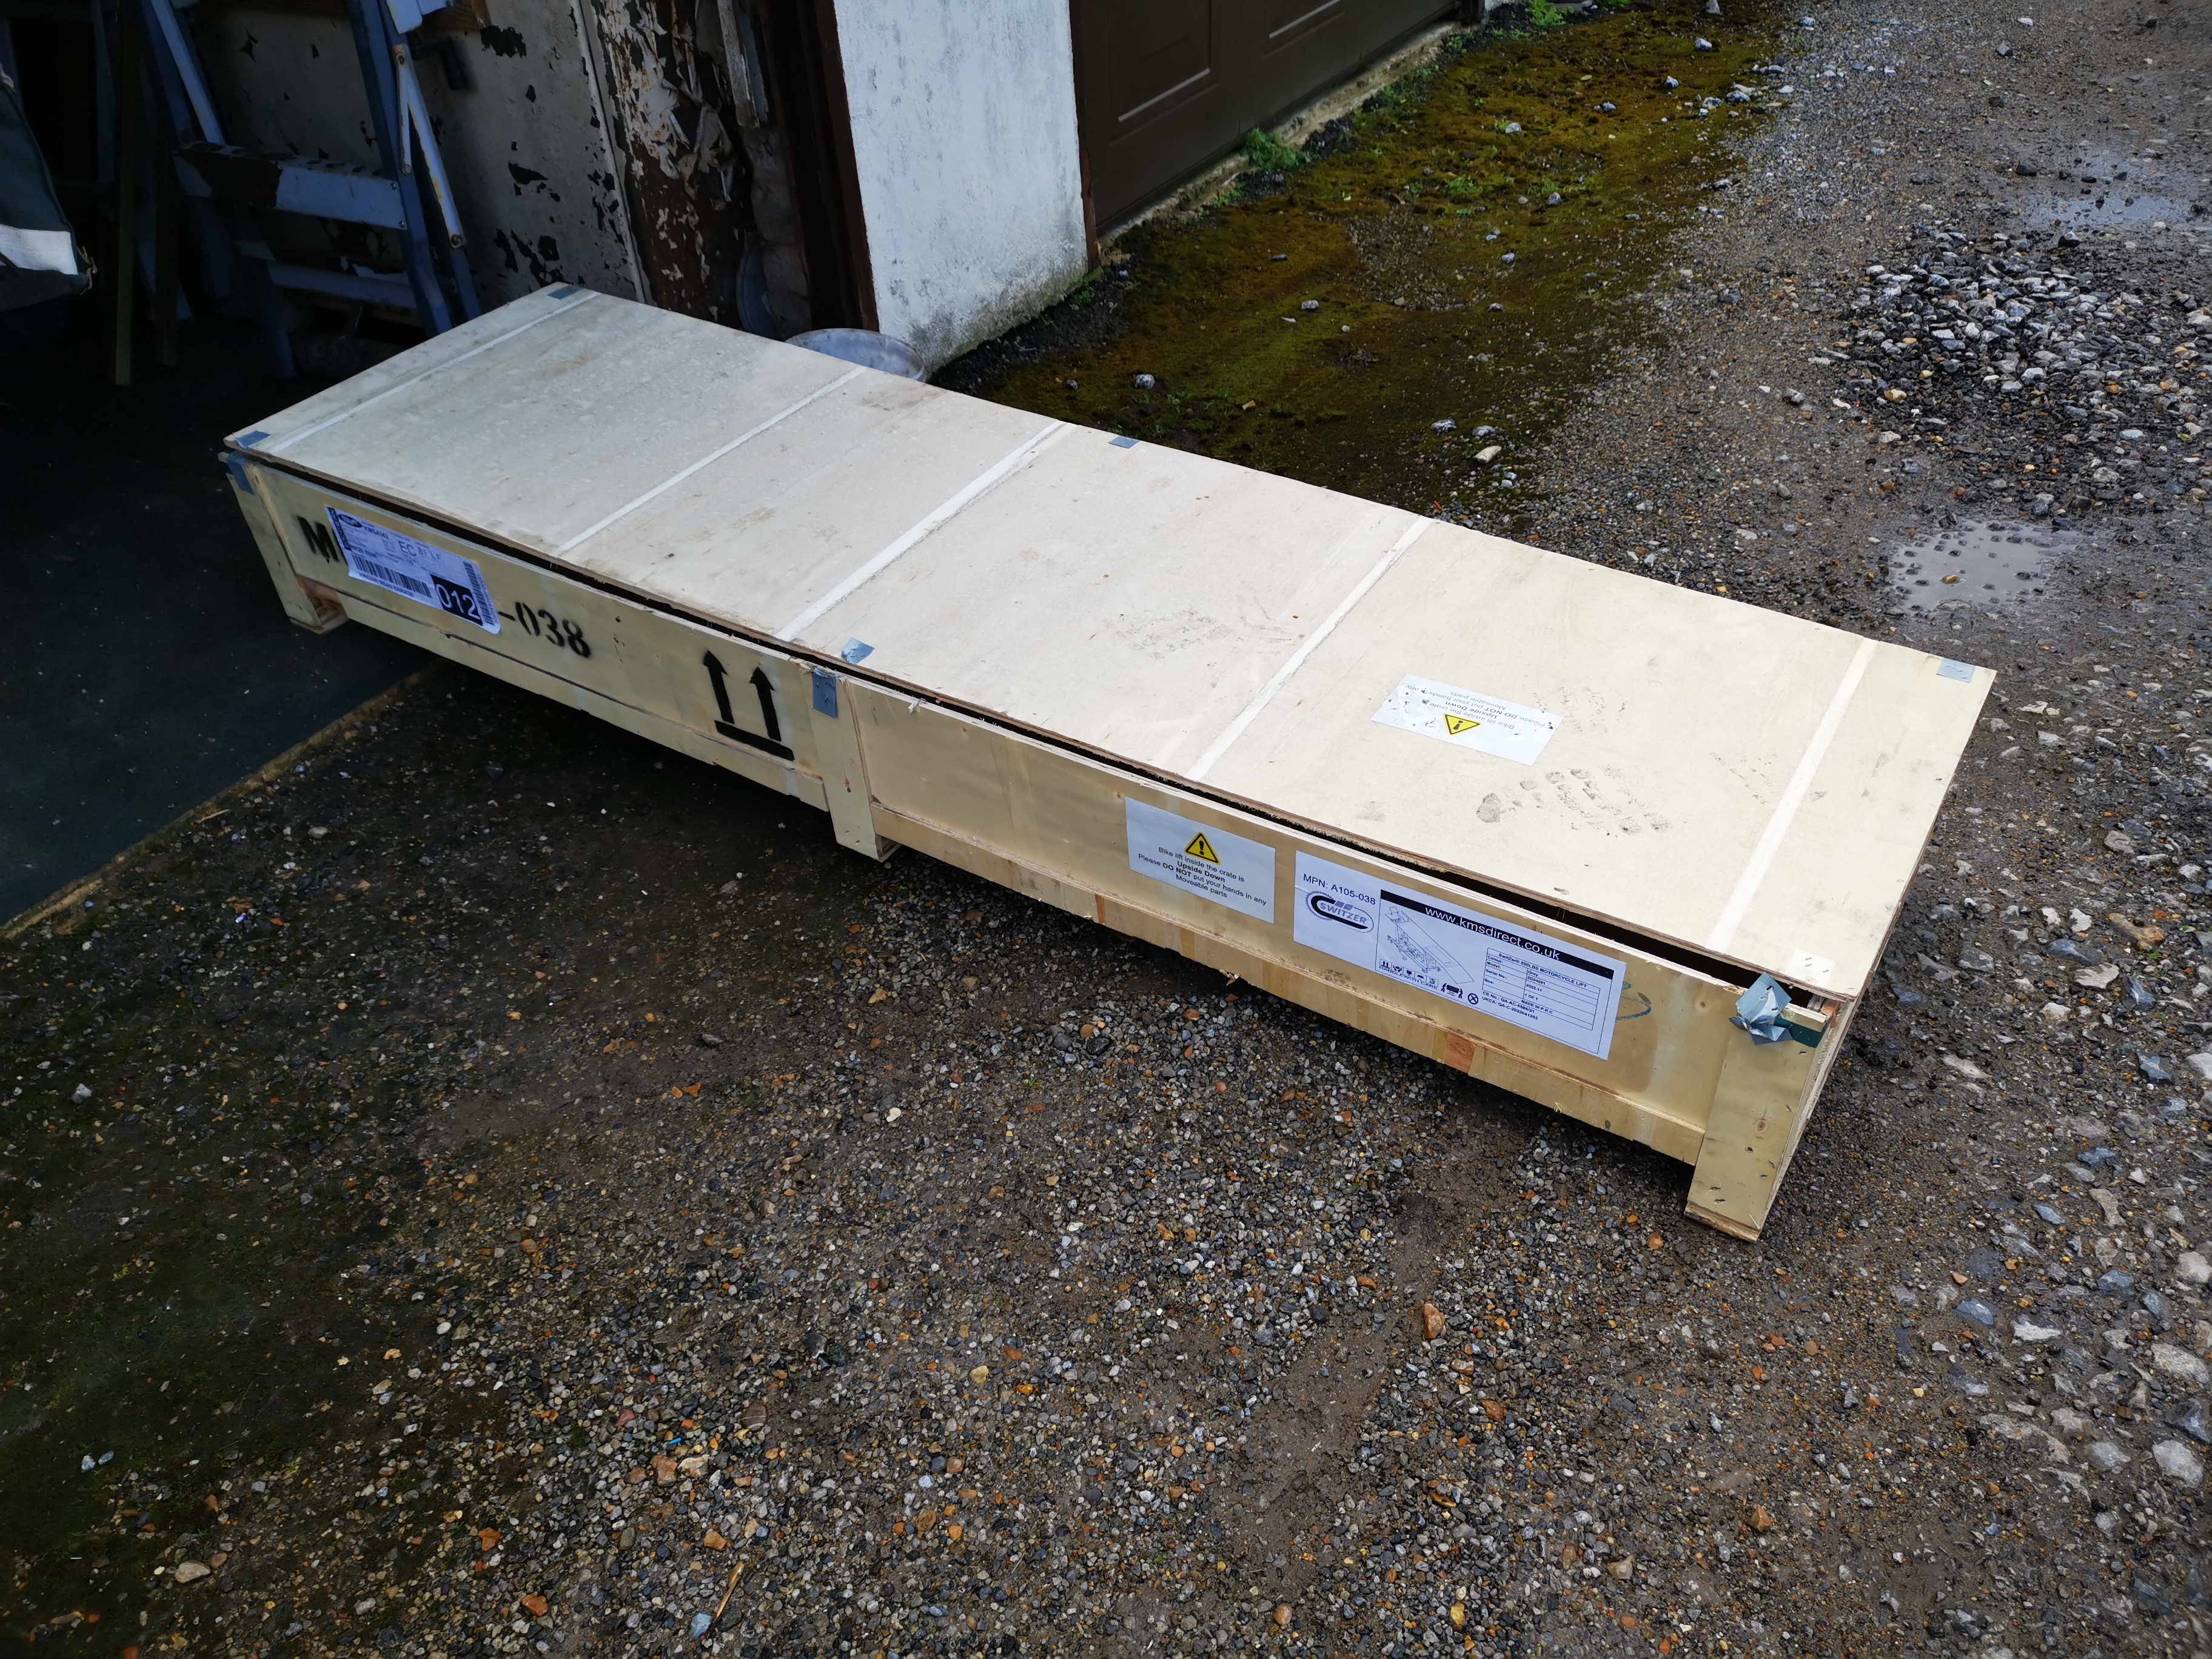


I'm really pleased with it.
Almost a year later, after the lift had been in constant use I added a new wheel clamp:

While waiting for bits for the QR50, I took the opportunity to refinish the horn for the Huntmaster. It tests OK in that it pulls a current and deflects the diaphragm, so some adjustment will have it working.
Lucas catalogues are very useful. This is catalogue 716A, section F - six pages of horns and horn pushes. The application page tells you which part number you should have:


First up was the various bits of bracket:

It’s good to clean the points in these horns, but this nut is usually very tight and it retains the diaphragm to around the moving point. I had it soaking in Plus-Gas for a few days but I couldn't shift it:


I painted it with the usual U-Pol etch primer and gloss black. I know the tone disc is supposed to be black, as is the nut, but it looks nice like this:


