Monday, 24 October 2022

W/NG - fixing oil leaks

 Blatting about at the weekend used a bit of oil, some of it coming from the top end.

I suspect some is coming down the exhaust guide, but some is coming from the rocker shaft end covers. 

I've only recently learnt how to tighten these properly, and I'd damaged one of the fibre washers.

It's all done properly now, with a special screwdriver I made. I've added a small dose of Threebond to the fibre washers as well. 

Monday, 17 October 2022

VMCC Letheringsett Run

With not much railway stuff going on and the events calendar rapidly diminishing, son Thomas and I took the opportunity to attend the Norwich & District section VMCC run to Letheringsett. We'd wanted to do another trip out together this year, and I'd wanted to do a VMCC run, so it was the perfect opportunity as it's the last run (but one) for the 2022 season.

The start was at Spooner Row, so I needed to get to Tom's and then to Spooner Row in time for a 10:30 start. 


This would have been fine, had I not done 60 miles on a partially full tank the day before, getting my hair cut.

I ran out of fuel.


We stopped just outside Wymondham, and despite pulling the reserve tap on I couldn't get the W/NG restarted. I checked the carburetter drain plug and there appeared to be fuel, so out came the tools. The points were opening, and judging by Tom's yelp there was a spark at the plug, so what could it be?


Well, turns out, having removed the float bowl top to find no fuel, the reserve tap doesn't pass liquids. Sloshing some over from the timing side had us going again, back to the nearest petrol station and onto the run.


I'd not used Tulip sheets much, and the route roller was on the SQ4, but we made it to the end with only two or three mistakes - not all of them while I was in the lead. One time, I was convinced I was lost on a lonely road; I stopped to confess to Tom that I was lost, only to find 4-5 old bikes behind him...

Still, we made it in the end, stopping at the water mill which was grinding flour and selling tea and cake.


When we were all there, there was probably 25 bikes including this 1952 SQ4 Mk1 we had followed, and been followed by, on the run:


We stopped for more food in Holt, on the way home.


Friday, 23 September 2022

FH Dry Build - Centre Stand

First published February 2022

 One of the dry build jobs that I had to deal with was the centre stand. Some years ago - 2014 actually - I had repaired the feet which were completely worn out and recorded the experience here.

I put it back on the bike once the exhausts were in place to have a look. I knew the stand would fit the frame, but it's all the other parts that it has to fit around that are the problem. Here you can see two issues - one, that the stand leg is bent - in fact they are both bent, a common problem and two, that the foot fouls the exhaust: 


With the stand off, you can see that the stops are a bit worn - maybe worth building up, maybe not.


To deal with the bent leg, I have put an old sidestand in the pivot eye, and heated the leg up - it has bent back quite easily.


Next problem - the feet. Do they look uneven?


I've got 30 mm from leg to inside the foot on one side:


And I've got 25 mm on the other! I think that's why it fouls the exhaust.

Maybe I'll have to remove that foot and extend the tube a few millimetres.

September 2022 Update

Months later, coming round to this job at last I turned the bike around in the garage to have a look at the stand foot. The first thing I realised was that the exhaust bracket in front of the engine was not touching the frame; the second was that the silencer was considerably further outboard than the other. The footrest was not fully home on it's spline! I took this picture with the footrest off:

Hey presto, no fouling problem!

Wednesday, 14 September 2022

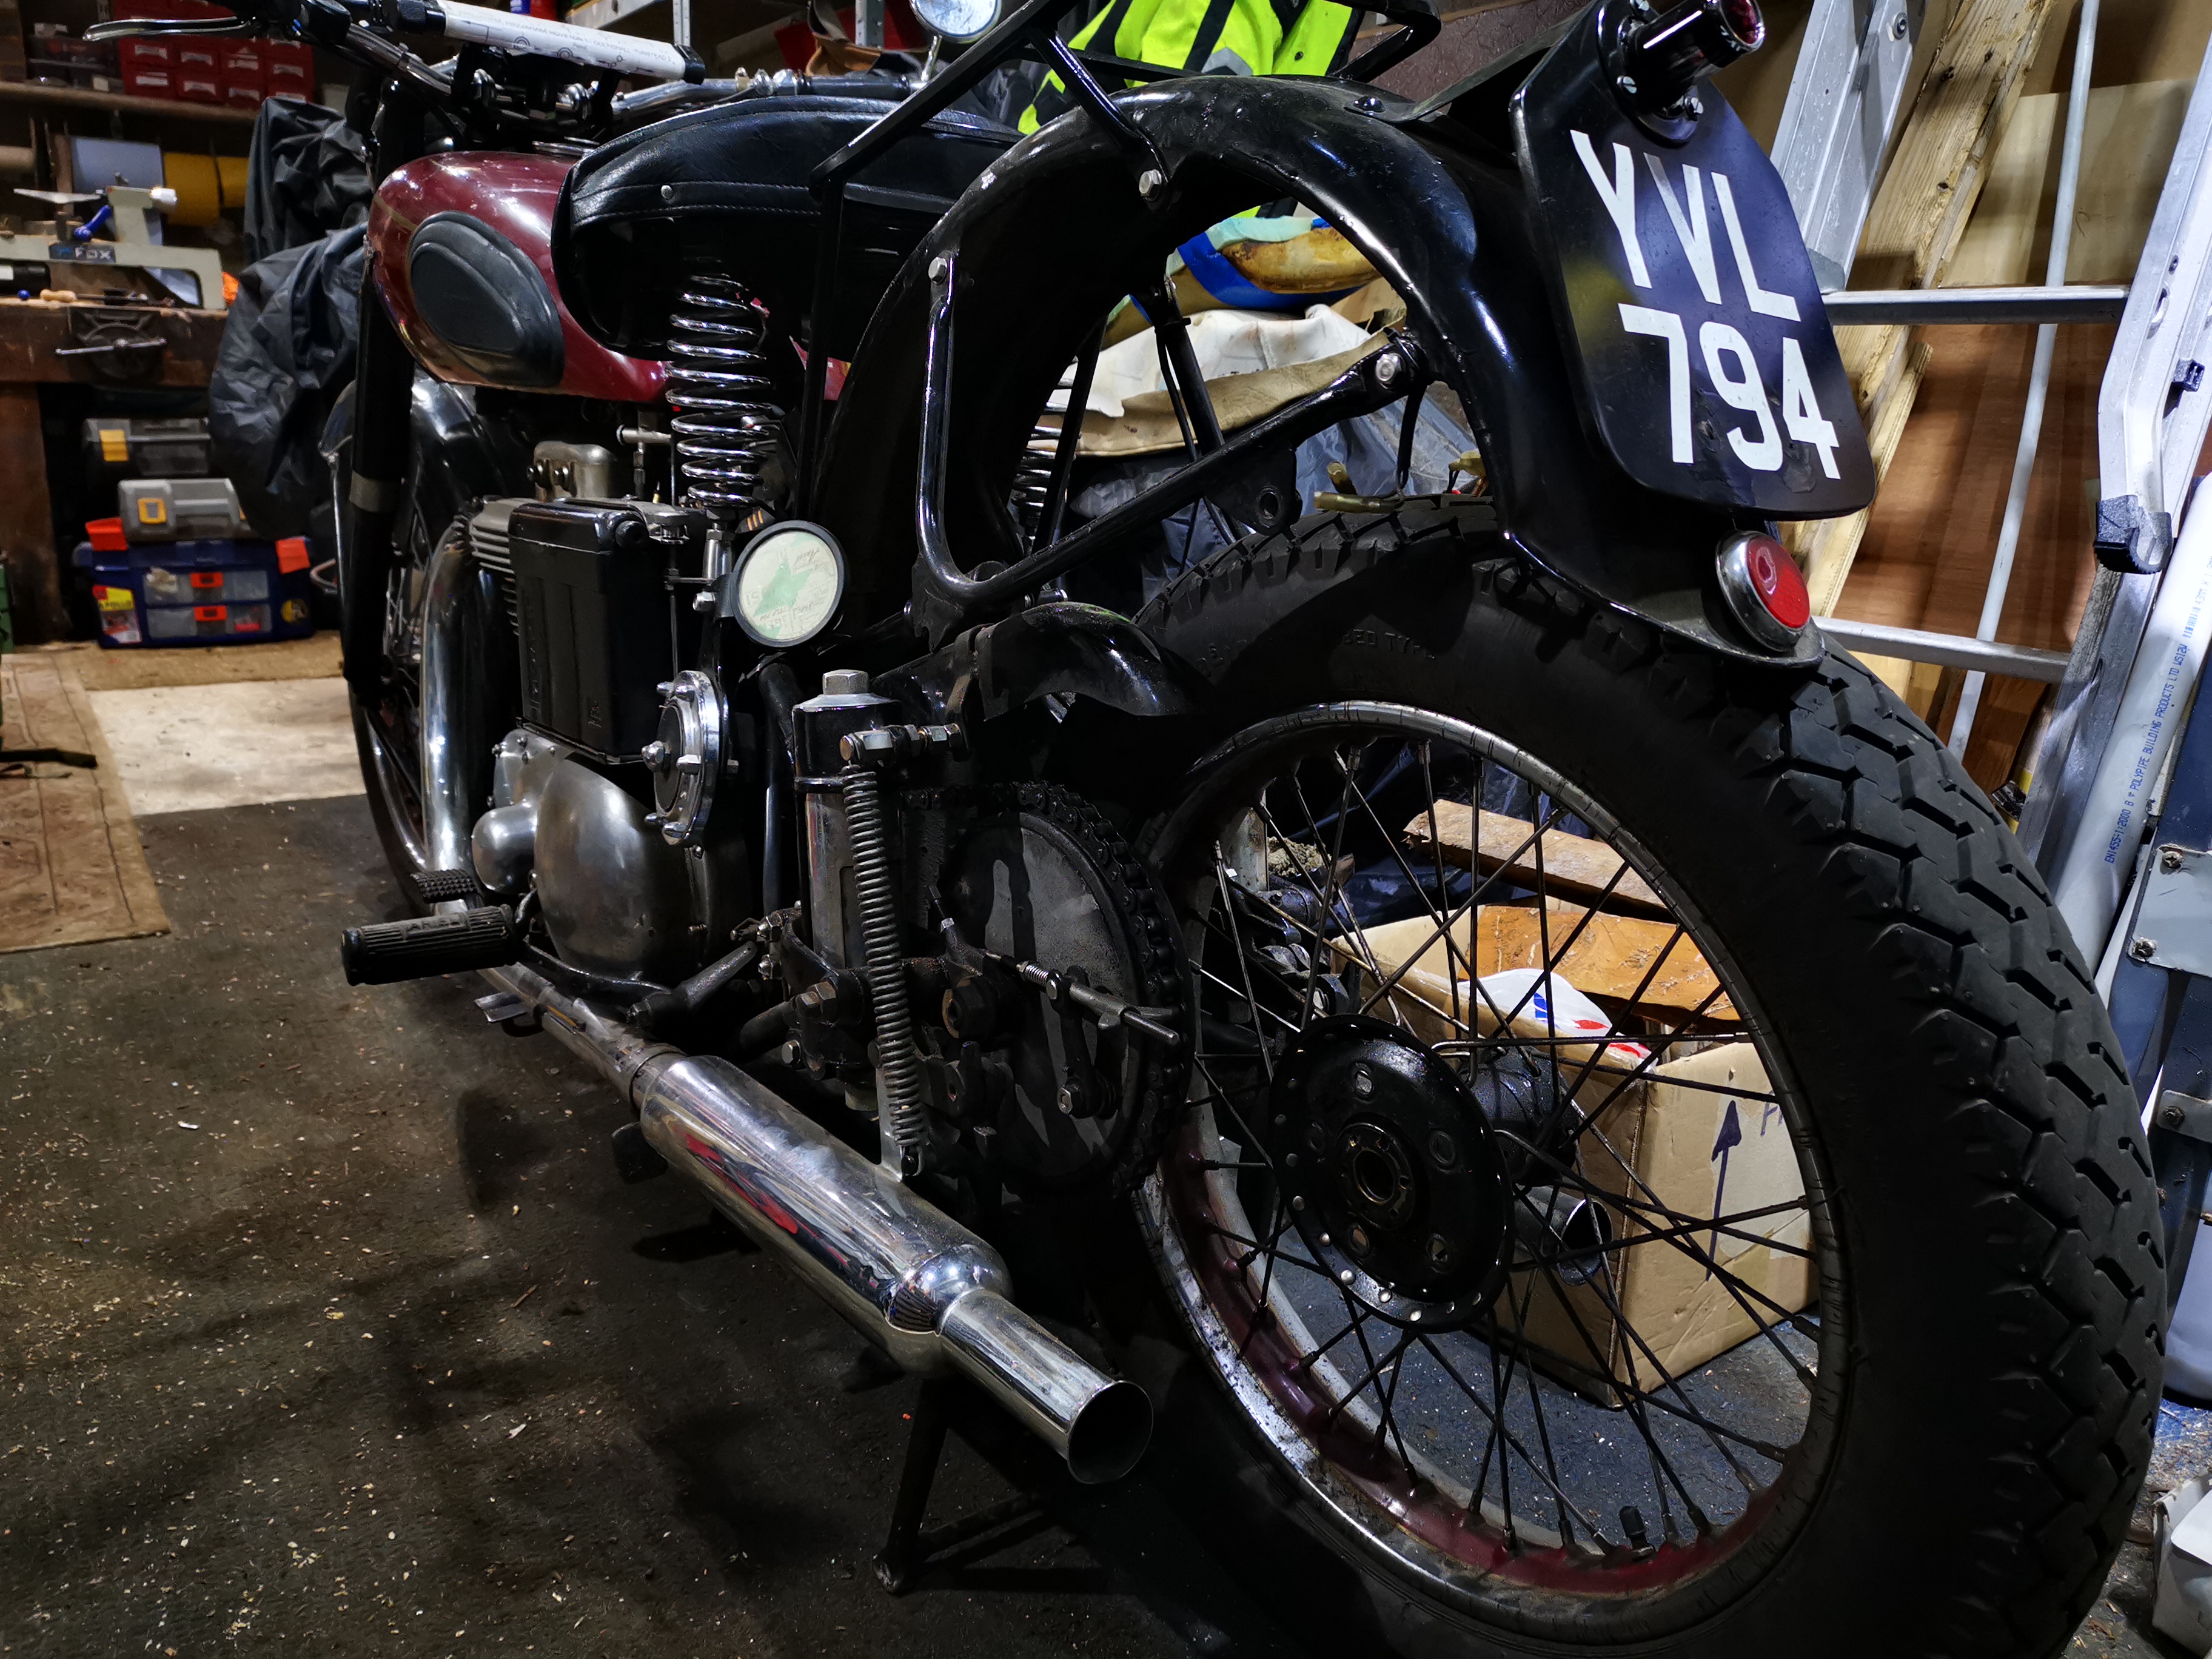
W/NG - Number Plate and Rear Lamp

 For a while I've felt that I wanted to impart a more traditional English look to the back of the W/NG, which for years has worn its Italian number plate and lamp:


I chose the 5647-35 number plate which I found on eBay. It's designed for the flat 'D' mudguard with no rib, so I have cut a notch in it for the rib.


It's got a replica MT110, which would have been a standard fit for civilian machines in-period:

Sunday, 4 September 2022

Charlie's Shed - repairing hexagons

Some while back I made a set of new chain adjusters for the Model A - the post is here. It took a while and wasn't particularly tidy - I made the screws on the lathe, built the heads up with weld and milled the small hexagons. 

This post is about fixing a similar issue. 

I was adjusting the rear chain on the W/NG one day, puzzling for the umpteenth time about the hex size which didn't fit anything other than an 8 mm spanner, when I realised the hex heads had been filed to suit  spanners that would have been available in Italy where the bike had spent most of it's life.

I resolved to fix them, and came up with a better way of doing it than the last time. Here's the problem:

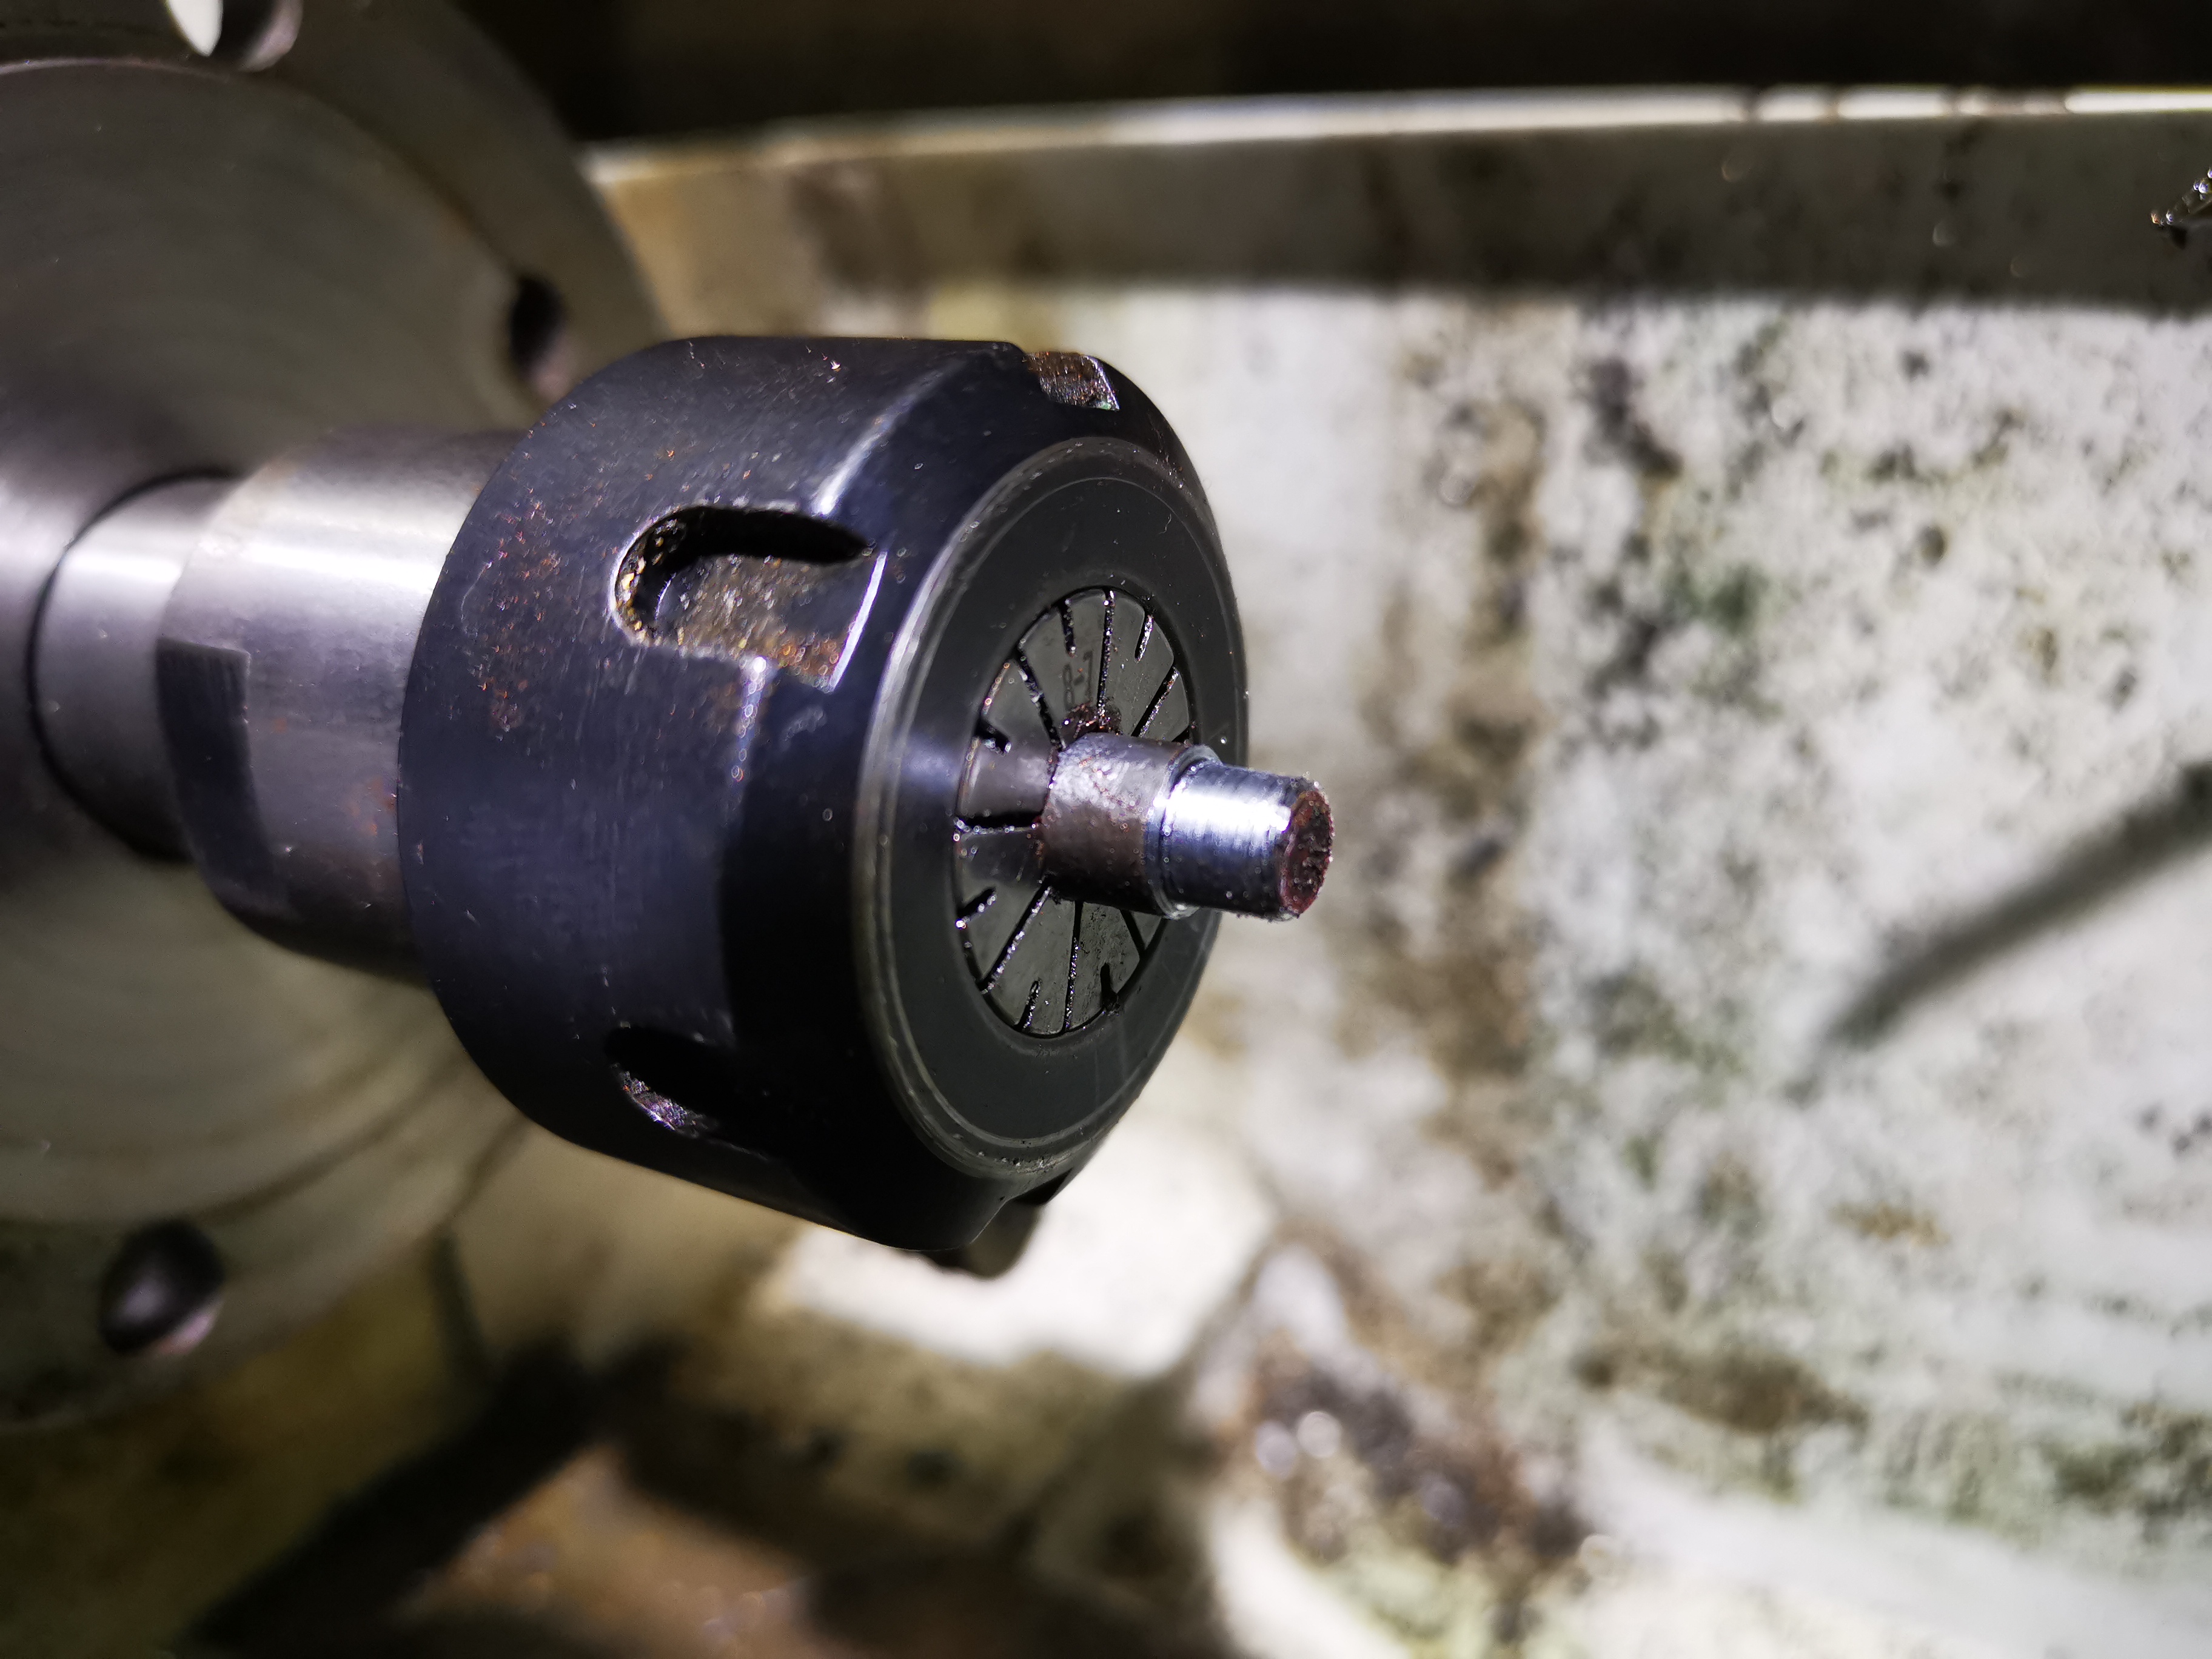
I took the adjusters off and removed the paint so that I could hold them in a 8 mm collet.


I turned off the remains of the hexagon, leaving a diameter of 1/4":


I put a 1/4" BSF thread on the end, to suit some reduced hex nuts I found on eBay:


I added an undercut, so the nut, chamfered on one side only, would snug down to a square shoulder:


I brazed the nuts in place, not wishing to risk damaging the small hex with weld:


I cleaned them up on the wire wheel, and they look as though they have been there for years:


That took about an hour, with a much simpler set up than last time.

The only difficulty I found was obtaining nuts with that size hex - I can't find bar stock in that size - the smallest I can get is 0.445", which is for 1/4" BSF or CEI, or 3/16" BSW. It occurred to me that a simple way to machine a small hexagon bar to make nuts in the future would be to start with a larger one (could be metric or anything), hold it in a milling vice and reduce it with an end mill, using the larger hexagon to orient each face while I machined it smaller.

Thursday, 1 September 2022

W/NG - fixing the dribbling

 Over the past couple of weeks, I've noticed the W/NG float bowl has been overflowing - but only before I start the engine. When it's running, the leak stops - presumably the needle seats a bit better with the movement, or perhaps the engine uses what little fuel is leaking. This probably contributed to the starting problems my son was having a few weeks back.

Anyhow, I resolved to sort this out, initially by having a look and cleaning any debris from the bowl or from the fuel pipe, but this had no effect. The bike has a new fuel filter so there wasn't much in there anyway.

At the suggestion of a couple of guys in the AOMCC, I lapped the needle into it's seat usng Brasso. I dropped a slug of Brasso down the fuel connection:


Followed by the needle, which looked like new:

I held the needle in the chuck of my pillar drill and ran it for a few seconds, allowing the weight of the float bowl to hang on the needle.

The needle now has a thin, continuous ring around it, showing where the Brasso has worn the seat a little. It now seals perfectly, and reseats when I operate the tickler.

Sunday, 7 August 2022

W/NG - a bit of routine maintenance

I spent a bit of the afternoon doing some routine maintenance on the W/NG, using the excellent on board tool kit:

I was surprised to find the tappets had a bit of movement in them, though it was tea time before I could attend to them.

The clutch was a bit oily, but only in the cover, reflecting the fact that the chaincase was over-full. The pressure plate lifts level though, and the new plates have settled into the basket nicely. There is about an inch of oil in the chain case

All the chains tensions are good, including the magneto chain: 


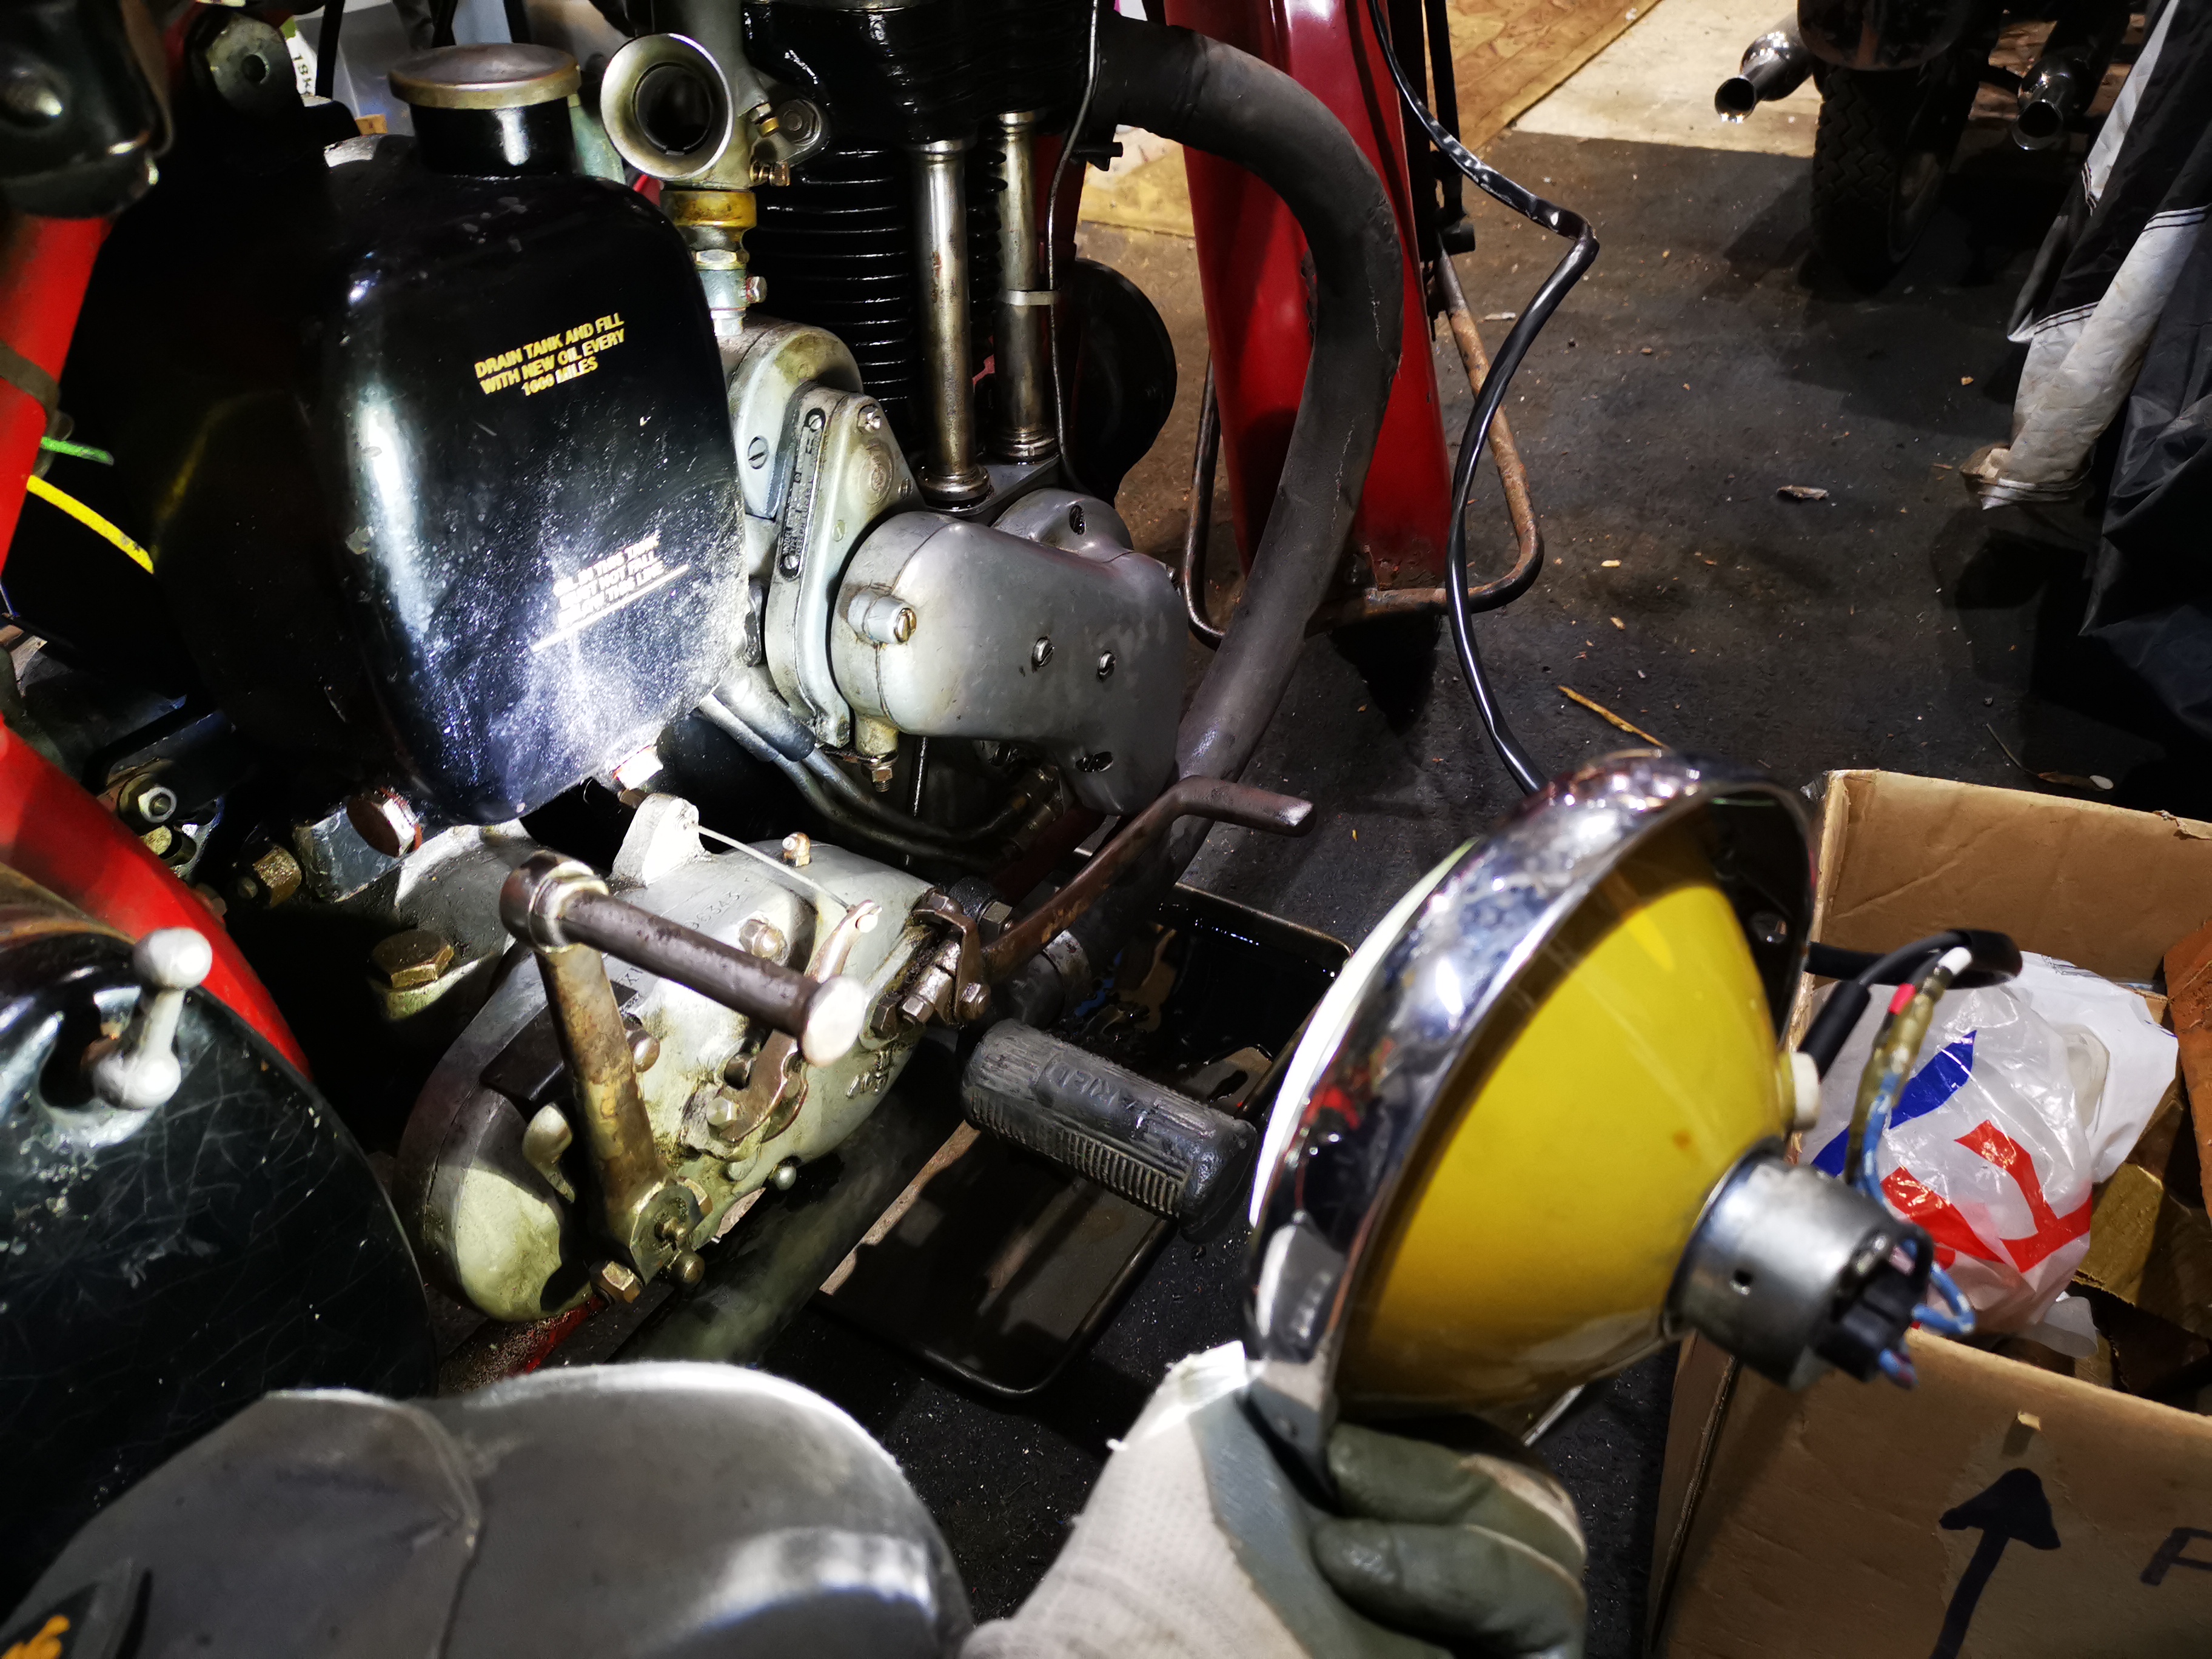
I put a cup full of oil, and many pumps of the grease gun in the gearbox. The lead light is very useful:


Oh, and I fixed the horn by squashing the adjuster lock nut slightly. It has an odd thread, 0.209" x 36 tpi which I found by luck on eBay - it's a bicycle tyre valve core thread!

Sunday, 24 July 2022

July Run Out

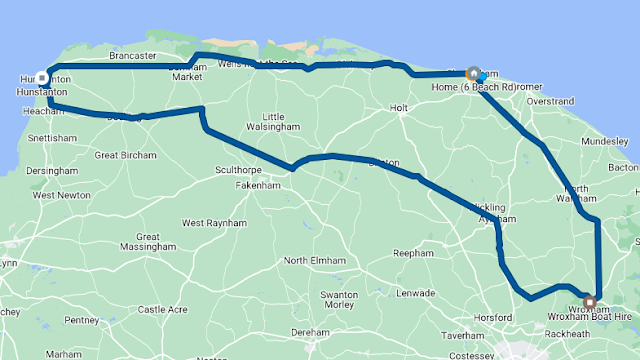
 Son Thomas and I had planned to do the VMCC Round Norfolk Run back in June this year, only to be discouraged by torrential rain - the run went ahead, but the ride down to the start point at Seething would have seen both of us soaked to the skin before we had even started. - So, we decided on a run to sunny Hunstanton instead!

We took the W/NG and the SQ4 on a 100 mile run around Norfolk - by the end of the day both bikes had done 145 miles from different starting points.


The SQ4 performed perfectly on it's new tyres, with scarcely a drop of oil lost and returned 50 mpg. The W/NG on the other hand was a bit tricky to hot start a few times (I've forgotten the technique), shed a lot of oil over the back tyre (over full chain case) and the horn fell off, which was easily fixed with some spare bolts from the panniers. We filled it up, to find it was doing about 100 mpg!


We had a great time, and we will do it again soon.

Tuesday, 5 July 2022

SQ4 - New tyres

One of the things I have always admired about these old machines is the ease with which you can remove the wheels. OK, so I do have a QD rear wheel on the SQ4 and the W/NG is a little more difficult but at least I have two stands and can remove both wheels at the same time! Try doing that on a modern bike.


Something that is less impressive is the front brake cable adjuster, which doesn't fit any of the toolkit spanners - it appears to be 2 BA across the flats, but it is a pattern part so perhaps that is the reason. I have a 2 BA spanner in the toolkit especially for it.


The front stand is very useful, though you have to lift most of the engine weight to use it. The trick is to make sure it is slack enough to swing down, and then tighten it up again.


The reason for all this was that the Avon Speedmaster & SM MkII tyres are now 9 years old and it's time to replace them. I've bought a set of Avon Roadrider MkIIs, just like I put on the CX500 back in 2019.

I might tackle that damaged paint on the brake drum before they go back on. But then again, I could just as easily do that when it was on the bike and get riding it again!

For the record, I am running these at 28 psi and 36 psi, at least for the moment.

Friday, 3 June 2022

SQ4 - Oil Leak from the Rocker Feed

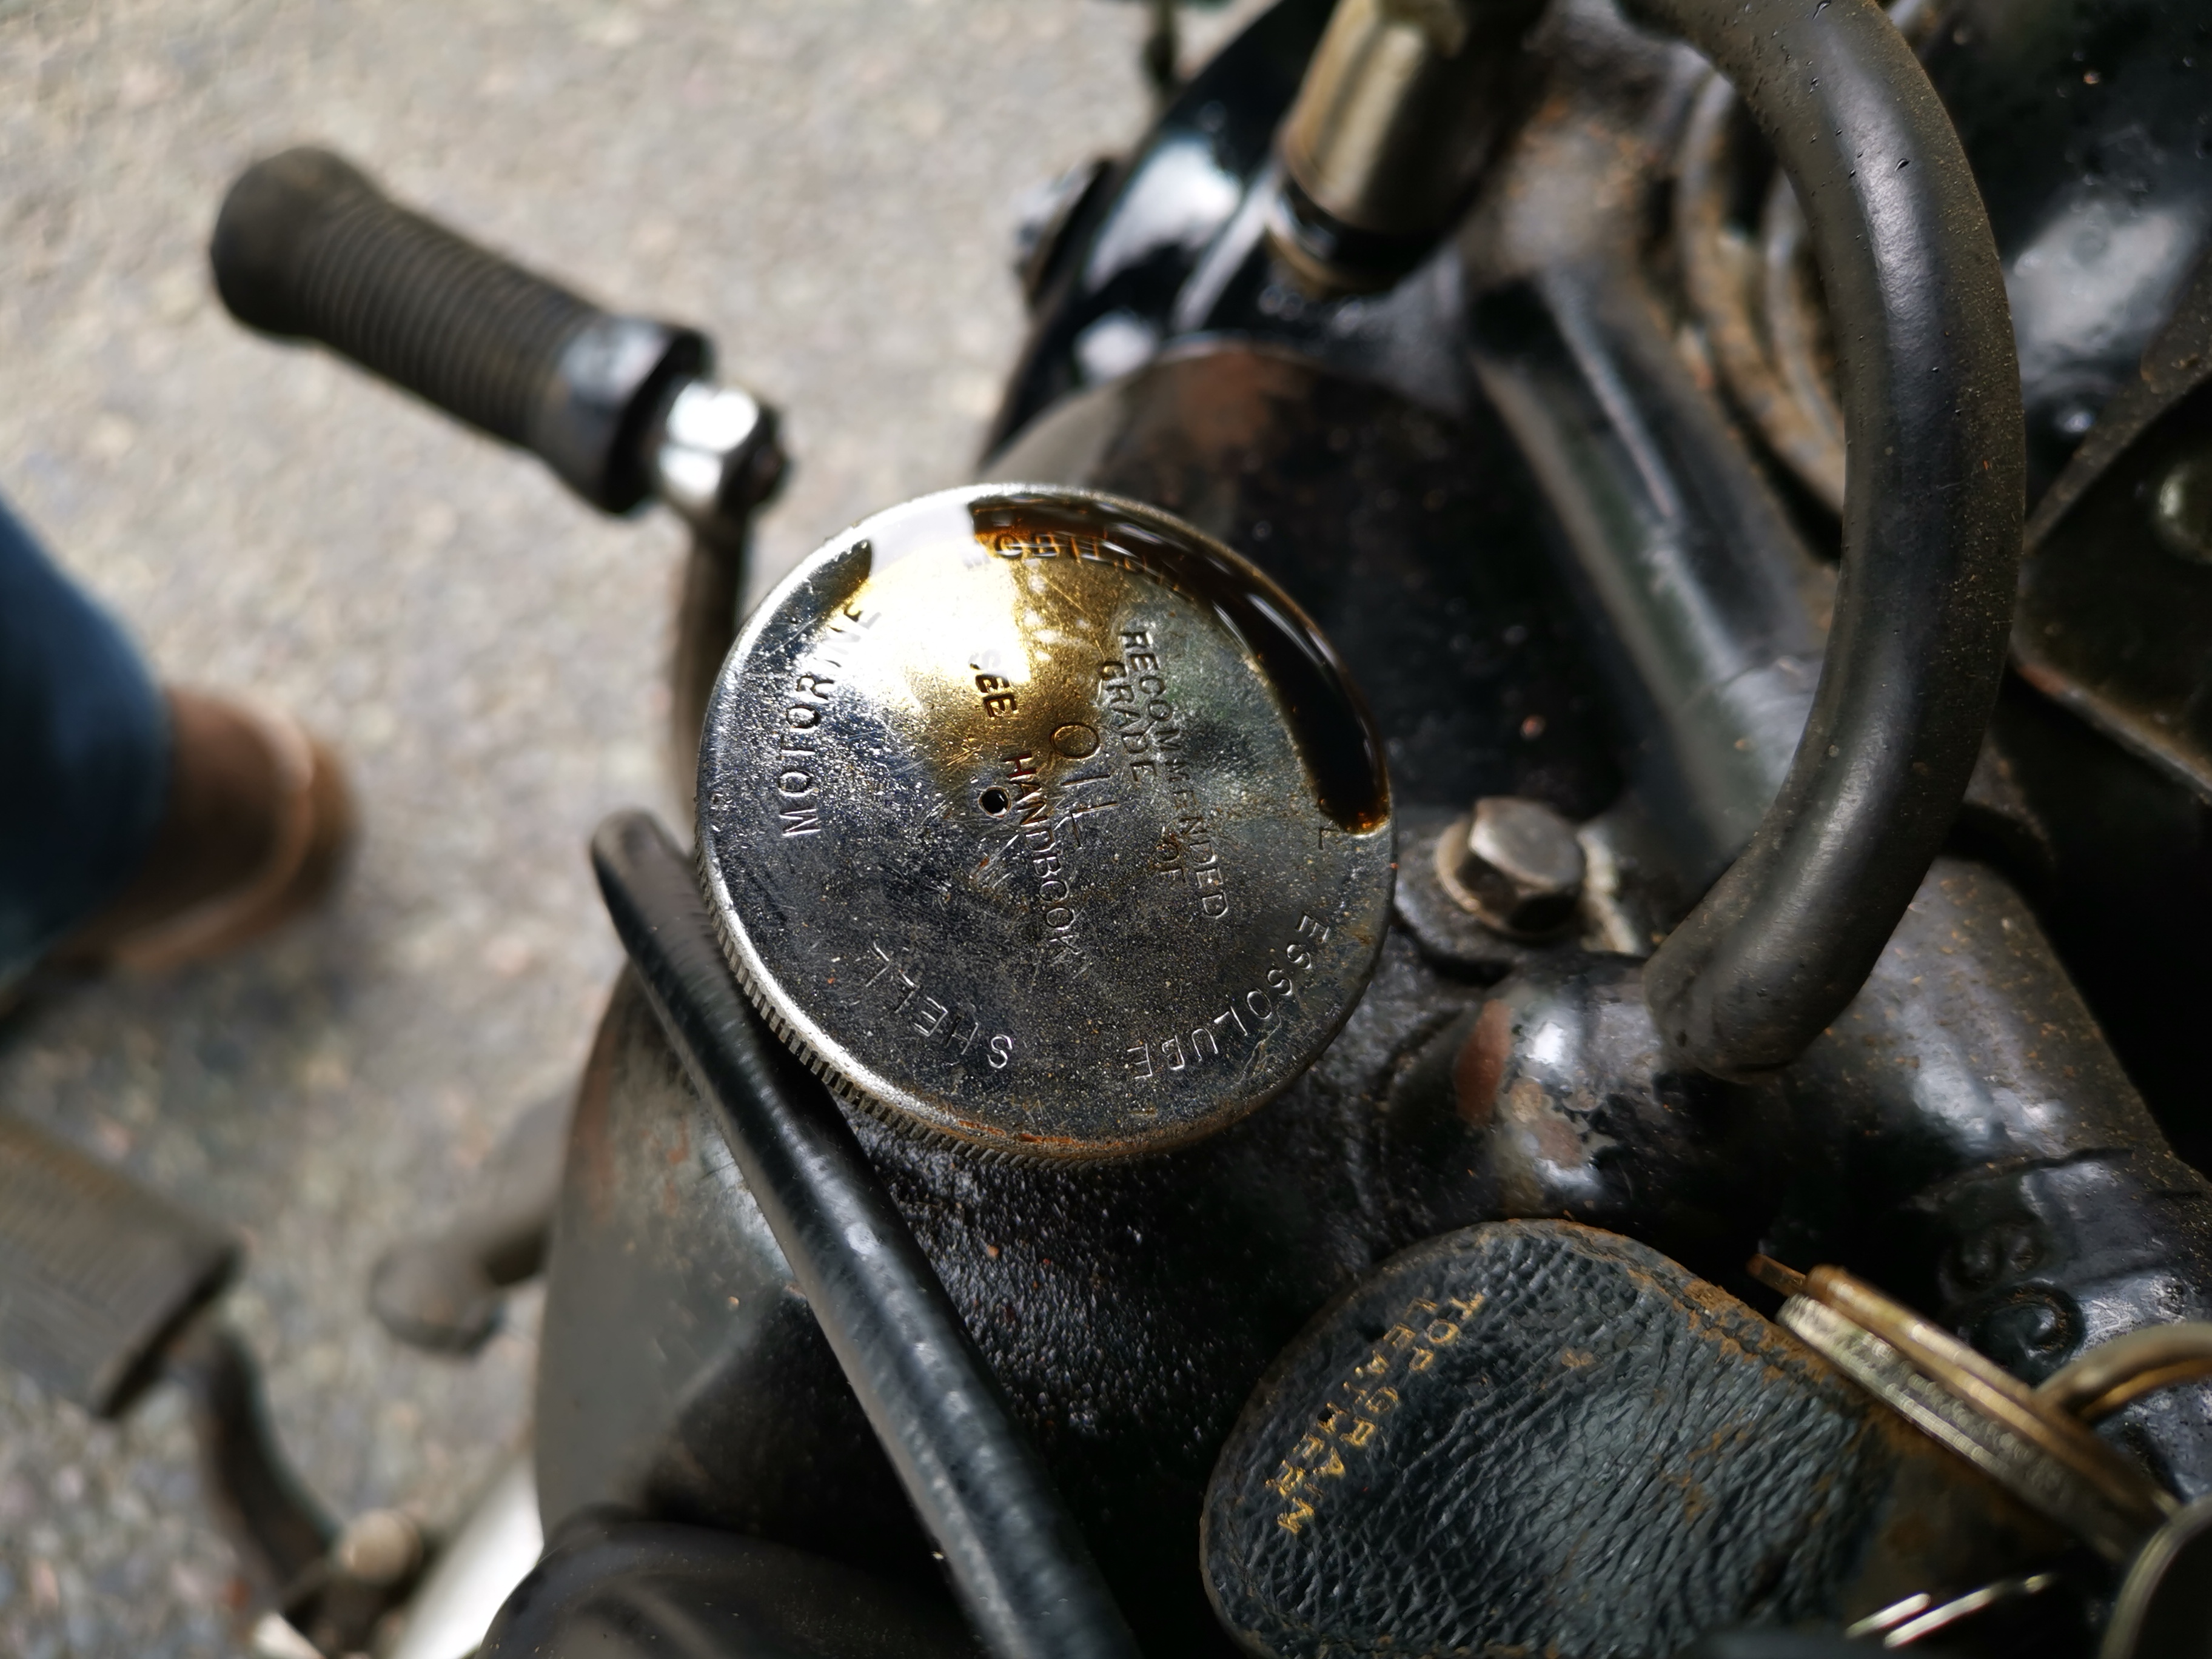
 This may be a seminal moment in the history of my SQ4. For years it's had an oil leak which I have always assumed to be poorly sealed pushrod tunnels at the head joint. However, having addressed a problem with a leak from the oil tank cap, something else which it has always done, I resolved to look at the drip from the rocker feed pipe. 

The oil tank cap has always had a weep from the breather:


Which translates to a wet leg on a long, fast run:

Looking at that first picture, I got to wondering why the cap has a vent hole when the tank has a piped breather that I have taken past the rear wheel. Surely the cap should be sealed?

It turns out that Square Fours don't use the same cap as other Ariels. I noticed that the 1951 SQ4 parts list has a -32 number for the cap - most bikes (other than Square Fours) I've seen use a -29 number. Maybe 5854-32 has no breather hole.

A blob of solder will sort it.

Onto the rocker feed. I ran the engine cold (75 psi on the gauge) and as the oil warmed up the leak appeared:

Now, my bad - I forgot to take a camera to the workshop when I fixed it. It turned out the tube was not pushed into the fitting at all - it was just held in place with a fillet of solder at one end, and had been like that for years - probably eight years. It's been leaking for most of that.

All fixed now.

Wednesday, 11 May 2022

Charlie's Shed - adapting threads

The FH kit came with a lot of original Ariel cables, most of which were pretty rusty but which still had their original adjusters and nipples. The cable layout changed with the advent of the swinging arm bikes, in that the mid-length and gearbox end adjusters moved up to the handlebars for the front brake and clutch. The thing is, most of the handlebars out there use the later 5/16" BSF adjusters, but Ariel used the earlier 1/4" adjusters to the end. Guess what? Levers with 1/4" adjusters are like hen's teeth!

So what to do? after looking at eBay for ages, and noting that Draganfly are out of stock I decided to modify what I had by sleeving the existing 5/16" thread. The issue is that putting a 1/4" thread inside a 5/16" thread leaves very little wall thickness, so the part would be weak. Here's how I set about it:


First job is to turn a bit of scrap brass to the correct OD - 5/16", and put a thread on it - these are BSF threads in these levers, by the way - so it's 5/16" x 22 tpi. Next, we can drill a hole, tapping size for 1/4" BSF, but we won't tap it yet. Next we can try it out in the lever perch and if all is well retain it with some Loctite 263 high strength thread locker:


Next job it to file the ends flush, and tap the hole. Currently I don't have a tap long enough to go all the way through, but it's long enough for the adjuster. Cut the cable slot with a hack saw and a needle file:


Job done!


Tuesday, 10 May 2022

FH Dry Build - Speedometer Bracket

Today's little bit of progress is this - a speedometer bracket folded up from a scrap of flat bar. 


Monday, 9 May 2022

FH Dry Build - Carburetter

 Some while back, actually in this post, I outlined the trial fit of the carburetter and the fact that the shiny new bell mouth didn't fit very well - as you see here:

Having checked the threads for damage I concluded that the undercut on the carburetter body wasn't deep enough, and/or that the last thread was not cut fully to depth since the new bell mouth did not want to screw fully on. 

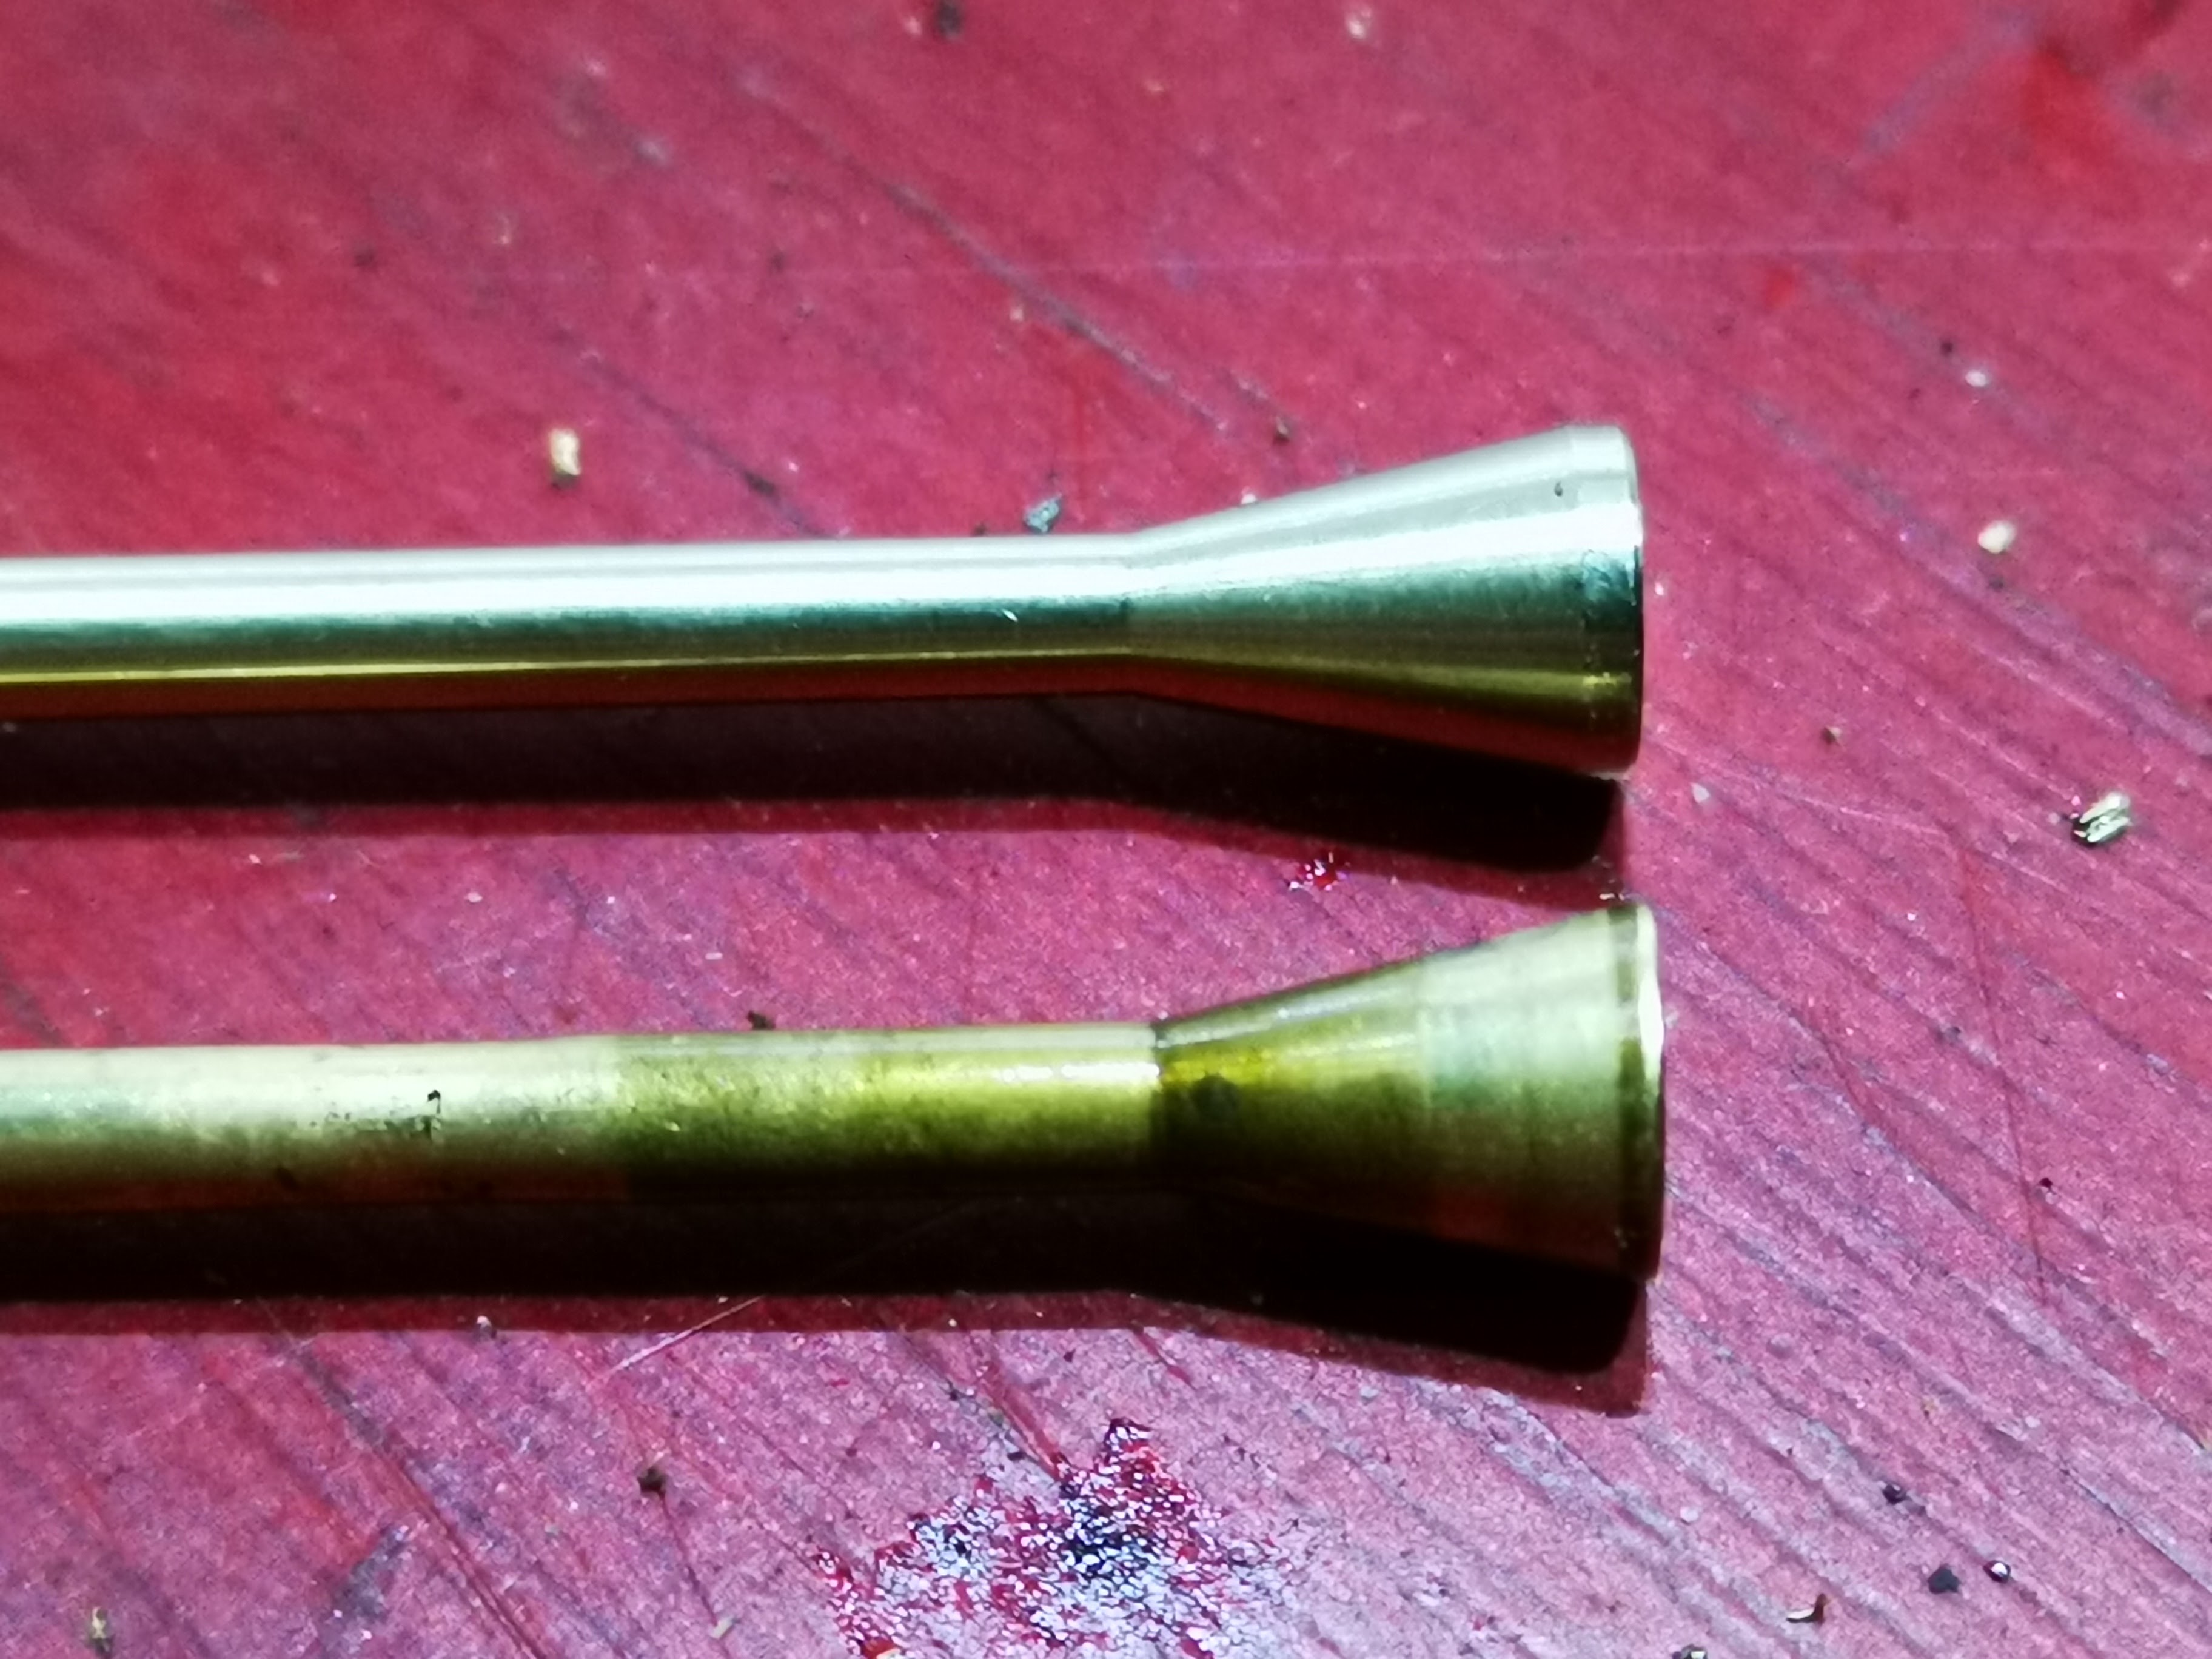
I noticed that the horrible plastic one had a short length where the thread was relieved, and not wishing to set the carburetter up on a face plate and recut both the thread and the undercut, I put the bell mouth in the three jaw chuck very lightly to avoid distorting it:


I relieved the thread with some very light cuts for a few millimetres - the bell mouth fits perfectly now:

Sunday, 24 April 2022

SQ4 Luggage Carrier

 The Four has never had a luggage carrier - they are pretty unusual for that period in Ariel history if surviving examples are anything to go by. Tom and I have a notion to do the VMCC Round Norfolk run this year, and I had realised that I really needed something better than 1958 Pattern Webbing 'Large Packs' suspended from the rear mudguard.

So, we start with the carrier - the ladder part is available from AOMCC Singles Spares:


It’s very nice indeed - 18 swg cold rolled sheet. Loosely laid on the lifting handle, which is not fitted when the carrier is used we can see how it’s going to look:


The members of the ladder frame are about 1/2" wide, so we will use 1/2" tubing for the stays.


The rear stays are swaged to one side - I have arranged two heavy rolled steel angles in the vice with the tube clamped against them, and I squash the tube between this and one side of my swaging die, as shown below:


The test piece comes out reasonably well:


The front stays are swaged both sides, so I need two shaped swaging dies:


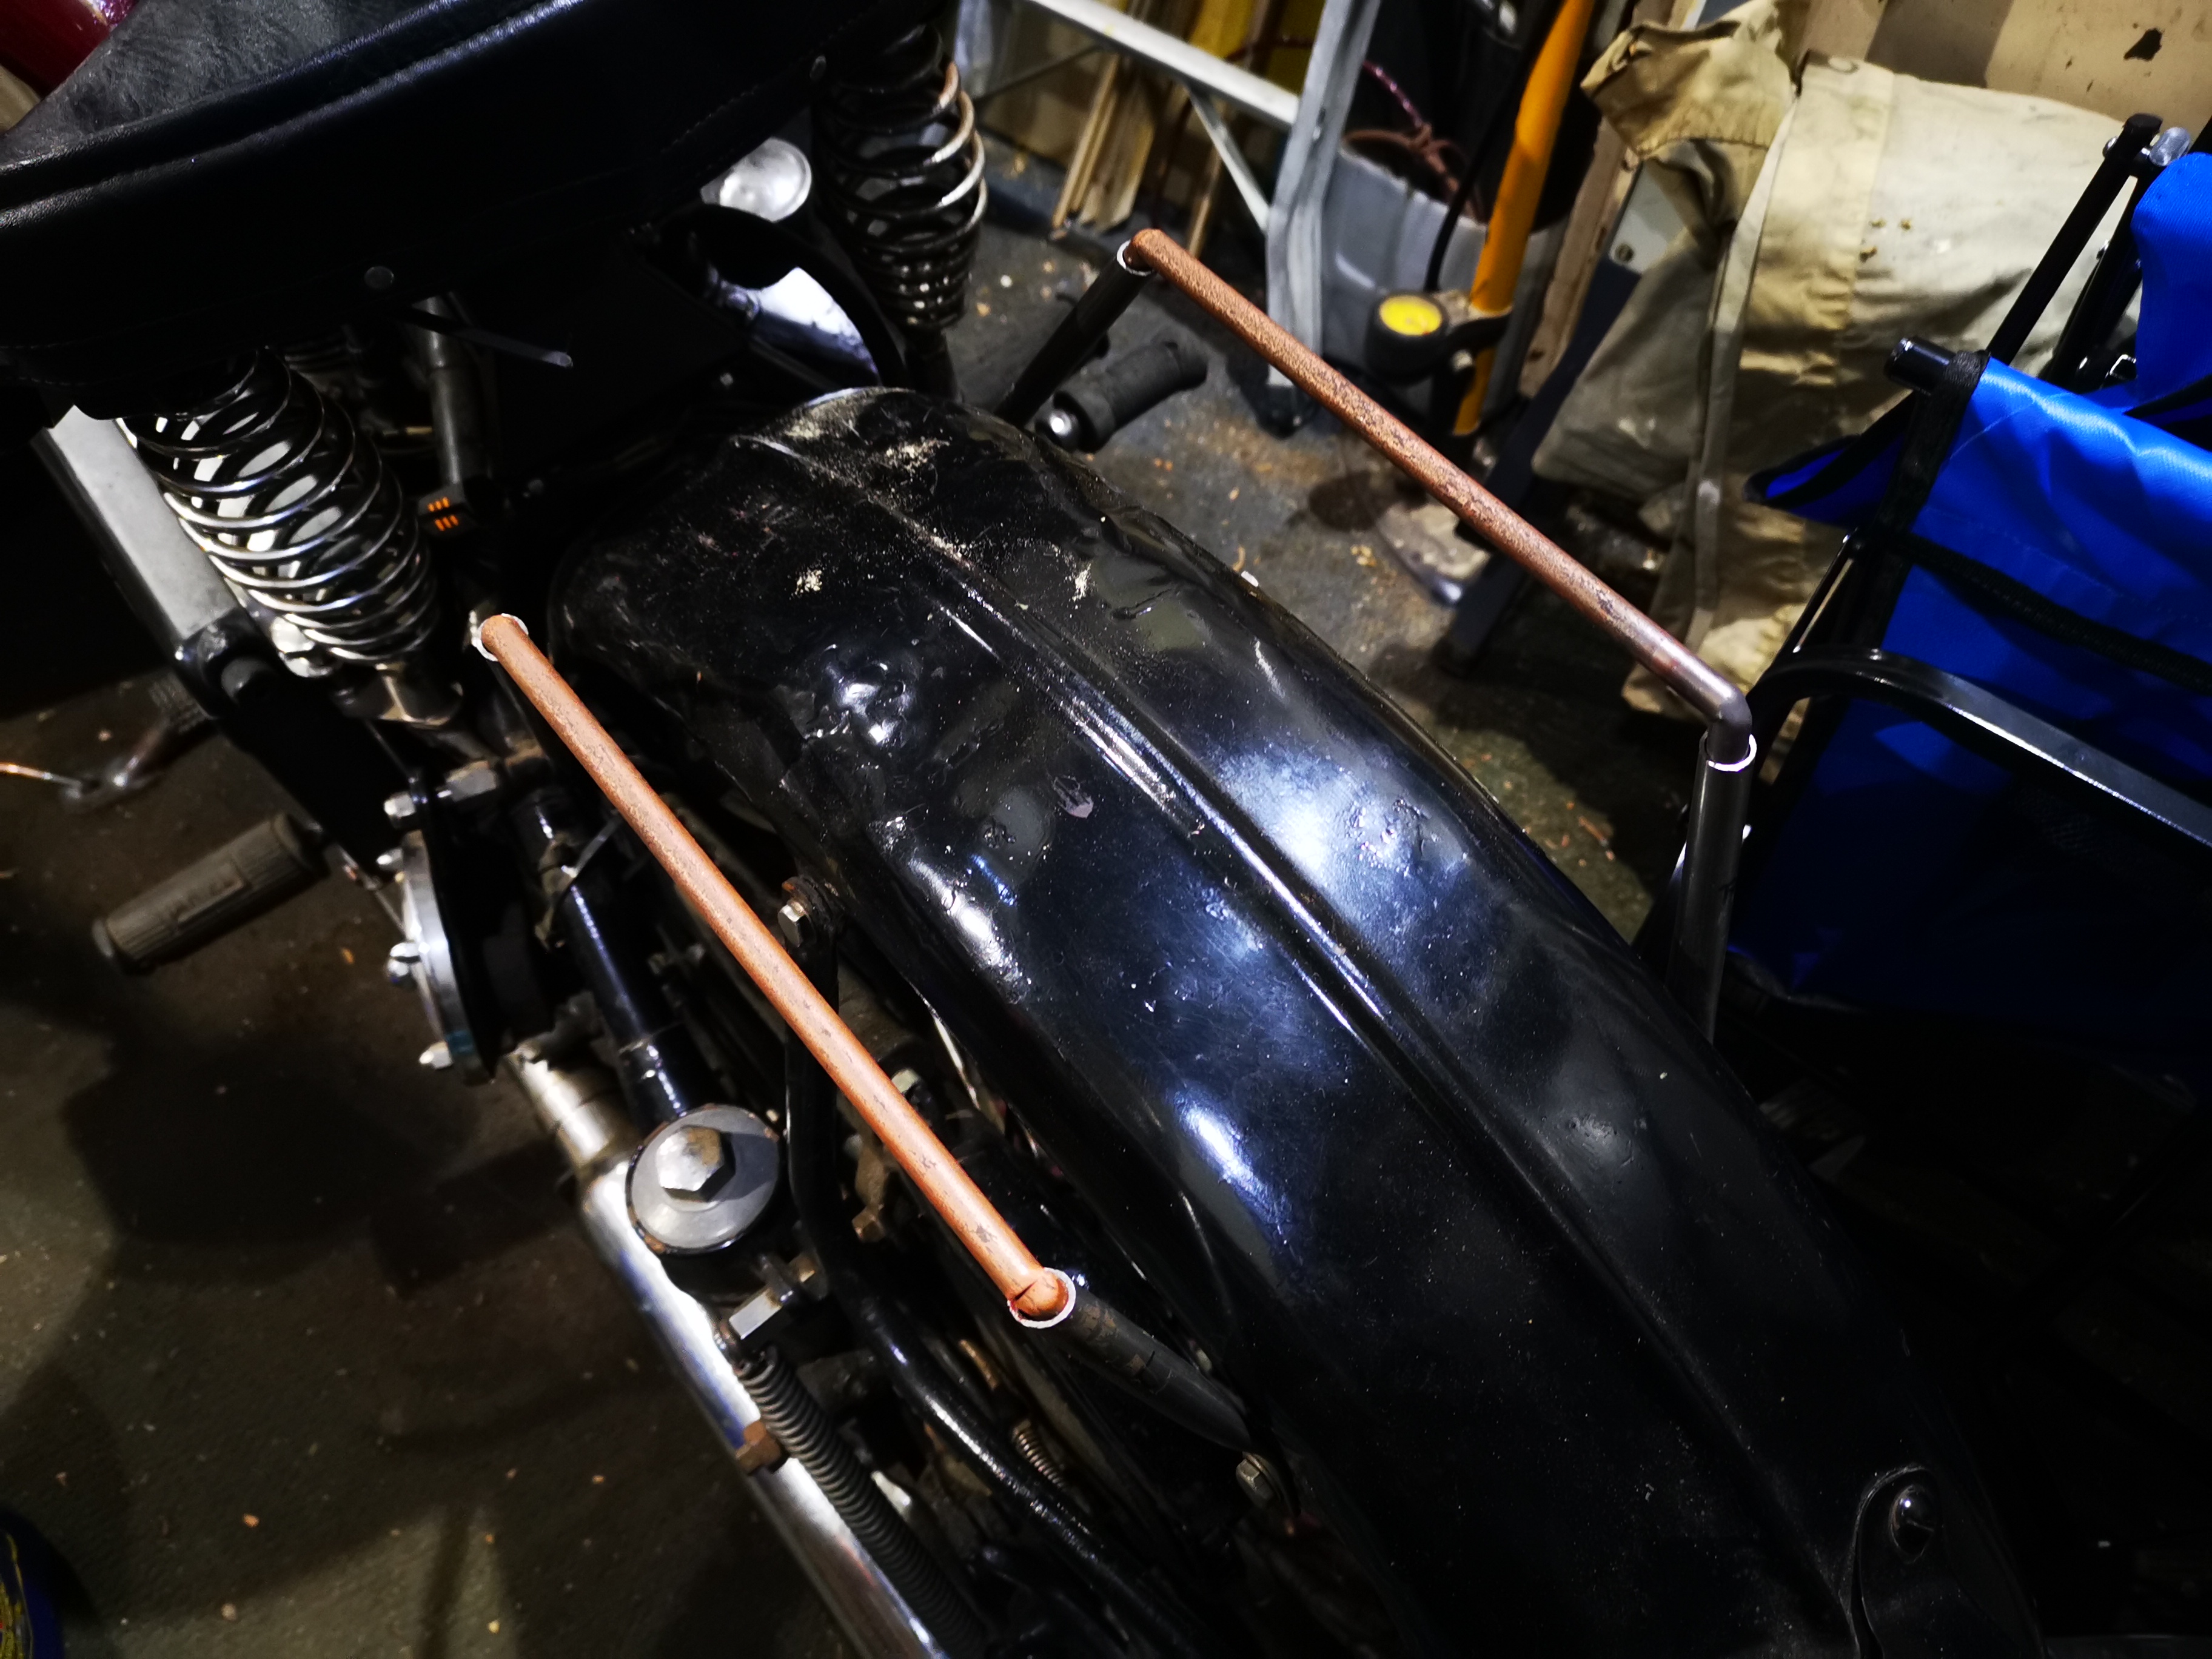
The first attempt at rear stays is a bit long, leading to the carrier sitting too high:


I believe this is Markus Nikot's KH, with original carrier. See how low it is compared to the rib in the mudguard?


Shortening the stays has mine in a similar position:


Now, it doesn't appear that the ladder provides the strength the carrier needs to replace the lifting handle, or to carry much of a load without failing through fatigue so we will connect the front and rear stays with a solid 3/8" bar. The bends in these are made with a mitre cut 2/3 of the way through the bar and welded up again:


The original luggage carrier on my Model A has the rearmost member, the one you want to grip to pull the bike onto the rear stand, rolled into a tubular shape around a solid bar - which makes it much nicer to hold. I've replicated the arrangement with a piece of 3/8" folded into the rear-most rung of the ladder:


Here it is, swaged in:


Next step is to weld the bars into the stays while they are in position on the bike. These are just tacks, and the welds were completed off the bike:


The carrier is coming on nicely and looks the part. Having got this far, I could investigate how the carrier interrupted the raising of the mudguard; in fact, the guard hits the wheel at the bottom long before the carrier hits the seat, so you have to remove the wheel to find out if it really still works.


Here's the round lifting bar welded in at each end:


The next step is to attach the ladder to the side bars. I want to preserve the shape of the pressing, so I have decided to plug weld the ladder to the bars from above. I've realised that the secret to good plug welding is to drill a big enough hole such that the arc strikes the bar underneath, and not the edge of the hole - then you can back fill the hole completing the weld in a controlled fashion. These holes are 8 mm:


I tacked through these holes to fix the whole carrier together whilst it was still on the bike. When I removed it, I welded the stays to the carrier on the inside, and left the outside free of weld to emulate the original.


Next I finished off the plug welds:

The final step is to dress the welds and apply some paint, then when it's dry and hard we can reassemble the back end of the bike.

And here it is, with several coats of U-Pol:


It's actually bent down slightly at the front, drive side corner


It might need a bit of adjustment, but it looks good for now!