Showing posts with label Burman. Show all posts

Saturday, 13 June 2026

Square Four - another clutch

 Well, I recorded in my last post that the Square Four clutch was slipping badly, so badly that as I rode it up the hill back to the workshop the engine speed was soaring and it was clear that the clutch was on its last legs.

I've said many times before that these bikes are very easy to work on. One thing I've always done when accessing the clutch is removed the footrest - but actually you don't need to do that. All you have to do is remove the nut and rotate the footrest on its mounting out of the way - you don't have to break the taper at all.


Even before I dismantled the clutch it was clear what happened - you could smell the burnt cork and there were bits of it everywhere. Stripping the clutch down revealed carbonized cork inserts - I could put my finger through these and they would just disintegrate.


Fortunately I had a spare set of 90 corks - that's enough for three plates - sitting in the workshop. Once I'd spent a couple of hours cleaning the mess off the plates I put these in boiling water for a few minutes.


You can push them in with your fingers - or a bit of wood is sometimes useful. It does make your fingers hurt after doing all of them, but it doesn't take long really.

I thought there was one missing - so I rescued a wine cork from the bin.


It's easy to slice these up into the right shape.


As it happened, as soon as I started clearing up the plastic bowl I've used to soak the corks I found the missing one so I didn't end up using my homemade one.

A couple of hours work had all the plates re-lined.


When you put new corks in, I always fit them to the bike wet. When you initially fit the plates they will only just be retained by the basket slots but the next day you will find they have settled a lot. You can see in this picture that the first friction plate is now well into the slots - this is about 24 hours after reassembling the clutch and all the corks are now dry.

I tested out a couple of days later, and readjusted the cable. The bike started straight away though as normal the clutch was stuck - I have always had to free the clutch before starting this one.

Monday, 9 December 2024

FH - head steadies

 A couple of hours in the workshop yesterday saw a few little jobs closed off. This was the worst:


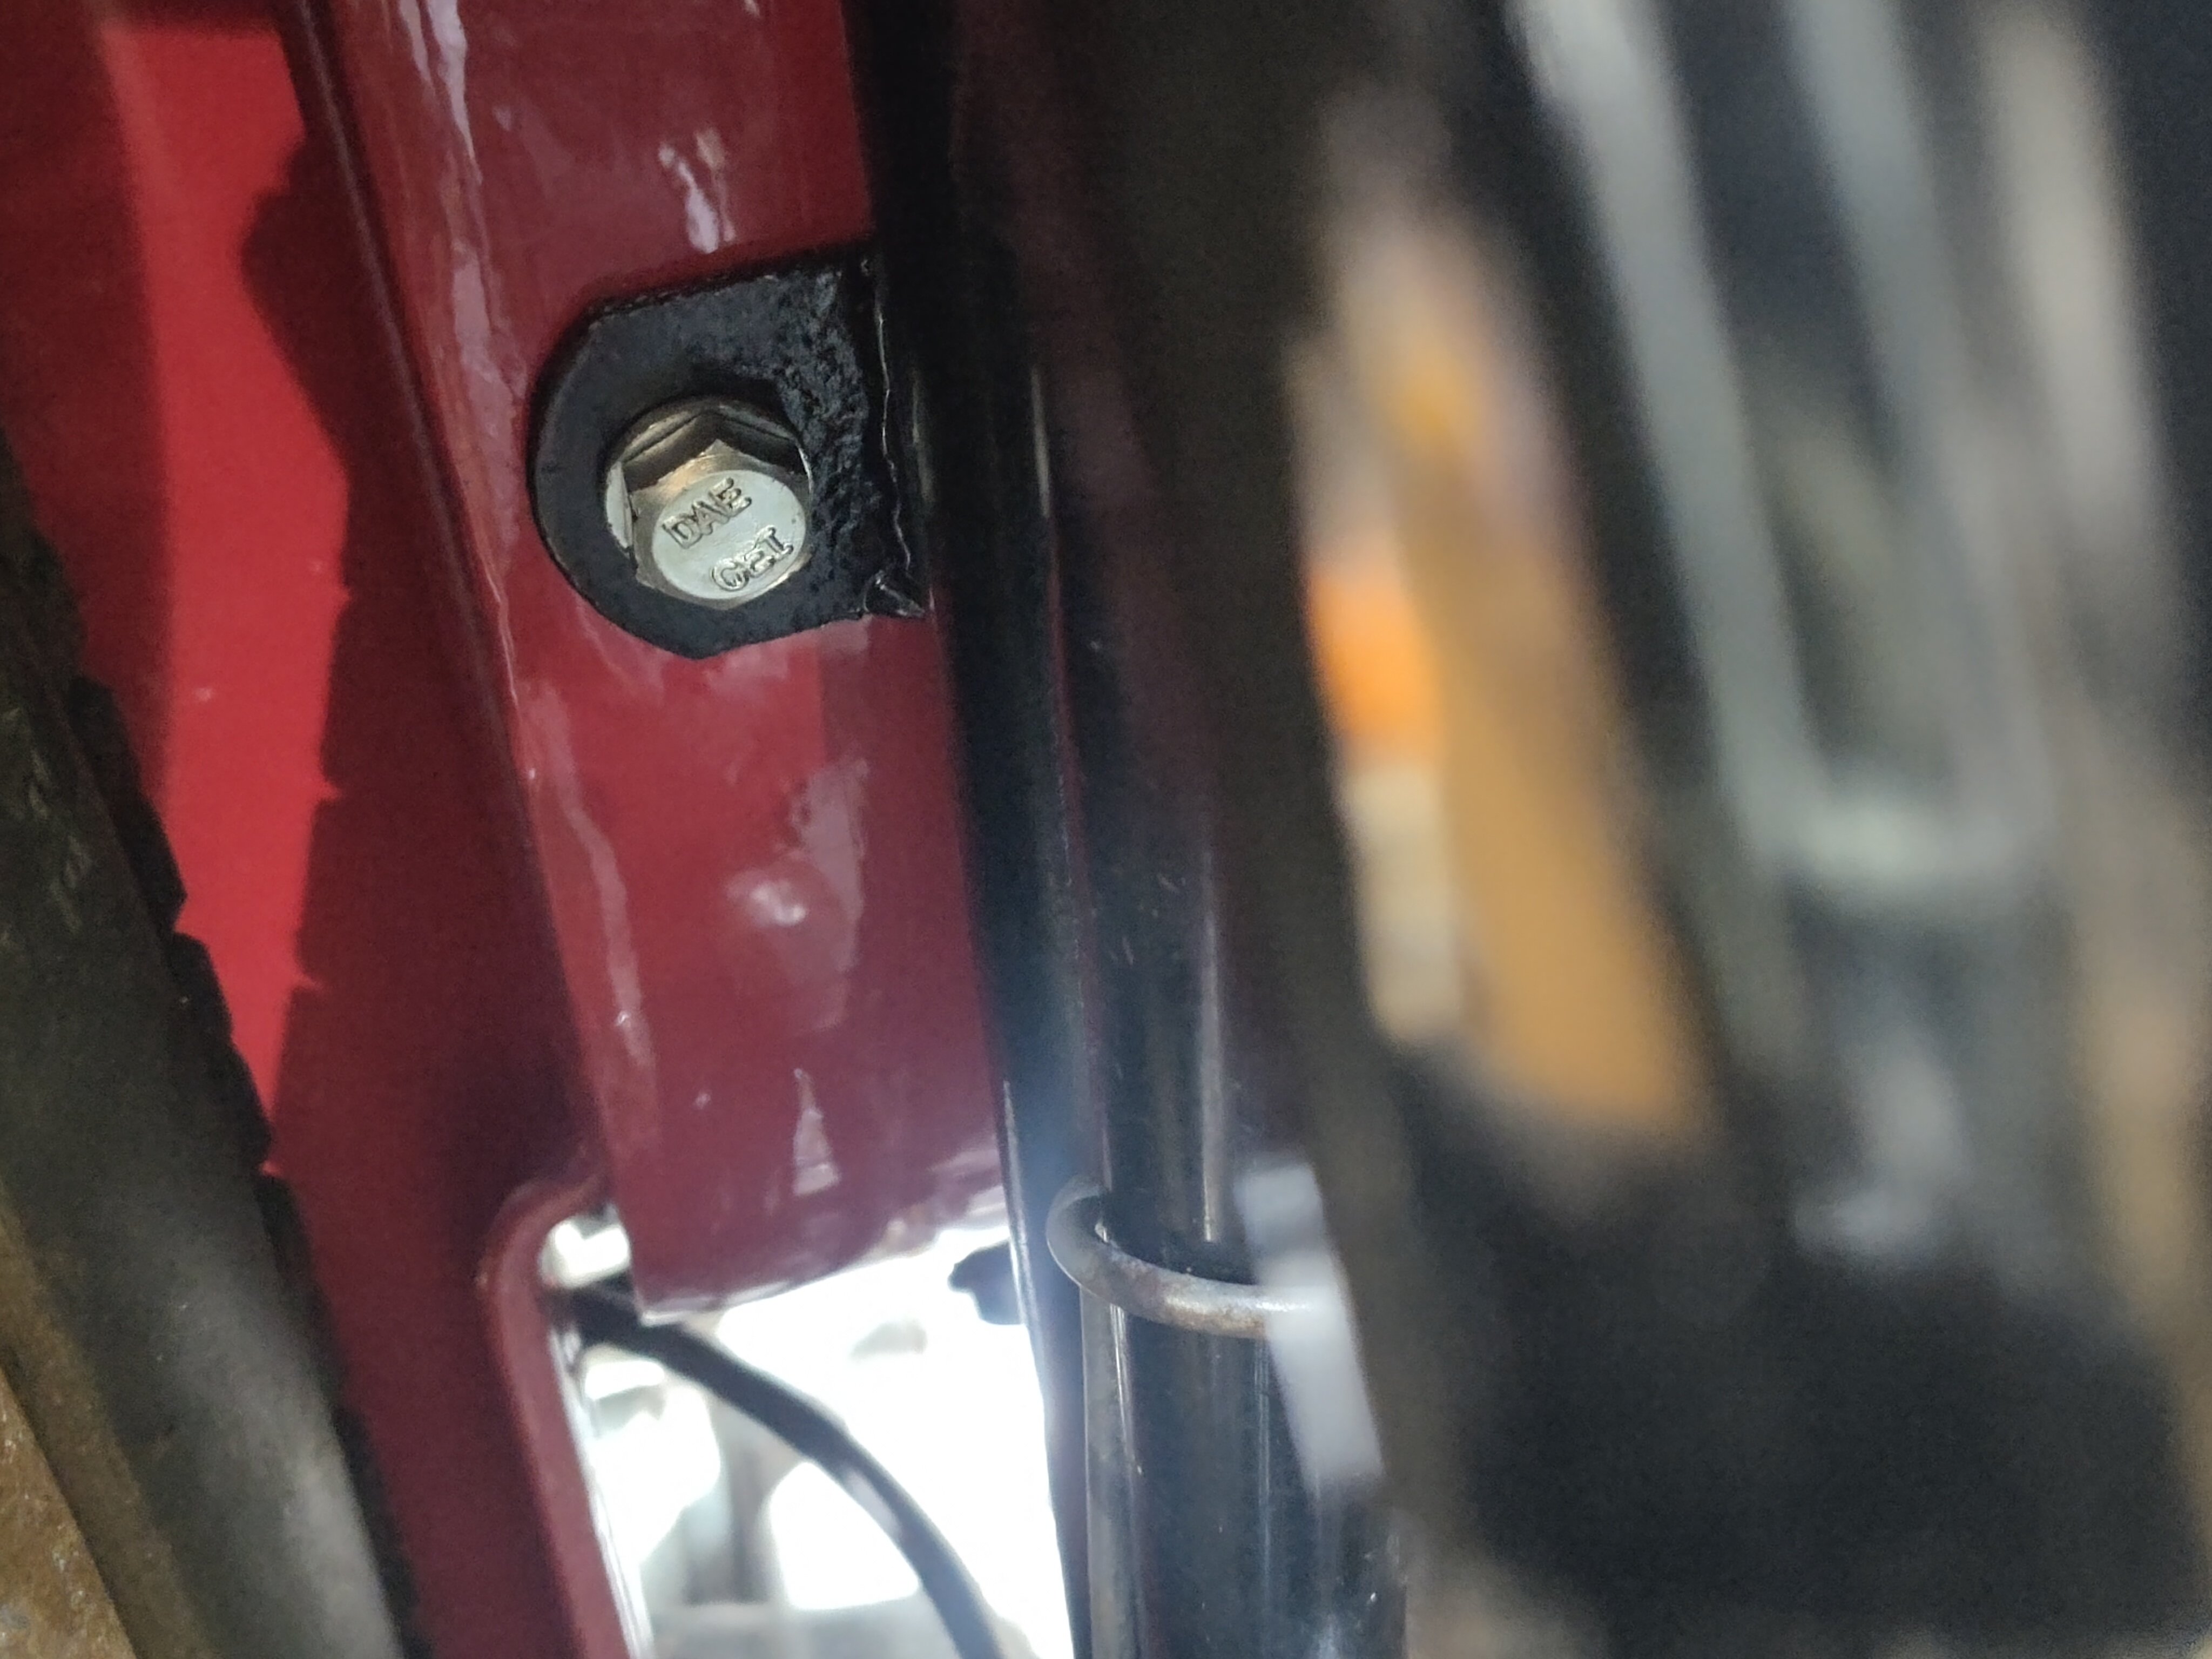
Access is not easy, but the secret is a short open spanner.

The head steadies are now fitted with full size 5/16" nuts, which entailed lifting the rocker box (twice) to get them in.

Next up was the timing side footrest, which wasn't fully tightened up - doing that enabled the exhaust fitting to be completed on that side, with the exception of the finned clamp.

I fitted the speedo cable, to find that the locating pin in the gearbox was missing. The AOMCC gearbox man has them available.

I spent a while poking around under the instrument panel, where the ammeter has lifted out of the position and the cable routing is poor:


I've almost fixed these problems, but the ammeter is still out of position and the wire from the lighting switch to the dipswitch is too short; the feed from the ammeter to the indicator relay is badly routed and consequently too short, and the indicator relay terminals are almost impossible to reach.

The instrument panel is going to have to come off again.

Monday, 2 December 2024

FH - little bits

 A short visit to the workshop today got a few little bits done. I've removed the oil tank and fitted a bolt into the seat base above it, and I've tightened up all the seat bolts now so that is secure. Unfortunately in putting the oil tank back I cannot refit all the earth cables - I will have to remove the toolbox again to be able to get to the bolts. I do however have to order the voltage regulator to rebuild the RB108, so that will entail removing the toolbox.


Tidying up the bench I did manage to find the inspection cap for the gearbox so I have given that a bit of a polish on the wheel and refitted it.


I've terminated the HT cables and fitted the plugs so they are ready for first start - so that's oil, sparks, compression and a kickstart. All I have to do now is bolt the carburettor in place properly with some gasket sealant and I will be able to connect up a temporary fuel supply and give it a kick. 

This next bit is the rubber cable tie for the front brake. It doesn't fit properly because my mudguard with its repairs is thicker than was originally intended so what I've done is to increase the width of the groove in this rubber piece, so it should now fit.


The last bit today is just to record that the frame clip behind the oil tank has a new half inch long bolt specially made to complete the fitting of the oil tank.

Sunday, 1 December 2024

FH - replacing the kickstart cover

 We are inching ever closer to starting the engine now; the timing case screws have all been cleaned out (and shuffled around in some cases - the 'medium' and 'long' screws are only 1/8" different and a couple were mixed up) so we need to get the gearbox together.

For the record, the rather mangled mainshaft tab washer is bent up against the flats and the 5/16" ball is fitted with the correct pushrod and mushroom, lubricated with Morris K400EP:

The kickstart cover components are assembled, though in this shot the spring is not tensioned:


Here we have the levers fitted, spring tensioned and the levers wired together:


The next step was to turn the cover over and apply some Wellseal to the gasket face. I stuck the gasket to the Wellseal, and applied some more to the gasket. Because I'm using oil in the gearbox, I'm going to ensure that there is some grease around the main leak path which is the speedo drive in the bottom of the kickstart case. I've applied some Morris K400EP to that area slapping it in all around the gears before fitting the outer kickstart case. 

There's no pictures because this is a bit of a two-handed activity but suffice to say the gearbox cover went on very easily - much more easily than is typical with a BA or CP gearbox. In this next picture it's all screwed down with the new Acme stainless steel screws. 


It's looking great and I'm very pleased, though I'm a little bit concerned that the kickstart spring needs another turn.


Tuesday, 8 October 2024

FH - gearbox

 First off let me just say that I'm not going to rebuild the GB gearbox on the Huntmaster just yet. The gears select well, there's no play in the mainshaft, no lateral play in the gearbox as far as I can tell and whilst there's a little bit of movement in the sleeve gear it's no worse than other gearboxes I've looked at at the outset. Turning the shaft by hand doesn't reveal any strange noises so I think we'll just leave it be for the moment. 

However, there is something strange going on. When I assembled the clutch I discovered that I couldn't get the plates to touch, even when the screws were done up relatively tightly against the springs which made me think that perhaps there were two ball bearings within the main shaft. I fitted a new one when I replaced the push rod but now that the pushrod assembly is effectively over long I think there may be two. 


Of course I can't remove the ball bearings from the clutch side because they are right down at the other end of the mainshaft and I've no means of pulling them out. Therefore I've got to remove the kickstart case cover, have a look at the clutch mechanism and remove the balls from that end. This will give me a chance to polish the kickstart case cover to match the timing cover. Secondly it will give me a chance to look at the mainshaft end float and to learn a little bit about the gear selector mechanism on the GB, which I've never looked at before.

The kickstart quadrant is in lovely condition:


It looks very clean inside and it's immediately obvious that the design is a little more sophisticated than the BA/CP type that I'm used to. The mainshaft has no detectable end float that I can find. It's obvious that the gearbox has only had oil in it; though I will probably use the Morris K400EP grease in it as usual.


Moving the pushrod from the clutch side, having pulled the lifting mushroom out revealed something rather strange. There's a large lump of what appears to be oily rust sitting at the end of the main shaft:


I pushed this out and then ran a little roll of paper up and down the inside of the mainshaft swabbing out the remaining muck. It was at this point that I realised that the quarter inch push rod that I had made in a previous post is the wrong diameter for the GB gearbox. Speaking to the various members of the club, including the gearbox specialist, revealed that GB gearboxes use a 5/16" diameter push rod. 

While waiting for some new bits to arrive I'll polish the end cover:

Friday, 22 March 2024

Gearbox Done

 After spending the winter rebuilding the gearbox and the clutch, I'm pleased to be finishing the job as the weather warms up.

First job, before finally closing up the gearbox is to fit the kickstart stop rubber that has been waiting on the bench for literally years. I needed to remove the metal part of the stop and reduce the 1/2" OD to about 7/16" to get the rubber to go over it. I mangled one in the process of realising that, which delayed the job by a week:


Next, when the kickstart is on and the gearchange mechanism is timed, I need to fill the gearbox. This is easier said than done as on a SQ4, the filler is hidden behind the oil pipes. Surgeon's forceps are useful to get it out:


Since the Morris K400EP grease is quite fluid, the easiest way to get the grease in is to use a syringe. This is a 250 ml syringe and you need 750 ml. It's got a flexible hose and a rigid copper pipe on the end to get the grease through the filler and into the top of the gearbox. You can fill the syringe by sucking the grease out of the tin:


Next time i do this, I'll do it warmer weather. This was hard work:


In a departure from usual practice, I've measured the oil going into the primary case - 150 ml of engine oil, to determine how much I can get in without it leaking.

I'll road test it, then see if 150 ml is too much or not enough.

Running the engine on the rear stand shows I can select all gears completely silently. It's never been as good as this:


Sunday, 3 March 2024

New Clutch Plates

Are events coming back to bite us? In this recent post I commented on some intermittent clutch problems - maybe we are now finding the cause.

Three of the four plates are like this, and the colour reveals they have been hot:


This is a new set from AOMCC Gearbox spares, laser cut, a realistic price and flat as a pancake.


We are getting near closing up now. All I need is a kickstart rebound stop, which is coming from Draganfly, and I can refit the kickstart and the gearbox end cover. Then I can test the kickstart and set up the clutch.

Sunday, 25 February 2024

Burman Clutch Centre

 Over the last few days I've assembled the primary drive and the clutch, tightening the mainshaft nut in the process.

I've installed the clutch spring studs with Loctite 271, the red thread locker. That won't come loose; originals were peened in place, but it's not 1950.


Fitting the plates revealed some rocking. I pulled them all out again, and found that three of the four plain plates were distorted by up to 2 mm, and discoloured from heat.

Geoff will send some new ones tomorrow.

Friday, 20 October 2023

FH - Looking at the gearbox

 The gearbox will be fitted shortly. Experience has taught me that with a couple of exceptions you can rebuild the gearbox while the casing is still in the bike, and in some respects it's easier to do it like that.

I've not touched this gearbox yet, other than to ascertain that all the gears select and there is no play apparent in the mainshaft or sleeve gear. The shafts rotate very smoothly and quietly, but we'll need to check that in all gears.

We'll start by taking a few pictures:


Next we will give it a bit of a clean up.

Thursday, 12 August 2021

Charlie's Shed - Re-corking Cutch Plates

 For no good reason, other than the fact that the Square Four cork clutch is excellent, I decided to replace the part-worn Ferodo lined clutch plates. The W/NG clutch had always felt more severe by comparison and while the Ferodo clutch is correct for the W/NG, sometimes I do stuff because I feel like it!

The plates and corks come from AOMCC Gearbox Spares, and very good they are too.


The first step is to warm the corks in boiling water to make them soft and pliable. They were in the soup for about 15 minutes.


I fished the corks out in small batches with a draining spoon.


These are the plates - they look like they have been laser cut. The edges are very crisp and clean - the holes are perfectly shaped and there are no burrs. Oh - and they are perfectly flat!


You push the corks in from the wide end of the slot, trying to keep an equal amount of cork protruding from the plate on each side.


Push the cork down, and manoeuvre the wide end in until it is sitting evenly all around the slot.


Repeat the process until you have done all the corks in all the plates!


As it turned out, after drying overnight the stack of plates was too thick for the basket.


What you do now is to work each side of each plate against a large flat board covered with sandpaper. This is 120 grit - I rubbed each plate over a couple of times to make sure the corks were level and to take a fraction off each one. Very soon, the stack fitted in the basket.


At the same time, I renewed the clutch springs - also from AOMCC Gearbox Spares. On the left is the old spring; on the right, the new spring. Whilst the old spring is clearly collapsed, the odd thing is that it is the same wire diameter as the new one - springs for a Ferodo clutch should be heavier.