Showing posts with label Roadrider. Show all posts

Friday, 28 March 2025

FH - tyres & brakes

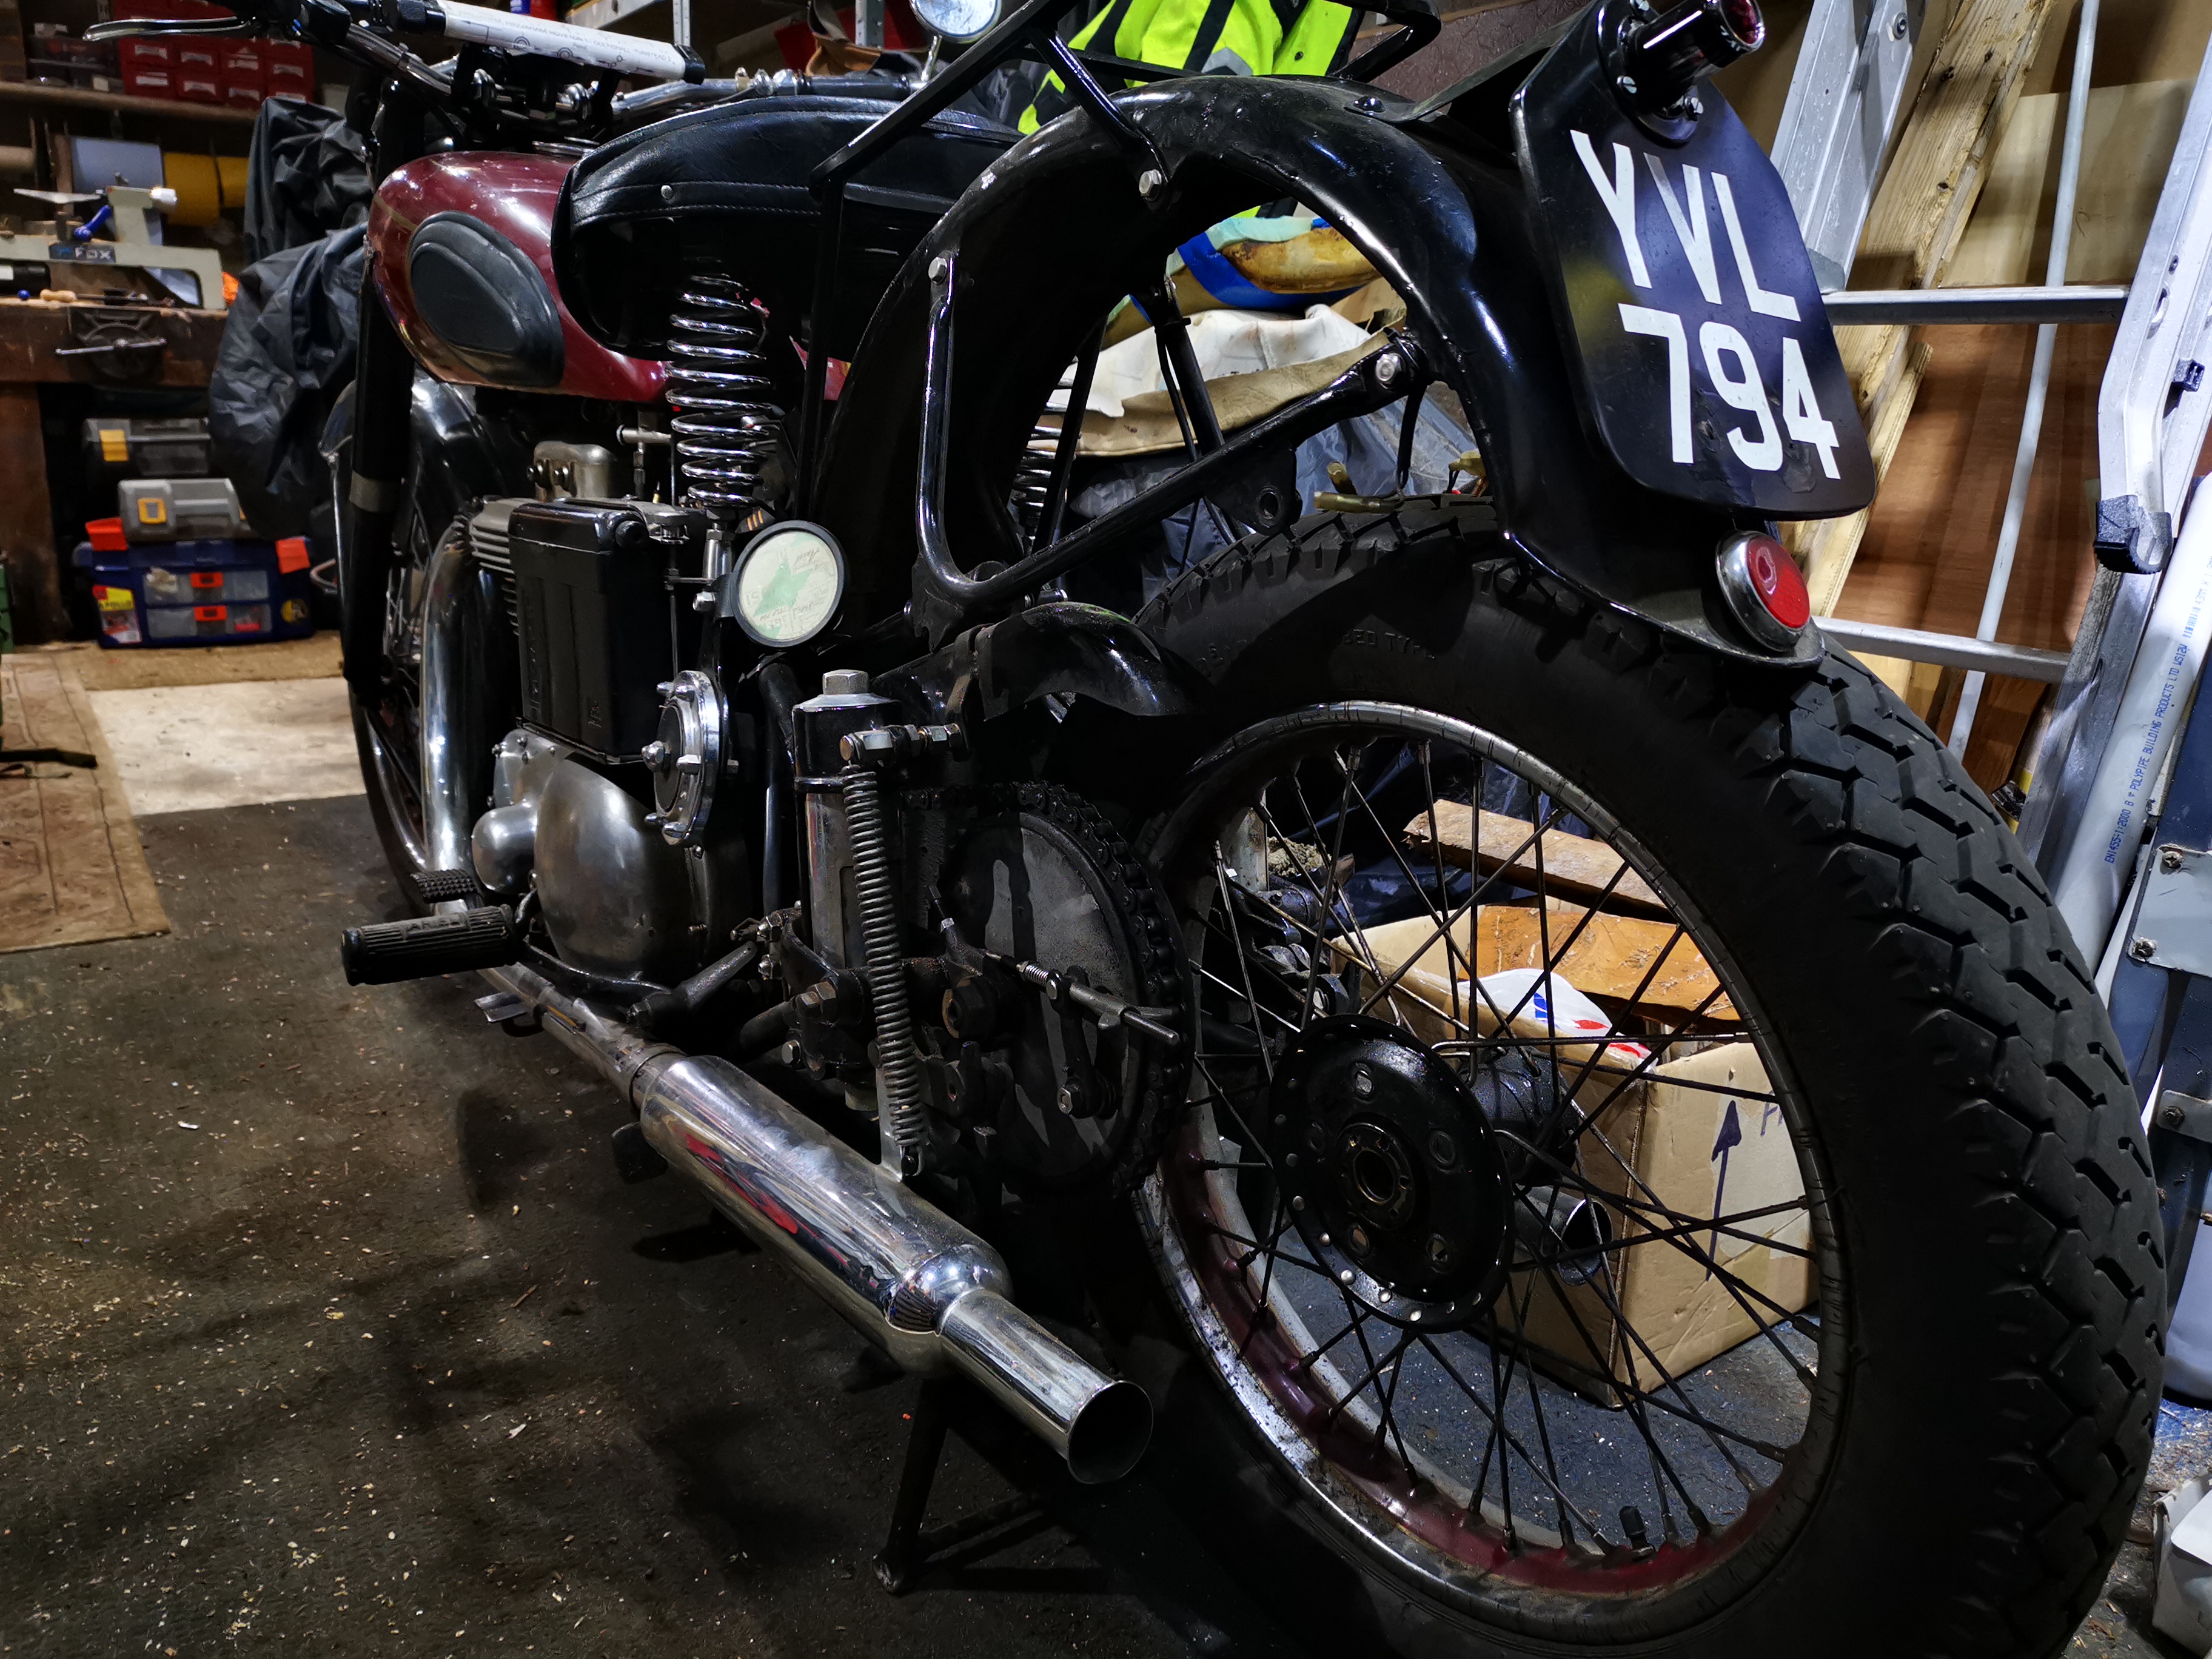
 We're nearing the end now. I've got the tyres, tubes and rim tapes, the wheels are both built and the brake plates are stripped out. 

The plan was to fit the tyres myself so that I didn't have to have the bike off its wheels for too long, because I wanted to be able to develop the setting up of the brakes.

I started with the back wheel, trimming the spokes with a large half round file, fitting the rim tape and then the first bead of the tyre, making sure that the direction of rotation was correct. All went reasonably well. Next step is to put the tube in, so in the time-honoured fashion I put a bit of air into the tube and pushed it into the tyre. Getting the valve in through the rim and the rim tape was a bit of a hassle, but it's never an easy job. The next bit is to get the second bead on .

Fortunately I've had some large levers lying around for quite a long time for fitting tyres and these came in handy. Handy that is until the following day when I went to blow the tyre up and of course I had nipped a tube.


B*****. Just save any further messing about, I decided to do what I usually do and take the wheels to SPS Services in Horsford to fit the tyres for me, but first I needed to order a new tube .

While I waited for the tube I engaged myself in some more domestic duties, putting up some coat hooks and repairing the chainsaw which we had attempted to use to trim some damson trees at the allotment. I found poor crankshaft oil seals in the chainsaw and remarkably a run out of just under a millimetre in the crankshaft - and consider how small a chainsaw crankshaft is!


I sent the brake shoes to Villiers Services as usual for re-lining. I had asked for them to be riveted as well as glued, but Steve at Villiers Services explained that they had bad experience with Ariel brake shoes cracking around the rivet holes and didn't want to do it. I accepted the shoes with no rivets.


A few days later the new tube turned up and we made a rapid trip to Horsford to drop off the tyres and wheels and to buy an apple tree, scones and a cup of coffee or two on the way home. 

I was back there the next morning picking up the wheels with the tyres fitted and properly centralised. I have found it very difficult in the past to get the tyres concentric to the wheels, but these are perfect and fitted in the right direction.

They were back on the bike with the brake plates rebuilt and fitted by the evening.

Tuesday, 5 July 2022

SQ4 - New tyres

One of the things I have always admired about these old machines is the ease with which you can remove the wheels. OK, so I do have a QD rear wheel on the SQ4 and the W/NG is a little more difficult but at least I have two stands and can remove both wheels at the same time! Try doing that on a modern bike.


Something that is less impressive is the front brake cable adjuster, which doesn't fit any of the toolkit spanners - it appears to be 2 BA across the flats, but it is a pattern part so perhaps that is the reason. I have a 2 BA spanner in the toolkit especially for it.


The front stand is very useful, though you have to lift most of the engine weight to use it. The trick is to make sure it is slack enough to swing down, and then tighten it up again.


The reason for all this was that the Avon Speedmaster & SM MkII tyres are now 9 years old and it's time to replace them. I've bought a set of Avon Roadrider MkIIs, just like I put on the CX500 back in 2019.

I might tackle that damaged paint on the brake drum before they go back on. But then again, I could just as easily do that when it was on the bike and get riding it again!

For the record, I am running these at 28 psi and 36 psi, at least for the moment.

Wednesday, 8 January 2020

Out & about on the CX

I'm happy to say that the 1978 Honda CX500 is out and about again after I sorted out the front brake and replaced the fork oil. It's been off the road for a while after some tyres, refurbishment, camshaft / rev counter investigation and the repair of the broken caliper bleed nipples.

It rides really nicely on its new Avon Roadrider tyres and it positively flies compared to my SQ4 - but it is also very tall and the riding position feels cramped due to the way it makes you bend your ankles.

Cley, North Norfolk

It's got a couple of problems - the tail lights don't work though I have brake lights and indicators, and the starter circuit has a wiring fault. The system demands the clutch is disengaged, even if the bike is in neutral.

Both faults are a feature of this mess:


I've stripped the tape off the harness here - looks like a previous owner let it chafe through and then bodged it together...

More when I fix it.

Friday, 4 October 2019

Sprucing up the CX

You might remember a few weeks ago I mentioned that the CX500 has very old tyres, amongst other faults. It's now wearing a set of Avon Roadriders, a tyre I have been keen to try out; these are the same size as I would fit to the Square Four, so this is a kind of test for that too since Amelia's tyres are 6-7 years old now.

CX500 Comstar Wheels with Avon AM26 tyres

I'm taking the opportunity to spruce it up a bit, while riding around in the last of the warm weather on the SQ4.

I'm painting the ComStar wheels:

Painting CX500 motorcycle Comstar Wheel

I will also blacken the little 'Honda' logos that cover up the spoke to rim joints:

Honda Comstar Wheel Spoke Trim

This one was done with silicone:

Honda Comstar Wheel Spoke Trim

I've changed the fork seals:

Honda Motorcycle Front Fork Seal

I've replaced the torn gaiters with the original short covers:

Honda Motorcycle Front Fork

I'll polish up the fork legs a bit:

Honda Motorcycle Front Forks

I've acquired an original toolkit:

Honda CX500 Motorcycle Tool Kit

I've also acquired these little closing panels that fit in the back of the nose cowling:

Honda CX500 Motorcycle Nose Cowling Trim

I've repainted the handlebar clamp:

Honda CX500 Motorcycle Instrument Cluster

Now it looks like this:

Honda CX500 Motorcycle Instrument Cluster

This piece of tin covers the gap between the bevel drive and the wheel. It's got some black paint remaining on it:

Honda CX500 Motorcycle Final Drive

The wire wheel makes short work of that, with some etch primer and Rustoleum Satin Black:

Honda CX500 Motorcycle Final Drive Cover

That was a mistake, they appear to have been silver. Here goes:

Honda CX500 Motorcycle Final Drive

When I have finished this little lot, I will think about the cowl and the tank; then I will strip off the radiator and sort out the tacho drive.