Showing posts with label tyres. Show all posts

Friday, 28 March 2025

FH - tyres & brakes

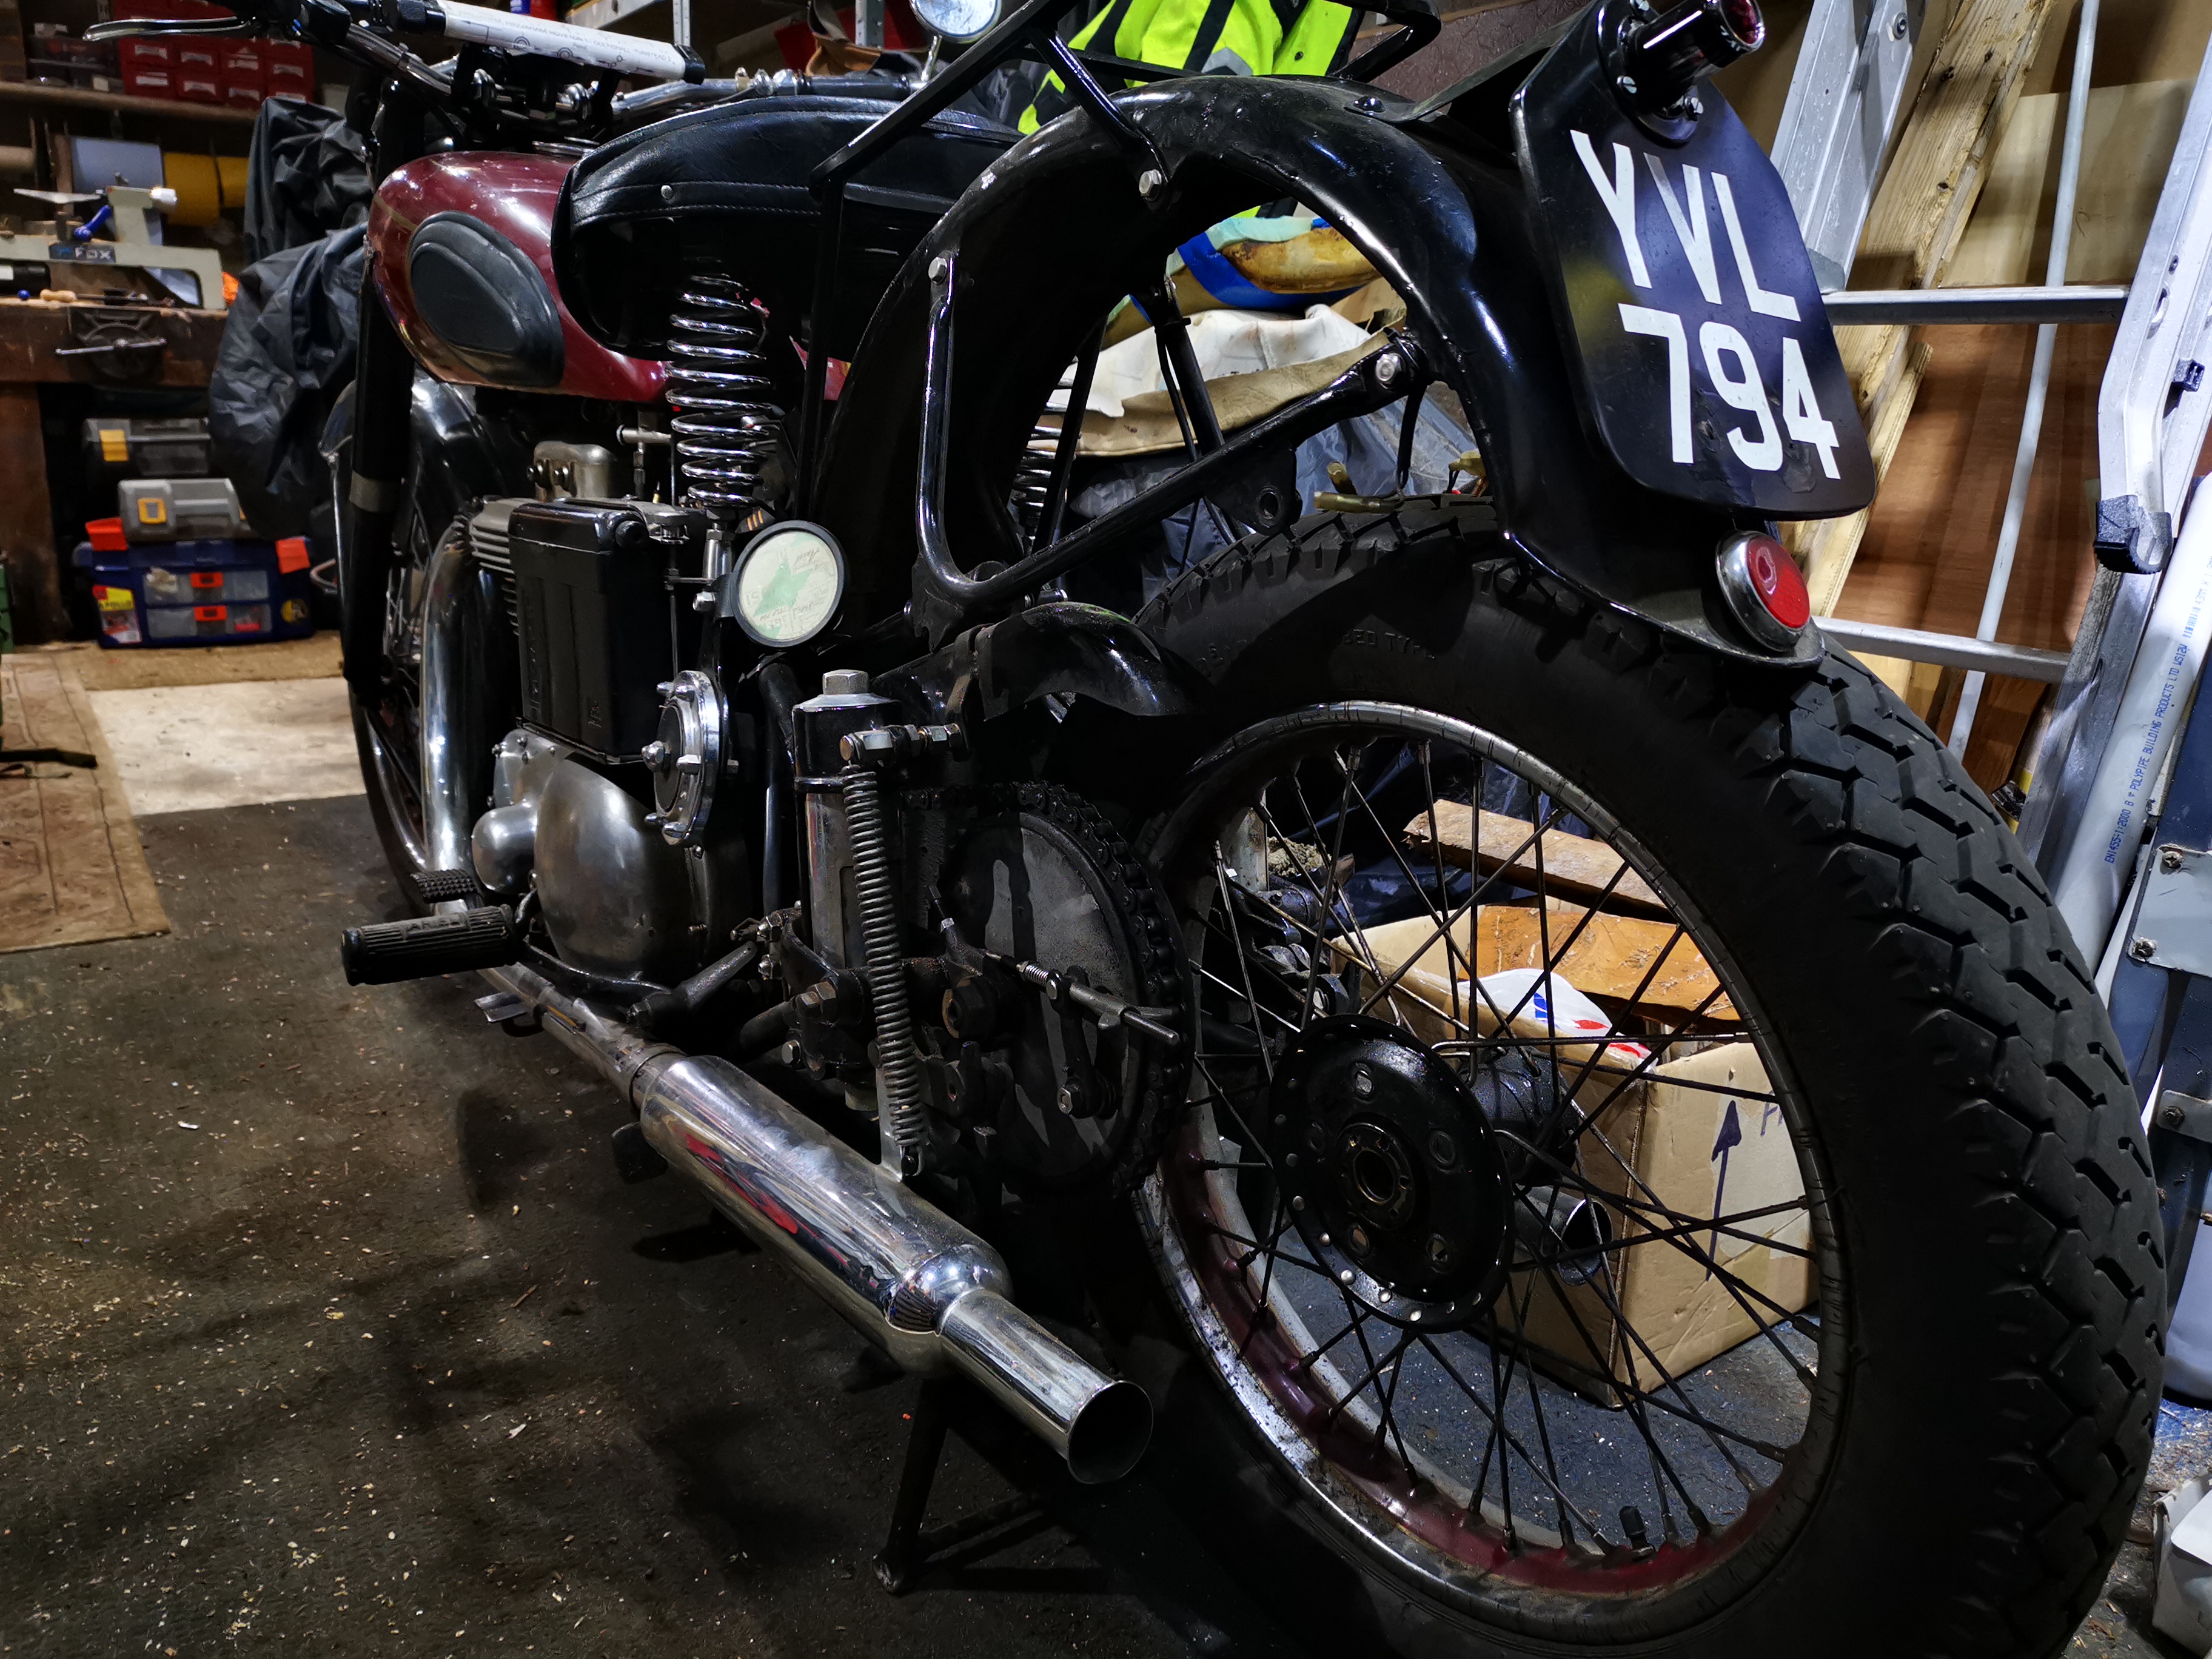
 We're nearing the end now. I've got the tyres, tubes and rim tapes, the wheels are both built and the brake plates are stripped out. 

The plan was to fit the tyres myself so that I didn't have to have the bike off its wheels for too long, because I wanted to be able to develop the setting up of the brakes.

I started with the back wheel, trimming the spokes with a large half round file, fitting the rim tape and then the first bead of the tyre, making sure that the direction of rotation was correct. All went reasonably well. Next step is to put the tube in, so in the time-honoured fashion I put a bit of air into the tube and pushed it into the tyre. Getting the valve in through the rim and the rim tape was a bit of a hassle, but it's never an easy job. The next bit is to get the second bead on .

Fortunately I've had some large levers lying around for quite a long time for fitting tyres and these came in handy. Handy that is until the following day when I went to blow the tyre up and of course I had nipped a tube.


B*****. Just save any further messing about, I decided to do what I usually do and take the wheels to SPS Services in Horsford to fit the tyres for me, but first I needed to order a new tube .

While I waited for the tube I engaged myself in some more domestic duties, putting up some coat hooks and repairing the chainsaw which we had attempted to use to trim some damson trees at the allotment. I found poor crankshaft oil seals in the chainsaw and remarkably a run out of just under a millimetre in the crankshaft - and consider how small a chainsaw crankshaft is!


I sent the brake shoes to Villiers Services as usual for re-lining. I had asked for them to be riveted as well as glued, but Steve at Villiers Services explained that they had bad experience with Ariel brake shoes cracking around the rivet holes and didn't want to do it. I accepted the shoes with no rivets.


A few days later the new tube turned up and we made a rapid trip to Horsford to drop off the tyres and wheels and to buy an apple tree, scones and a cup of coffee or two on the way home. 

I was back there the next morning picking up the wheels with the tyres fitted and properly centralised. I have found it very difficult in the past to get the tyres concentric to the wheels, but these are perfect and fitted in the right direction.

They were back on the bike with the brake plates rebuilt and fitted by the evening.

Thursday, 27 February 2025

FH - stripping the back wheel

 Finally, and it seems to have been a long time coming, it's time to start on the wheels. I've got the tyres now though I have had to compromise with a 90/90-19 front tyre rather than the 325-19 that I wanted, but at least I have everything.

It doesn't take very long to remove the rear wheel from these bikes despite the fact that I have complicated matters by fitting indicators, and these need to come off before the rear of the mudguard can be unbolted.

The first step is to measure the offset using a straight edge across the bearing housing. With that in place we can measure 7/8" to the edge of the rim.


These are quite common wheels so finding someone that could help with the lacing pattern of the spokes wouldn't be difficult. Nevertheless it is good practice to photograph your wheels before dismantling such that the peculiarities of the spoke pattern can be recorded for the rebuild to come. These Ariel full width hub wheels are simple in that the spokes are of two types - those that fit from the outside, and those that fit from the inside; this results in similar lengths but different head angles for the two types. For the half width hubs fitted to all my other Ariels, there are four types of spokes in each wheel.


When you have all the components delivered, and you have recorded your spoke pattern and your offset you can dismantle the wheel. I've done this a few times now and have discovered the quickest and easiest methods to my mind.

Let it be known that we are not going to reuse any of these components other than the hub. Therefore the best way to remove the rim is to cut through all of the spokes on both sides; I use a bolt cutter for this job which makes short work of snipping through each of the spokes.


There we go. The tyre has not even been deflated yet!


Here is the hub with the remains of the spokes. It's sensible to cut the spokes as near to the hub as possible because it is much more difficult to remove the full length of the spoke from the hole in the hub.


You will find most of those little bits of spoke are stuck in their holes through corrosion and dirt. Just wiggle them a bit to release the gunge, and thread them back through their holes.

Removal of the rim and tyre is equally brutal. All I have done here is to take a hacksaw to the tyre, lubricated with some WD40 and sawn through both the tire and part of the rim such that I can cut through both beads and the tyre will just fall off.

And that's it. Apart from a trip to the dump with this scrap metal and rubber the next job is to start polishing the hub.

Thursday, 12 December 2024

FH - a little more progress, and a big step...

 Well there's been a little bit more progress today. First off, I've finished the second of the finned exhaust clamp bolts:


Secondly I've been talking to people in the club about tyre sizes and whether I can get my desired tyre (Avon RoadRiders) in the size that I want. Having a look at the distance between the tyre and the chain guard reveals around 3/8" to 1/2" but also that this tyre, an Avon SM Mk11, is actually a 325-19. The front tyre, a Dunlop TT100 by the way is a 90/90-19 or 3.60-19. They are both from the 1980's.

I am hoping to buy Avon RoadRider tyres but unfortunately they are not available in the right sizes for this bike. The options appear to be to use a 100/90-19 for the rear (Avon's recommended replacement for a 350-19) and a 325-19 (original size) or a 90/90-19 for the front.


The next bit of progress is very small - it's just a P clip for the front brake cable. I've attempted to adjust both brakes but right now the front tyre is in the wheel clamp.


Lastly and very quietly and secretly I have hooked up the temporary fuel tank to the carburettor and started the bike. Unfortunately it will only start using Easy start, but at least it starts and runs. There may be some problem with the fuel supply or with the float bowl. It runs and returns oil and it runs nice and quietly so now I know that I have the HT needs the right way round, and the oil system is working properly, and the valve timing is correct and the ignition timing is more or less correct though it does spit back through the carburettor.

I think we'll have to wait 'til Monday to have another chance at it, but sleeping on it and looking at some of my pictures suggests that the float bowl gasket is missing. This will give you an air leak in the pilot fuelling circuit...

Tuesday, 5 July 2022

SQ4 - New tyres

One of the things I have always admired about these old machines is the ease with which you can remove the wheels. OK, so I do have a QD rear wheel on the SQ4 and the W/NG is a little more difficult but at least I have two stands and can remove both wheels at the same time! Try doing that on a modern bike.


Something that is less impressive is the front brake cable adjuster, which doesn't fit any of the toolkit spanners - it appears to be 2 BA across the flats, but it is a pattern part so perhaps that is the reason. I have a 2 BA spanner in the toolkit especially for it.


The front stand is very useful, though you have to lift most of the engine weight to use it. The trick is to make sure it is slack enough to swing down, and then tighten it up again.


The reason for all this was that the Avon Speedmaster & SM MkII tyres are now 9 years old and it's time to replace them. I've bought a set of Avon Roadrider MkIIs, just like I put on the CX500 back in 2019.

I might tackle that damaged paint on the brake drum before they go back on. But then again, I could just as easily do that when it was on the bike and get riding it again!

For the record, I am running these at 28 psi and 36 psi, at least for the moment.

Wednesday, 3 June 2020

QR50 - Wheels

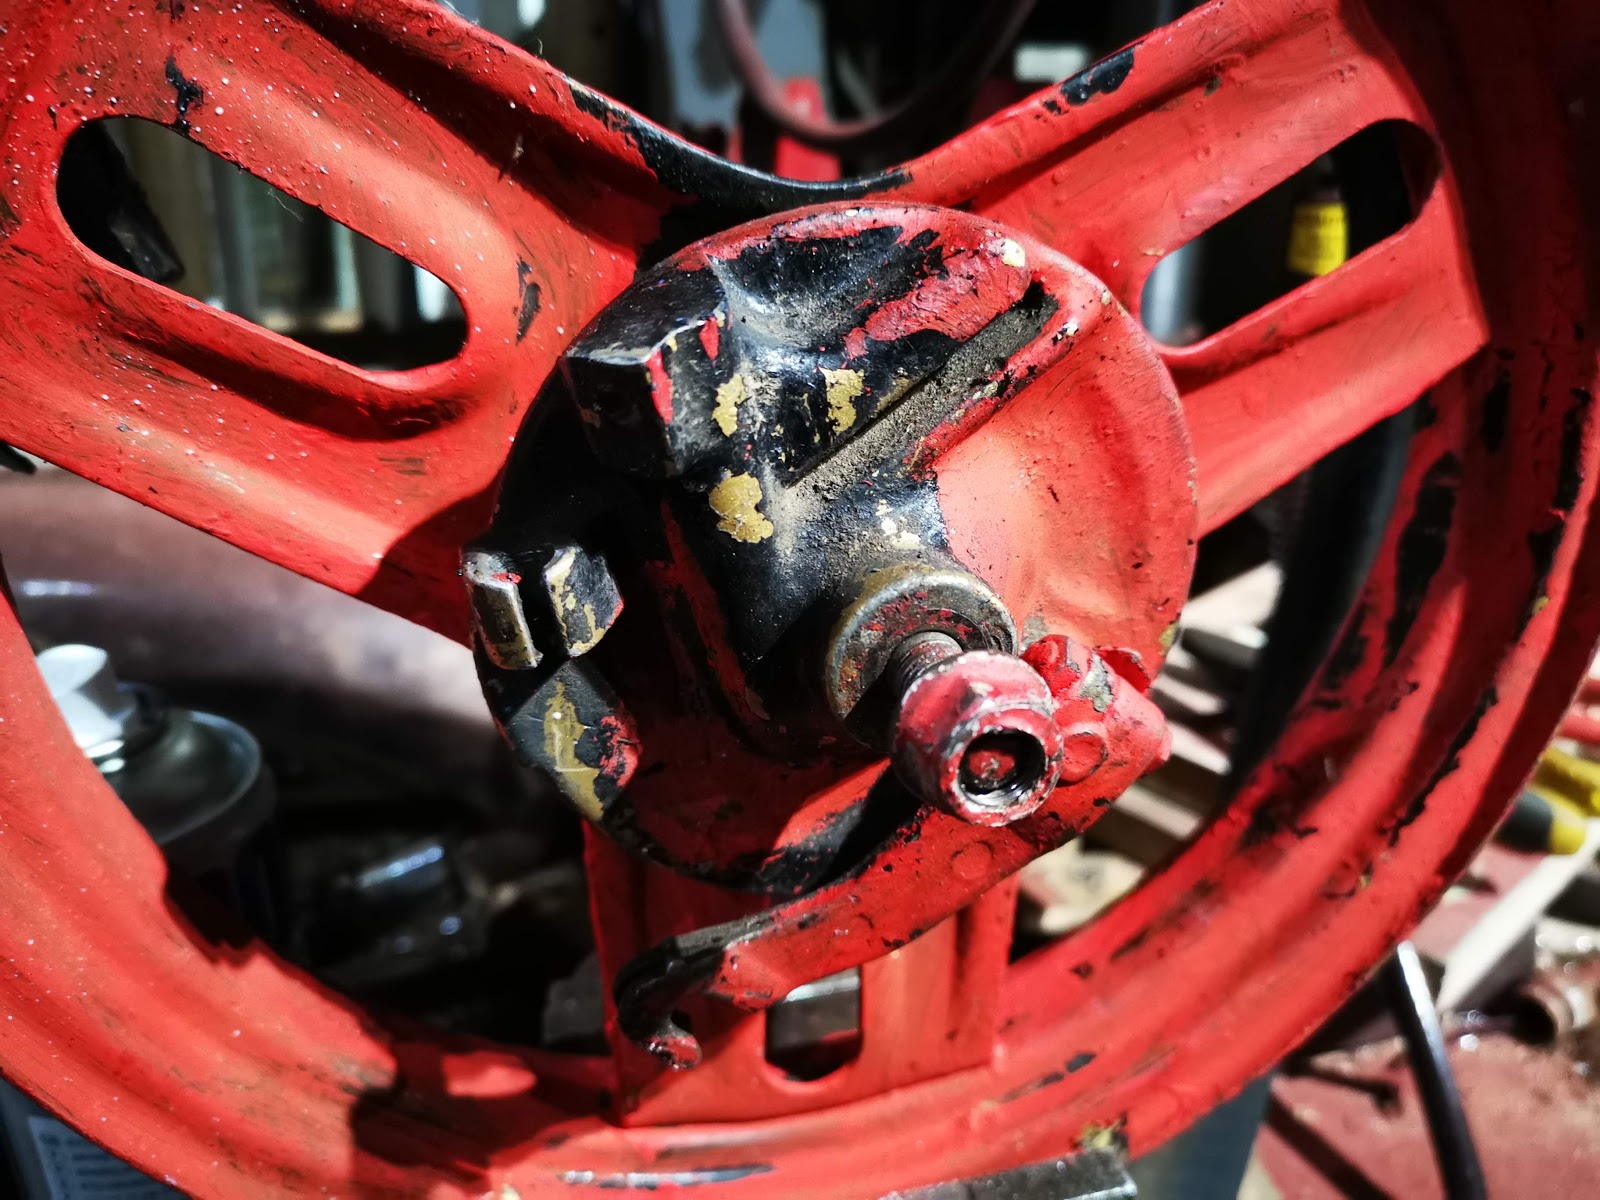
In common with a lot of this bike, the wheels were a right old state. Not only were they covered in the ubiquitous red paint:


... but the tyres were rock hard and both had to be cut off. Not that unusual for an old machine and I have indeed cut a few tyres off in my time:


What I hadn't seen before was this - it is a 14" tube folded up in a space where a 10" tube should be:


Stripping the wheels involved the usual hours with the wire wheels, followed by some U-Pol etch primer. The brake drums are masked off:


And then some U-Pol wheel silver:


And a couple of new tyres and tubes from eBay:


A brief period of struggling ensued, during which there was loud swearing and quiet persuasion according to the stage of the process we had reached, and then it was done:


Friday, 31 January 2020

QR50 - Stripping the wheels

The QR50 wheels, like everything else, are covered in red paint. And black paint, and silver paint. The tyres say "Made in Japan", so may be original - they are certainly very hard.


They are however straight, which is a bonus. Someone has cut a chunk out of the rear tyre, so I can use the side cutters to release it:


The rear tyre has silver paint under the black paint, which looks professionally applied. This is something of a mystery since the wheels on most of the early QR50s I have seen are gold.

This is the front one, after a similar tyre removal experience. In this case, I cut the tyre on the bandsaw and promptly found it was full of Slime puncture sealant, which went everywhere and is very sticky.

It also has a 14" tube stuffed in it, which is all bunched up around the valve...


There is gold paint under the black, however. We'll strip the paint off next.


Friday, 4 October 2019

Sprucing up the CX

You might remember a few weeks ago I mentioned that the CX500 has very old tyres, amongst other faults. It's now wearing a set of Avon Roadriders, a tyre I have been keen to try out; these are the same size as I would fit to the Square Four, so this is a kind of test for that too since Amelia's tyres are 6-7 years old now.

CX500 Comstar Wheels with Avon AM26 tyres

I'm taking the opportunity to spruce it up a bit, while riding around in the last of the warm weather on the SQ4.

I'm painting the ComStar wheels:

Painting CX500 motorcycle Comstar Wheel

I will also blacken the little 'Honda' logos that cover up the spoke to rim joints:

Honda Comstar Wheel Spoke Trim

This one was done with silicone:

Honda Comstar Wheel Spoke Trim

I've changed the fork seals:

Honda Motorcycle Front Fork Seal

I've replaced the torn gaiters with the original short covers:

Honda Motorcycle Front Fork

I'll polish up the fork legs a bit:

Honda Motorcycle Front Forks

I've acquired an original toolkit:

Honda CX500 Motorcycle Tool Kit

I've also acquired these little closing panels that fit in the back of the nose cowling:

Honda CX500 Motorcycle Nose Cowling Trim

I've repainted the handlebar clamp:

Honda CX500 Motorcycle Instrument Cluster

Now it looks like this:

Honda CX500 Motorcycle Instrument Cluster

This piece of tin covers the gap between the bevel drive and the wheel. It's got some black paint remaining on it:

Honda CX500 Motorcycle Final Drive

The wire wheel makes short work of that, with some etch primer and Rustoleum Satin Black:

Honda CX500 Motorcycle Final Drive Cover

That was a mistake, they appear to have been silver. Here goes:

Honda CX500 Motorcycle Final Drive

When I have finished this little lot, I will think about the cowl and the tank; then I will strip off the radiator and sort out the tacho drive.


Tuesday, 31 July 2018

Tyre Pumps

None of my bikes have tyre pumps. I need three tyre pumps. I don't know anything about tyre pumps, and of course I want original pumps that work really well, fit, and look the part. Not much huh?

I don't know who made tyre pumps back in the day, I don't know how to size them, where to buy them, or whether they had tubes or stirrups fitted. Having had a few bicycles I know how they work and could get one working, but beyond that...

So, where did the various motorcycle manufacturers buy them, and who made them? What types of pumps did they use? The ones I have seen are all variations on the bicycle pump theme; no stirrup pumps. Variations are around the materials used; brass pre-war and plastics post-war; and then the air hose connection which takes two forms:
  • end of the pump on smaller bikes and the 
  • side of the pump, with the folding wire 'stirrup' on larger bikes
What size did they use? Bore sizes:
  • 3/4"
  • 7/8"
Lengths
  • 12"
  • 13 1/2"
  • 15" - closed length 14 1/4"
  • 16 1/2"
  • 18"
The pump mounts, and the parts books for my bikes tell me something.
  • Bantam: Inflator PN 40-9026; illustration shows what appears to be an Apex inflator with no stirrup
  • Ariel SQ4: Inflator PN 6636-29, Tyre Inflator 14in. x 7/8in - the inflator does not appear in the illustrations.
  • Ariel FH: Inflator PN 6636-54, Tyre Inflator - again the later parts lists are not illustrated
  • Ariel W/NG: The inflator does not appear in the parts list nor in the tool kit list in the owners manual. However the earlier owners manuals picture the bike with a stirrup-type inflator in the usual position on the top chainguard. Chainguard is 14" between the points of the inflator mounts

Pump Manufacturers

Here are a few that I've come up with:

Bluemels

The English company Bluemel was founded in 1860 in East London by Charles William Bluemel, Ernest Adolphus Bluemel and their brother, as yet unnamed. The Bluemel products quickly gained an excellent reputation in cycling and CW Bluemel & Brothers Ltd. expanded rapidly. In 1902, the company purchased an artificial silk factory from Mr. Joseph Cash in Wolston at Coventry, and in 1904 relocated production there from Stepney. The brothers were rather frightened by the size of their new factory, but the wisdom of their choice was shown when additions had to be made to the premises to accommodate their production.

The company’s portfolio quickly expanded to include parts for motorcycles and automobiles. In 1913, the company became incorporated. 1914 Cycle and Motor Accessories Manufacturer. Specialties: celluloid cycle pumps, handles, mudguards, gear gases, dress guards, sparking plugs and accumulators for motors. Employees 550.

In 1938, Mr. Ernest Adolphus Bluemel, the last of the three brothers, passed away. By this time, the company had expanded from an initial 150 employees to over 600: described as a modern factory, its chief products were plastic mouldings in bakelite, steering wheels (to MG for example), and pumps, and to a lesser degree, bicycle mudguards and gear cases. A second generation of Bluemels, Frank William & Roland Edward, continued to expand the company after the death of the original founders.

In 1948, the company began to manufacture car parts for Jaguar and Austin Martin. By 1961, the portfolio included auto, bicycle, and motorcycle accessories, plastic mouldings, dials, and nameplates. In 1983, the company faced insolvency. British Cycling wholesaler, Chicken, recommended to SKS owner Willi Blome to look at Bluemel’s pump and mudguard company in Coventry.

Models:
  • 'Motorbike' 

Apex Inflator Co. Ltd.

I'm struggling to find any company history for Apex, but I have these adverts:

Apex advertisement from 1927


Apex advertisement from 1931
Advertising tells us Apex manufactured a range of bicycle pumps
  • 'Bailey Super', a 15" pump with a celluloid covered steel liner, 'solid drawn' (seamless) brass plunger tube. The most expensive Apex pump
  • 'Superlite', a 15" celluloid pump with a seamless brass plunger - the lightest Apex bicycle pump
  • 'Lastwell', a cheaper 15" bicycle pump with a celluloid tube and a split steel plunger
Apex also made brass pumps, with seamless brass or split steel plungers. You will notice that none of these pumps have stirrups, and one conspicuously absent from the advertisements is the 'Thapex', which appears to be the one favoured by the motorcycle manufacturers...

Here are a few more bicycle adverts, which are important to this story. You will see why in a minute.
Apex advertisement from 1945

Apex advertisement from 1946

Apex advertisement from 1949

Apex 'Thapex' pumps were widely used by Brtish motorcycle manufactureers; an Advertisement in a 1931 copy of Pitman's 'Book of the Mathcless' by the ubiqutous WC Haycraft advises that Thapex pumps had been used by Matchless for over 10 years.

Charles Britton

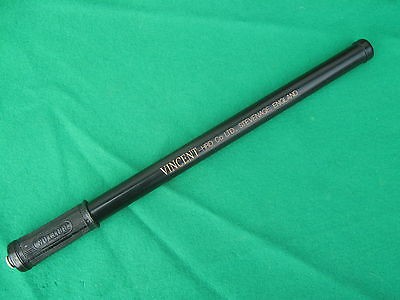
I don't know much about these. Charles Britton was apparently Great Grandfather to TV's Fern Britton; Vincent famously used a 13 x 7/8" Britton pump


Dunlop

Dunlop produced its first tyre for a motor car in 1906. The first rubber estates in Malaysia were acquired, in order to ensure a supply of raw material, in 1910. Construction began on the 400 acre Fort Dunlop headquarters and production site in Birmingham in 1916. Dunlop was the fourteenth largest manufacturing company in Britain by 1918, and its only large-scale tyre manufacturer. It had a market value of £8.9 million in 1919.

Dunlop began to diversify from tyres from 1924. It entered the sports market in earnest when it acquired the tennis racket manufacturer F A Davis. Charles Macintosh, the raincoat manufacturer, was acquired in 1926. The Malaysian estates were expanded over time, and Dunlop was the largest single landowner in the British Empire by 1926.

By 1930, Dunlop was the eighth largest public company in Britain, with a market value of £28.2 million. The company was a major industrial supplier for Britain during the Second World War, producing the bulk of rubber tyres and boots for the war effort.

By 1946, Dunlop had 70,000 employees, and sales outlets in nearly every country in the world. By 1948 Dunlop was the tenth largest British company, with a market value of £55.9 million.

Dunlop’s fortunes were closely interlinked with the British car industry. In 1950 Britain was the world’s second largest car manufacturer, and the world’s largest exporter of cars. Many of these cars were fitted with Dunlop tyres. In the 1950s Dunlop accounted for almost half of all tyre sales by value in Britain.

By 1955 Dunlop employed 100,000 people, and was the second largest private employer in Britain after ICI. In 1959 Dunlop was the twelfth largest company in the world outside the US.

Dunlop began to decline from the early 1960s as it was slow to adapt to the new market for steel-belted radial tyres. Performance was also undermined by the decline of the British car industry.


Pumps from Around the Internet

Internet research, using various keywords and spellings reveals a number of pumps, designs and manufacturers:

Unknown Brass Pump


BSA PN 27-8958, Inflator for WM20


Bluemels 'Motorbike'


Dunlop Inflator

An EBay sale, this inflator was fitted to a 1956 Triumph T110. The design of this pump suggest it was made by Apex.


Similar handle style to a Thapex?


Similar end cap to a Thapex?


Similar engraving to a Thapex?

Pumps and Ariels

Apex Pump on Ray Tolman's 1937 RH

Handle from Ray's pump

Original APEX from David Andersen's 1949 RH

Original APEX from David Andersen's 1949 RH

My Pumps

I've bought two Apex pumps for two of my Ariels, both speculatively, both from eBay. Here we go:

Early Thapex

This is a pre-1949 15" x 7/8" Thapex, that will go on the SQ4 - Its pretending to be old stock, sitting on a shelf at Selly Oak until it was fitted to my SQ4 in 1951.


It's got a black painted stirrup with no evidence of plating


It's got the early style handle, shown in the 1927 advert and also in the 1949 advert as the 'old style'


It's go the early logo on the body sleeve


It's got 'Made in England' moulded into the end of the handle.


It's got a steel end connection and a plated brass gland with a relatively light internal buffer spring.

Later Thapex

This one is post 1949 - there is a later style, but this is not it...


Very similar design, with some detail differences. Celluloid coated steel body again...


Post 1949 handle with 'Made in England' moulded in - very similar to the Dunlop pump, do you think?


New body logo, engraved and filled with gold paint


Alloy end cap, with cadmium plated stirrup


This one has it's washer and fittings. Notice the buffer spring is heavier, and the gland nut is Bakelite; that round head screw is 2BA and fits in a square nut pressed in to the plunger tube.

This one is fitted to my 1958 Ariel Huntmaster.

Pump Repairs


There are a couple of posts on repairing these pumps: