Showing posts with label ewarts. Show all posts

Friday, 2 July 2021

FH fuel tap

The Owner's Manual for the FH describes, in several paragraphs, how to operate the fuel tap and makes it very clear that the tap specified was not the usual two-plunger tap used by Ariel since before the war. In fact the manual tells you to pull the plunger to turn on the main supply, and then to twist and pull it again to get reserve. It took me a few eBay mistakes before I found the right one, courtesy of John Mitchell of the AOMCC. 

The tap John sold me was in great shape, but it was missing the filter and the main supply pipe which draws the main supply from a point above the water in the bottom of the ethanol-laden fuel. Since I have other taps with this pipe, and I have made several filters, it was no problem to make the missing parts.

I started with a bit of 3/16" copper tube which I annealed with the wonderful Rothenburg Superfire torch. I set the tube up in my cable nipple swage:


Using a centre punch & a pin punch, I belled out the tube until it was a tight fit in the register machined in the tap.


Next step was to make a little cylinder on the lathe to position the pipe within the filter. This is machined internally to fit the tube and externally to the same diameter as the filter, and soldered in place at the top end of the tube:


So there we have it, the components of the tap:


To assemble the tap, I pushed the swaged end of the tube into the register machined in the tap body - I didn't attempt to solder it in. I then pushed the tube into the filter, and applied some flux to the tap body where the filter sits and around the cylinder I made earlier, through the filter gauze.

When soldering the filter onto the tap body, you need a fair bit of heat - I use my kitchen blowtorch for those sort of jobs.

You'll notice the tap has a fibre washer - I usually use Dowty washers in this application, but there was no way the plunger was going to 'fall easily to hand' with a Dowty washer on the tap - so a thinner fibre washer it had to be.

Monday, 22 July 2019

Charlie's Shed - Petrol Tap Filters

Updated from December 2017

Many of the fuel tanks we have on our bikes are not in the best of condition and may be flaking rust or paint from inside, or worse, your tank liner may be in the process of falling to pieces. It's essential to have a good fuel filter.

Here are a few I made earlier:


Most of the fuel taps I have acquired have had either missing or holed filters, and, having had very limited success with the inline filters on the market (poor fuel resistance in plastics leading to cracking & cloudiness, or a ridiculous flow coefficient leading to fuel starvation) I have set about replacing the missing in-tank filters. This is typical of the damage you will find, if not a lot worse:


These are pretty simple to make if you are reasonably adept with a soldering iron. Start by removing the old one. I use a kitchen-type blow torch for this, which is plenty hot enough for sweating soft solder:


Hold the intake tube with a pair of pliers and twist it gently when the body is warm. It should come free quite easily


Look for the finest mesh you can find. The originals are a very fine copper mesh which is easy to obtain (though the mesh in the pictures is actually brass). Cut a suitable rectangle with scissors.


Start to form the cylindrical shape around a pencil.


You'll see that the final size for the filter on this double-plunger Ariel tap is very close to the diameter of an AAA battery:


I use a chamfered edge on an old credit card to form a tiny lap joint on both edges of the gauze, like I did with the oil strainer on the SQ4:


I then roll them around, mating up the lap joint and folding it down tight on the AAA former.


You can make a simpler lap joint like this:


Solder the joint with a small iron:


Flare the end to fit into the recess on top of the tap:


Have a good look at the recess on top of the tap. Make sure you clean out the joint of all goop, old fuel, rust and old solder. We are going to tin this area and sweat the new filter in.


Put the main feed pipe back in and trial fit the filter:


Now, push your AAA battery former up to the other end of the filter and form the closure:


Lay some solder onto the flare:


Lay a little more solder onto the end closure:


Flux the top of the tap and using a small blowtorch (the type you might use in the kitchen) apply some solder all around the joint, without the filter in place. Let it cool and clean it up and have a good look to see that it has run all the way around, then add the filter. Reheat the tap just sufficiently to melt the solder , and the heat should transfer to the solder ring around the filter flare allowing the two to fuse.


You might notice that this tap is fitted with a 3/8" BSP Dowty seal - makes a better job of sealing that joint than a fibre washer.

If you still have problems with your tap, check my post on replacing plungers here.

Thanks for reading, and I hope you found it useful.

Friday, 22 March 2019

Charlie's Shed - Fuel Tap Plungers

If you find yourself short of plungers, or the shaft of your adjustable plunger is damaged, they are quite easily made if you have access to a lathe.

The brass centre of the adjustable plungers, which is often short from having the slotted end broken, can be made from a bit of 3/8" round bar. Chuck this in the lathe and turn a suitable length to 5/32" - the best way to do this is to turn an 1/8" or so to exactly the right diameter, then use this short length as a guide to turn the rest in one pass. With a sharp tool this shouldn't be too much of a problem and it avoids the tiny bar bending away from the tool, which will result in the outside diameter being over size.


Chamfer the end and cut the thread - it's 5/32" BSW. Make sure you use a tailstock die holder or back the die holder up with the tailstock to keep it square - you don't want that thread wandering off.


Give it a polish and part it off:


Assemble it into the plunger and you are done:


The shaft I have made here is a bit over-length compared to the old one - maybe I will adjust it a tad. Notice the diamond knurl. I don't have the cutters for that - straight and diagonal knurls yes, but not the 'inverted' diamond knurl. Rather nice, and easier on the hands...

Post war plungers, as I mentioned in my other post on the subject, are non-adjustable unlike their prewar forefathers, and because of this I think it makes sense to update them with an O-ring seal.

The hexagon reserve plungers are made from 0.600" 303 stainless steel hexagon bar. You'll need a decent length for chucking and for the milling operation. Chuck the bar with a couple of diameters showing beyond the jaws, to give you enough space to part off when you are done:


Turn the shank to the required diameter - a little over 5/16". This needs to be a loosish clearance fit in the tap body you just reamed.


Use a thin parting tool to form the O ring grooves. Space them so that they are at either end of the equivalent length of cork:


For those, like me, without a mill you can use the toolpost or a milling attachment to mill a 3/32" slot, about 1/16" deep in the tap shank. Since the loads involved in this operation are tiny, I didn't bother to set the lathe up for milling. I cut the slot at about 1500 rpm in two passes, with a 3/32" slot drill.


Once you have completed the milling, test the plunger in the body and make sure the plunger slides freely with the retaining screw in place. Next, put the bar back in the chuck and polish up the shank; then, before you part off, turn the shallow chamfer on the inside of the head. You can then part off.

Turn the plunger in the chuck, and skim the outside face of the head, cutting the shallow chamfer in the same setting. Polish the head and you are done.


And watch out - the reason that slot looks slightly ragged is because I broke a cutter in it. Go easy.

Next thing - you will want to smooth the edge of the ports in the tap. look at this:


See the sharp edges? Remove that with a burr in the Dremel, or a tiny grinding tool. If you leave it, the O ring will be damaged. Look:


That nick will cause a leak. You are not really supposed to use O rings in dynamic applications like this.

Thanks for reading, and I hope you found it useful.

Sunday, 17 March 2019

Charlie's Shed - Fuel Tap Leaks

Updated from 2017

Following on from the replacement fuel filter I made here, I wanted to show you how I have renovated the double plunger taps fitted to my Ariels.

The plungers fitted to these taps are a simple design with a few variations - prewar, the plungers are adjustable and of about 3/4" diameter; post war, they reduce to about 5/8" and lose their adjustability. There is the plated knob, which may be round and knurled or hexagonal; the knob has a short shaft which has a milled groove, aligning with a peg in the tap body (to stop it coming out), and this groove is usually straight, but may be milled with a dog leg such that you can turn the knob to avoid inadvertently shutting off the tap. Fitted inside the knob is a brass inner shaft, of about 5/32" diameter for most of its length which is provided with a short section of larger diameter, to fit inside the tap body and to carry the cork.

Lastly there is the cork - a cylinder shape fitting tightly inside the tap body and around the inner shaft.

Here's a selection. These are all post war (so about 5/8" diameter; the hex is 0.600" across flats), and came to me from John Mitchell of the AOMCC.


You'll notice how some of these plungers have a straight slot for the retaining screw, and some have a slot with a 90 degree bend. These are the 'turn to lock' type, which are later than the ones with the straight slot:


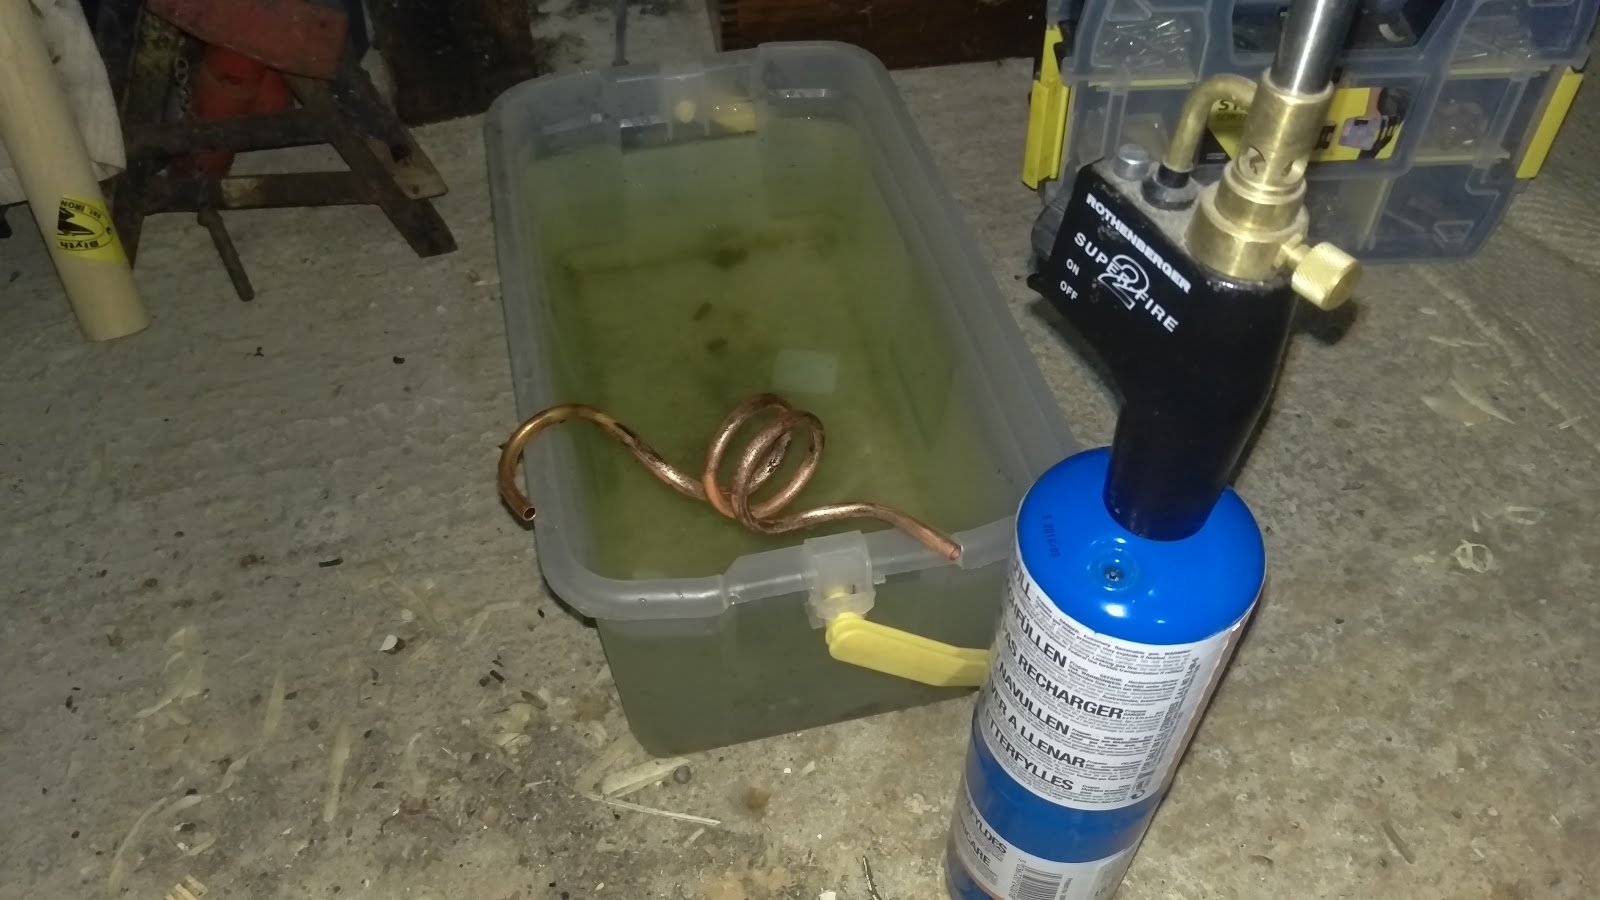
Now, these taps are pretty reliable if you know what you are doing when you set them up. The corks wear, and they dry out leading to leakage but if you keep them in good condition they work well. If you have a leaky tap, first consider what you have been doing with the bike. If for example you drained the tank over winter, or the bike has been out of service for a while, or you just bought the tap off eBay try letting the plunger soak in a puddle of petrol for a while, or immerse it in a pot of boiling water for a few minutes to rejuvenate the cork. This approach has restored many taps to working order.

If you have to replace the corks, you need to remove the inner shaft using a punch - a 3 mm or 1/8" punch will be fine. Locate the mushroomed end of the inner shaft and place the knob, shaft down, in the jaws of a vice.


Tap the mushroomed end of the inner shaft with your punch and drive it out


You should have the plunger in two pieces:


Replace the cork. Check that the new cork has a hole that is on-centre all the way through, and that the ends are square - a lot of them are poor quality. Check that it is solid and does not have any dark grooves in the cork that are going to cause leaks.

Check also that it is the right length. The short length of MIG wire in the picture below has two bends in it - one to indicate the open end of the tap and one to indicate the location of the fuel port drilled through the tap - the port that the cork will shut off. You can see that the short cork fitted to the tap has no hope of covering up the holes, but the longer new cork will cover the holes nicely.


Reassembly is simple - fit the new cork over the inner shaft and press the tap together in the vice. Wet the cork in petrol and try it in a tap - it should slide but be quite stiff. Up end the plunger again, and use your punch with a hammer to slightly swell the small end of the inner shaft, retaining it in the tap.

Prewar, the tap plungers were made so that you could adjust the corks and the reassembly sequence is a bit different. This is a prewar plunger, though not in it's own tap; the inner shaft has a 5/32" BSW thread (yes, really) retaining it in the knob, and the hex is about 3/4" across flats.


The shaft has a screwdriver slot and a lock nut, so when you slacken the lock nut you can turn the shaft and knob independently and compress the cork, improving the seal. The lock nuts are often missing, but early Meccano nuts are identical and readily available from specialists; they are a 5/32 BSW thread, but the hex is designed (or maybe just fits) 4 BA spanners.

The shafts are sometimes too short - the screwdriver slot is easily broken if you try to adjust it without removing the locknut. In this case, the only option is to replace the shaft or the whole plunger. Replacement shafts are not available but can be made on the lathe, as I show in this post.

There is a note of caution here though. If the locknut is absent, the thread damaged or just not tight, my W/NG is perfectly capable of loosening the tap cork after a fast run. The result of this discrete self-destruction is a strong smell of petrol in the garage and a drip tray curiously full... The moral of the tale of course, like most things with old bikes, is that nothing is 'fit and forget'.

If after replacing or adjusting your plungers, your tap is still leaking there maybe excessive wear or damage to the tap bore; you may have had trouble adjusting the cork to get it to slide evenly. It's a good idea to remove both plungers and inspect the bore - if you suspect it is worn, run an adjustable reamer through it to skim the surface and restore a consistent diameter through the tap. The bore is normally about 11/32" ID - I use an 11/32" - 3/8" adjustable reamer. Your aim is to remove the minimum amount of material, but to true up the surface:


When you have passed it through, look and see if you have cleaned the whole surface of the bore:


But what if you have no plungers? If you have a lathe you can make them quite easily, as I show in this post. Indian-made plungers are readily available on eBay and the ones I have seen use long M4 screws for the inner shaft. These are again of highly variable quality - the ones I have are plated very well, and look good - but of the five I have, only three have the inner shaft hole in the centre and the corks are way too short...


Usefully though, they can also be made adjustable. I made this one using a long brass M4 screw, with a slotted head filed flat and an M4 lock nut.


Once refurbished, these taps are very reliable. Attach them to the tank with a Dowty sealing washer:


Here's a dual plunger tap beloved of Ariel, fitted with two pre-war (so large size), adjustable plungers.

Thursday, 1 September 2016

Charlie's Shed - Curly copper fuel pipe

We'll need a new copper fuel pipe for the W/NG, like this fine example from Paul Slootheer:


It will need curls to give it some flexibility and it will need to be annealed after bending. We don't want a fracture out on the road, pouring fuel over the dynamo.


We'll use these soldered unions & nuts.


Here is another reference point:

Barn find NH, stored since 1960
Using Paul's guidance & some hints from Nev Hunter I've made a pattern from a thick piece of plumbers solder. You can see the fuel tap here as well, which is a re-sealed original but has a repro hexagon shaped reserve plunger:

Three tight curls
Two looser curls, more suited to 1/4" tube
Using some 1/4" copper pipe, we'll bend up the real thing. It's important to think this through, bend by bend and perhaps to buy enough pipe to have a second crack at it if it all goes horribly wrong!

Take it slowly; you have to realise that in bending the pipe you are aiming to stretch the copper on the outside of the bend. You can avoid flattening the pipe by filling the pipe with sand or solder, but if you are gentle and controlled this is not really necessary and was certainly not done by the factory. Use a hardwood former - I used a 1 3/4" oak dowel, that I used as part of a kitchen worktop project.

The first bend
The first bend is an easy right angle bend around the former. Make sure there is enough length to bend up the tail into the bottom of the float bowl later on.

First bend against the pattern
Start to form the curls by clamping the downward tail against the former in the vice This is probably the most difficult part of the whole operation.

Holding the first bend in the vice and starting the first curl around the former
The design of the vice usefully allows you to trap the downward tail in several positions as you form the first curl around the former.
Moving the downward tail around the vice and continuing bending the first curl

Moving the downward tail again, and complete bending the first curl

Moving the downward tail around the vice again and starting the first second around the former

The curls, finished
Once the curls are finished, have a good look at them against the pattern. This is where the pattern is most useful, as until you cut the copper pipe to length you cannot really fit it against the bike.

Add the upward bend toward the tap

You can now put in the last bend, which is the U bend beneath the float chamber. This is simply bent around the former, making sure that start of the bend is in the approriate position to allow the finish to land in the union beneath the float bowl.

Roughly trimmed to length
I'm currently waiting for the tank mounting rubbers to turn up. Until they do, I'm not sure of the final resting place of those ends...

So, with the tank bolted in the correct position we can try the new fuel line in place and trim it to fit. Attach the nipples with their nuts (but without the fuel line) to the petrol tap and carburetter and offer the fuel line up - I put the end of the line in the carburetter float bowl union first since this is least accessible. The most important thing here was to get the fuel line to avoid the dynamo and the advance retard cable:


This meant that I had to cut the carburetter end of the line as close as possible to the bottom bend, to get it as high as possible. This done, I could set the line in the carburetter end and see where the other end was going to fall. With a little trial and error, remembering not to cut too much off at once, I got pretty close:


I need about another 1/4" off the tap end. Cut with a tube cutter or a hacksaw, deburr properly and blow out the line:


Since you are cutting tiny lengths off at this stage, its easier to use a hacksaw. A tube cutter crushes the tube a little which is a problem when cutting short lengths. Another 1/4" should do it:


With the nuts in place, it is stiff enough to do some final tweaks on the bends, in my case to avoid the dynamo:


Ready for annealing & soldering up. Not looking too shabby:


Next step, before soldering the nipples on, is to anneal the pipe - in other words to remove the work hardening stresses that have built up during bending - I am sure you noticed it got stiffer after bending? You don't want to leave the pipe in that state, because it is going to bend a little in service, through vibration, and this will make it harder still eventually leading to a fatigue failure.

For copper, the annealing process involves heating the material to cherry red and quenching in water. No problem for the mighty Rothenburger torch, even with propane in the tank. You will want to clean the scale off with wire wool after annealing.

Be careful with the pipe from now on - it is very soft and will bend very easily.


Tin the ends with solder after fluxing; put the nuts on the right way round, and sweat the nipples on. I use a small butane torch for this - do not overheat the joint, or the solder will not take.


Finished.