Showing posts with label oil filter. Show all posts

Friday, 13 June 2025

SQ4 - changing the oil

 It's high time Square Four had an oil and filter change, so with the oil return line repair complete on the Huntmaster the Square Four is back on the bench after a 10-minute run to warm the engine oil up. 

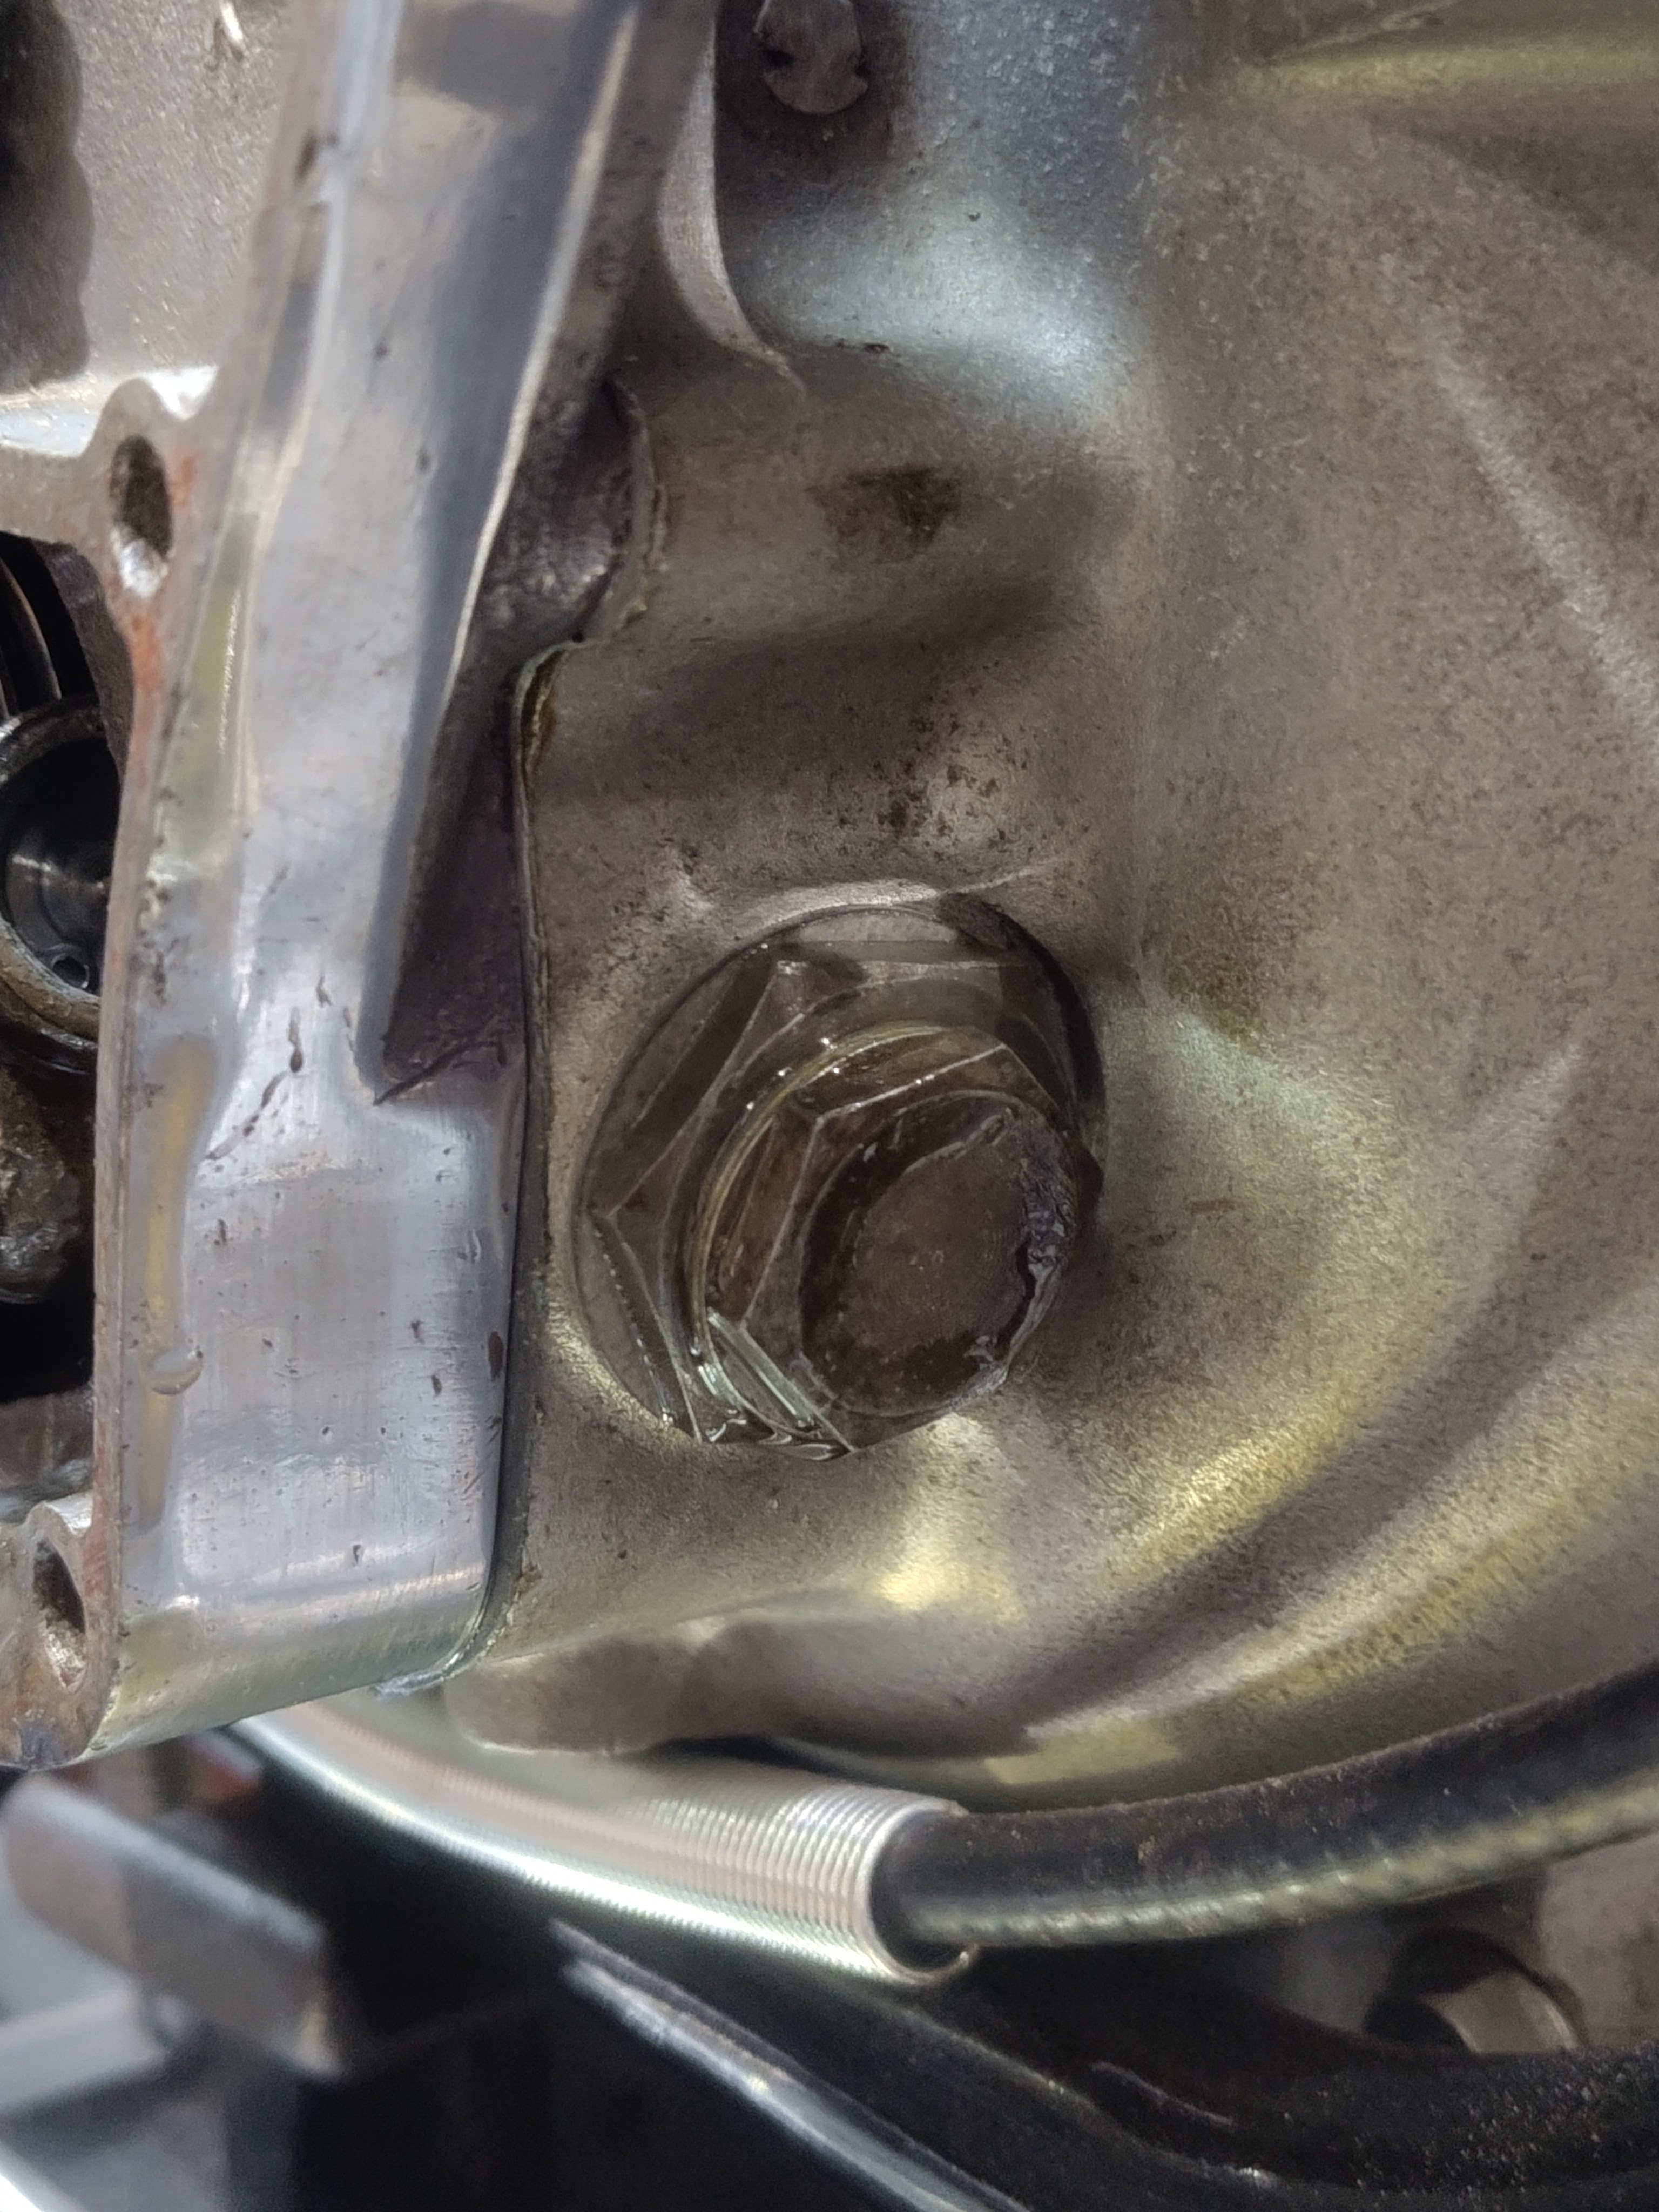
As usual it's an absolute pig to get the oil tank out but it's very easy to drain the tank and the sump - I have a new sump plate (well, it was new 10 years ago) with a drain bolt and magnet in the middle of it. I had something like 300 ml of oil out of the sump - I'm not sure whether that's unusual or not. 

I was surprised to find the sump strainer damaged - I think I'll get a new one from Draganfly. 

With the oil tank out I can degrease the area around the top of the box where the filler is - it's always quite mucky around here because it's very difficult to top the box up without getting grease everywhere.

The oil tank is also a very tight fit - it's always a struggle to get it out. I'm wondering if it's fouling the frame tube, perhaps stuck between the frame tube and the gearbox plates.

I had the tank in the parts washer for 15 minutes washing the outside and the inside and was pleased to find very little sludge and no debris in the tank at all. There's obviously been some further washing of the engine through the detergent oil that I'm currently using as the cases appear very clean and the goo in the bottom of the tank and on the sump of drain plug is just like the dark grey substance you would get from the crankshaft sludge traps.


You can see one of the cams in this picture - the wear ridge is quite clear. I have a new camshaft ready to go in when I decide that I'm bored enough to rebuild the engine!


I filled in my maintenance spreadsheet but for the record the mileage is 4089 miles.


Monday, 21 October 2024

FH - we have oil! And where we want it!

 Today I applied a bit more elbow grease to the ratchet spanner I was using to turn the mainshaft and attempt to get some oil circulating in the engine. I realised that if I put the machine in fourth gear I could achieve the same thing turning from the rear wheel, perhaps with a bit less effort because I'd have the full diameter of the wheel as leverage to turn the engine. 

This worked really well and I was able to get the engine moving quite quickly by pulling on the tyre. I persisted with this routine each time I visited the workshop during the day.


Suddenly, it all started to get easier. This happened with the Square Four - the oil reaches the major bearing areas and they start to slide much more freely. I decided to give the big drill another try.

Even turning the wheel I had started to see a lot of oil around the pump. This would be emerging from the cam and idler bearings I think. With more engine speed derived from the drill, this area became a lot wetter but I still wasn't getting anything at the tank.


I was on the verge of giving up for the day and heading home for some tea, when oil appeared at the tank return. It takes a while to get up here when you have a filter, because of course the filter has quite a significant volume to fill:


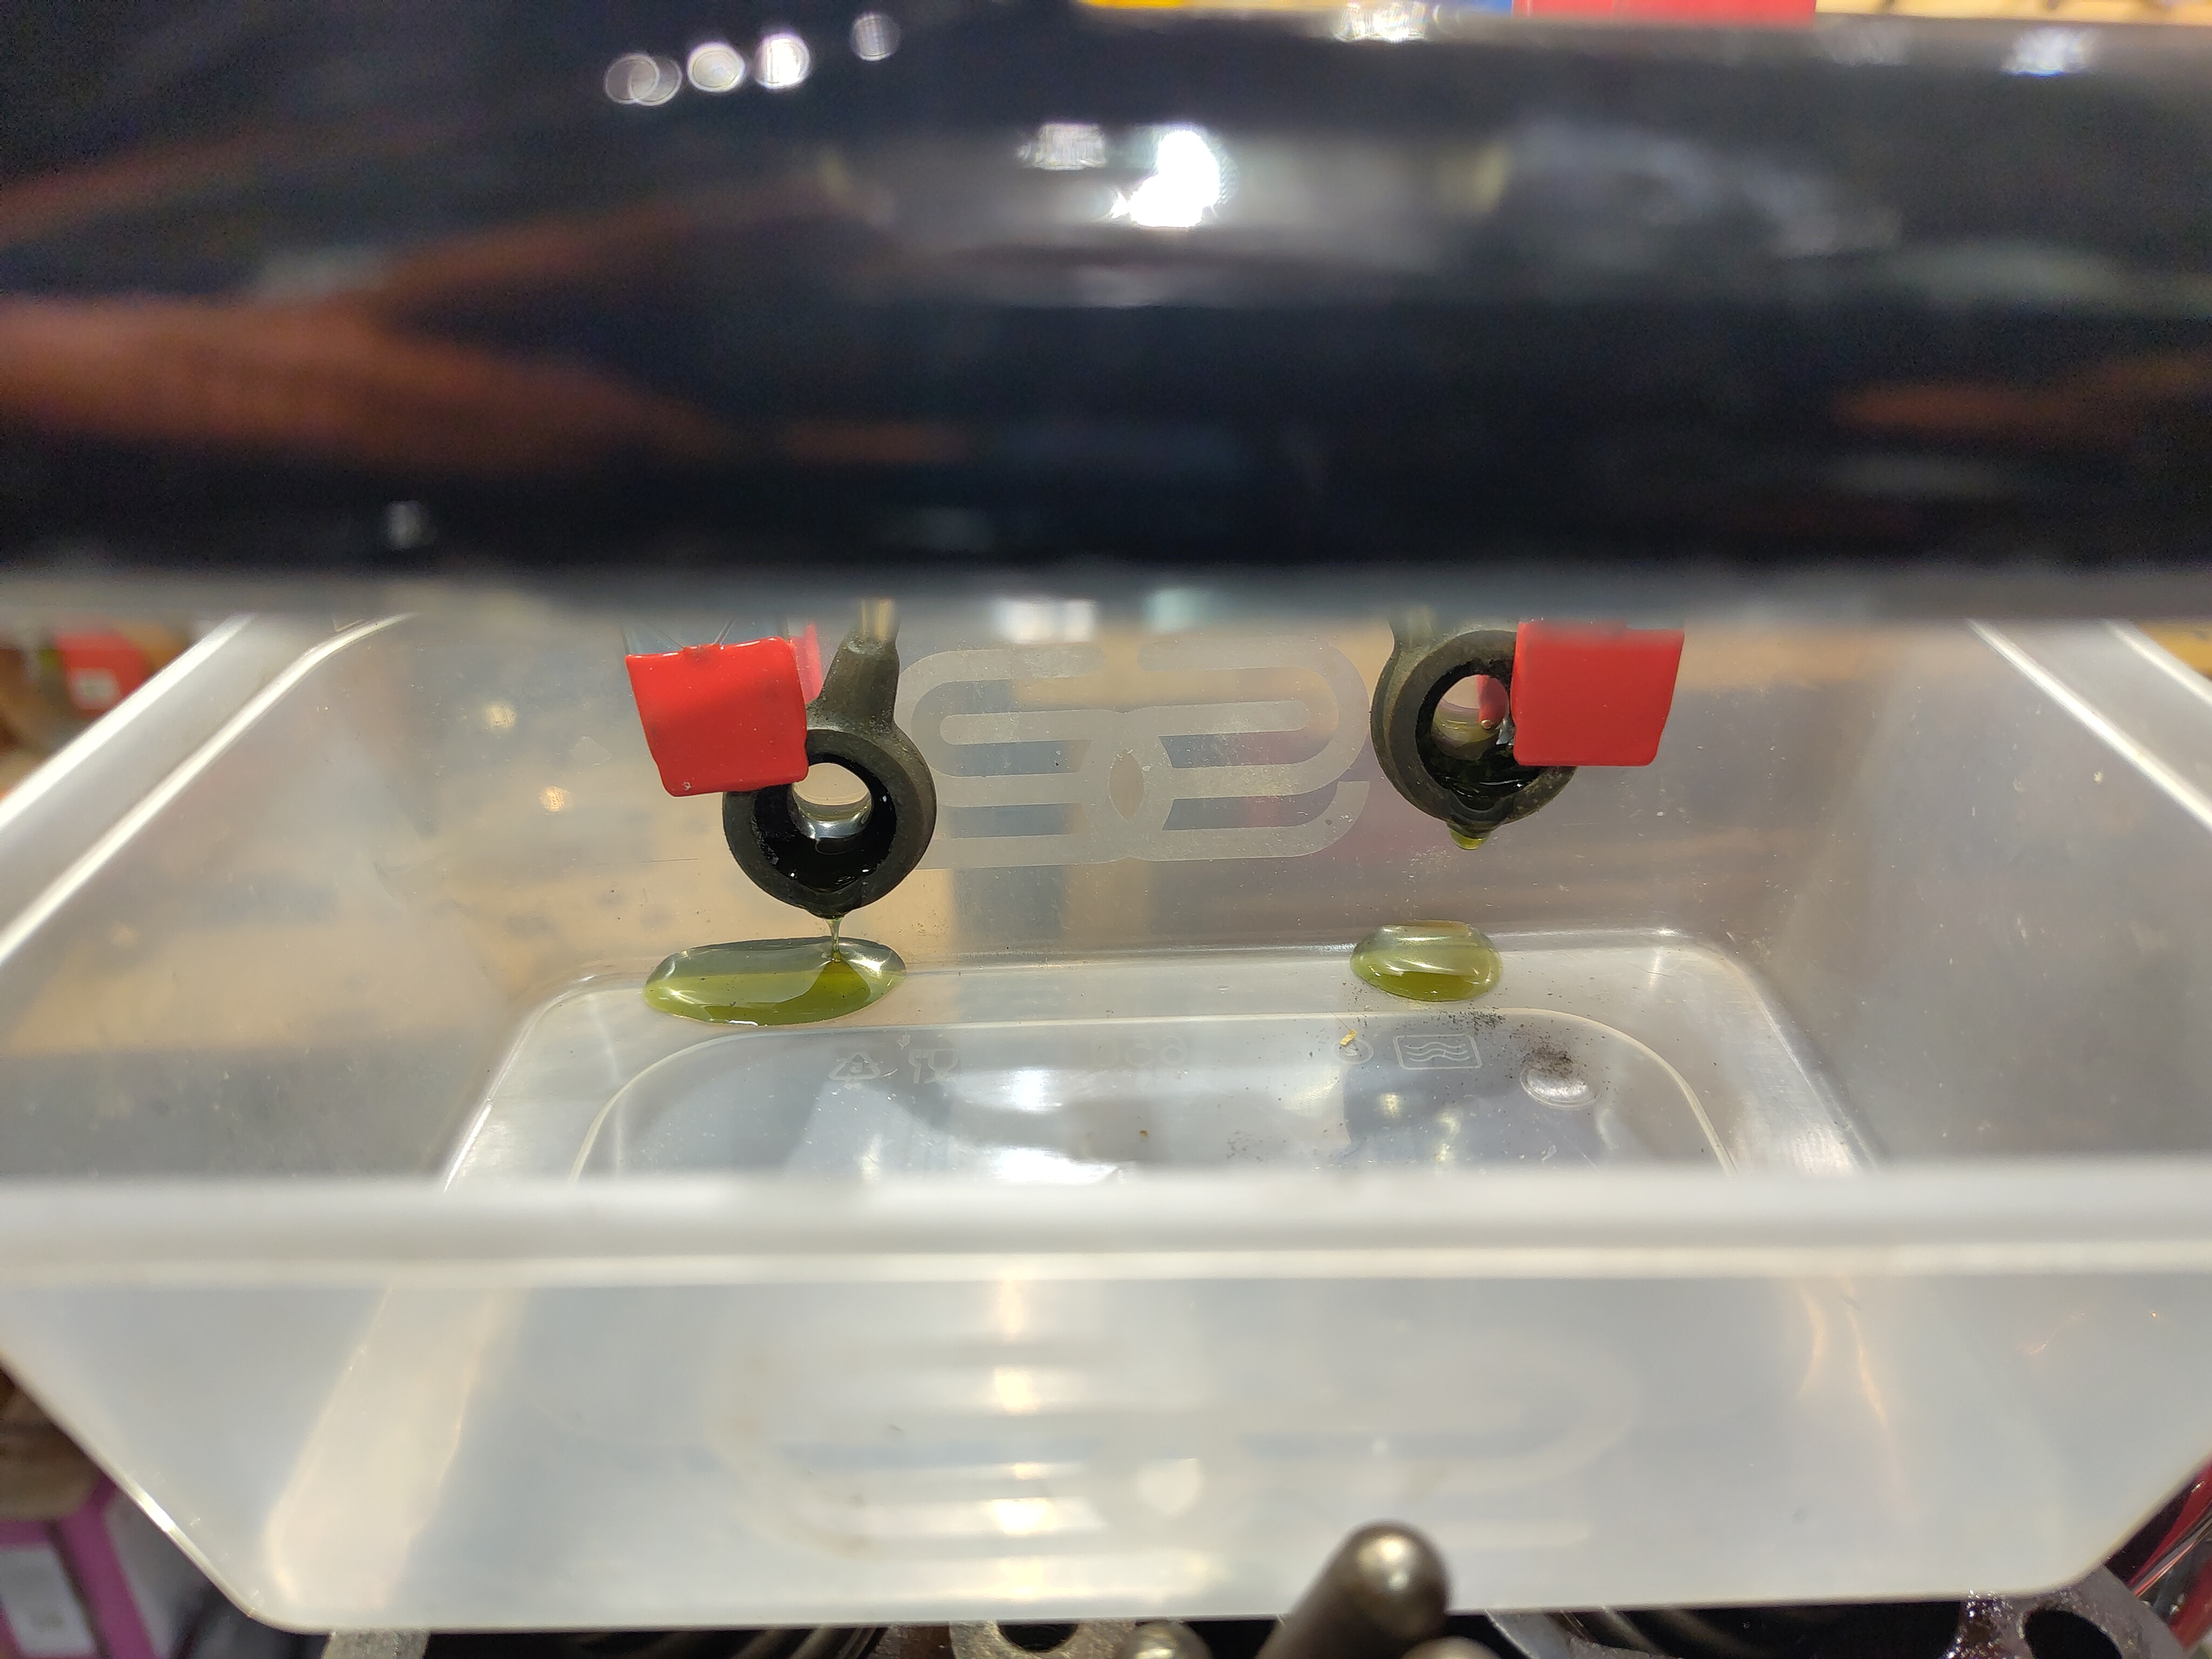
A couple more minutes on the big drill had oil appearing at the rocker feed banjos.

So that's that - very pleasing. The next step is to close it all up and get it running. Oh, and by the way - this is Morris SAE 30 Running-in Oil. I'll be using Morris SAE 40 generally.

Sounds so easy when you say it like that!

Sunday, 20 October 2024

FH - creeping forward

 That hasn't been much of a week. My wife and I have both been in bed with the flu, so nothing much has happened on any of my bikes or any other job come to that; I even had to cancel a railway trip this week. 

However, the oil tank is hooked up and I started to try and crank over the engine using the gearbox mainshaft nut as an access point. It was quickly shown to me that using a power drill here was not an option, because of course we're driving through the clutch and a primary gear ratio to get to the engine unlike the last time I did this which was directly to the square four front crankshaft.

I've been cranking by hand using a half inch ratchet spanner. I've got oil at the relief valve:


I've got oil at the return filter, which proves that the return filter union connections weren't tight enough. 


Trouble is I don't have oil at the tank return connection yet, nor at the rocker box banjo connections:

More cranking required. Maybe I’ll roll it down the hill?

Wednesday, 9 October 2024

FH - hooking up the oil tank

 There's a few jobs knocking around at the moment and it's all starting to get a bit confusing. This next task is aimed at preparing for running the engine up on a power drill to circulate the oil before we put it under any load. 

First off I'll have a look around the oil tank and make sure it's clean and to make sure that I understand the connections - basically that so I don't make a mistake when I'm hooking it up.

Looking inside the filler neck with a camera reveals the return pipe and its hole just above the return strainer.


Next to this on a flat ledge is the restricted hole which leads down to the chain oiler:


Deeper in the tank we can see the feed pipe which is raised above the bottom of the tank, and behind it the drain plug which unsurprisingly is right at the bottom of the tank.


The next step is to finalise the hooking up of the oil lines. These are connected correctly, with the feed pipe on the outside of the tank going to the feed connection at the bottom of the engine.

Next we'll swill out the tank with paraffin, finalise the screwed connections, and make up the push fit hoses for the chain oiler and the rocker box oil feed.

Thursday, 19 October 2023

FH - getting the FERC fitted

 Next jobs are to secure the mudguards prior to temporarily fitting the wheels. First though, we have a few more bits from Draganfly - the fork top nut washers and the steering damper knob spring:

Then we need to fit the FERC, or Fully Enclosed Rear Chaincase in Ariel speak. It's a big floppy tin thing and is a bit of a struggle, but it goes on. You have to fit the rear sprocket and it's stub axle first:


That nut will get plated in the coming months, but I am not so sure if those washers are the correct outside diameter.

I'm hovering around fitting the gearbox but I need to clean it first. Before that can go in we can fit the oil filter on it's bracket - it's nut is a candidate for plating too:

The FERC looks tidy when it goes in; the smaller bolt in the outside of the lower half is a pig though, as it is hidden by the pillion footrest support.

You can most definitely get the oil filter out with the FERC in place!

The front part of the FERC must go in before the gearbox, and that needs the chain oil line:

The front half is retained by two screws to the frame above the swinging arm:

The oil line will need adjusting for length and some bends changing:


First I have to figure out which line to connect it to!

Thursday, 27 June 2019

Dry Build - Siting the Oil Filter

These plain journal engines run close tolerances and need a decent oil filter. Modern oils keep the dirt in suspension and if there is no filter, the oil becomes contaminated very quickly.

The SQ4 has a Norton commando oil filter, like this one, fitted under the gearbox where:
  1. you can't see it
  2. you can get to it easily
  3. it doesn't ground on kerbs
We'll need a similar site for the filter on the FH.

There's a lot of space behind the engine, between the engine/gearbox plates - but not for this filter, which is marginally too big for this location.


Beneath the swinging arm and in front of the mudguard is a likely location used by many FH owners. I'll need to find a location where I can easily mount the filter and where the oil lines will be able to get to and from it without kinks - and it must also fulfil the other criteria I listed above.


This is probably no good - there is nowhere to mount to and the oil line routing could be a bit tortuous:


This is an example of a mounting used in that area:


This one is on AOMCC forum member Steve Carter's Ariel Cyclone.

And another - this is AOMCC Kieth Mettam's filter:


Another one from Steve Carter, this well used Huntmaster carries a Morgo filter - these are smaller than the Commando filters and easy to place - but they are quite expensive and it makes sense to me to use a unit I already have elements for, commonality of spares and all that:


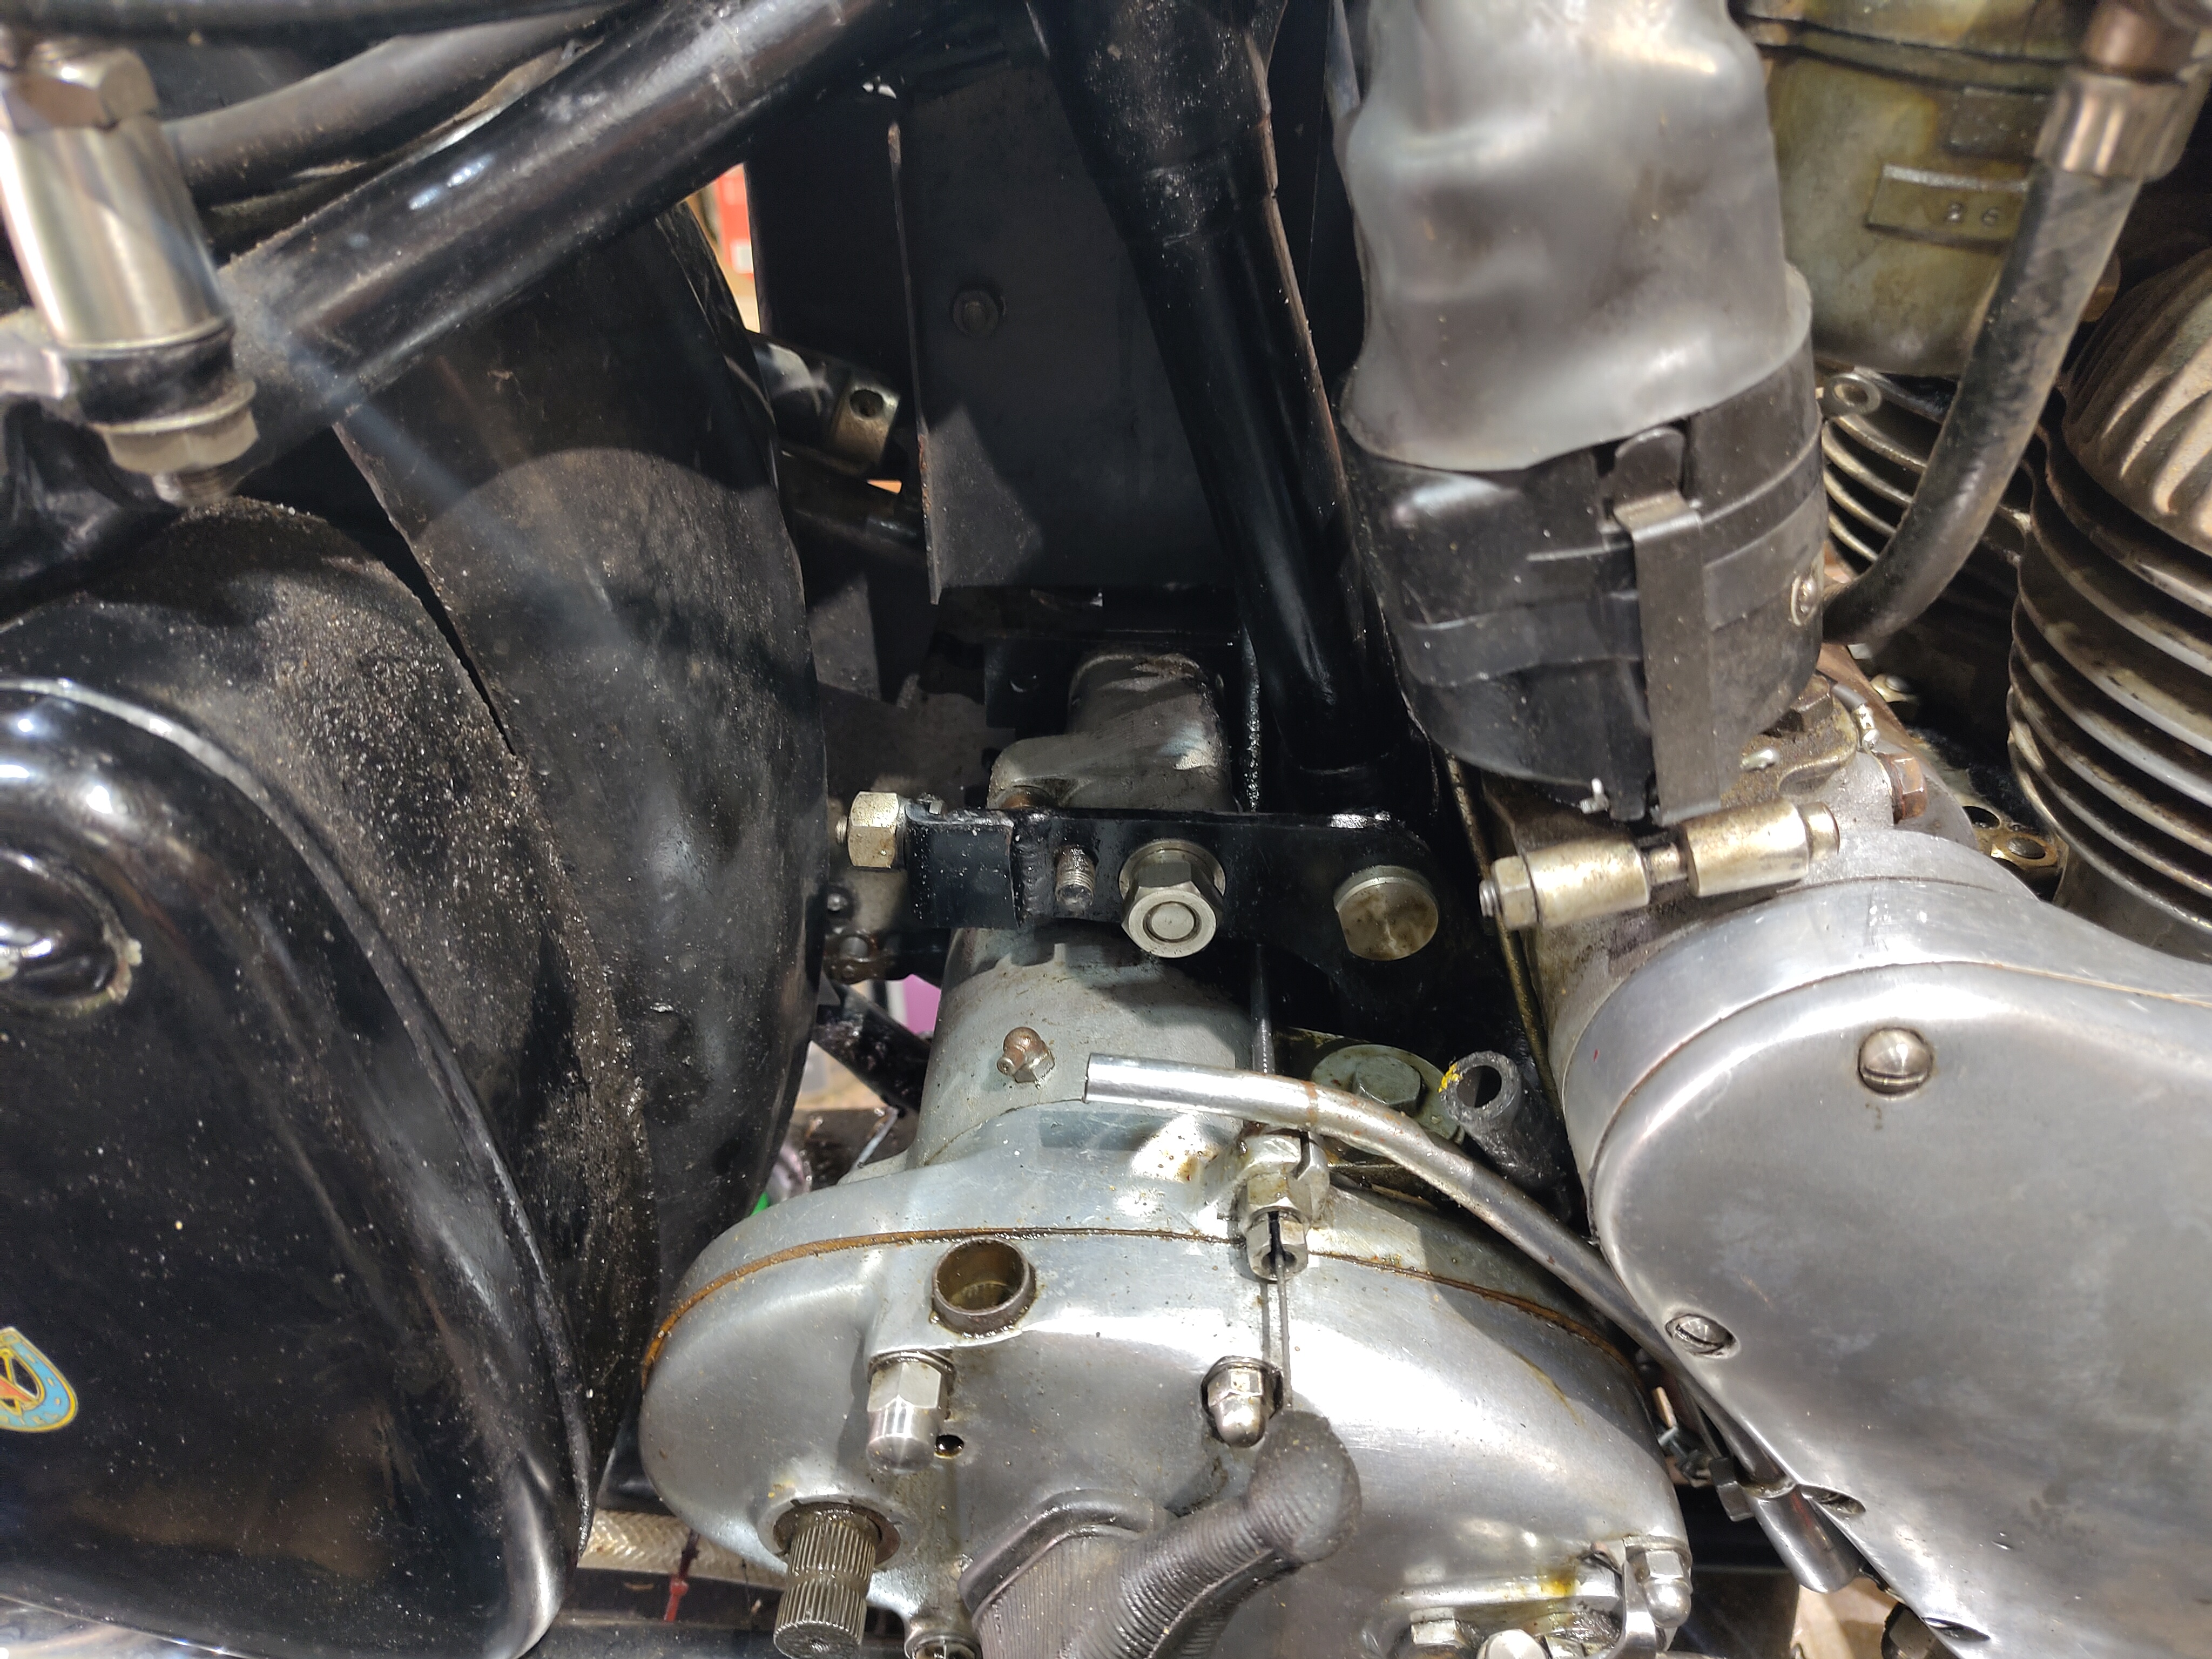
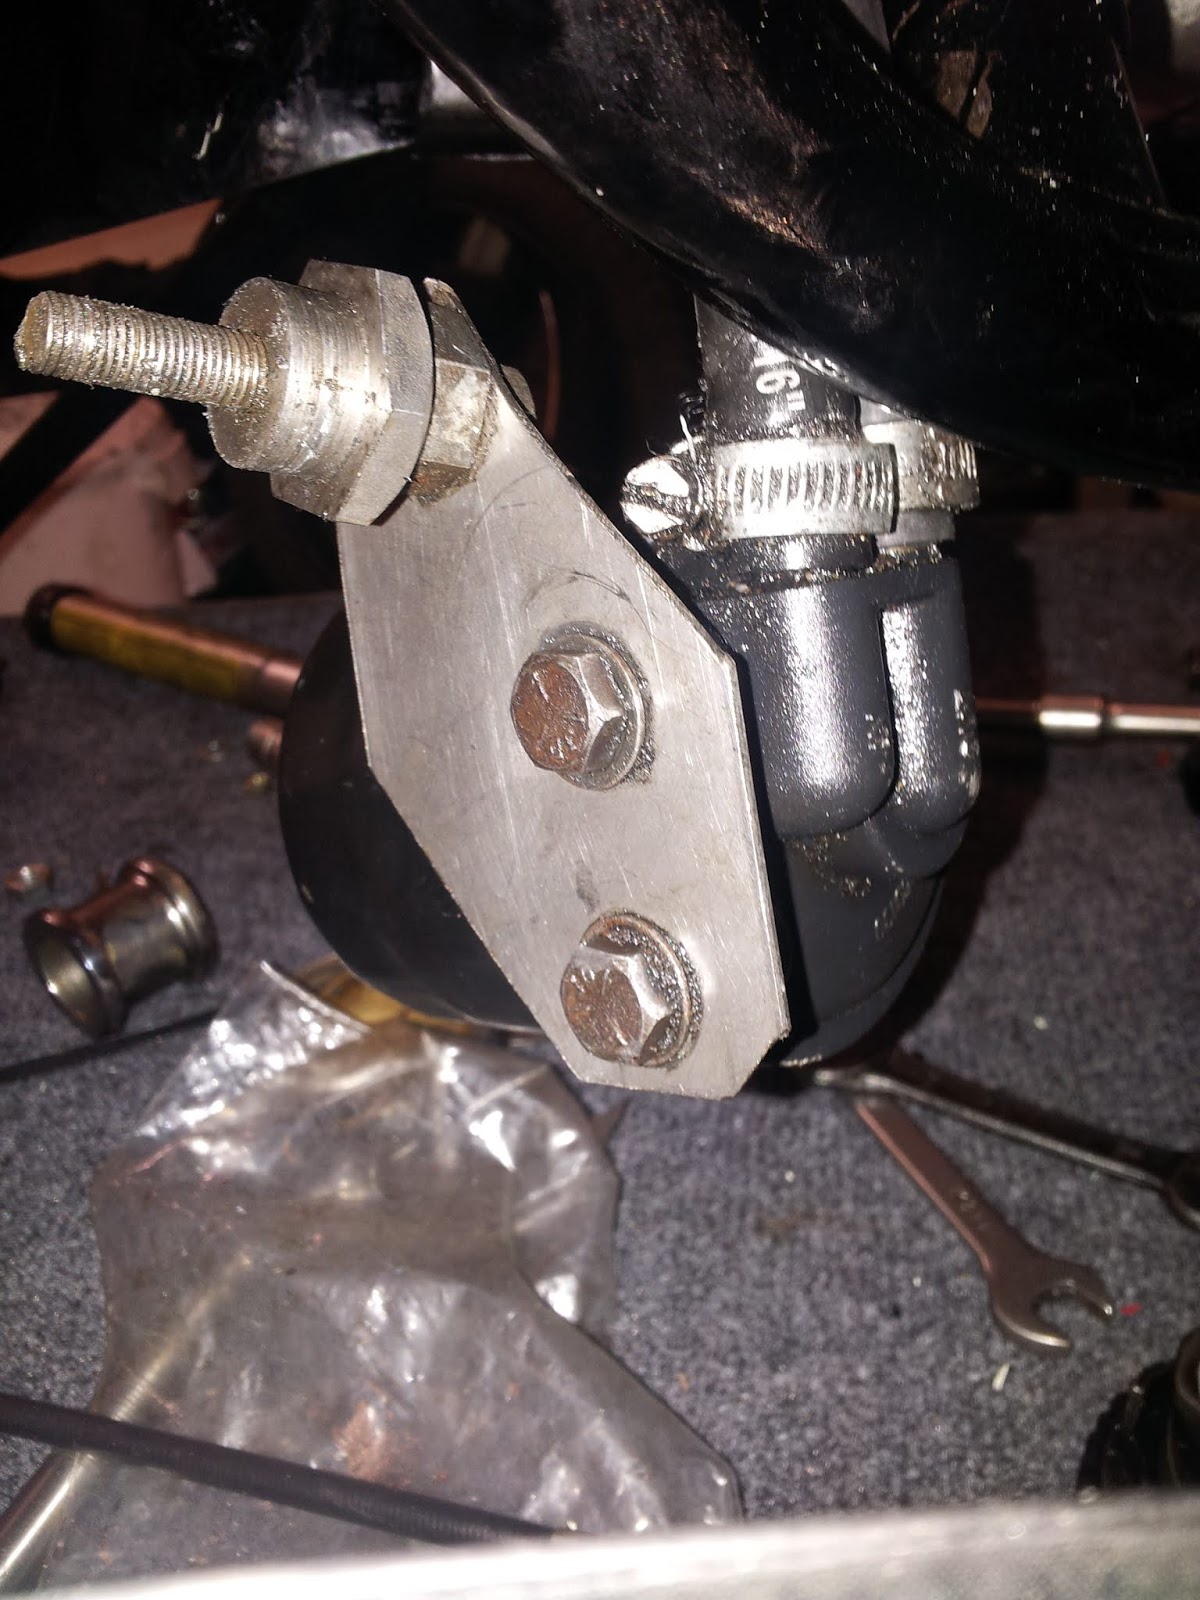
This is my choice. I'm using a mock-up bracket, made from a bit of 20 swg sheet, welded to an old footrest bar sleeve nut and placed in the sidecar lug beneath the swinging arm:


It's too far back, and the oil lines foul the gearbox casing:


Time to cut it up and shift it around:


To become this ugly but effective thing, including a bit of butt welding practice:


Also pictured is the beginning of a special bolt that will locate the filter bracket in the sidecar mount.


This is better. It's further inboard to allow the oil lines to pass the gearbox outer casing, and further forward to guarantee the filter clears the mudguard and rear wheel:


The next step is to replace the bracket with one made from 3-4 mm sheet, and finish the special bolt that holds it in place. I'll use the same old sleeve nut, but I will probably machine a journal in it to fit in the hole properly.

Here's the finished bolt:


It's in the wrong side, but I'm just testing for fit. I wanted to make it look like the swinging arm nuts.

I'm tubing up using a mixture of Huntmaster and BSA A10 oil lines. The long A10 lines stretch from the engine right around under the gearbox to the oil filter:


I've spent a long time faffing around with these connections, even considering moving the filter altogether. In the end, after a session mulling it over one night in the workshop with my son, we concluded we could get it all in there if we modified the fittings:


I've shortened the unions in the lathe and gained about 5/16" which is enough to give the gearbox it's full range of adjustment. This allows the gearbox to move and the oil lines to follow the routes I'd laid out. A minor problem is that the return to the tank is touch on the long side and the route has to cover a 120° bend on top of the gearbox, which is a bit unsightly.


Final filter bracket:



Sunday, 7 May 2017

Changing the Oil

As you all know, the W/NG has not been in my hands for long. As we know little of its past, we need to do a oil & filter change, 1940's style.

First off, we need to remove the sump plate to drain the crankcase and get some access to the sump strainer:


It's normally held in place with four 1/4" BSW hex screws, wired in place. No wire here! Removing the screws, I'm a little concerned that two come out with the proper 1/4" BSW spanner, and two come out with a 10 mm spanner.

I shouldn't have been concerned though, I have seen imperial fasteners with heads filed to fit metric spanners before on this bike, and these are no exception - all 1/4" BSW:


The strainer looks good too. We'll clean that before it goes back:


It looks like the scavenge pump is working, as there is nothing in the sump:


I'm going to leave the oil draining for a while and I want to make sure the whole system is drained, so I have disconnected the two oil lines at the timing chest:


This is how the lubrication system works:


Thursday, 14 August 2014

What's left?

Lots of bits and bobs left to do, but at least the electrics are done. No pictures, but after blowing a couple of fuses due to an ignition circuit fault in the ammeter panel, and some poor connections to old bulbs, I have a fully functioning electrical system. Only a few items left:

  • a link between the brake pedal and the brake lamp switch
  • the speedometer bulb is not working
  • the dynamo is untested
  • the regulator is not connected at the battery

It's mainly oil system now. The sump plate went on last night:


Its a new one with a drain plug, from Drags. Oil filter and oil pressure gauge next.

Monday, 28 July 2014

Loose Ends

Well, its been an active and enjoyable weekend tidying up loose ends. Thanks go to Patrick Huthwaite who came by yesterday to do the inspection for the Dating Certificate - nice to meet you Sir.

On with the oil tank - the secret to fitting it, is to get it inboard enough to allow the clearance built in the top of the tank to accommodate the frame tube; the secret to allowing this to happen is to remove the nut on the gearbox top bolt.


Next problem is getting the oil lines in. I've realised that most of the struggle I have with this is down to the fact that the strainer I made is way too long, with the result that you have to bend it to get it in and it always catches on the threaded boss in the tank. I cut it down and re-soldered it:


So now, the oil lines go in easily.

I've also fixed the rocker feed oil lines:

And the rocker shafts are sealed:


What else?