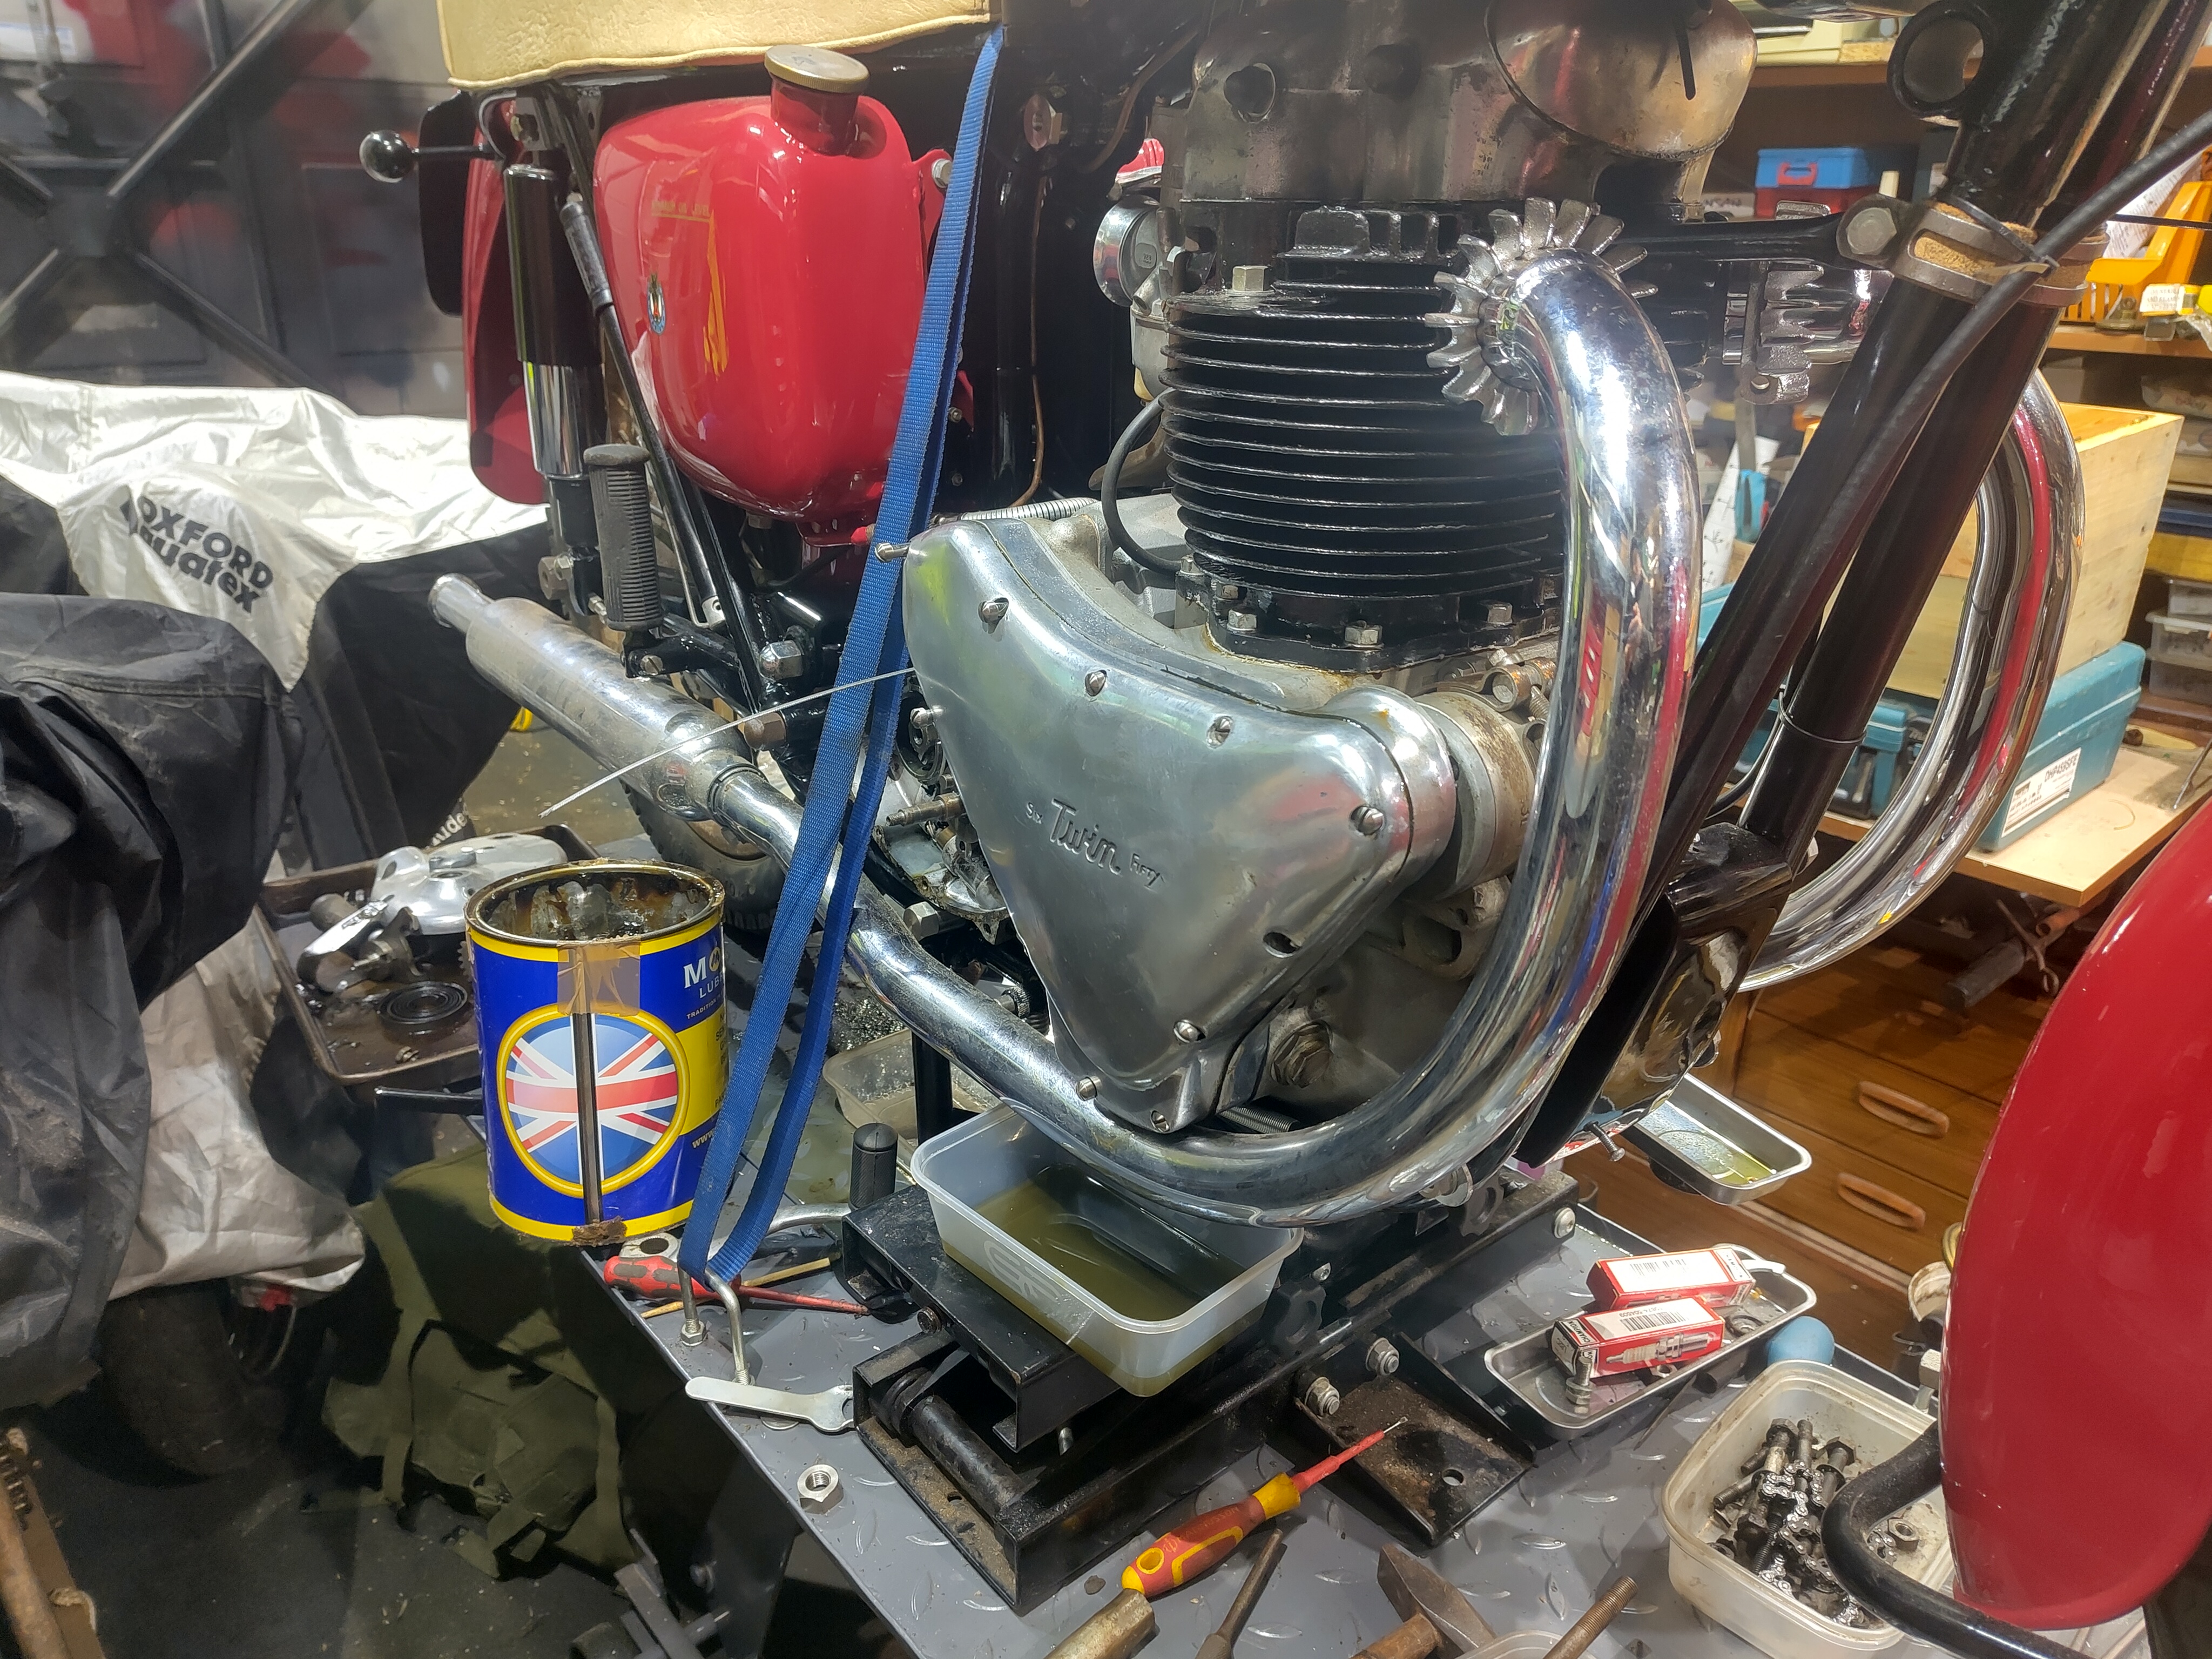
Having fitted the new carburetter to the W/NG, I thought I would look over the ignition system before I shake it down any further. I was having trouble with the idle settings and I wanted to ensure the other maintenance settings were spot-on before I investigate the idle issue.
So this morning we are looking at ignition timing and some associated jobs. Our focus here is of course my 1942 Ariel W/NG, but the points are valid for any M01 magneto equipped bike - that's all the BSA pre-unit singles, Norton singles, Triumph singles & Royal Enfield singles.
Assemble tools
Get your tool kit ready. I always use the tools I have on the bike for jobs like this - next time you do it you might be grovelling about in the gutter, so it pays to make sure you have the right tools and that they fit the relevant fasteners.
For example, I once found my magneto spanner did not fit the points hexagon properly and needed to be opened slightly - I would not have been happy if I had discovered that out in the countryside, however sunny it was that day.
For this job, you will need a drip tray. The timing case will have some blow-by from the oil pump in it and you don't want it on the floor - you will slip in it when you are pushing the bike about, and then you'll drop the bike or yourself, or both, which will spoil your day.
Last thing is to put the bike in a high gear, so you can move the engine carefully from the rear wheel.
By the way, it is important that you do these steps in the proper sequence. Anything else is going to compromise the ignition timing and hence the quality of your spark.
Remove the spark plug
Use your tool roll plug spanner and tommy bar to remove the plug.
Have a look at the plug and deliberate over the state of your mixture, piston rings, and ignition timing. This one is verging on OK in my book - no oil, it's not burnt, but it is a little dark suggesting my mixture is a bit rich. I'll not worry too much about that since I have changed the carb and we are checking the ignition timing today.
Check the cable tension
The ignition timing is controlled by the advance lever on the left hand handlebar - at least it is on Ariel singles. Ariels use a 'tight wire advance' in that the lever is pushed away from you, pulling the advance cable to advance the ignition.
To start work checking the timing, we need to make sure this cable has a little slack in it. Look at the ferrule at the handlebar lever end and make sure it is seated properly in the lever:
The other end of the cable disappears into the magneto under this little rubber boot:
There is a cable adjuster under the boot. Have a close look at the cable ferrule again and make sure the cable is a little slack - if it's not, move the adjuster until it is:
Setting the points gap
The next step is vital - work on the ignition timing with the points gap set up wrongly is a waste of time - the timing settings will be way out. The thing is, when the points are closed, the position of the points heel or pushrod relative to the cam is dictated by the position of the fixed point: if the gap is set too wide (i.e. the fixed point is further away from the moving point) the points heel will contact the cam later than if the points were set too tight - which alters the ignition timing.
Start by removing the points cover from the end of the magneto - swing the spring clip aside, or unscrew the cover.
This reveals the points and the cam. You can see the shiny surface of the cam in these two pictures:
This is where it is useful to have the bike in gear - you can move the rear wheel to move the points. It's quite difficult to access the points from under the dynamo. This 1942 bike has the short 40W E3HM dynamo - access is even worse with the long 60W E3L. You may wish to take the dynamo off while you adjust the points.
Use your toolkit magneto spanner with it's built in 0.012" feeler gauge to test the gap - look for a light dragging fit.
Use the spanner to release the lock nut under the fixed point and adjust the fixed point. Feel free to move the point - on this magneto, it is much easier to access the points with them at the 9 o'clock position, though the points are closed at this position. You must move them back onto the cam (12 o'clock position in this case) to test the gap.
Don't forget to do up the locknut when you are finished - but note that moving the locknut usually moved the fixed point a bit. Test it all again when it's done up tight.
Checking the timing
This is what we came for.
The first step, if you don't have one, is to make a graduated stick. Mine is a Wagamama bamboo chopstick; it's a good idea to drill one end for a loop of wire or string - something to stop the stick disappearing down the plug hole.
Stick it vertically in the plug hole, and move the piston with the back wheel until the piston pushes the stick upward while you hold it vertically in the plug hole. When it is as high as it goes, make a mark on the stick aligned with some convenient geographical feature - a church tower, TV mast or even the top of an adjacent cylinder head fin.

This is 'top dead centre' or TDC, the highest point in the piston's travel. Use a ruler to measure some graduations above your mark - mark 1" in 1/4" increments, with something indelible like a Sharpie marker.
An aside that you might want to consider. There are obviously more accurate methods of measure the piston position and detecting points opening than the method I describe here. This method is simple, but not particularly accurate - it's 1920's technology not 2020 technology, but it will get you going and get you home.
Personally, I get a lot of pleasure from this low-tech approach; I also ride my bikes on roads that existed when they were built and remember, with a manual advance magneto, the lever can be moved at will - there is little point in setting your piston position to the nearest half-millimeter when the lever setting is so inaccurate.
Next, wind the piston backwards and put your thumb over the plug hole. Turn the wheel forwards until you feel the air pressure trying to blow your thumb off - this is the compression stroke, where both valves are closed. Turn the wheel back a little way to bring the piston backwards down the stroke. Watch the points move around the cam, noting roughly where the points are when they open.
The Ariel I am working on uses a magneto which turns clockwise when viewed from the points, and the engine fires at something like 11 o'clock. In this case, I position the points at 9 o'clock, because I can get to them easily and place a blue Rizla cigarette paper between the points. Holding the cigarette paper, turn the engine unto the points release the paper.

Now, if I do this with the ignition lever set to full retard, the paper is released (and the engine would fire) at TDC. If I set it to full advance, the paper would be released with the engine about 5/8" advance, which we can see from the position of the stick:
The various notes Ariel issued for the bike recommend setting the ignition fully advanced at 3/8" - 1/2" BTDC, or 'Before Top Dead Centre'. Since my lever allows the ignition to be set between 5/8" and TDC, this is OK.
Remove the timing chain cover
You did remember to put a drip tray under the bike didn't you? The timing cover encloses the magneto chain and this is lubricated by leakage from the oil pump. consequently, there is always some oil within the cover and you will want to catch it as you remove the cover screws.
Check the chain tension
The timing chain needs to be maintained at a reasonable tension as it wears, or it will be carving your timing chest to pieces. If you look closely at this picture, you can see two grooves in that threaded post where the chain has touched it in the past.
The tension is not too critical, but there are a couple of points to bear in mind. Too loose, and it will be noisy and wear the case; too tight, and your magneto bearings and possibly the armature will suffer. Worse is a misaligned chain - it's quite easy to get the two sprockets out of parallel which is going to wear the chain very quickly.
The workshop manual for the W/NG says 3/8" total movement, which feels about right.
The chain tension is adjusted by moving the magneto backwards and forwards on its mounting platform. An Ariel magneto is retained by these three inaccessible bolts, which pass up through the mounting platform into the magneto. Slacken them by whatever contortionist spannering you are capable of, and pull the magneto backwards until the tension is where you want it. Before you tighten the bolts, make sure the magneto is pushed into the back of the timing case - there is a foam seal there which prevents the oil, splashing around the timing case, from coming out.
Set the timing
If your ignition timing was not to your satisfaction, you will need to loosen the magneto chain sprocket to reset the timing. Back off the nut a few turns, leaning on the rear brake lever as you do so:
Fit your puller to the large thread on the sprocket. You will have to wind the screw fully out to get it on, but once it's fully home you can wind in the screw and the sprocket will come off it's taper.
An alternative approach which you may find easier is to remove the sprocket on the camshaft rather than the sprocket on the magneto - the effect is the same, but the camshaft will not move while you put the sprocket back on, whilst the magneto might.
Set the advance lever to full advance and using your graduated stick, move the engine into the full advance position - 1/2" BTDC on my W/NG. As before, make sure it is on the compression stroke or you will have a mysterious failure to start.
Next, put your fag paper back in the points.
Turn the points by hand in the proper direction. They should move easily - you are turning the magneto armature which is no longer connected to the chain drive from the engine. Turn them until the paper is just released and no more.
Next, go back to the other side of the bike and push the magneto sprocket back onto the taper, and do up the nut. Go back to the 'Checking the Timing' section to make sure you have it set correctly; you don't need to be too fussy as the handlebar lever allows you to adjust the timing to wherever you want it.
Next, reassemble the timing cover; put the plug back in and replace the dynamo if you removed it, and go for a test ride.