
Showing posts with label linings. Show all posts

Tuesday, 21 January 2025

FH - more brakes

 Moving on to the front brake, it's time to unearth the mysteries of the full width hub. This is the view from the parts book:


It looks like the brass bearing retainer used in the half width hub is still there but now has a sheet steel ring riveted to it retaining a small felt grease seal. This one has been a bit butchered and the steel ring is loose:


The one on the other side is still in place. That tube passes through the bearing and acts as a centralising mount for the brake plate:


As might be expected, there's a thin coating of rust on the drum, easily cleaned with various abrasive papers.

This spacer fits over the tube in the previous picture, between the brake plate and the fork leg. It was stuck in the fork leg - I guess there is some paint to clean out.


Both the shoes are glazed. This is the trailing shoe:


This is the leading shoe, though there is no lead-in chamfer:


As we found at the rear, the parts are all present and in good shape - but no lead in chamfer:
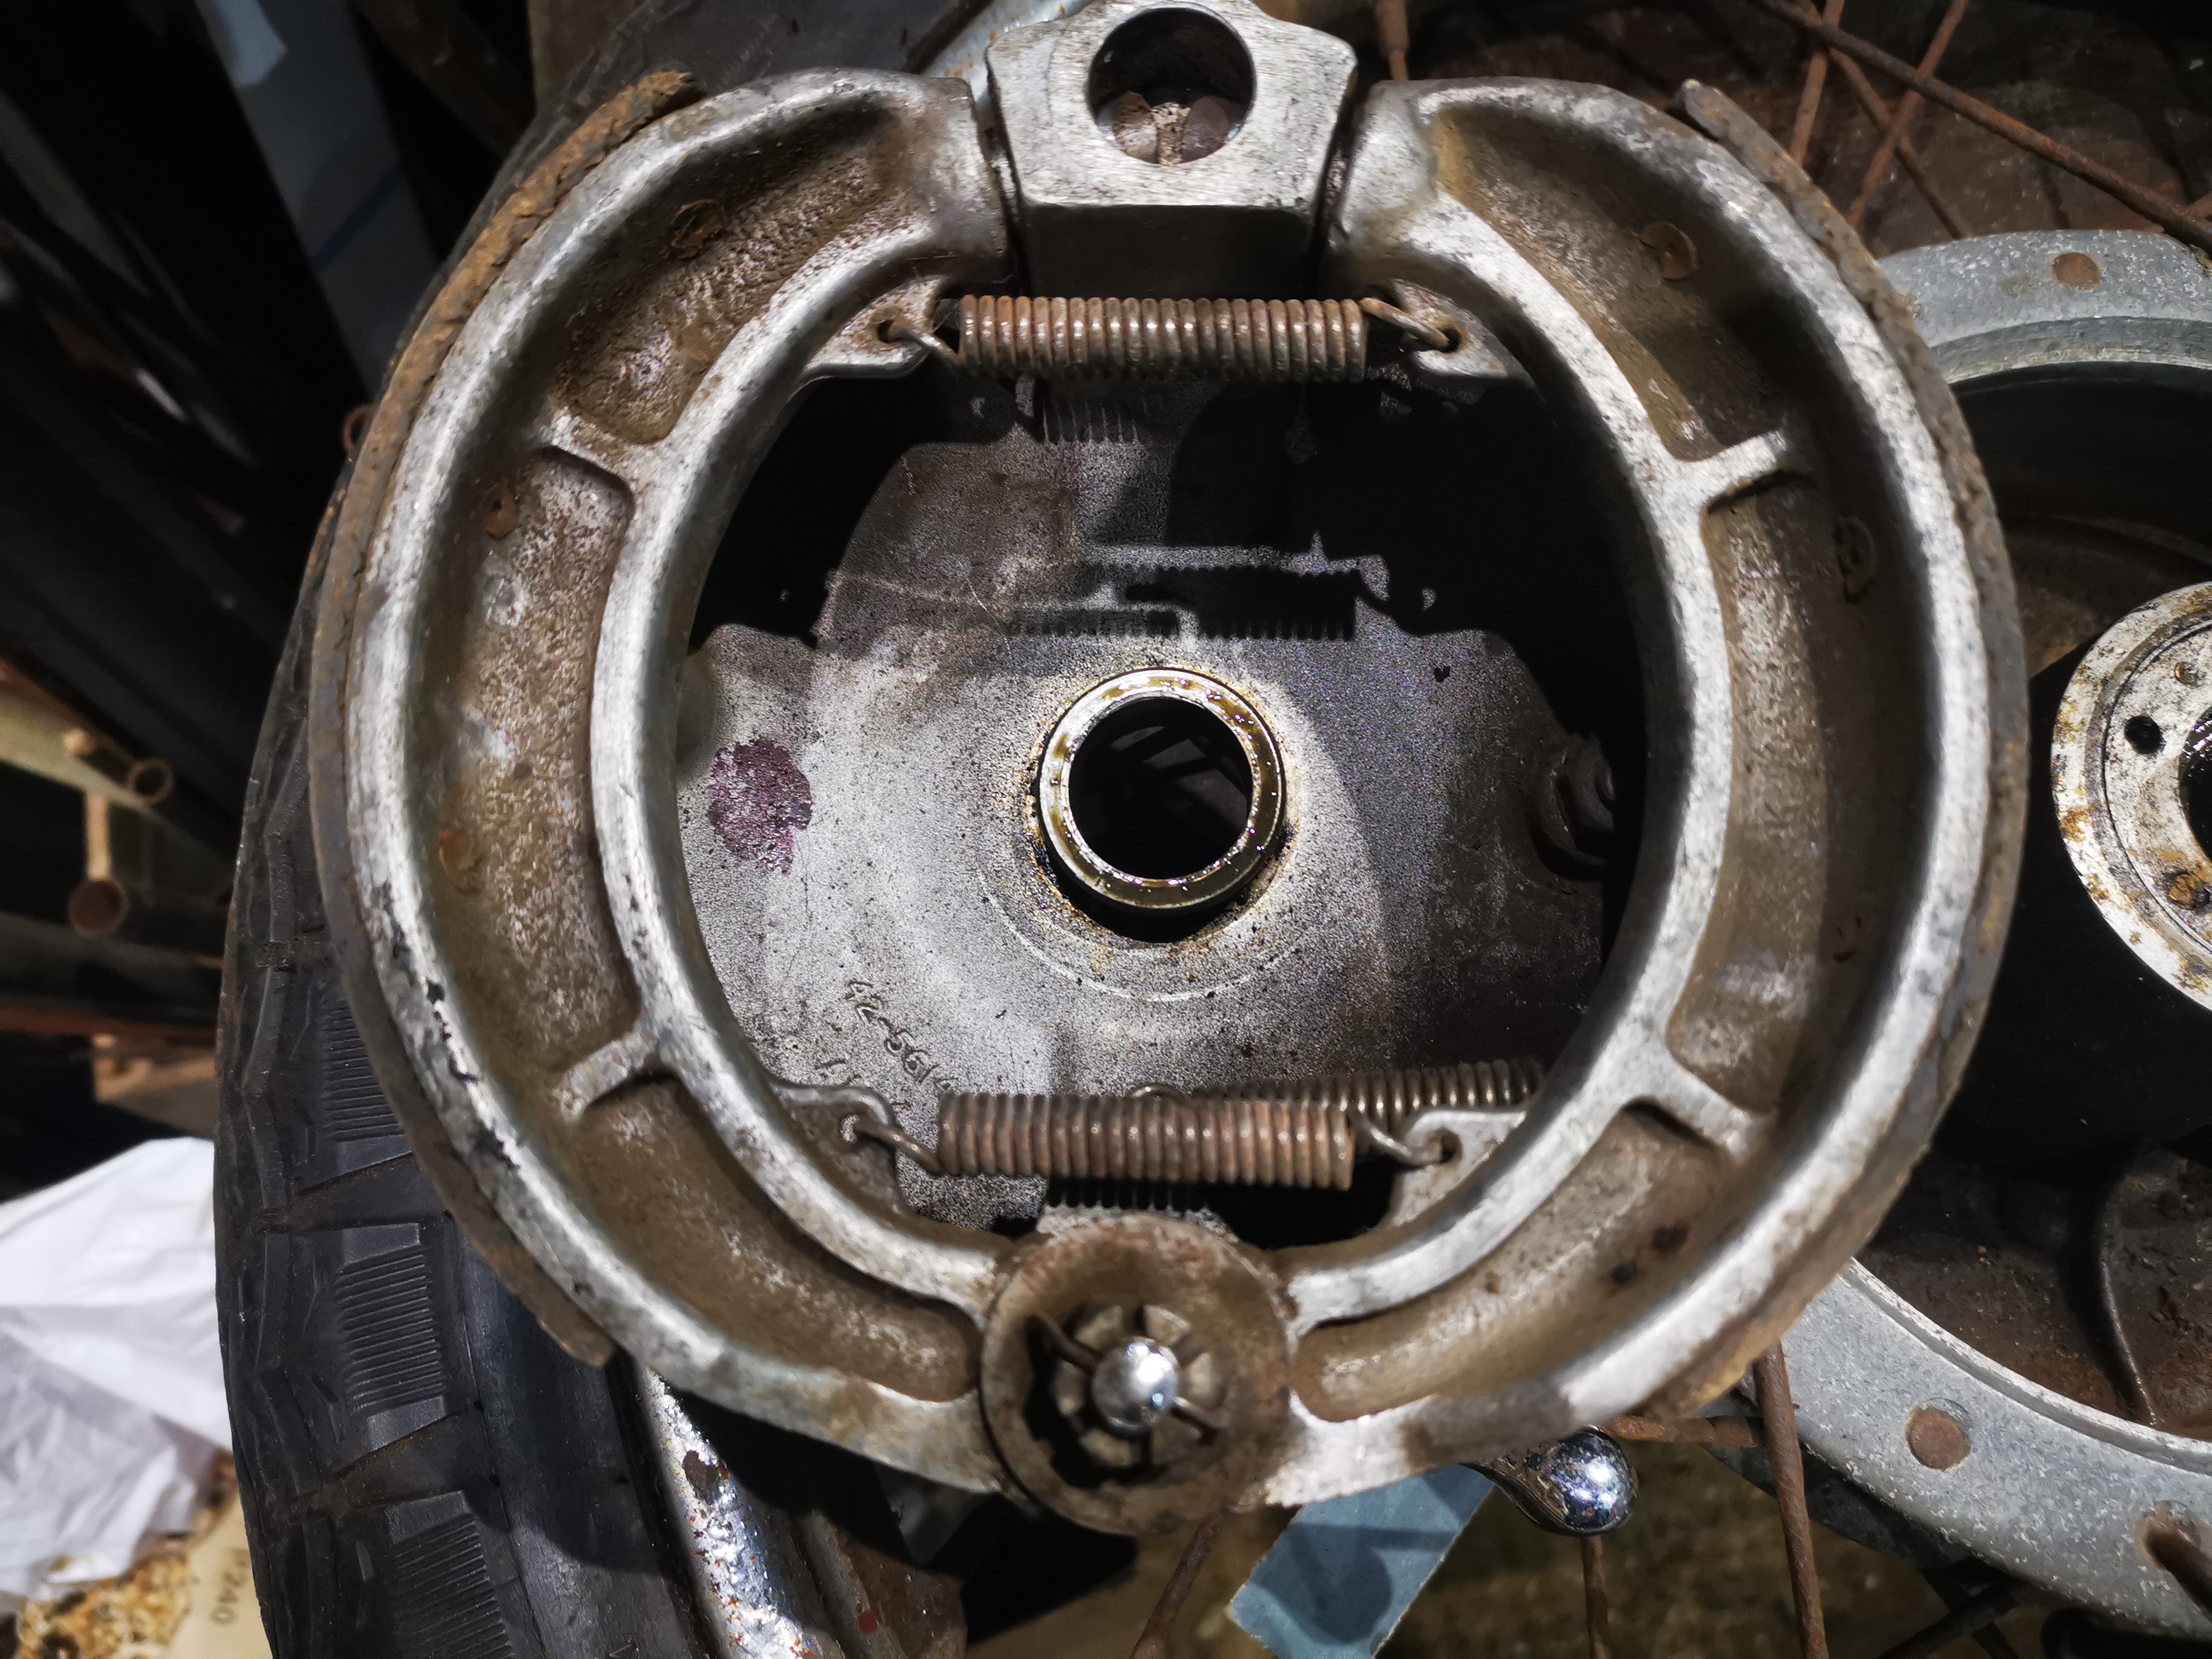

As an aide-memoire, while I clear out the paint from the front axle clamp in the fork leg, note that the drain plug is missing and there is obviously no oil to damp the fork movement!

Next job is to add a lead-in chamfer to both shoes and to reassemble & retest. After that it's:

  1. Fit the tank knee rubbers and aluminium trims
  2. Fit the tank, not forgetting to soak the fuel tap first
  3. Sort out the wiring routing under the dashboard and find the dashboard fixing screws
  4. Replace the rims and spokes when the tyres turn up.

Friday, 17 January 2025

FH - starting on the brakes

 Now that we are waiting for the tyres and we have the rear mudguard off, we can have a look at the rear brake. For reference, here's the drawing from the parts book:


First glance suggests everything is in order. The springs are all in place and don't look distorted at all; the adjuster is there with the two little mushrooms; there are no cracks in the shoes or the plate.


The shoes look old; they are worn, but not down to the rivets, but they look a bit greasy and glazed. This is the leading shoe:


This is the trailing shoe:


The drum is starting to see wear from being recently wheeled around and used a little:

I'm going to clean these up and see what the engagement looks like using the sandpaper technique. That will let me explore the adjustment and remove any greasy deposits to see if I can improve the performance before I commit to relining the shoes.

I've documented how I do this before, but it's essentially a long strip of 60 grit emery tape stuck to the brake drum with double sided tape. You then back off the adjuster, refit the brake plate and the wheel spindle, and spin the brake plate in the drum.

You then apply the brake with the lever so that the shoes contact the emery. The result is that the linings are reduced in the areas where they are high and this improves the fit of the lining against the drum. In this case, the exercise showed that the linings were already a good fit against the drum, but were clearly rather glazed.

We'll do the same at the front, and test ride it again.

Tuesday, 12 January 2021

Model A - First Impressions of a Clutch

Isn’t it a bit early to be looking at the clutch on that bike, when you have so many others in the pipeline I hear you ask? Well, yes it is, but a while back I lost one of the tank bolts on the W/NG - you might remember I made a new one; I am diverting myself with lathe jobs as a distraction from all the welding on the QR50, and part of the lathe work is to collect the bits for the gear control on the Model A, and to do that I need to mount the tank - which is another lathe job, as one or two of the bolts are missing - so I need the tank mounting rubbers for that too, and I also want to trial fit the tank on the FH and I have no rubbers...

So what I need to do is to get an order for Jeff Hunter Engineering, who will supply all the rubber bits and what I am going to do is order as much of the rubber as I can, for all three Ariels. And this is where the clutch comes in - the Sturmey Archer clutch in the Model A has a rubber shock absorber in the clutch and this is bound to need some attention:


So let’s have a look. It’s very easy to get to as in 1930 Ariel were not using the fully enclosed and sealed primary drive, and my primary cover is off awaiting time on the welding bench:


Clearly, two of the retaining bolts, springs and spring cups are missing. Those bolts actually have screwdriver slots under that muck.

Under the pressure plate, the basket and centre are very good indeed:


The plates are reasonable too, but I wasn’t expecting Ferodo linings:


The parts list clearly shows a cork lined clutch:


Yet if we look in the Sturmey Archer book from the period, there is a Ferodo option for the three plate clutch. Interesting.


We’ll have to replicate these parts, though I wonder if they have been intentionally omitted. Ferodo clutches of the period can be quite heavy - the one on my W/NG is much less pleasant than the cork clutch on the SQ4, for example.


Still, it will be a long time before we have to deal with that problem.

Thursday, 13 February 2014

Brakes

Since I'm working on small fill-in jobs at the moment, due to a lack of spare time, I have been tidying up the control cables and making new ones. Before I fit the chain and chainguards, I need to sort out the rear brake as well. So it makes sense for me to visit the guys at Charles Johnson Bus & Truck Parts to get the brakes re-lined with a suitable modern material. This will enable me to finish & fit the front brake cable, finish the rear brake rod, fit the chain and top chain guard and sort out the bracket on the lower chain guard (which comes off a single I think - not a Square Four at any rate).

Brake shoe linings are made from soft and tough heat resistant materials mixed with compounds such as iron, brass, ceramic, and graphite. The lining can be either riveted or glued to the shoe. The lining has to create the maximum friction force from the meagre load you provide to the shoe using your hand on the lever, or the much greater load you can create using a modern hydraulic system. These materials have replaced the asbestos linings that were used with great effect until the ‘80’s, but which were shown to cause pleural and peritoneal mesothelioma, forms of cancer in people handling braking components regularly.

It’s almost inevitable that an old bike has asbestos brake linings. This is a hazard – particularly in the powdered form you meet inside an old brake drum. NEVER breathe brake dust. Assume that every brake system you are working with is hazardous and dispose of any brake dust properly.

Of course, like anything else in life, not all brake linings are created equal. A lining may be relatively soft, which will be quick to bed in and which would give medium to high friction forces relative to the load applied to the shoe. They would be suitable for normal road use, but would wear out quickly.

Or, you could specify a tougher material for heavier duty road use and touring which might also be suitable for some competition applications. This might last longer, but would need more force from the lever or hydraulics.

These days, most brake lining material is glued to the brake shoe using an adhesive designed to operate in the aggressive temperature to which the lining is subject. The lining is useful until the brake has run out of adjustment or has become ineffective.

Linings can be riveted to the shoe if required, and this is the traditional way. The disadvantage of riveted linings is that the rivet heads nestle part-way through the lining, meaning that the lining which is available for braking is much less thick and will require replacement sooner than a bonded lining.

So there we go. In a week or so, Amelia will have a new set of soft modern shoes. A few years ago, I was proud to be told by Danny (my MOT tester) that the brakes fitted to my 60 year old Bantam were better than those fitted most of the modern scooters he had in his shop.


So a week later I have my new shoes, with Ferodo 3921 lining material bonded to the original shoes. They are a much better fit in the drum, and although I have only tried them by hand, feel much more 'sticky'.