
Showing posts with label badges. Show all posts

Monday, 13 May 2024

FH - fitting stuff and testing the dynamo

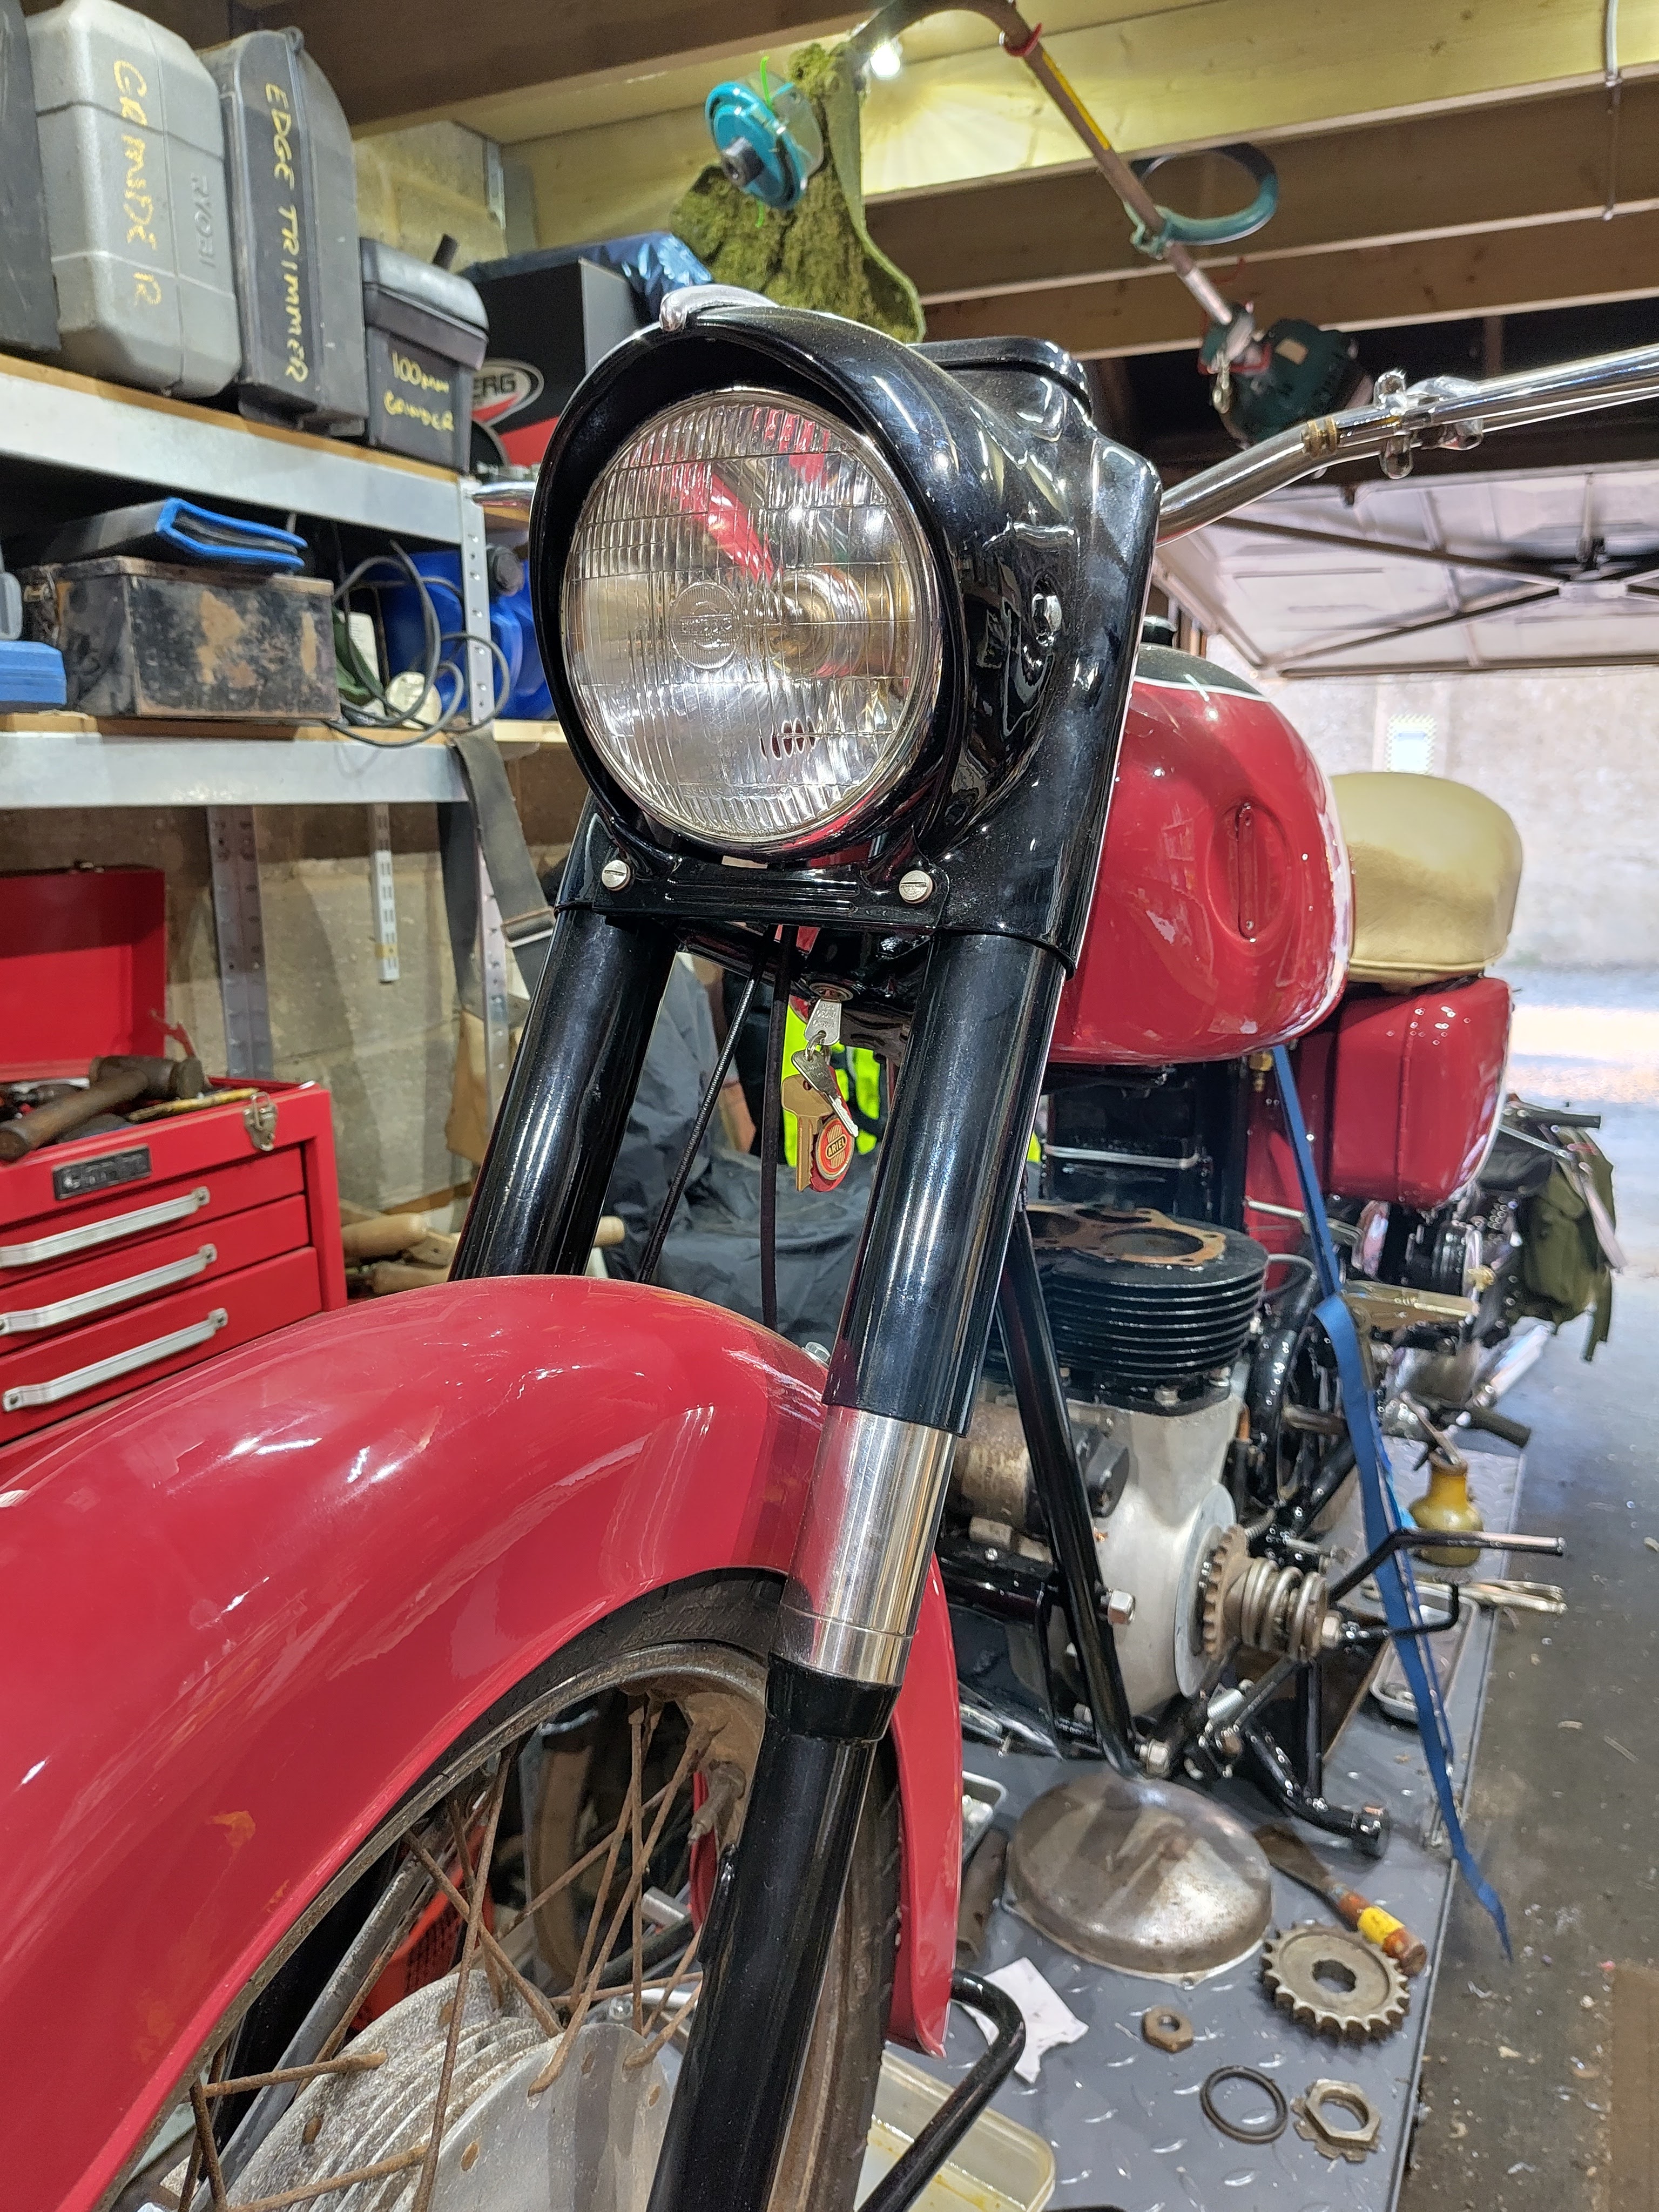
 A few minutes in the workshop yesterday allowed a bit more progress on the Huntmaster. The headlamp is now fitted, with the grommet at the top. This seems to be the only way I can fit it and still allow access to the rim clamp:

Next, the tank badges. All this needed was to clear the paint out of the threads with a 3BA tap and fit the badges with some short countersunk stainless screws from stock:


Finally, I've refitted the toolbox knob using a plain washer on the outside, Thackeray washer on the inside, another plain washer and two nuts - curiously the knob appears to have a BSF thread?


Last thing for today, and this is a bit lazy, is to look at the dynamo. I've cleaned it, motored it and fitted it - it motors ok and in the right direction so it is working and polarised correctly:


It's smooth and quiet, so maybe I won't overhaul it just yet. The cork washer is missing though, so I will need to make one:


One thing I forgot - I've fitted the oil line unions to the engine, with new washers from the gasket set. The bottom one is the feed, the top is the return:


Thursday, 19 October 2023

FH - first badge

 I sometimes think Ariel must have employed a Production Engineer in the mid 1950's, as there are several locations where his cost-reducing influence shows - think about the Spire fasteners in the nacelle, seat base and rear mudguard, or here, on the mudguard tailpiece. There's still a nice little Ariel badge, as there had been since 1952 or 1953, but this one is no longer enamelled and screwed on - it's die cast, and retained in place with Starlock washers.


They push on over a couple of 3/16" legs cast into the back of the badge:


Looks good doesn't it!


The pretty rib on the nacelle fits in a similar way, after polishing:


Sunday, 19 January 2020

Badge Repair

Motorcycle badges are often held in place with clips over posts, plastic, die cast zinc or otherwise and they are often quite weak. Removing the clips with a Dremel often helps but sometimes you find the badges already broken.

This badge from the front of the CX500 is a typical example. This time, I chose to glue two M3 screws to the back of the badge and retain them in place with nuts and Loctite 243. The badge is fixed to the screws with Araldite 5 minute Metal adhesive.


I prepared the badge by drilling out the broken posts with a 6 mm twist drill.


The screws were held during setting with this simple wooden jig, drilled with 3 mm holes at the proper pitch for the badge. This guaranteed the screws would be parallel to each other and perpendicular to the badge:


I modified the screw heads using the lathe to match the 118 degree included angle of the 6 mm drill, to maximise the contact with the badge:


The CX is back together now and starting to look a bit more presentable:


Wednesday, 21 October 2015

Badges again

Today the new badges are dry, so we can put them on. Here they are against the old ones:


And now one on the machine:


Lovely!

Looks great doesn't it. Thanks for giving us a lovely bike Mr. Page!


New Badges

Amelia's original badges and the chrome flashes which live behind them have looked very tired since she arrived nearly four years ago, and I was lucky enough to find a better condition set, genuine Ariel parts still with the patina of age, but less of it... Here they are:


The paint is all missing, so we will need to do a little job on that. First clean them up with some Farecla G10 rubbing compound, then mask them up:


Now, trim the masking back:


Paint with some etch primer:


and some top coat:


remove the mask while the paint is still wet:


And leave it to dry.