Showing posts with label sludge trap. Show all posts

Friday, 13 June 2025

SQ4 - changing the oil

 It's high time Square Four had an oil and filter change, so with the oil return line repair complete on the Huntmaster the Square Four is back on the bench after a 10-minute run to warm the engine oil up. 

As usual it's an absolute pig to get the oil tank out but it's very easy to drain the tank and the sump - I have a new sump plate (well, it was new 10 years ago) with a drain bolt and magnet in the middle of it. I had something like 300 ml of oil out of the sump - I'm not sure whether that's unusual or not. 

I was surprised to find the sump strainer damaged - I think I'll get a new one from Draganfly. 

With the oil tank out I can degrease the area around the top of the box where the filler is - it's always quite mucky around here because it's very difficult to top the box up without getting grease everywhere.

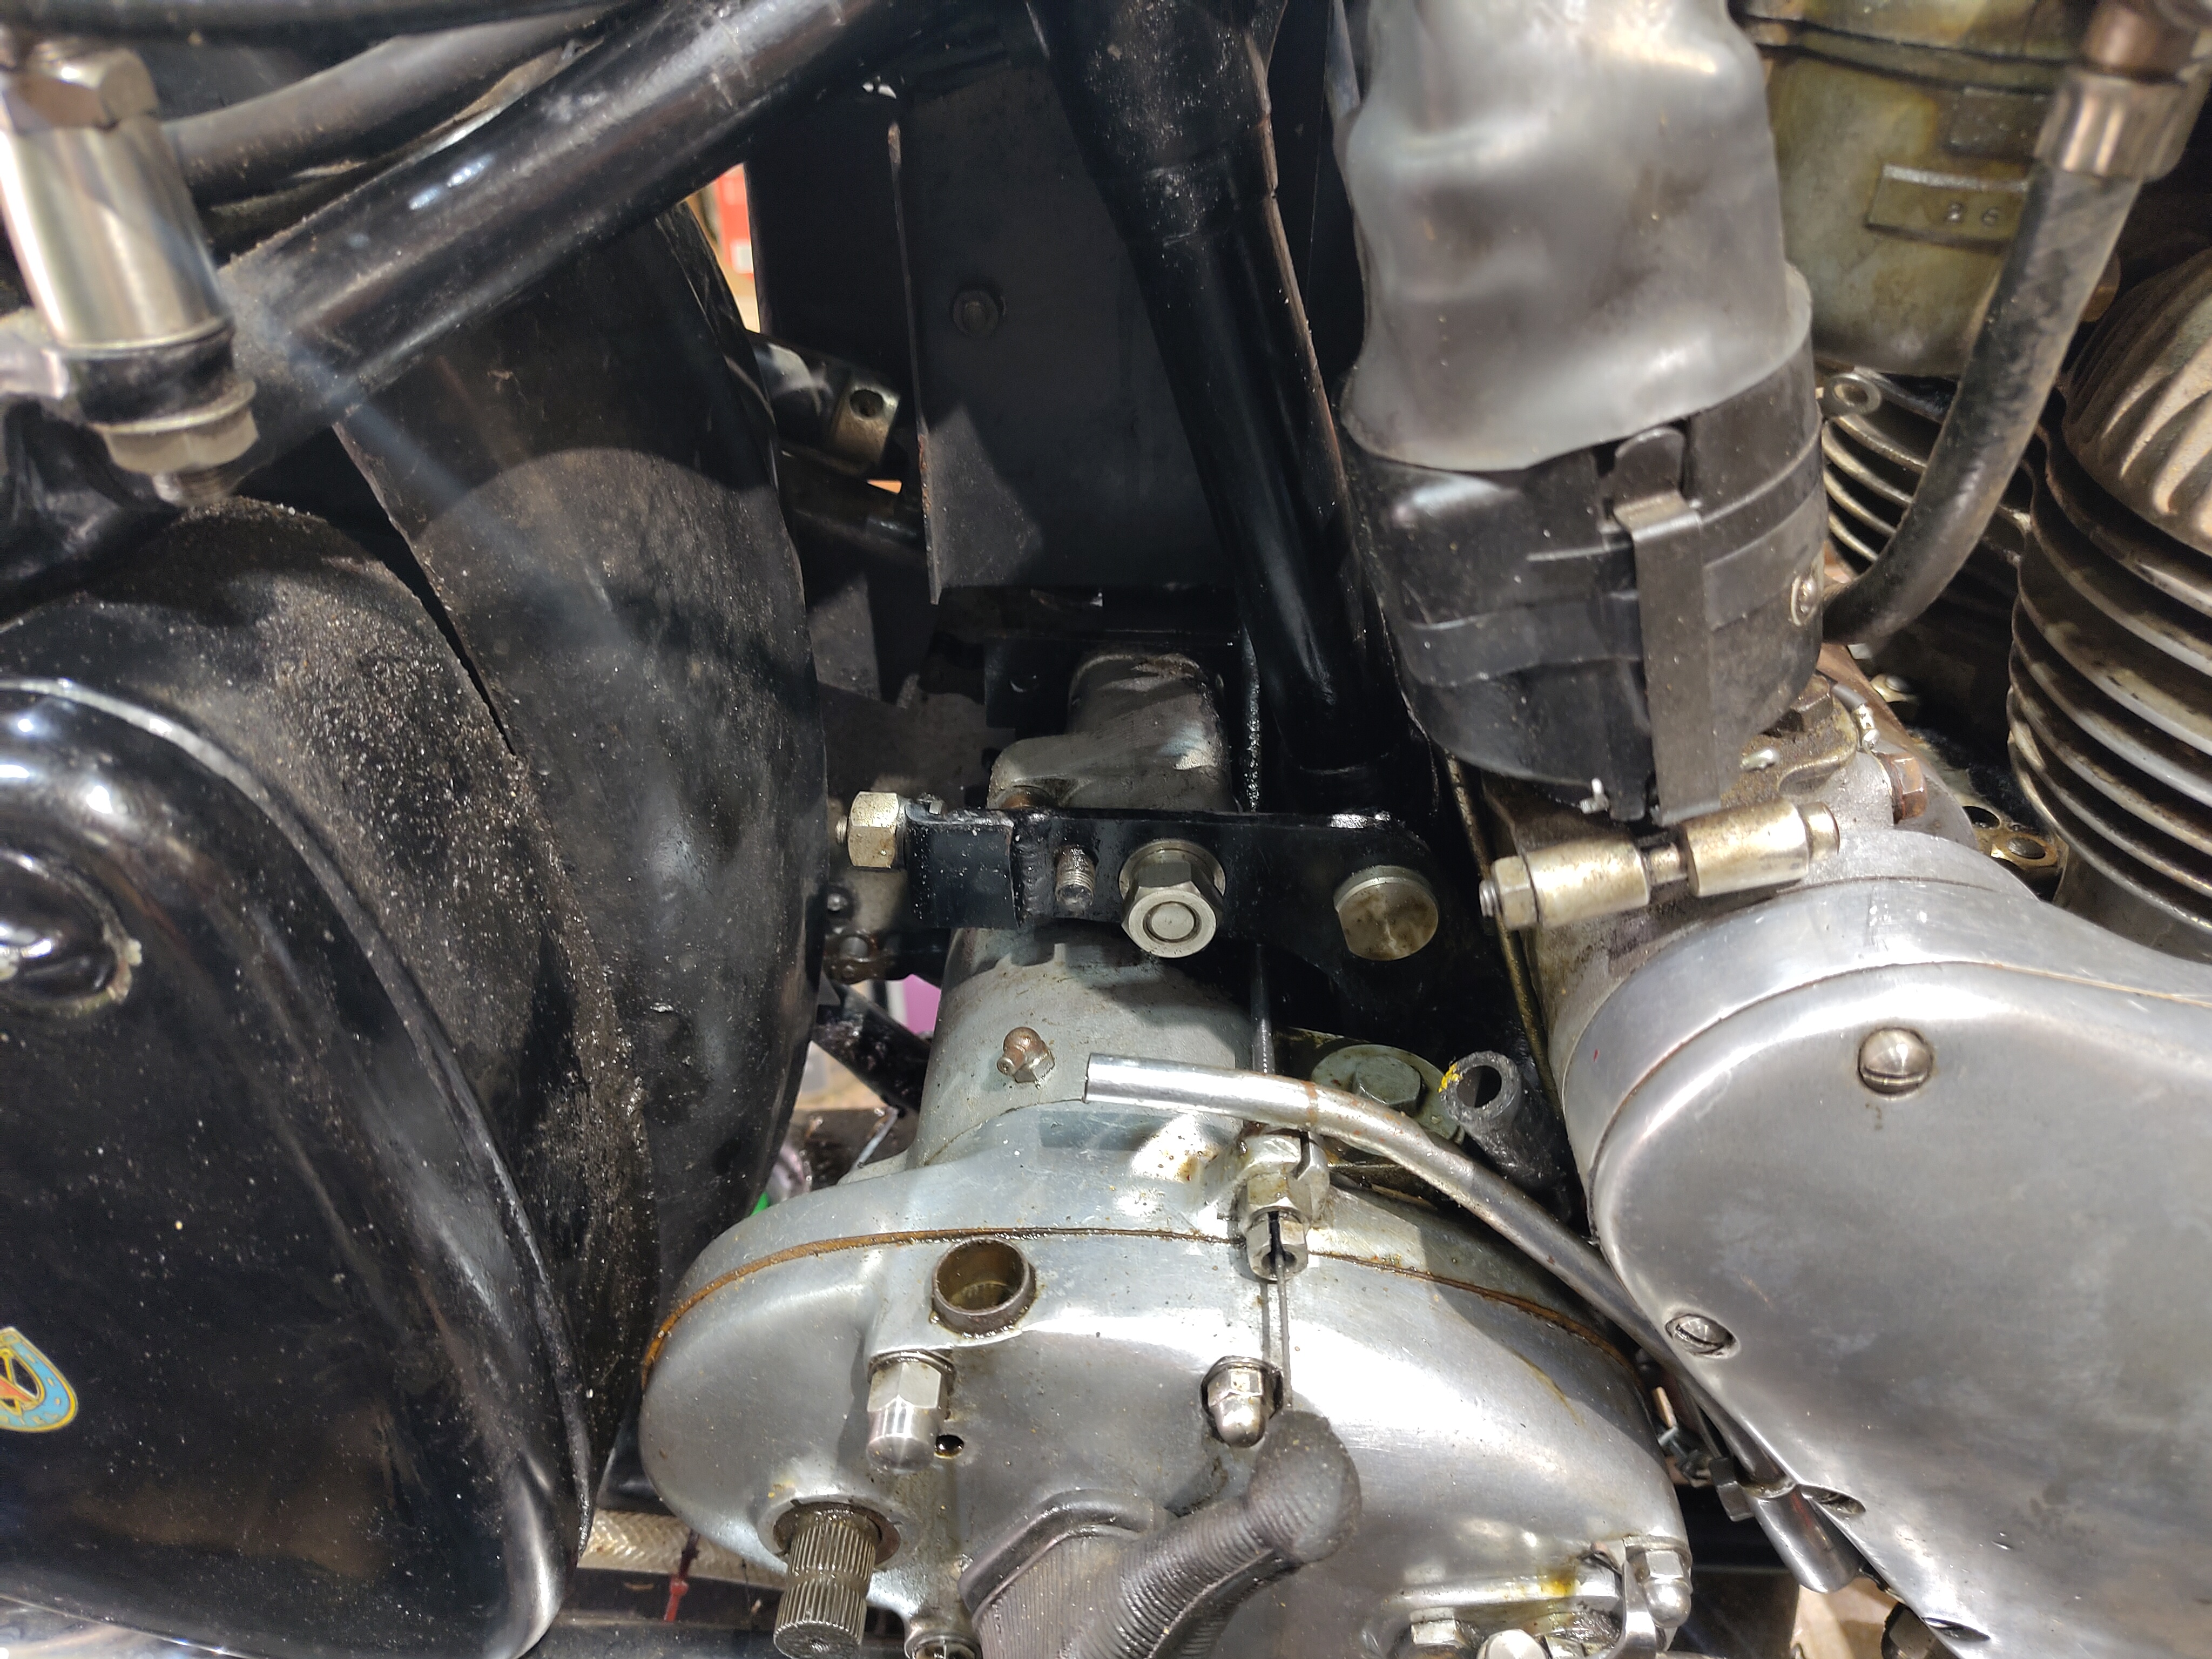
The oil tank is also a very tight fit - it's always a struggle to get it out. I'm wondering if it's fouling the frame tube, perhaps stuck between the frame tube and the gearbox plates.

I had the tank in the parts washer for 15 minutes washing the outside and the inside and was pleased to find very little sludge and no debris in the tank at all. There's obviously been some further washing of the engine through the detergent oil that I'm currently using as the cases appear very clean and the goo in the bottom of the tank and on the sump of drain plug is just like the dark grey substance you would get from the crankshaft sludge traps.


You can see one of the cams in this picture - the wear ridge is quite clear. I have a new camshaft ready to go in when I decide that I'm bored enough to rebuild the engine!


I filled in my maintenance spreadsheet but for the record the mileage is 4089 miles.


Tuesday, 14 November 2023

FH - Crankshaft assembly

 Now we need to look at the crankshaft.

First up is the sludge trap. Keen readers will know that we cleaned this out some while ago, so all I have to do today is run a cloth through the hole to clear any dust and debris:


The sludge trap was cleaned at the same time, so we just give that a rub over with a cloth.


One of the flywheel bolts passes into the sludge trap - perhaps to stop it rotating. It's safely in place:


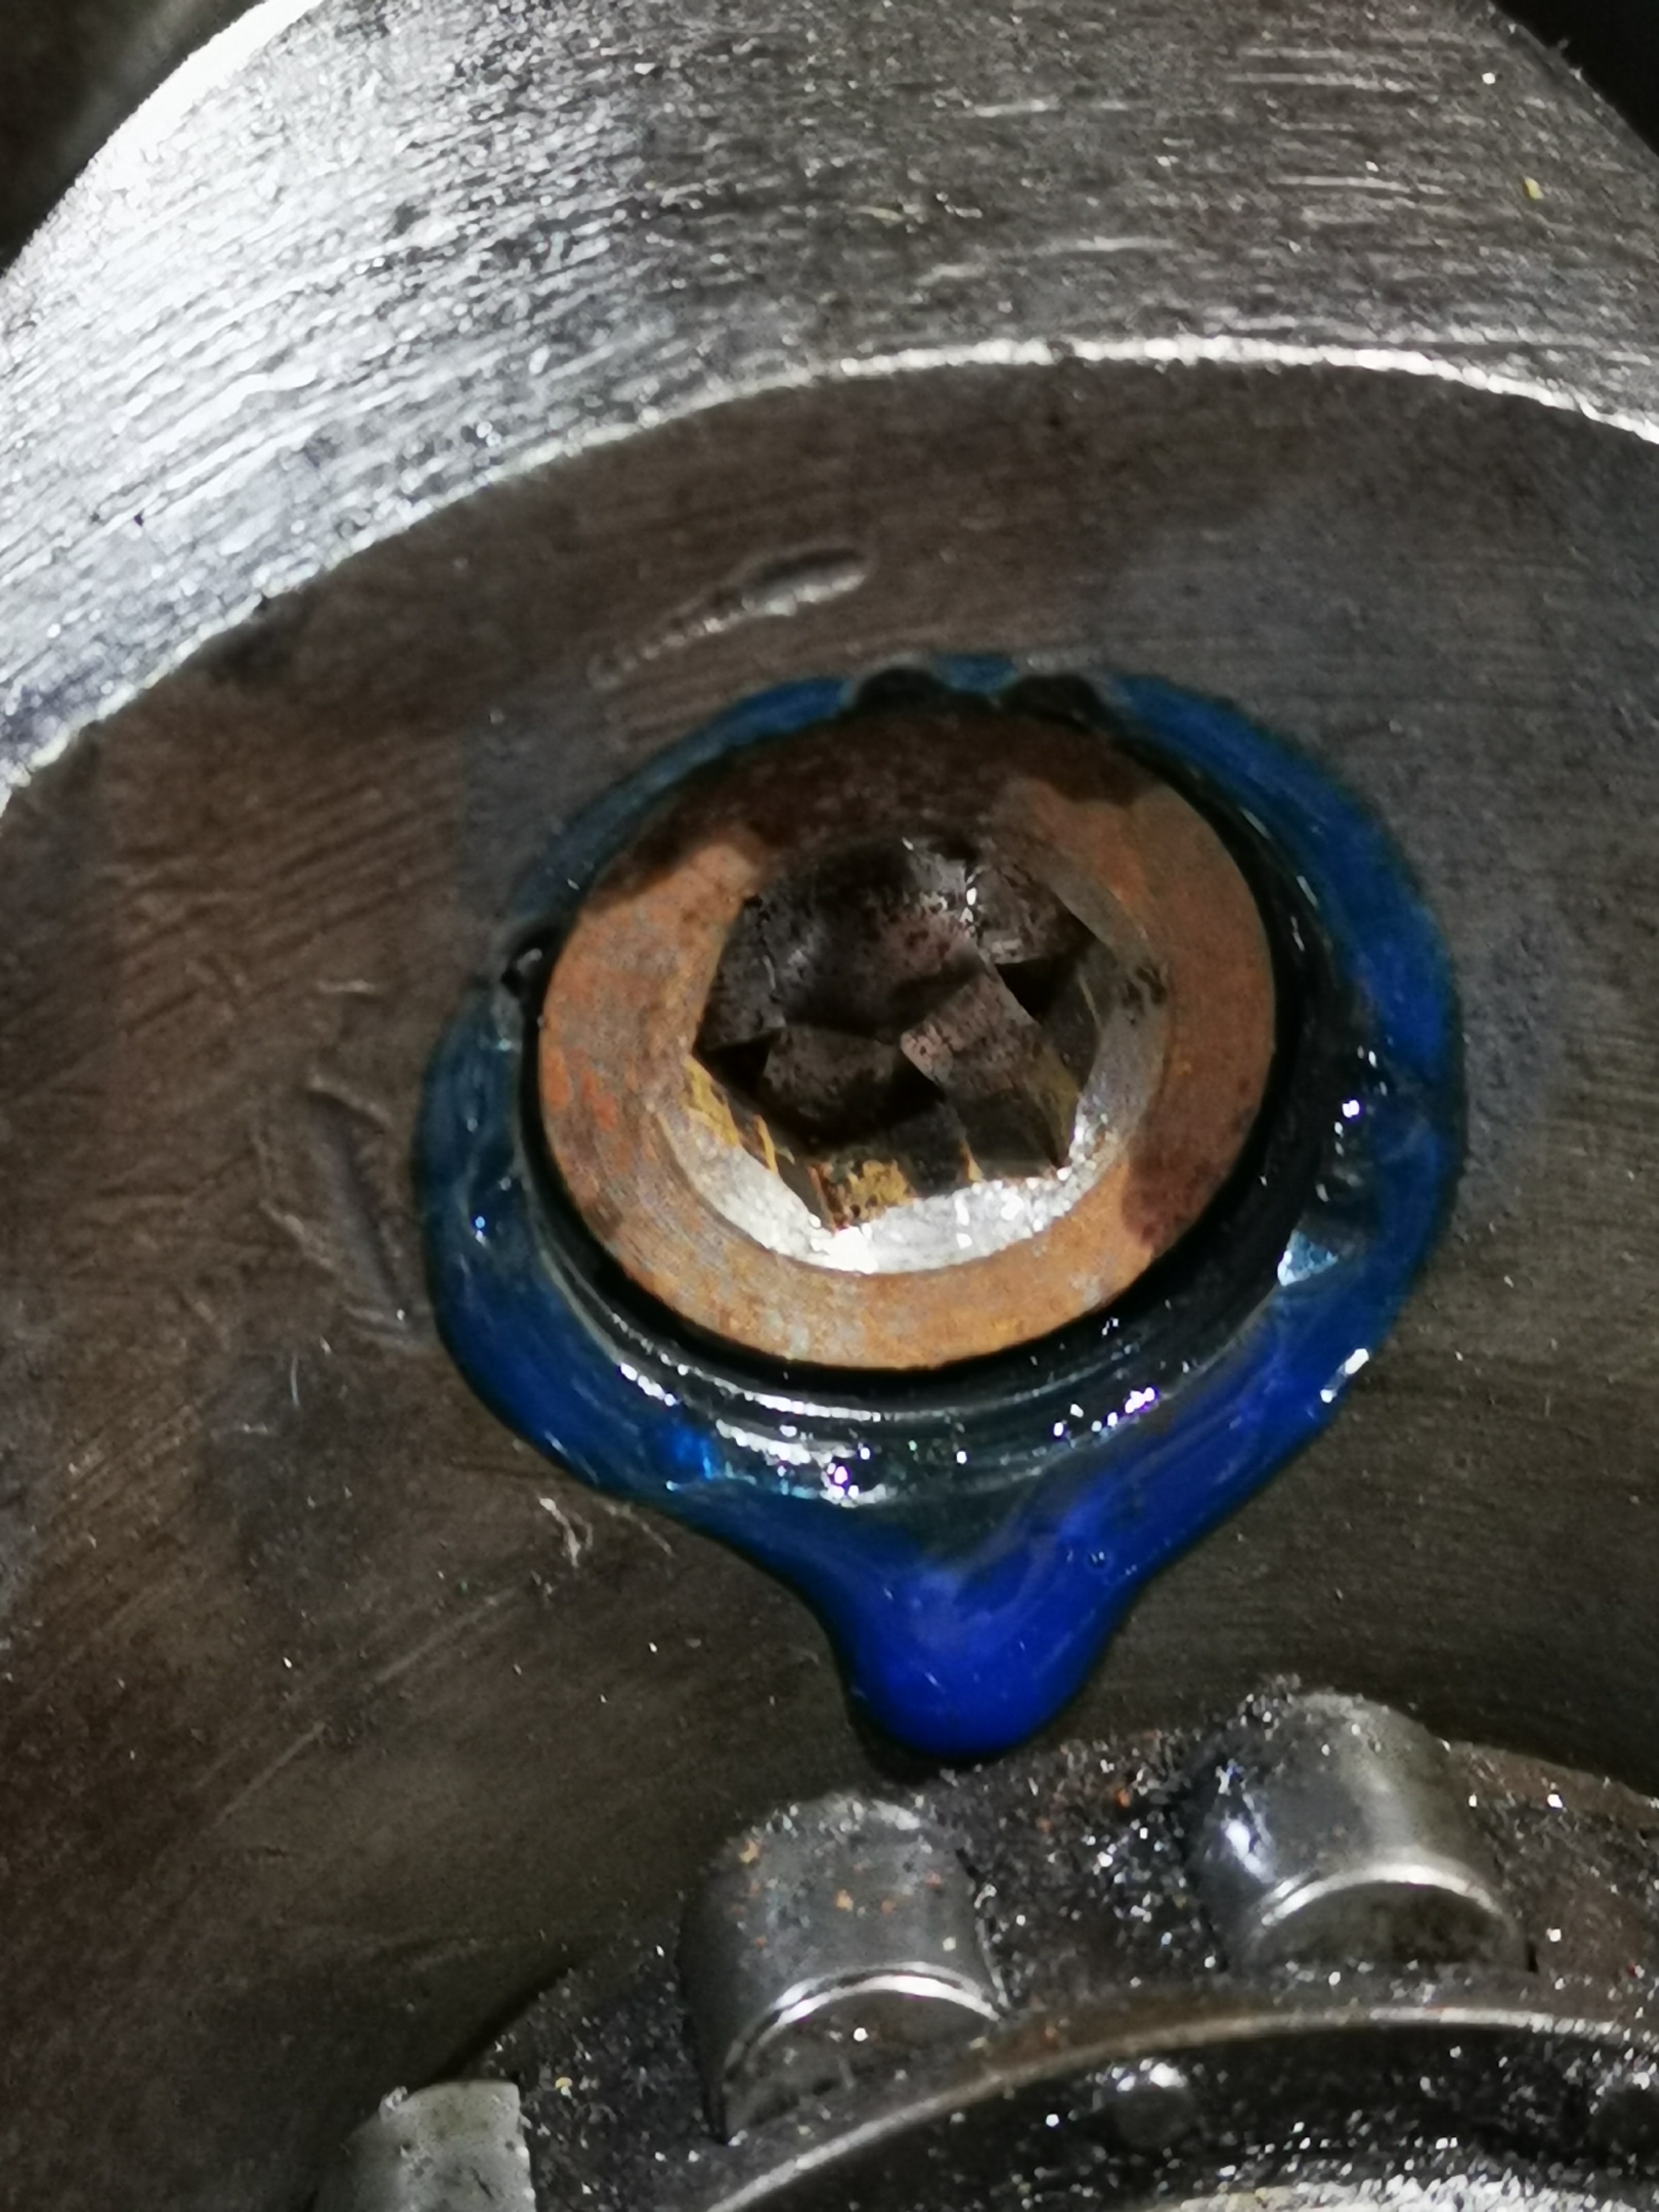
I'm using the hexagon type sludge trap plugs. This one locates the drive end of the sludge trap:


It's held in place with medium Loctite threadlock:


This is a terrible picture, but it serves to show the plug has successfully located the end of the sludge trap:


The plain timing side plug is also held in with Loctite medium threadlock.


Next, with the sludge trap closed up and the flywheel bolts done up tight, we can trial fit the connecting rods using ordinary nuts. We don't want to use the real nuts yet, since they cannot be reused.

Now, these big ends should be 1.657/1.6565" according to the BSA data sheet; this one measures 1.656/1.655", so we are 0.0005/0.002" undersize. I felt this was close enough and ordered the corresponding -0.030" shells from the twin spares man at the AOMCC.

The first trial assembly is now complete, and you can feel a small amount of play with dry big ends; this disappears when the bearings are oiled.

I've ordered some Plastiguage to determine what the clearance really is. 

More on this later.

Thursday, 14 March 2019

FH Crankshaft 2 Cleanup 2 - Sludge Traps & Galleries

Having got the crankshaft to a stage where I believe it is mechanically acceptable, we now turn to a vital area which is easy to overlook if you are not listening to advice or reading the books.

The ubiquitous crankshaft sludge traps - large drillings in the crankshaft which are designed to centrifugally extract solids from the circulating oil, and keep it out of harms way. These days, we use high-detergent oils and filters - the oil carries solids in suspension and the filter collects it, and there's the rub - when filling your barn find with new oil you really don't want the modern oil releasing the built up deposits of the last 50 years into your lubrication system, so you must clean the traps and banish the sludge forever before you run the engine. Never more true than if that engine belongs to an Ariel Square Four, which has very small (3/16" diameter) sludge traps.

No one wants a seized big-end, as the appearance of a connecting rod through your crankcase can be upsetting to younger viewers.

In an FH, A10 or A7 crankshaft, and many others, the sludge trap is in a large drilling through both big ends which is closed with a threaded plug at each end. The big end oil feed comes into this gallery from the timing side main bearing, and both the big ends are fed by 3/32" ports drilled directly into the gallery.


The gallery is provided with a thin tube, which acts as an oil way; until it is very blocked, the solid deposits form outside of this tube, flung away from the centre of the crankshafts rotation as you would expect. The tube features two or four holes to distribute oil to the big ends, and another hole by which it is located by one of the flywheel bolts, and one end is belled out to locate it in the large diameter of the gallery.


The tube is located at the drive side end on one of the gallery's closing plugs. The plugs are soft mild steel, very tight, often staked in and they are optimistically equipped with screw driver slots. People tell you not to bother with your impact driver - I tried it once, destroyed the slot and reached for the welder. The welder, however, is not the only way.

I started this morning with the 100 mm grinder, with a twisted wire cup brush in it, to clean up the rust (I also had it on the rear mudguard, but that is another story for another day).


My usual approach to these is to weld a bit of 1/8" sheet into the slot. This bit of 14 swg bar was a bit small, and it wasn't clean enough:


Grab it with an adjustable and turn...


And Robert is revealed as one of your mother's siblings.


That is the timing side. The drive side, at the end of the oil way, will be worse. I loosened this plug using the 'welded bar' method, but broke the bar trying to get it out. The moral of the tale there is to take more care - make a suitable bar and weld it in to a prepared slot. Or, as I did here, drill two 1/8" holes, about 3/8" deep; grind flat the ends of two thick masonry nails (hard, and very useful), and use them as a makeshift pin spanner:


Here's another approach: Vincent van Ginneke sent me this picture; he's using a large vice to hold a 1/2" drive screwdriver bit in the sludge trap plug slot. Normally, if you try a screwdriver the bit will  slip out of the slot in the plug; Vincent clamped the crank, screwdriver bit and T bar in a large vice, with just enough pressure to prevent it from dropping out and by turning the T bar a tiny bit (about 1/8th of a turn) and opening the vice also a tiny tiny bit he was able to hold enough pressure on the screw driver bit that it would stay put in the slot.


As I mentioned earlier, the drive side is worse - it's totally full:


The plug on the right is the drive side one. The nose locates the end of the sludge trap tube:


Because the tube is surrounded by solid deposits, it can be hard to shift. A hammer and a drift can be useful here - you can see the tube emerging on the left:


And that is it. That's most of the contents of the tube - the rest of it is still inside the crankshaft.


You'll want to scour that out, like this:


You also want to make sure the oil ways are clear. This is a 3/16" twist drill going through the timing side main bearing oil way, clearing the path to the sludge trap gallery. You can just see it emerging in the gallery:


You can clear the big end oil ways with a 3/32" drill.


When new, these oil ways have a 'teardrop' scooped out of the surface to distribute the oil across more of the big end width. Since these are -0.030", these 'teardrops' have long since been ground out. We can put them back with the Dremel:


When we've done, we'll polish the surface with Emery and wet'n'dry.

These are the flywheel bolts. One of them (guess which one) holds the sludge trap tube in place - that is a 3/8" BSCY intermediate tap, waiting to clean up the threads.


Both the bolts and the female threads in the crankshafts are easily cleaned up; I may replace these bolts when I assemble the engine.

The final step is to clean the remaining rusty debris from the flywheel and the crank webs, with various wire brushes. This done, I've sprayed the parts with ACF50 for storage - we'll put it all together when we come to assemble the engine.


Thanks for reading, and I hope you found it useful.

Sunday, 9 July 2017

Oil Purifier

You might recall that I was working on the oil pump, sump and other areas before my attention was diverted by a damaged timing case and a magneto that was playing up. Since those are on the way now, its time to attend to the lubrication system again.

Ariel provided a sludge trap, shown in the picture as a plug in the offside flywheel, which traps particles circulating in the oil. You pull it out periodically through the sump plate and clean it.


Here it is, alongside the pickup pipe. The purifier appears when the engine is at TDC, despite what is shown in the drawing:


They can be a bit of a job to get out if the hexagon is mangled. I was lucky - this one is perfect:


You need a good fitting socket to get the oil purifier out safely. Here it is, full of sludge. If it's anything like the sludge traps on the SQ4, it will be very hard:


Here it is, cleaned out:


Although the purifier itself is clean, we can see that it's been so long since it was cleaned that the drilling in the flywheel which leads to the purifier is also blocked with goop. I cleaned this out with a 1/2" twist drill.


Part way there:


Once I had got as much as I could out, I injected oil into the end of the crankshaft to clean it further. I did this first with the purifier out, and then, having put the purifier back in, I tested communication from the end of the crankshaft to the big end.


Oil dribbling out of the open sump plate proves that the big end oilway is open.

Friday, 4 January 2013

Getting to the bottom of it...

Well, last night we removed the engine again and split the cases. No great problem - oil mess on shed floor.

Not a very good pic I'm afraid. Interesting piece of debris:

It's metallic, the curved edges are as cast and the straightest edge is a fracture. We shall see no doubt.

So the cranks are out; I have started to clean up the front crank:
The timing side journal is good (dimensions shown in the Engine Tolerances page) and the rods look good too. You might recall that No. 1 small end bush is out of position and the oil hole does not line up.

The big ends feel OK, No.1 rocks considerably more than No.4. I will need to grind down my 1/4" BSW socket to allow it to fit the big end nuts - I have already mauled a tube spanner. The oil pressure relief valve had a large chunk of debris in it - rubber or carbon, I'm not sure which at the moment.

Next was the sludge traps. The plugs came out with the impact driver & I consider that a lucky break. Full of carbon though:

However, I poked a 5 mm twist drill into these and the carbon, approximately as hard as clay, was quite easy to remove.

It was obvious from the resistance, and the consistency of the goo coming out that the carbon extended down to the big end oil ways (cross drillings) and no further. At this point, the goo was very oily and no more solid came out.

When I removed the opposite plug, exactly the same sequence of events and when both were clean I was able to poke a bit of welding rod down the drillings, right through the crankshaft. 

It's not a straight hole - they are obviously drilled from either and and meet in the middle.

So, there is not much more I can do with that until I can remove the big ends. Then I can clean out the smaller big end drillings and properly clean the main bore through the middle.

I haven't really looked at the cases yet. When I removed the sump plate ('Very flat, Norfolk') there were flakes of white metal in the primordial ooze. These came from the timing side mains:
I was aware that these were shot from the movement on the nut. Now we have to find someone to replace and line-bore them!

More later.