Showing posts with label toolkit. Show all posts

Friday, 24 October 2025

Model A - valve caps

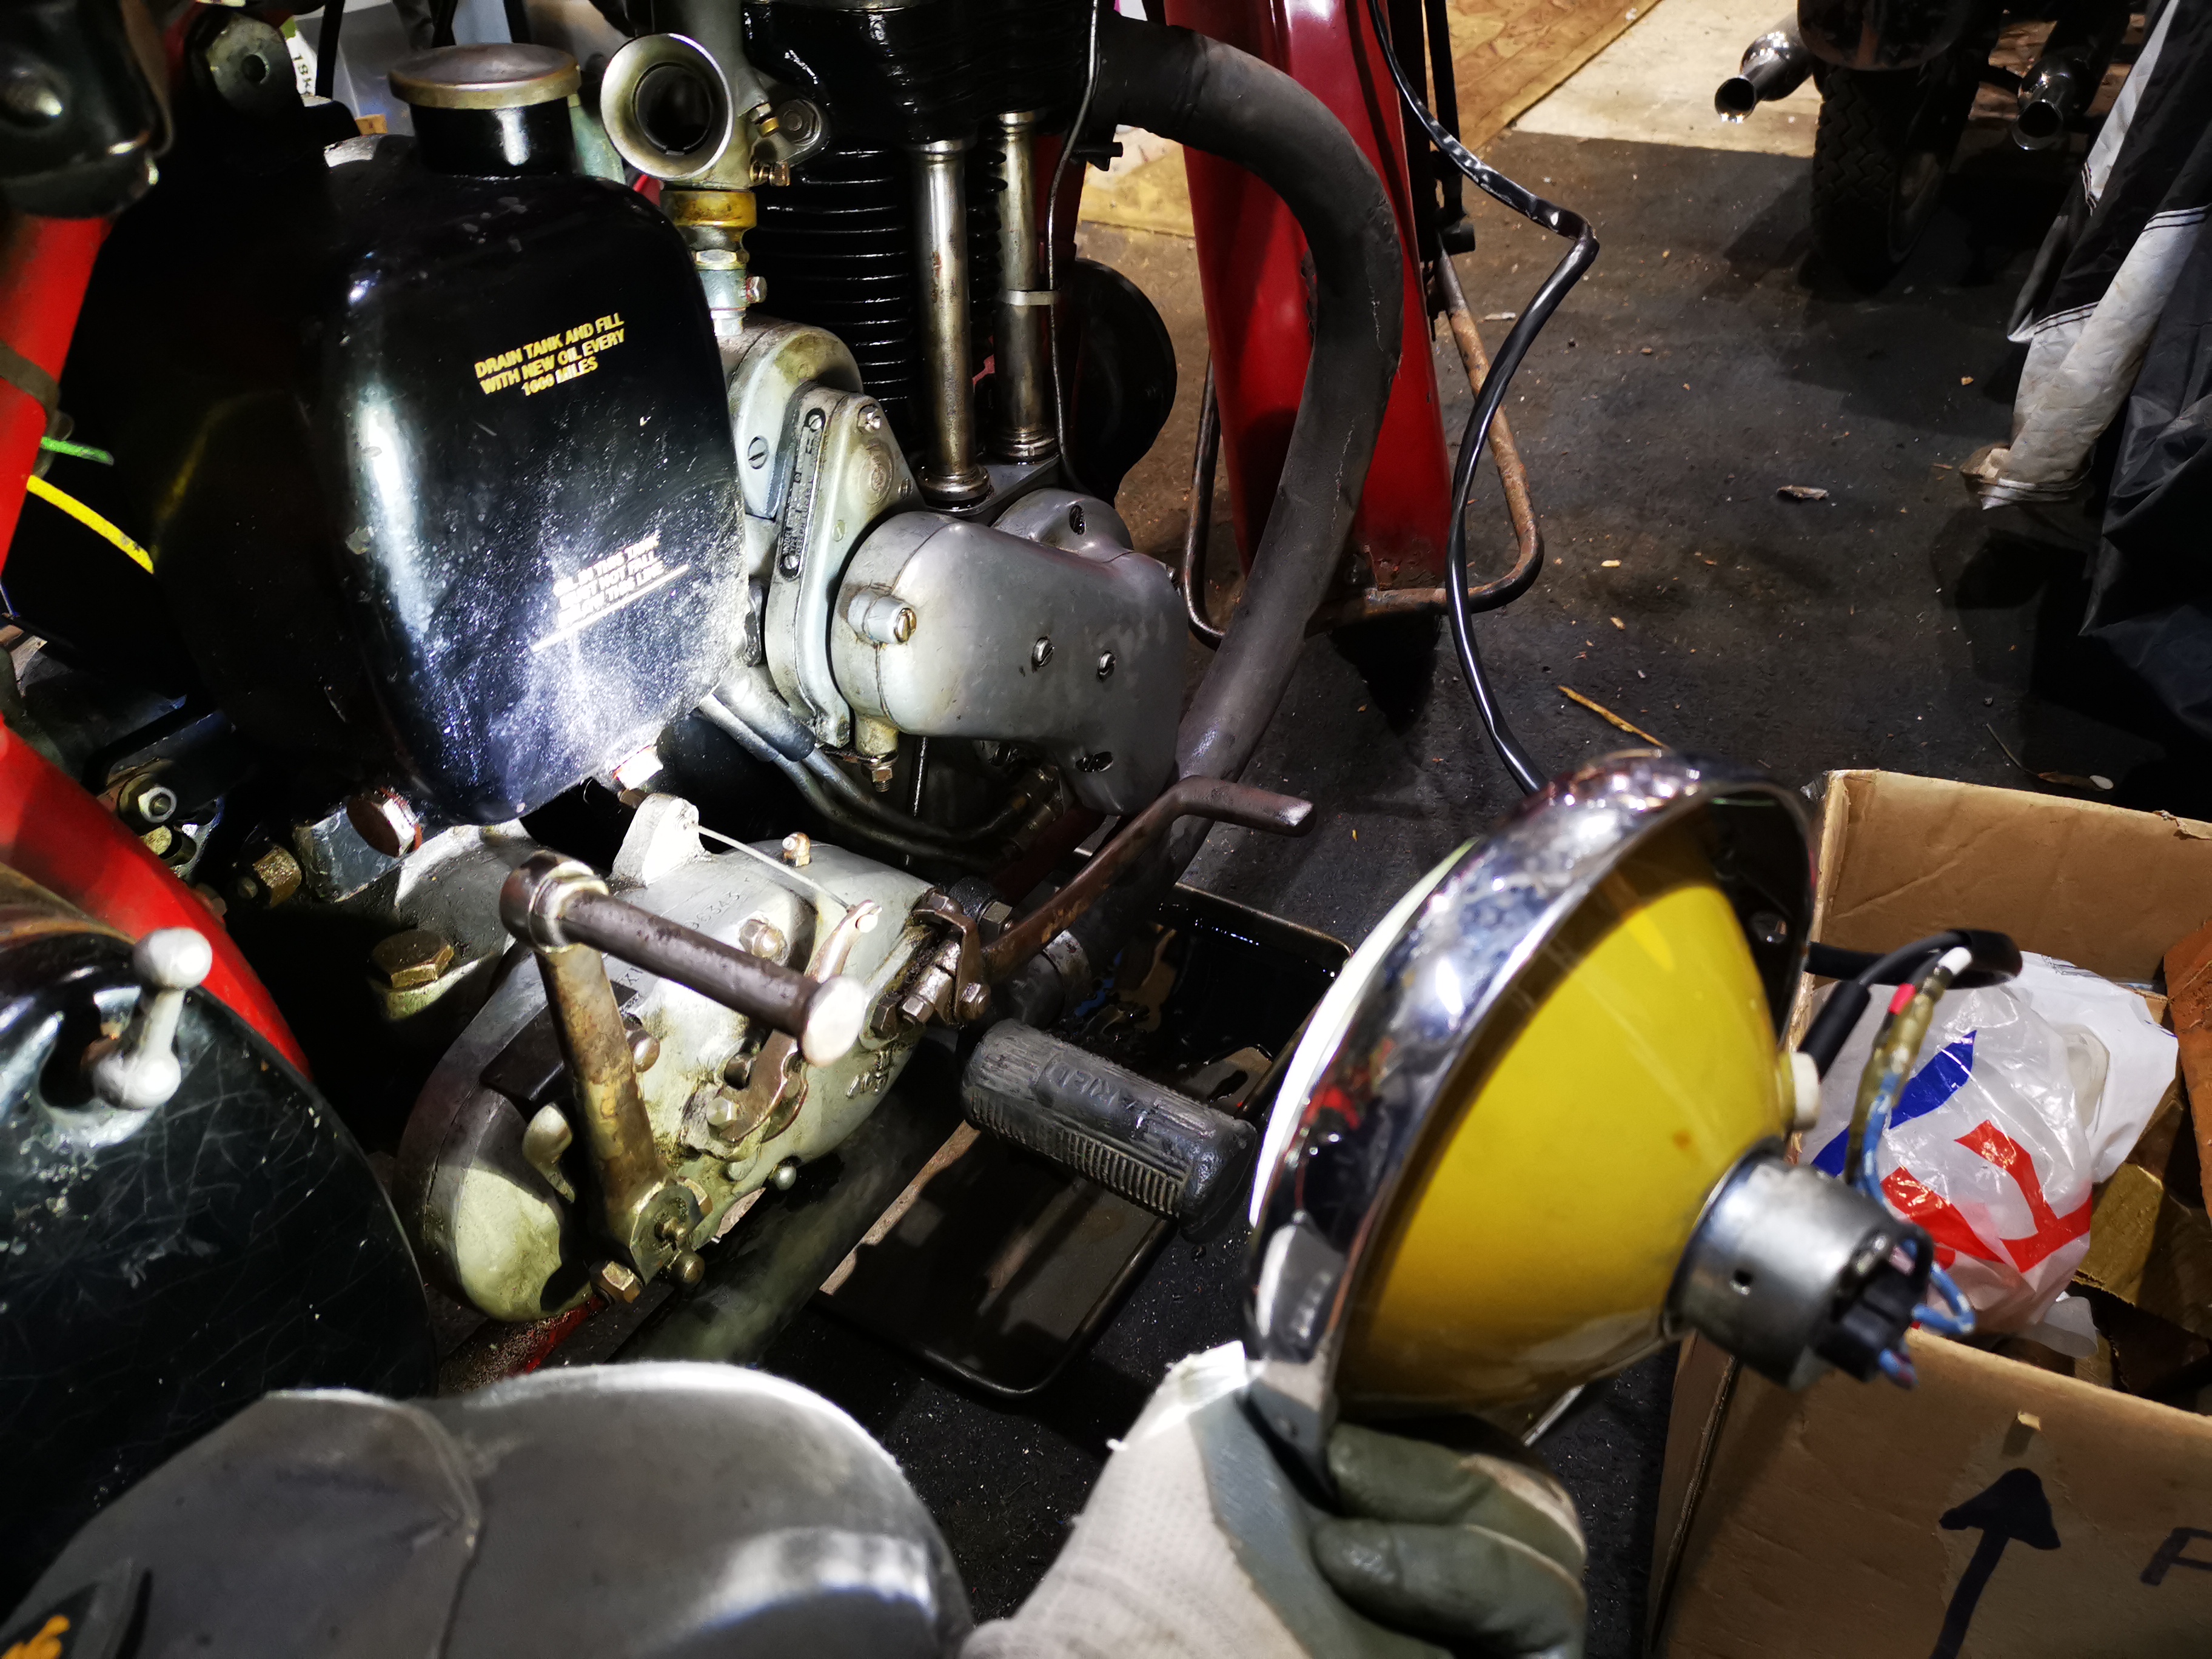
 A post on the club Facebook page and a chance conversation with the Black Ariel spares officer has me looking at the valve caps on the Model A.

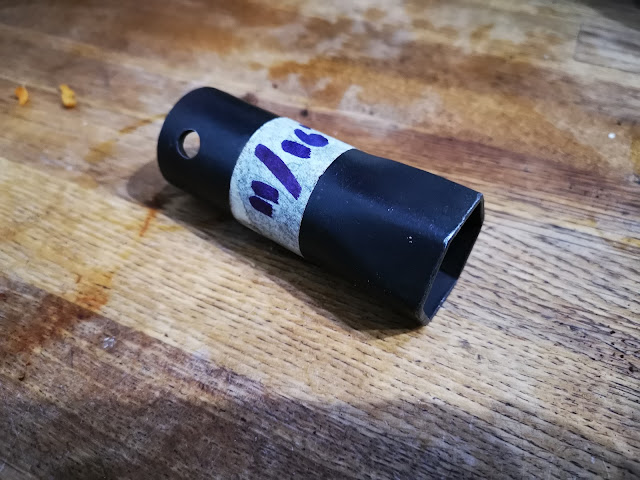
A fellow member was struggling to remove the exhaust valve cap on the club 1928 machine and ended up taking it off in pieces. I thought I would have a go with the club spanner I bought a few years ago:


The inlet cap came off quite easily - the exhaust cap is still refusing to move!


Thursday, 4 September 2025

Charlie's Shed - tool restoration

 I've done a lot of posts on toolkits and tool rolls in the past, and here comes one more. Repacking the Huntmaster toolkit one day I noticed that a 3/8 BSW spanner was rather damaged - in typical fashion it had been sprung open by over exertion.

It's actually quite easy to fix these. I set it up in my little hearth and heated it cherry red, picking it out with a pair of tongs and giving it some adjustment with a 1 lb hammer. It's actually closed up nicely back to size.

The black finish is achieved by quenching it in oil.


Here's another one:


Wednesday, 27 November 2024

FH - tappets done

 Just for the record, this morning I have set the tappets on all valves to 10 thou.

The toolkit is going to need a 10 thou feeler gauge and a 1/8 hex key.

Saturday, 8 June 2024

QD Wheel Nut Spanner

 As regular readers will know, I enjoy making things and in particular the more elusive tools for the various Ariel on-board tool kits. Some while back, I made an early version of the special tool kit spanner for removing the nuts on the QD hubs, which is an extended box spanner to reach in between the spokes. I wrote up the job here. At the time, I didn’t realise that the later bikes (after 1950) had a different spanner. AOMCC member Klaus Gerhard sent me this picture, from his 1951 NH:

Scaling off the picture gave me this drawing:

Starting with a bit of 3/4” EN1 round bar, I set the bar up in the lathe with a revolving centre to support the end of the bar and set about reducing the centre section to 3/8” diameter:


I had a 3/8” diameter round nose tool which I made last time to form this radius:


The hexagonal bit is a section cut from a cheap Melco box spanner. The holes you see are for the tommy bar - I’ll weld those up later:


In the picture above, you can see that one of the ends of the main part has been reduced in diameter very slightly to fit inside the box spanner part. The other end needs a radius and a hole:


I made the radius by turning two or three chamfers at different angles and smoothing them off with a file in the lathe. 

Best test it:


The cross drilling is 8.5 mm, to clear the 5/16” tommy bar; I drilled it in the bench drill paying very careful attention to centring the drill over the bar, and drilling in three steps (4mm, 6.5 mm, 8.5 mm). 


Apologies for the awful picture. There’s a peripheral weld around the circumference of the box spanner and two plug welds filling in the tommy-bar holes. Those with keen eyes for a pinhole will note that I used the last of the Argon on this weld!


At some point, hopefully this year, I shall set up a plating plant and deal with a long list of small FH bits that need cad (or as near as is available today) plating. This QD hub spanner will be plated - but for now, it's happy with some gloss black U-Pol.


One last thing. You might recall that the 1950 version of this spanner has an extension, 6611-50:


My interpretation on how it's used is this. With the extension on the spanner and the tommy bar pinning the two together, you use the extension to steady the spanner with your right hand while turning the tommy bar with your left - you can actually get a lot more torque on the nut like that:

Thanks for reading, and I hope you found it useful!

Sunday, 7 August 2022

W/NG - a bit of routine maintenance

I spent a bit of the afternoon doing some routine maintenance on the W/NG, using the excellent on board tool kit:

I was surprised to find the tappets had a bit of movement in them, though it was tea time before I could attend to them.

The clutch was a bit oily, but only in the cover, reflecting the fact that the chaincase was over-full. The pressure plate lifts level though, and the new plates have settled into the basket nicely. There is about an inch of oil in the chain case

All the chains tensions are good, including the magneto chain: 


I put a cup full of oil, and many pumps of the grease gun in the gearbox. The lead light is very useful:


Oh, and I fixed the horn by squashing the adjuster lock nut slightly. It has an odd thread, 0.209" x 36 tpi which I found by luck on eBay - it's a bicycle tyre valve core thread!

Sunday, 17 April 2022

Huntmaster Toolkit

Updated: First published April 2018

As you know, I have a bit of a passion for getting the tool kits right on my bikes. Some while ago, I started a post on the tool roll for the FH, which took a while materialise but the secret to finding these bits is to do your research and start looking, in the knowledge that it might be a while before you find everything...

Here is the toolkit list from the 1956 parts list. Added to this for 1957 is a 'single ended box spanner for rear wheel nuts', number 6601-57, probably when the fully enclosed rear chain case was introduced:


Here's a list I made to collate what I had. Decimal dimensions come from the factory drawings in Ray Tolman's list.:

Item
Ariel PN
Old PN
Function
End 1
End 2
1
6600-32
G1/110
Spanner for brake fulcrum adjustment
2
6600-36
G1/125
Double Ended Spanner
3/16
1/4
3
6603-28
G1/59
Double Ended Spanner
5/16
3/8
4
6603-56
Double Ended Spanner (rear wheel spindle nut)
5
6604-55
Tappet Spanner
6
6605-28
G1/66
Double Ended Spanner
7/16
½
7
6606-27
G1/55
Double Ended Spanner, steering head nuts
1.01"
9/16" BSW
1.1"
5/8" BSW
8
6608-56
Spanner for sparking plug
9
6611-55
Box Spanner for rear wheel
10
6611-31
G1/99
Tube Spanner for hub spindle nut
0.825"
7/16" BSW
0.925"
1/2" BSW
11
6616-26
G1/33
Screwdriver
12
6616-29
G1/86
Screwdriver for clutch spring nuts
13
6617-56
Magneto Spanner
14
6625-26
Tyre Lever
15
6625-55
Tyre Lever and tommy bar
16
6636-54
Tyre Inflator
17
6601-57

Single Ended Box Spanner for rear wheel nuts


6640-54
Tool roll only

My FH tool kit started off looking like this:

A tool box full of spanners
So we need to set to and find the tools. Item 1 is easy, and I already have one for the FH:

Item 1, Brake Fulcrum Spanner
Item 2 is also easy, once you remember that these spanners were bought in by Ariel, the makers names ground off and 'Ariel' stamped in their place. They are also notable for the fact that they are marked with BSW sizes unlike most Ariel spanners, which are marked with BSF or BSC sizes:

Item 2 Double Ended Spanner
Item 3 is another common Ariel spanner, the G1/59. This one is the later oval shank style:

Item 3, Double Ended Spanner
Item 3 is a bit tired and will need some material adding.

Item 4 is a complete guess, supported by Ray Tolman's opinion:

Item 4, Double Ended Spanner
Is this BSA spanner similar to item 5, given the provenance of the FH engine?


Giving it some thought I decided this later BSA spanner would be more appropriate.


Item 6 is one of the most common Ariel spanners. This one is pre-war (rectangular shank style):

Item 6, Double Ended Spanner
Item 7 is also very common, though this one has been filed out...

Item 7, Double Ended Spanner
This one fits the spark plug, but other than that is a complete guess:

Item 8, Spark Plug Spanner
Since item 9 has a 1955 part number, I assume it must be the wheel spindle spanner: 

Item 9, Box spanner for rear wheel

Here's a modern equivalent for item 10:

Item 10, Modern Version
Item 11 is just the usual wire formed screwdriver:

Item 11, Screwdriver
The clutch screwdriver is also easy:

Item 12, Clutch Screwdriver
Item 13 is a standard Lucas magneto spanner:

Item 13, magneto spanner

Item 14 is a tyre lever, which I assume is similar to either to the 'third hand' type included in the military tool kits, or more probably the Dunlop spoon type. Since I have a spare cranked one, we'll add that for now:

Item 14, Tyre lever

Would item 15 be something like this, used by Triumph?


Here's my attempt, almost there:

Item 15, Tyre Lever and tommy bar

The tyre inflator:

Item 16, Thapex Tyre Pump

Here's the last item, which I guess was added when the FERC was introduced in 1956, making it difficult to get to the QD hub nuts:

Item 17, A single ended 3/8 BSW spanner suitable for the hub nuts

So now I have this, and a bit more searching to do.


In addition to the standard tool kit, we'll need this 10 thou feeler gauge and a 1/8" hex key for the Triumph socket head tappet adjusting screws I fitted in this post:


Here's the repro tool roll I made in this post:


The little pile of tools fits the bag nicely:


And the bag fits in the tool box:


Here are a few links to my other toolkit pages:

Monday, 31 January 2022

Tools - new connector for the FH tyre inflator

 Some of you might have seen my post on Thapex tyre pumps - click here, and the post on making pump washers. As I said before, pumps bought from eBay, autojumbles and car boot sales arrive in unpredictable condition, cracked, with missing or tired washers and almost invariably without their connectors.

This article is about making those connectors, but first a word on terminology.

While researching these things, and looking for a longer pump hose that I could buy, I came to realise that the cycling world doesn't recognise the word 'hose' in connection with cycle pumps - indeed, cycle pumps are a bit passé these days having disappeared in favour of CO2 powered inflators. No - the cycling world seems to use the word 'connector'.

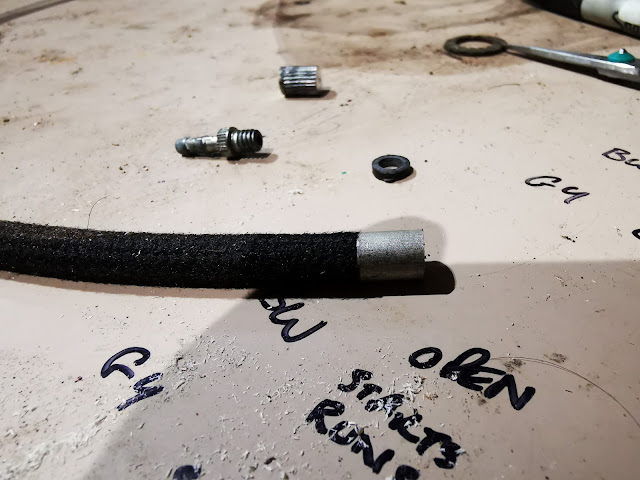
So, here we go. First we need a bit of hose - not too difficult, you can buy 1/4" braided fuel hose on eBay in various sizes - I bought 500 mm of 6.5 x 3mm black cotton braided hose for the princely sum of £2.68.

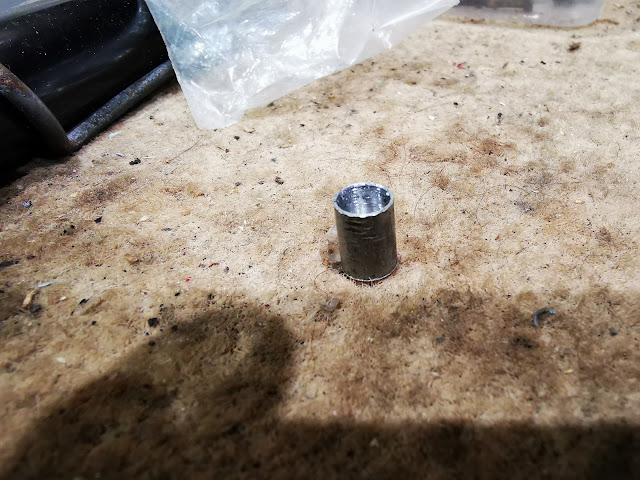
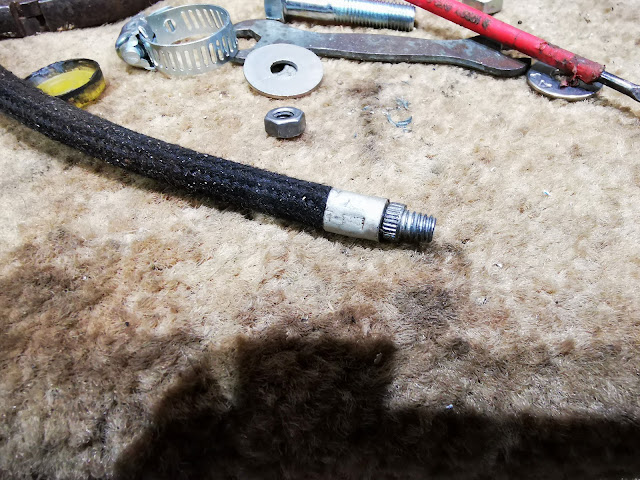
The difficult thing is always the ferrules, whether it is for a push bike or a motorcycle fuel line. They are either hideously expensive or just not available, so along comes another skip raid. Some time in the past I had acquired an aluminium cycle rack, the kind you put your shopping on and cycle home from town. It was full of weld but I had cut it up and stored it in my metal stock bin. It was 8mm OD. It machined well enough to make a couple of ferrules very easily - that is a 7 mm hole in the middle, they are 10 mm long and the 7 mm bore stops 1 mm short of the end. The end is drilled through 4 mm.


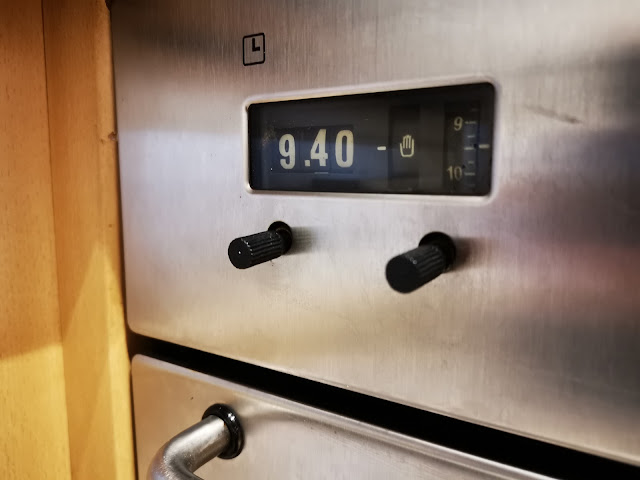
The aluminium bar gave me two replacement cooker knobs as well:


The ferrules fit nicely over the braiding:


The crimping was done in the three jaw chuck on the lathe:


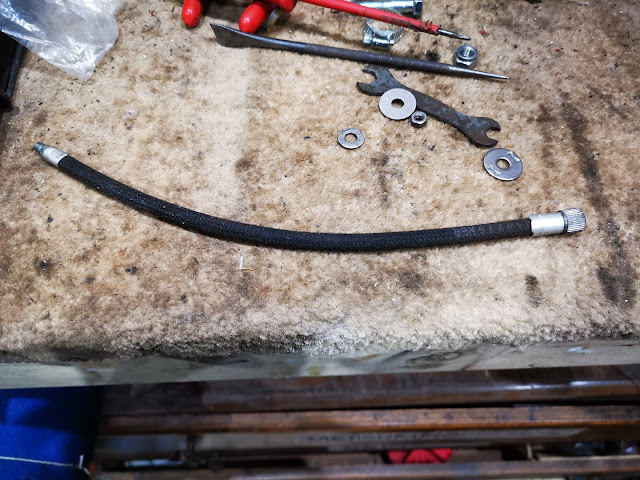
And the completed article. The length wants to be as long as possible but is defined by how much you can store in the pump:


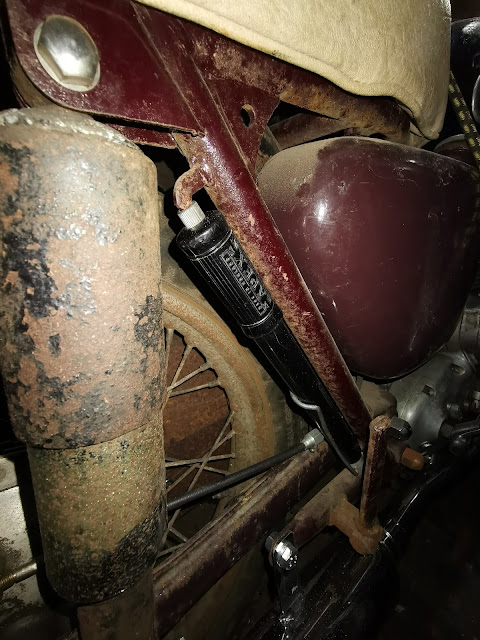
Here's the complete thing on the bike: