Showing posts with label tappets. Show all posts

Tuesday, 22 July 2025

FH - back to the bench

 After returning to the road following the split oil line incident, the FH has now clocked up 270 miles and it's high time to retighten the cylinder head. There are a couple of issues - it's still leaking on the drive side, and it puffs a bit of smoke from that side as well. Perhaps the return oil way is leaking oil both into the cylinder and out of the joint, onto the fins. We know from this post that there is a compression problem, and the behaviour demonstrated during the compression test supports the head gasket leak theory.


Removing the tank reveal this nasty fretting damage to the rocker oil feed pipe. Given that this pipe and it's banjos are in the way when the rocker box comes off I think I might cut the pipe here and fit a bridging rubber piece so that I can remove the banjos easily with the rocker box next time.


With the rocker box off I could get the spanners back on to the head nuts. I got quite a bit of movement on the central ones so I'm quite optimistic there will be an improvement in the compression figures for the drive side cylinder. We shall see when it's back together.


Not surprisingly perhaps but I discovered that you can't do a compression test with valves that won't open and the bike on the bench, because you can't fill the cylinders and you can't get enough purchase on the kickstart to give it a proper kick.

Never mind. While I'm under the tank I thought I'd have a look at these broken grease nipples for the steering head - this is the first time that I've successfully used an easy-out for anything!

I fitted a new one from stock, but I've only got one unfortunately...

Thursday, 10 July 2025

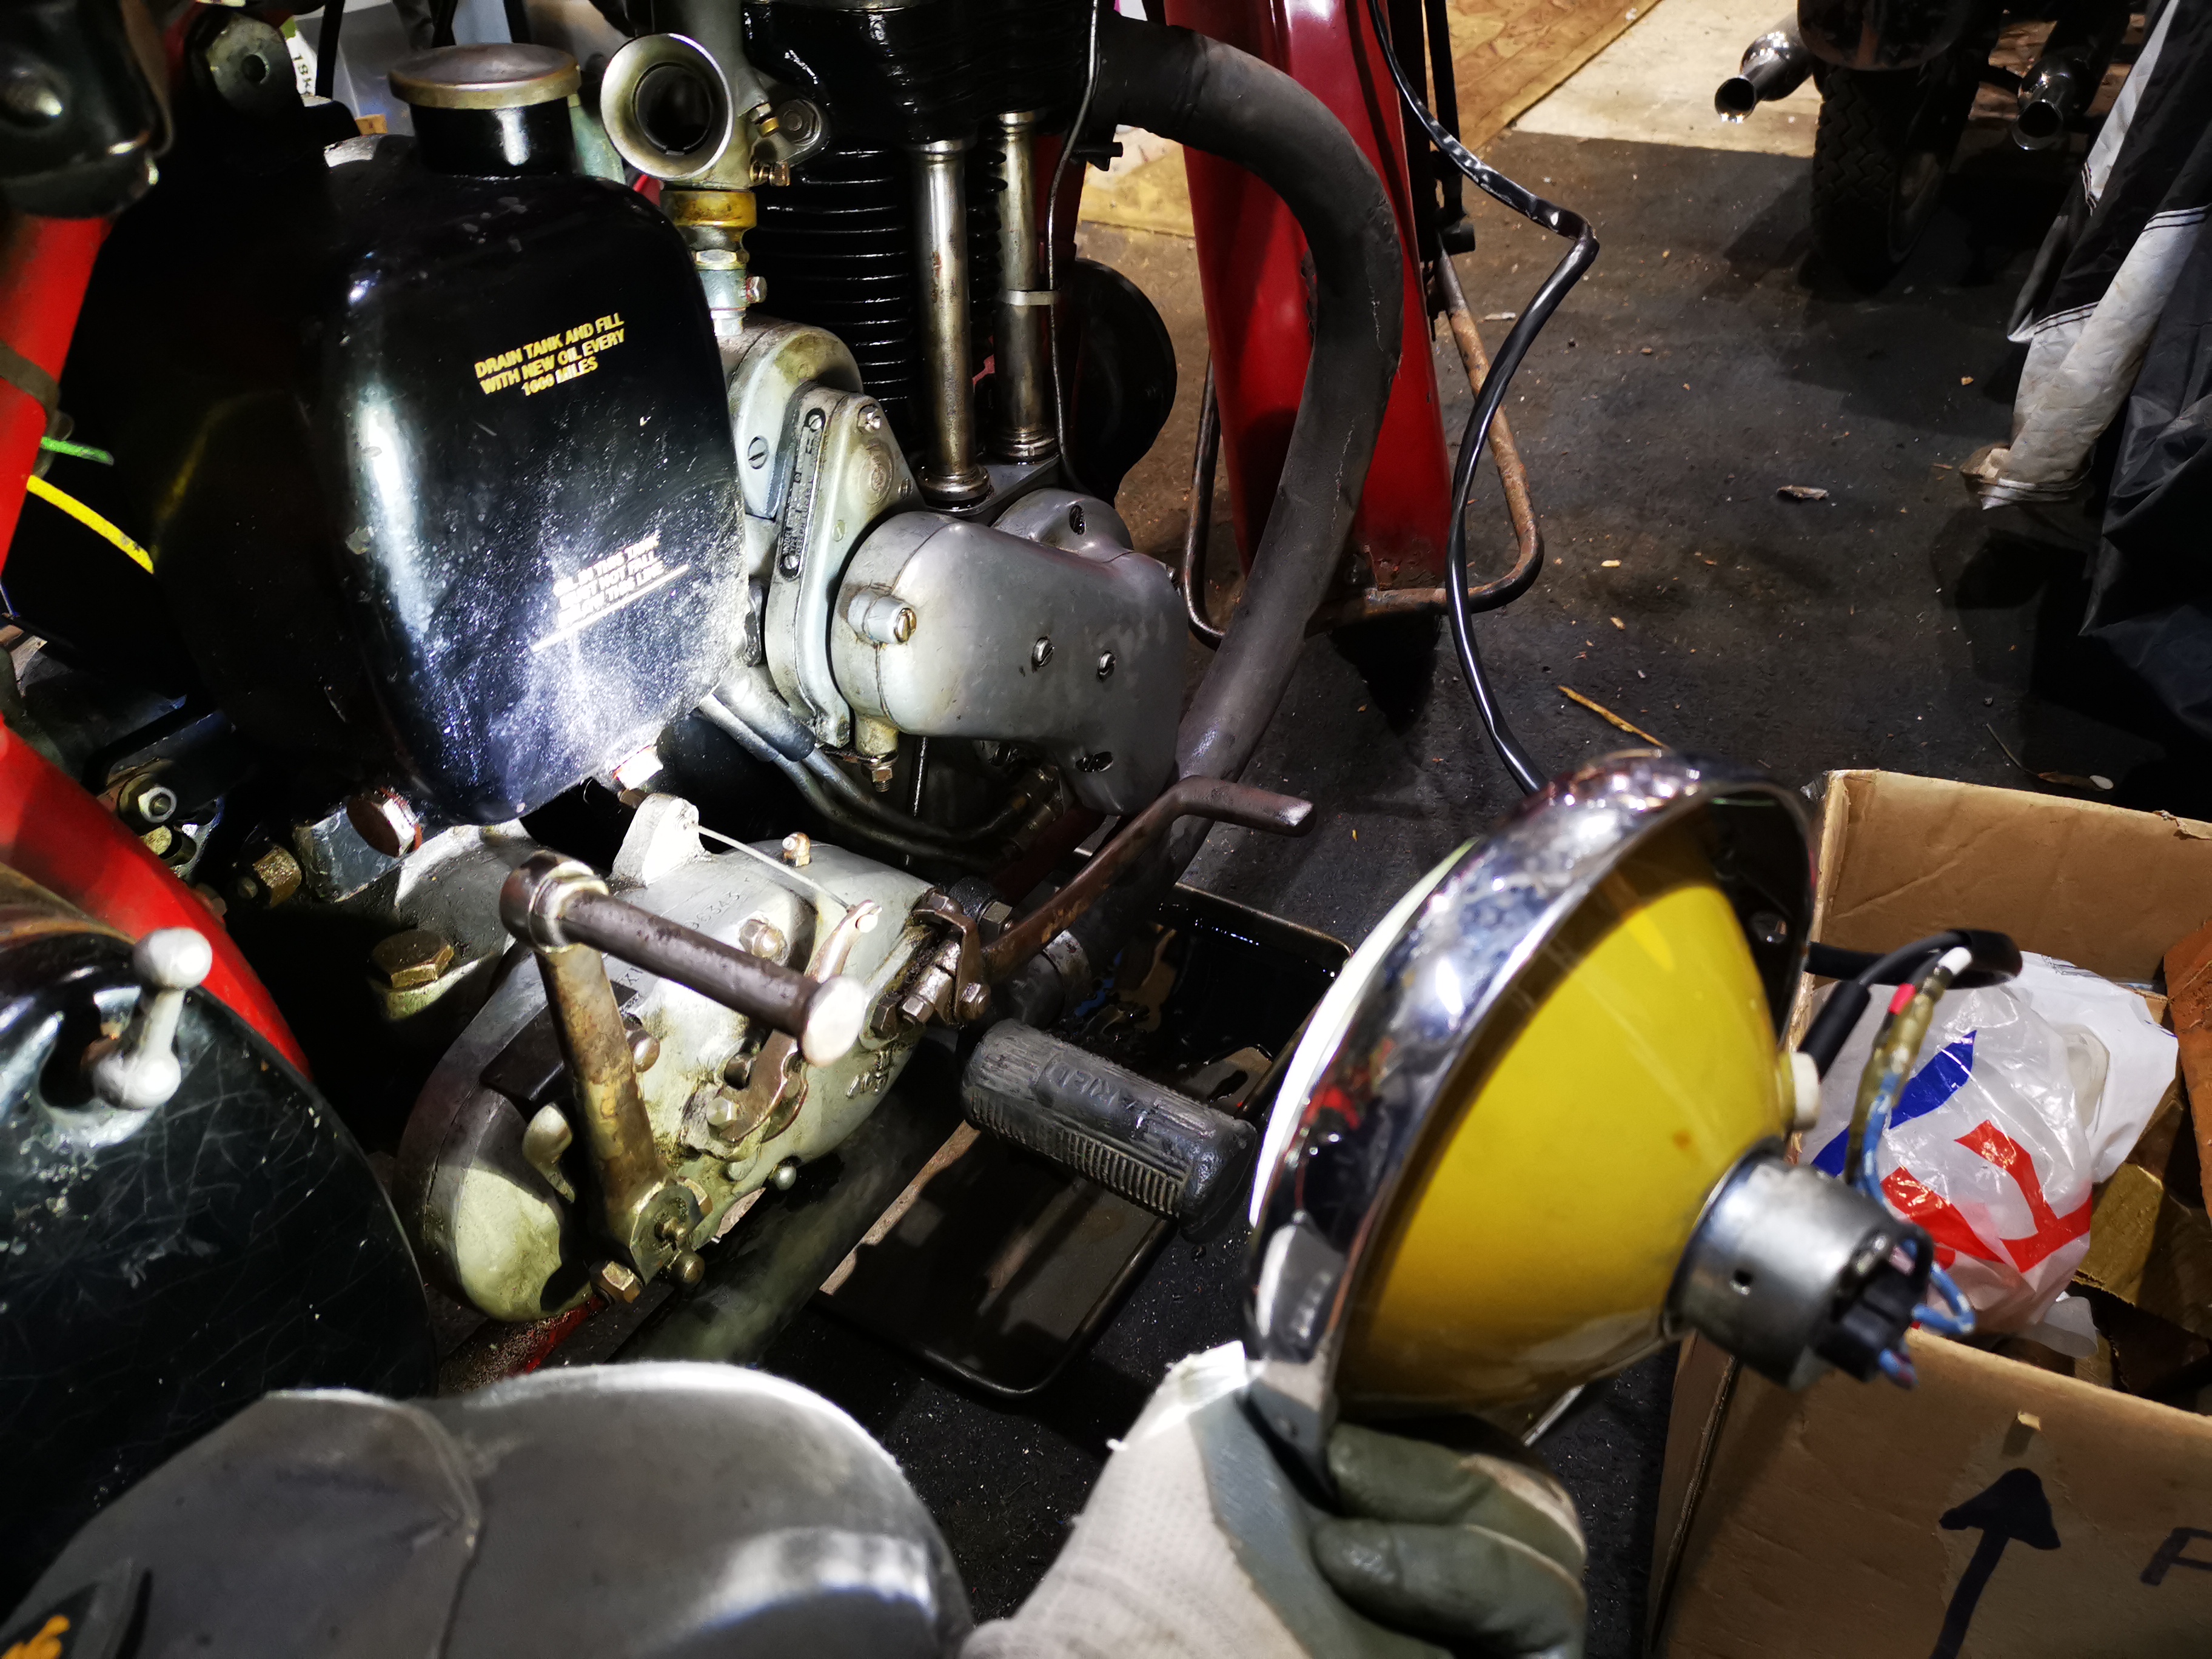
SQ4 - under the tank

 I've taken the opportunity to remove the petrol tank because it's time I did the valve clearances and had a look at a persistent oil leak that has been going on for years. I thought it was fixed; I changed my mind and decided it was a head gasket problem - but then careful observation of the rocker box oil line revealed some seepage. It's obviously been quite bad in the past at some point, before I fixed it last time, because there's oil on the steering damper plates under the steering head. There must have been quite a jet to get it out there. 

Some years ago I did repair a leak here but it appears I didn't do it very well:

When I took this apart it was clear that they was some oxidization within the joint which had prevented the solder wicking down inside the fitting. I cleaned that up with wet and dry and tinned the pipe with some solder, using plenty of flux to sweat the joint into place. It resists that twisting now. 

The next job is to do the tappets and pulling off the rocker covers reveals some lovely clean valve gear. 

These are all supposed to be set to 0.001" with the engine cold. I used the famous 'Rule of Nine' to set them up. 

Valve clearances all proved to be very close to where they should be - I adjusted a couple of them but most of them were ok. I moved on to the spark plugs - cleaning them, checking their gaps but again they were all ok.


This one is from cylinder number 4, but it's fairly typical of all the others. You might think it's a little dark on the centre electrode and indeed we might consider adjusting the mixture a little. We could put another washer under the float valve to lean out the mixture across the whole rev range.

I took the opportunity to change the thumb nuts holding the HT cables to the plugs for some larger ones that I made some years ago.

With the rocker cover off I took the opportunity to snug down the head bolts and nuts. This is quite straightforward except for the pair that are buried in the fins - these two at the back are particularly difficult and you have to take the carburettor off to get at them. The one on the timing side of the bike is almost impossible because the casting has not been cleaned up sufficiently for you to be able to get at the nut.

Next time that I take the head off, there will have to be some grinding in there.

Reassembly was quite straightforward, apart from getting the oil tank back in. I've now 'adjusted' the area above the engine plate and below the frame rail with my favourite (small) hammer. It goes straight in now, but you have to remember to take the oil supply/return manifold off the engine first. You can't get the oil tank bottom bracket past the oil lines with the lines in place.

Friday, 23 May 2025

SQ4 - a bit of maintenance and a good clean

 Now that I've finished installing the electronic ignition and the FH is doing sterling service as the daily rider, it's time for the grubby old Mk1 to get some attention. Looking at the maintenance schedule shown here, there's a few bits that need attention not least an oil & filter change with a tank washout.

My U-Pol degreaser works wonders on the back wheel:

The next step is to lift the fuel tank and clean the cylinder head.

Wednesday, 27 November 2024

FH - tappets done

 Just for the record, this morning I have set the tappets on all valves to 10 thou.

The toolkit is going to need a 10 thou feeler gauge and a 1/8 hex key.

Sunday, 24 November 2024

FH - wear in the valve train

 Last time we were here, I wrote about some wear I detected in the valve train through not being able to set up the valve clearances properly. What I've done now is remove the rocker box again to have a close look at the tappet adjusters and the push rods. 

Removing the push rods and measuring them revealed that the inlet pushrods are correct to the measurements shown in Draganfly's pages of information. Strangely enough the exhaust push rods are actually slightly too short, which is unexpected since I was able to set up these valve clearances easily.


I also measured up the tappet adjusters. I made some posts on the club Facebook page about both the tappet adjusters and the push rods which revealed some useful advice from fellow members. It appears that the tappet adjusters are more or less the correct length, however the later BSA or Triumph adjusters (which are the same length and thread, 5/16" CEI) are provided with hex socket heads and are consequently easier to use. Looking closely at my original Ariel adjusters showed that the square heads were deformed slightly and would not go into the lock nuts, limiting the adjustment available.


I resolved to take the club member's advice, and bought a new set of adjusters and lock nuts.


Further advice from a gentleman who races Ariels had me looking at the extent of the heat treatment of these adjusters. Some of the ones on the market are apparently prone to breaking around the hexagon socket due to over hardening in that area; it appears that the extent of heat treatment on the ones I bought is limited to the area that makes contact with the valve stem, so that should be all right. Hopefully...


Today I fitted the rocker box again, with a longer bolt inside the inlet end. This is a much better approach than the stud and nut that Ariel specified (you will lose the nut down the pushrod tunnel) and is actually a BSA approach to fixing the rocker box shown to me by Steve, a long distance Huntmaster rider. 

Unfortunately tightening the rocker box bolts revealed that the nuts in the two rear corners could not be fitted with the box fully down. I loosened the main bolts and jacked up the rocker box using the inlet valve adjusters high enough so that I could get the reduced hex nuts in place on the rear corners without losing the pushrod location in the rocker cups.


That done, it was time to pack up for the day but not before I had temporarily fitted the rocker box covers and one of the head steadies. One of the rocker box covers doesn't fit very well due to burring on the locating pins which I'll have to fix later.


Here's a wider view of the engine, with both exhaust pipes temporarily in place:

Next, we can finalise the valve clearances, which are 0.010" for both inlet and exhaust; these new Triumph adjusters need a 1/8" hex key, one of which will have to go in the toolkit. When that's done, we won't need to have the facility to turn the engine easily, so we can close up the gearbox. Before I do that I will fit the pear nipple on the clutch cable; I'll adjust the inner clutch cable length later as I want to replace the handlebar end nipple with a brass one. I'll do the air lever nipple at the same time.

Offline from all this I can replace the dynamo chain and fit the timing cover. Then we can seriously think about first start.

Thursday, 21 November 2024

FH - rocker box

It's pouring with rain here today so badly that I can barely take the dogs out, so I've taken a little while to come and varnish an oak window sill and fit the rocker box to the Huntmaster. 

We start with Wellseal on the rocker box gasket faces and stick the gaskets in place. Next we'll put another coat on the cylinder head gasket faces and manoeuvre the rocker box into place over the pushrods.

I'm using a small USB camera connected to my phone to have a look in some of the small spaces around the top of the engine. The camera is small enough to go down towards the pushrod tunnels so that we can verify that the bottom end of the push rods are sitting in the tappets properly.

The camera fits through the inspection hole in the top of the rocker box and through the big spaces at the front and back to allow us to see whether the push rods are engaging with the rockers properly. You can get a small screwdriver in front or rear to nudge the pushrods into place.


With a bit of fiddling, I got the rocker box down and bolted. These bolts are actually supposed to have shakeproof washers so I shall have to change them later but the gaskets are pulled down properly. I've also fitted the rocker box oil lines.


So this all went pretty well except for one thing. Whilst the rocker box is down and I've managed to adjust the exhaust rockers to a reasonable clearance, there is no way that I can get the adjusters far enough into the rockers to bring the inlet rocker clearance to specification. I'm not sure what's wrong with this, it might be worn adjusters, it might be worn pushrods...


Wish I had had the foresight to measure the pushrods before I started...

Sunday, 7 August 2022

W/NG - a bit of routine maintenance

I spent a bit of the afternoon doing some routine maintenance on the W/NG, using the excellent on board tool kit:

I was surprised to find the tappets had a bit of movement in them, though it was tea time before I could attend to them.

The clutch was a bit oily, but only in the cover, reflecting the fact that the chaincase was over-full. The pressure plate lifts level though, and the new plates have settled into the basket nicely. There is about an inch of oil in the chain case

All the chains tensions are good, including the magneto chain: 


I put a cup full of oil, and many pumps of the grease gun in the gearbox. The lead light is very useful:


Oh, and I fixed the horn by squashing the adjuster lock nut slightly. It has an odd thread, 0.209" x 36 tpi which I found by luck on eBay - it's a bicycle tyre valve core thread!

Sunday, 7 June 2020

W/NG - Smoke and tappets

Having recently retired around the time that the sun came out and the Coronavirus lockdown regulations were loosened here in the UK, the bikes have been seeing a bit of use. This week, I went out with my son on a ride around Coltishall, Norfolk:


That's his Interceptor, which is a fine machine with power low down, a nice seat height and good balance. We tootle around for a bit, testing out the W/NG's new baffles which seem to be cutting the noise down but also seem to have affected the idle - it now dies more readily than it used to.

However, I adjusted quite a lot of play out of the tappets before I left and that reduced the clatter quite a lot, and the bike seems to be going well. I had it up to 60 on the way home, though by the time I stopped there was smoke pouring off the cylinder head and there was quite a lot of oil about - disappointing, as I had resealed the rocker shaft unions which had been weeping for a while. I resealed them discarding the traditional fibre washers for soft aluminium washers, so we will see how that pans out.

So, back in the workshop the spanners are out to have another go at those unions. There's oil everywhere - under the tank, on the mudguard and down tube, all over the timing cover. It has never been this bad.

Then the penny drops - Numpty Spannerman has been at it again, taking stuff to bits and not putting it back correctly. The front rocker cap has gone.


I've often found that I've subconsciously registered some change in engine note or handling performance during a trip, only to realise the cause much later - the senses are very good at picking up small changes. This time, on the way down I had noticed a deepening of the engine note and on arrival there was more oil about in new locations - differently shaped dribbles even.

So that spelled the end for the old brass rocker caps, one lying in a gutter somewhere in Norfolk and the other consigned to the spares box, to be replaced by these fine reproduction examples from the AOMCC Singles Spares scheme. Also shown here are the clips that hold them in place - this is a W/NG only part, and provides some deterrent for the caps to loosen off completely.


Whilst I had the tank off, I took the opportunity to check the tappets again, look at the decompressor seals and check the timing. The tappets and timing were spot on but while I was removing the rocker box bolts to fit the new clips I returned the clutch cable to it's proper route - it's not supposed to go through the tank mount like this:


Here's the decompressor, removed and dismantled:


I've fitted a Dowty washer between the body and the rocker box to seal that joint. Third from the left is the rubber washer, which is rock hard - I fitted a small O ring behind this. O rings are not for use in dynamic sealing applications, but the decompressor rarely moves so I think it will be OK. I've had a quick look for an oil seal that will fit in here but that seal is maybe 2 mm thick - way too thin for an oil seal. Perhaps I will turn a simple carrier to fit a couple of O rings or change the decompressor body to allow an oil seal to fit.


I'd not noticed this weld repair before.

So that was a useful couple of hours work - I had a look at the clutch adjustment as well. These old bikes are so easy to work on.


Wednesday, 17 October 2018

Rule of Nine

Many moons ago, I had a burning interest in classic cars, many with British Motor Corporation 'A' Series engines. One of the useful tips I learned working on these was the Rule of Nine, a way to easily make sure your engine was in the correct position when adjusting valve clearances.

The thing is, when you adjust the clearance in a particular valve train you need to make sure the cam follower or tappet is on the base circle of the cam, or the clearance will be excessive. You do this by checking the clearance on both valves in a cylinder when that cylinder is at TDC. The thing is, wild valve timing or quietening ramps in the cam profile means you have to be accurate when positioning the engine.

But there is an easier way. Have a look at this camshaft:


That's a spare camshaft for my Square Four - a lot less worn than the one in the engine. On the right hand side of the picture, you see the thread retaining the cam chain sprocket, and that first cam is the exhaust cam for number one cylinder - notice it is pointing straight up and the valve will be fully open.

Here's a Stormy Petrel's eye view of the rockers, so you can see what I am talking about:


Move to the left hand end of the camshaft and we are looking at the last or eighth cam, the cam for the exhaust valve on number three. It's pointing straight down, which means the valve is fully closed and the tappet is on the base circle.

Now look at this picture. The cam that is pointing up is the inlet cam for number two cylinder - it's the fourth cam on the shaft.


The one pointing down is the fifth cam on the shaft, the inlet cam for number four cylinder, so

4 + 5 = 9

Remember the first example where we looked at the first cam and the eighth cam? Well:

1 + 8 = 9

Guess what? It works on the other valves too! So, if the valve on the second cam is fully open (which is very easy to discern) then you know that the valve on cam seven (the exhaust valve for number four) is on the base circle and can be adjusted.

Easy. The Rule of Nine.

By the way, I found that after 1000 miles, most of the clearances needed adjusting - maybe because I didn't do it very well last time.


Finish off with replacement of the rocker box gaskets with Threebond. The fibre gaskets specified by Ariel are not suitable for the sorts of temperatures the cylinder head sees.

Thursday, 24 August 2017

There's always something

Having got the magneto back on, and the bike up and running properly, I went for a little ride... and it was great.

Back in the workshop, it was time to tidy up; while cleaning the oil draining trays out, I found this little chunk of cast steel:


Hmm...

Casting around for help on the AOMCC Forum, Adrie de Graff, from Holland, sent me this marked up picture of my own timing chest and suggested it was a bit of a cam follower.


This was backed up by the ever knowledgeable Nev Hunter, from Australia. I needed to investigate.

The cranked tin funnel came in handy again:


And with it all apart again, we could pull out the followers and have a proper look. This is the exhaust follower:


You can see in this picture that it is very thin around the cup:


It's a brittle fracture, with heavily discoloured material in the break. It's so thin, the case hardening would have gone right through the material. It's been like that for years.

So, Mr. John Budgen to the rescue:


I will be using the two on the left.

Wednesday, 1 June 2016

All quiet


Nothing happening here. The weather is terrible, but the tappets are done. Number 8 was strangely loose, and I don't think the 1 1/2 thou feeler gauge will last much longer.

Next I need to read this article, which may help me understand what is going on with these NGK B6HS plugs:


They look rather too cold to me. Maybe I should try a set of B5HS which will burn off that carbon.

Meanwhile, as it has been raining, I have been writing an article for the AOMCC magazine, Cheval de Fer.

Friday, 9 August 2013

Tappetty Tap

So we are getting closer to fitting the block and pistons... First job, polish the block.

But first of all, remember that broken fin?


Well, here it is again. It has been built up with weld (small TIG torch) by a very clever man called Steve at Bernard Ashpole's:


And later, having years of cr@p cleaned out of it. This debris has been removed bay various bent wire tools, poking out all the areas between the fins, the pushrod tunnels, and between the cylinders. It's a complex casting, I would love to have seen the core for it:

This stuff almost looks like casting sand...


There is actually a 'ramp' in here, shaped rather like an old-fashioned deflector piston, which deflects air upward towards the head. You are looking from the rear, where the dynamo would be, at the back of the ramp:
And here it is today, polished as it was when it left the factory. You can see the honing marks Ashpole's left:


Next stop, and before I forget to put them back, the tappet blocks. Here is one of the three good ones - one of them came out in several pieces.

Here are two of the tappets. The groove is for a small wire circlip which serves to retain the tappet in the tappet block. This appears to be an assembly aid, since it stops the tappets falling out of the block when you lower the cylinders into place.
Another view of one of the tappet blocks. Curiously, these are plated with something resembling tin? Not sure why. Heat transfer?
This is the new one from Drags:

And this is how you fit them. First place it in position:
Then you can place it's neighbour. Observe that the two flats are facing each other.
Then you can drive them in with a large socket. A little heat helps, or a press - but I don't have a press... So the hammer is always at hand.
When they are in place, you can fit the retaining bars.
With their tab washers & nuts: