Showing posts with label coupling gear. Show all posts

Monday, 20 January 2014

Primary Drive

The next step is to fit up the primary case for the second time. First off, make sure all the engine bolts behind the case are good and tight.


Then, a dose of Threebond on the flange between the two halves of the case, and bolt them up. This immediately reveals that we are missing three bolts - we have the nice stainless screw in the top, that came from Acme, but I have not sourced the others. So we can get on, one comes from stock - it's the right bolt, but the wrong material.


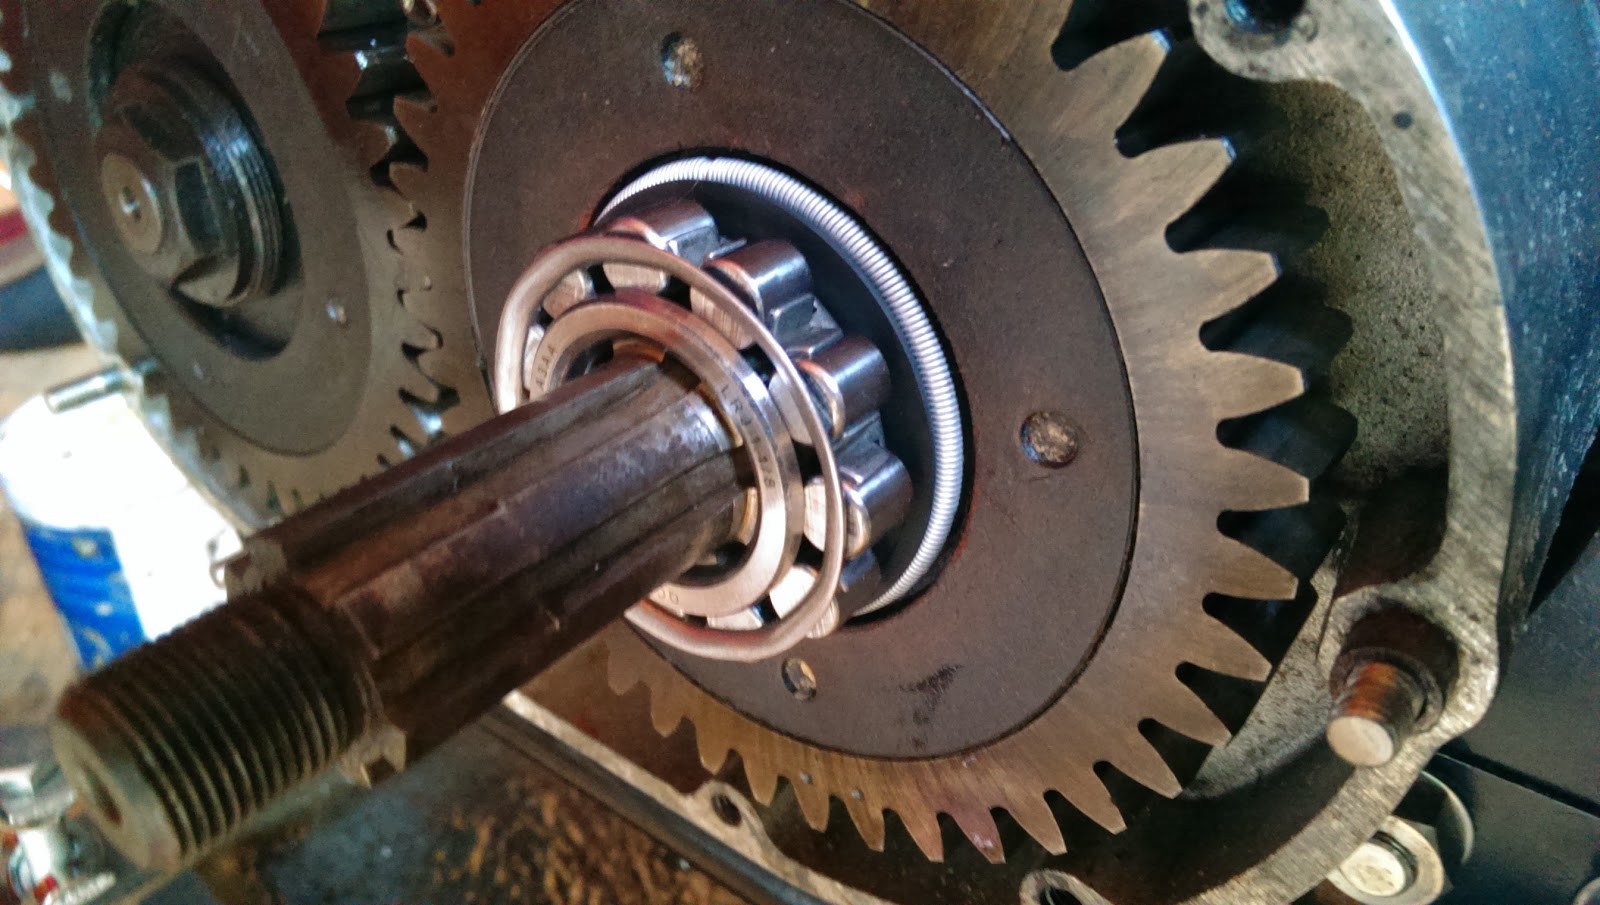
The clutch sprocket bearing cage goes in next, well greased and followed by the twelve needle rollers, courtesty of John Budgen:


Then the chainwheel goes on:


A quick spin reveals a horrible grinding noise... But I know what that is - I've forgotten the ring behind the chainwheel. Primary chain goes on, courtesy of Draganfly, with the clip safely fitted in the right direction:


I found that the primary chain is much easier to adjust if you flip up the rear mudguard - the access to the adjuster is much better.


So, all done. I need a few parts:
  • bolts for the two halves of the rear case
  • the bolt for the lower chainguard to the rear primary case
  • a spacer for the rear case to the frame
  • a split pin for the shock absorber
  • spring washers for the clutch dome screws.
But that's it for the moment. Here it is, all together:


Finish off the Coupling Gear Case

Well, lets get on. Inspired by a post in the AOMCC forum, I am going to fill the coupling gear case with engine oil prior to startup. The coupling gear case is filled by oil draining from a shelf in the crankcase, through a small tube above the gears. This mean it fills using oil splashed from the big ends, so would naturally take a while to fill after starting. I placed this small pvc tube into the drain hole - it passes out of the engine throught the sump plate which is not fitted at the moment:


When the case is bolted up, i'll fill it with oil and then remove the tube. Before we proceed though, does the exhaust bracket bolt fit now or after the cover is on? Best test it. Is this the right bracket for this side? There are two different lengths: 


Next the crankshaft outrigger bearing, held in place with Loctite 603. This is the one that is supposed to be 1 thou smaller on the inner race ID.


Coupling gear cover, new gasket and Threebond:


And all in place. Amelia is now on a drip:


I must remember to fit the spilt pin in that shock absorber nut. One thing I may have to correct later is that the two studs fitted at the 9 o'clock and 3 o'clock positions, the ones that pass through the dowels, are really about 3/16" too short.

The head is just sitting on there - it is the old original one and is not staying...

Friday, 26 July 2013

Coupling Gears

Things are moving on... Not much progress lately, because despite the fact that I am not at work at the moment there is a house to be refurbished and summer weather to be enjoyed! Plus, I have a little Off-Grid Garage project to tell you about later.


So, bottom end is in and now we can fit the coupling gears. Easier to do on the bike, since we will be heaving the cranks about and we don't want the engine moving about.


Here is the coupling gear 'pusher' tool, supplied by Drags, and an essential piece of kit. It has two large adapter nuts each with two threads - one for the pusher rod, and one for the crankshaft. You'll note that the threads on the cranks are different, hence the need for two adapter nuts. At this point, you will have the Woodruff key in place, and the coupling gear keyway aligned with the key. You won't be able to see it in a moment!


The pusher tool is actually a puller, since it pulls the crankshaft into the coupling gear. You need the coupling gear puller to go with it. The puller is assembled onto the gear - and now you don't know where the keyway has gone... Grease that pusher rod thread (to avoid it galling) and start turning - you will need a significant torque and you will have to lock the crankshaft using a bar through one of the rod small end eyes. Use two timbers to prevent damage to the crankcase mouths. Oh and a word of warning - do not swing the crankshafts about without the coupling gears fitted. The rods WILL hit each other and you don't want any nasty dings.


You need to make sure the coupling gears are properly aligned. The gears will only go onto the crankshafts one way, and there are dot marks to align the front and rear cranks properly. Align the gears so that the tooth marked with one dot meshes between the two dot marks on the other gear.

Whilst the coupling gears are identical, one of them will be marked 'F' for 'Front'. Fit this one at the front, and you will maintain the wear pattern established when the engine was last running.


When you are done, fit a new oil seal to the rear crank and do up the nut on the front crank.


Next, trial fit the coupling gear cover. No bearing in this one yet, but those studs are in two different lengths. The long ones pass through the dowels at 3 o'clock and 9 o'clock.


Then the primary case inner:


Then the outer, tensioning the sidestand spring


Then you find the clutch cover screw holes are stripped, and that's why we do trial fits!


Then the battery carrier. The shiny fibreglass battery is going to need some matt black paint and a spray of oil or WD40:

Looking good isn't it!