We'll need a new copper fuel pipe for the W/NG, like this fine example from Paul Slootheer:
It will need curls to give it some flexibility and it will need to be annealed after bending. We don't want a fracture out on the road, pouring fuel over the dynamo.
We'll use these soldered unions & nuts.
Here is another reference point:
 |
| Barn find NH, stored since 1960 |
Using Paul's guidance & some hints from Nev Hunter I've made a pattern from a thick piece of plumbers solder. You can see the fuel tap here as well, which is a re-sealed original but has a repro hexagon shaped reserve plunger:
 |
| Three tight curls |
 |
| Two looser curls, more suited to 1/4" tube |
Using some 1/4" copper pipe, we'll bend up the real thing. It's important to think this through, bend by bend and perhaps to buy enough pipe to have a second crack at it if it all goes horribly wrong!
Take it slowly; you have to realise that in bending the pipe you are aiming to stretch the copper on the outside of the bend. You can avoid flattening the pipe by filling the pipe with sand or solder, but if you are gentle and controlled this is not really necessary and was certainly not done by the factory. Use a hardwood former - I used a 1 3/4" oak dowel, that I used as part of a kitchen worktop project.
 |
| The first bend |
The first bend is an easy right angle bend around the former. Make sure there is enough length to bend up the tail into the bottom of the float bowl later on.
 |
| First bend against the pattern |
Start to form the curls by clamping the downward tail against the former in the vice This is probably the most difficult part of the whole operation.
 |
| Holding the first bend in the vice and starting the first curl around the former |
The design of the vice usefully allows you to trap the downward tail in several positions as you form the first curl around the former.
 |
| Moving the downward tail around the vice and continuing bending the first curl |
 |
| Moving the downward tail again, and complete bending the first curl |
 |
| Moving the downward tail around the vice again and starting the first second around the former |
 |
| The curls, finished |
Once the curls are finished, have a good look at them against the pattern. This is where the pattern is most useful, as until you cut the copper pipe to length you cannot really fit it against the bike.
 |
| Add the upward bend toward the tap |
You can now put in the last bend, which is the U bend beneath the float chamber. This is simply bent around the former, making sure that start of the bend is in the approriate position to allow the finish to land in the union beneath the float bowl.
 |
| Roughly trimmed to length |
I'm currently waiting for the tank mounting rubbers to turn up. Until they do, I'm not sure of the final resting place of those ends...
So, with the tank bolted in the correct position we can try the new fuel line in place and trim it to fit. Attach the nipples with their nuts (but without the fuel line) to the petrol tap and carburetter and offer the fuel line up - I put the end of the line in the carburetter float bowl union first since this is least accessible. The most important thing here was to get the fuel line to avoid the dynamo and the advance retard cable:
This meant that I had to cut the carburetter end of the line as close as possible to the bottom bend, to get it as high as possible. This done, I could set the line in the carburetter end and see where the other end was going to fall. With a little trial and error, remembering not to cut too much off at once, I got pretty close:
I need about another 1/4" off the tap end. Cut with a tube cutter or a hacksaw, deburr properly and blow out the line:
Since you are cutting tiny lengths off at this stage, its easier to use a hacksaw. A tube cutter crushes the tube a little which is a problem when cutting short lengths. Another 1/4" should do it:
With the nuts in place, it is stiff enough to do some final tweaks on the bends, in my case to avoid the dynamo:
Ready for annealing & soldering up. Not looking too shabby:
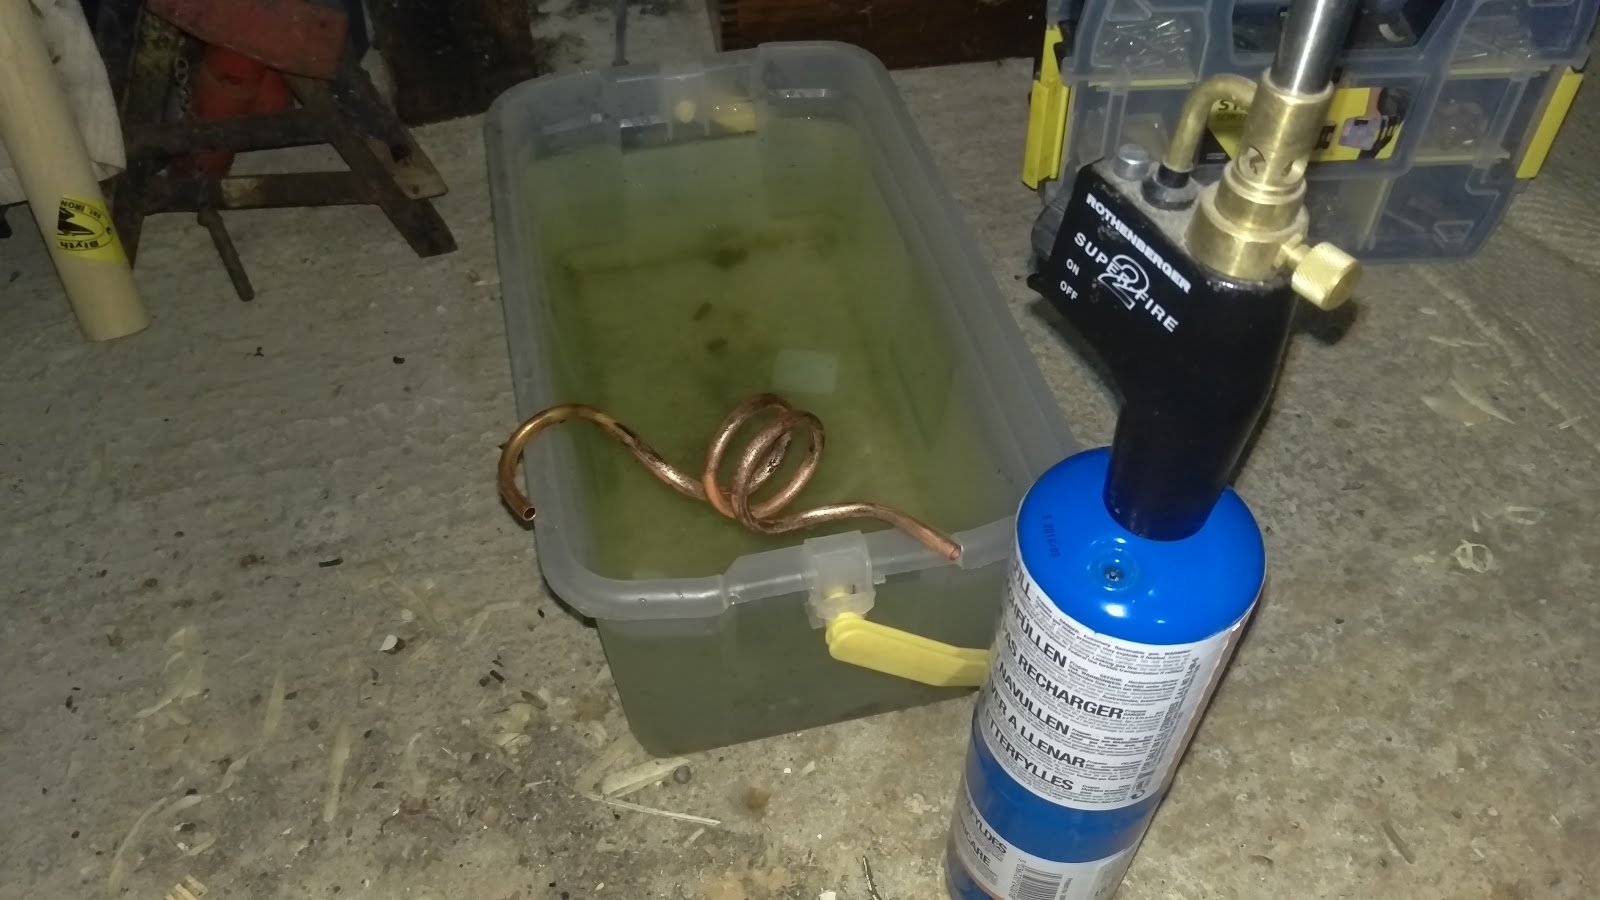
Next step, before soldering the nipples on, is to anneal the pipe - in other words to remove the work hardening stresses that have built up during bending - I am sure you noticed it got stiffer after bending? You don't want to leave the pipe in that state, because it is going to bend a little in service, through vibration, and this will make it harder still eventually leading to a fatigue failure.
For copper, the annealing process involves heating the material to cherry red and quenching in water. No problem for the mighty Rothenburger torch, even with propane in the tank. You will want to clean the scale off with wire wool after annealing.
Be careful with the pipe from now on - it is very soft and will bend very easily.
Tin the ends with solder after fluxing; put the nuts on the right way round, and sweat the nipples on. I use a small butane torch for this - do not overheat the joint, or the solder will not take.
Finished.