Showing posts with label tube. Show all posts

Thursday, 22 June 2023

W/NG - a puncture

Another unexpected event this week - a puncture. Strange, because air suddenly started hissing out of the tyre after I'd been standing in the workshop for an hour - the bike hadn't been out for days. 

I had a spare tube and resolved to fix it with the tools I had on board, just to prove that I could. 

The wheel came out easily, even with the panniers in place, though one of the top hat washers on the drive side (the repro one) was very stiff in the slot. I skimmed it in the lathe. 

Proving that tyre changing is all about technique, the cover came off easily. 

Unusual puncture - the tube has fretted against an unused security bolt hole in the rim:


It's gone through the rim tape too. 


Nothing much here, but I pulled off this old canvas tape, wire brushed the whole rim and laid a piece of the old tube over the hole to reinforce it. 


Having inspected the brake, which was showing nice even wear, I replaced the tube. 


The cover went on without any drama, though initially I forgot you have to start opposite the valve to avoid nipping the tube. 

Job done - almost. The connector hose on the pump was completely knackered. Luck was on my side, because although I inflated the tyre with my workshop pump I found I had a genuine Apex pump with its long connector in stock!


Wednesday, 3 June 2020

QR50 - Wheels

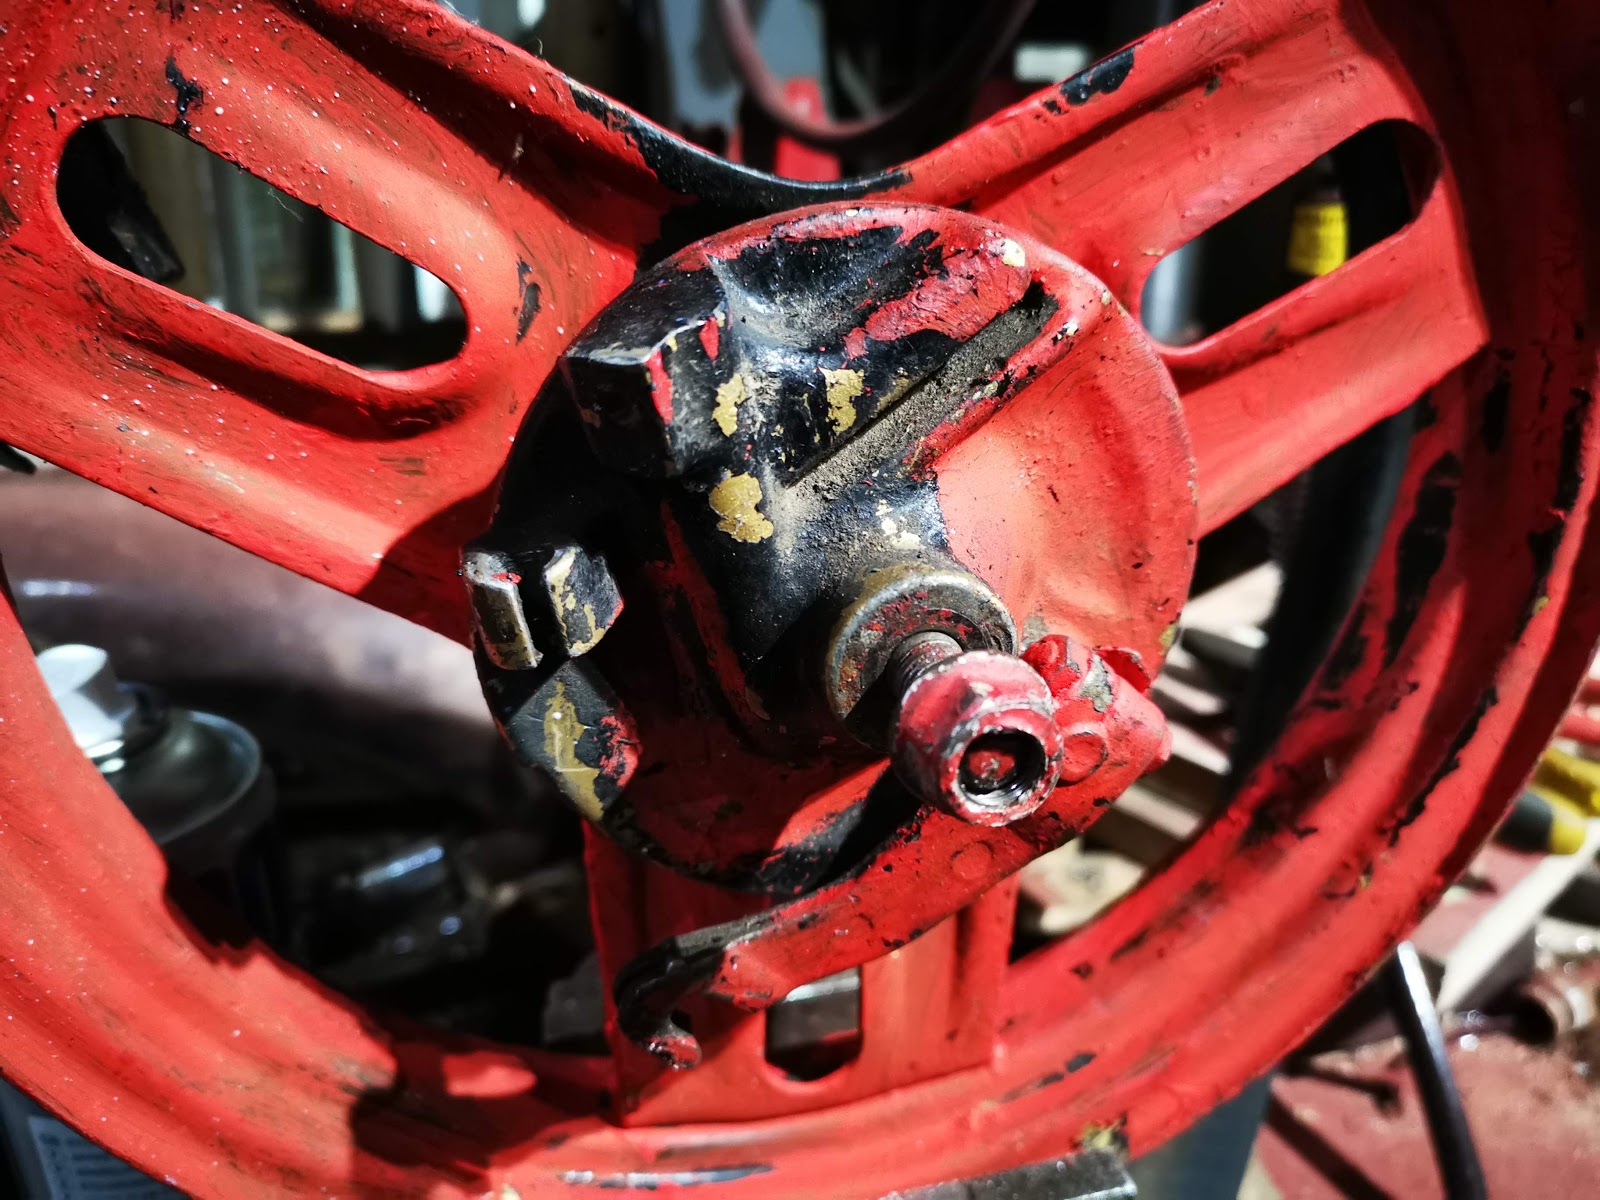
In common with a lot of this bike, the wheels were a right old state. Not only were they covered in the ubiquitous red paint:


... but the tyres were rock hard and both had to be cut off. Not that unusual for an old machine and I have indeed cut a few tyres off in my time:


What I hadn't seen before was this - it is a 14" tube folded up in a space where a 10" tube should be:


Stripping the wheels involved the usual hours with the wire wheels, followed by some U-Pol etch primer. The brake drums are masked off:


And then some U-Pol wheel silver:


And a couple of new tyres and tubes from eBay:


A brief period of struggling ensued, during which there was loud swearing and quiet persuasion according to the stage of the process we had reached, and then it was done:


Friday, 31 January 2020

QR50 - Stripping the wheels

The QR50 wheels, like everything else, are covered in red paint. And black paint, and silver paint. The tyres say "Made in Japan", so may be original - they are certainly very hard.


They are however straight, which is a bonus. Someone has cut a chunk out of the rear tyre, so I can use the side cutters to release it:


The rear tyre has silver paint under the black paint, which looks professionally applied. This is something of a mystery since the wheels on most of the early QR50s I have seen are gold.

This is the front one, after a similar tyre removal experience. In this case, I cut the tyre on the bandsaw and promptly found it was full of Slime puncture sealant, which went everywhere and is very sticky.

It also has a 14" tube stuffed in it, which is all bunched up around the valve...


There is gold paint under the black, however. We'll strip the paint off next.


Thursday, 15 February 2018

Front Wheel Bearings - SQ4 Mk1

Here we have an Ariel front hub, with the half width brake. It's the one referred to by Draganfly as the 'Type 3' wheel. It's also the one that deposited that hub full of grease all over the first set of brake shoes I fitted to this bike...


So, this winter it is time for some new wheel bearings. The first job is to pop the cover off the bearing retainer with a large screwdriver:


The bearing retainer needs to be cleaned up and the gunge removed from the holes


This is the tool you use to remove the ring. Don't try and remove those soft brass rings without it...


Once the bearing retainers are out you can drift out the bearings and clean out all the old grease:


Ariel must have changed this hub once or twice, because the assembly described in the parts book and found in my hub does not match the illustration owners manual or in Mr. Waller's book. In my case, the brake side bearing rests on a 1/8" thick spacer in the hub, and has two 1/8" spacers attached to the ID of the bearing, one on each side. One is a top hat, and one a thick washer shown below. To replace the bearing you have to drift them apart, easily done in the vice with a socket:


The bearing is an RLS7 2RS, which is 2" OD, 7/8" ID and 9/16" thick with two soft seals. Easily obtainable on eBay


The non-brake side bearing is an RMS6 2RS which is 2" OD, 3/4" ID and 11/16" thick with two soft seals. It drifts straight into the hub with no extra spacers, followed by the brass bearing retaining ring which in this case was a bit mangled.


The new brake side bearing is easily reunited with its spacers, using another, slightly larger socket to rivet the two halves together again:


The 1/8" spacer goes in first:


Followed by the bearing assembly:


And the retaining ring, with its own retainer. the bearing retaining rings are not fitted with their seals, since these are not needed and seem to extrude into the space occupied by the spindle and the centre of the brake plate.


Job done. Time change the inner tube (it was a cheapo one which leaked slowly) and to refit the wheel.


Wednesday, 4 January 2017

Wheels & Tyres

Now that the dynamo is finished, its time to sort out the tyres. I've had a set of Dunlop K70s I bought from http://www.vintagetyres.com/ at a good price, with new tapes and Michelin tubes in the shop for a while. I'm using genuine Michelin Airstop tubes this time, after an early failure on another brand. Two years on, that Michelin tube in the rear of my SQ4 still only drops 1-2 psi per month - the tube in the front drops more like 7-8 psi each month.

First step is to remove the front wheel using the front stand. I'm using the bikes own tool kit for this work, and nothing else.


Taking the rear wheel out is delightfully easy as well. Here's the mudguard raised up:


The rear tyre is a 3.00-19 CEAT; the front is a Michelin of the same size. Both are too small for the rims:


Before I got started, I refitted the relined brake shoes. These were done by Villiers Services - very quickly and efficiently.


The rear brake shoes are not so worn as the front, but one of the springs is missing:


Using the little tool from the Dunlop #6 pressure gauge, I removed the valves stem to fully deflate the tyre:


Breaking the bead was easy - I could do it with my fingers.


The 'helping hand' tyre lever is very useful getting started:


We can soon get the first bead off. The wheel comes out of the second bead easily, with the rim and tape.


Inspect the rim for rust, protruding, bent or loose spokes and run the wheel in the truing jig. Now is the time to fix any run-out problems.

Add the new tape, aligning the valve hole:


Settle the rim in the new tyre, and start to move the first bead into position by hand:


Keep pressing it over, using tyre levers for the last bit if necessary:


It's not quite so easy to get the wheel back in the new 3.25-19 front tyre. At this point, inflate the tube a little and  squash it into place, avoiding folds and twists in the tube.


When you have it in place, remove the valve core to allow the tube to deflate completely


Manouevre the valve stem into its hole in the rim and retain with one of the nuts.


Start working the tyre onto the rim


Inflate, ensure the valve stem is straight, tighten down the nut and add the dust cap.


Refit the wheel:


Friday, 27 February 2015

Dealing with teething trouble...

So this week, I've been out and about for another short ride, but first I refitted the Morgo pump. I did about 8 miles as usual, out of town and up to 40 mph. The lubrication job I did on the speedo seems to have stopped it sticking at full range.

The Morgo obviously provides more oil flow than the plunger pump, and I finished the journey with about 10 psi on the oil pressure gauge.

I also finished the journey with a completely flat rear tyre, which looks like it might be a valve failure. I wobbled along the road, complaining about the tramlines the council left when they resurfaced, only to keep my wobble, rapidly turning into a squirm from the rear end, when I ran out of tramlines. I recovered the puncture with a handy can of tyre weld I had in the pannier.

Of course, the low oil pressure problem is not sufficiently improved with the Morgo to use the bike in anger. Lifting the rocker covers with the engine running (rather dangerous - they are very hot) you can see little jets of oil coming from the rocker oil holes. I've fitted three new old stock rocker shafts to deal with the wear I found in the shafts last year - one was already fitted due to a damaged thread:


A thought occurred to me, corroborated by AOMCC forum members - retarded ignition causes overheating. Checking accurately revealed that the ignition was indeed retarded: I moved the distributor about 10 degrees, equating to about 20 degrees at the crankshaft, to get it right (thanks MikeN!).

So we will have to see what happens. Just waiting for a new inner tube...