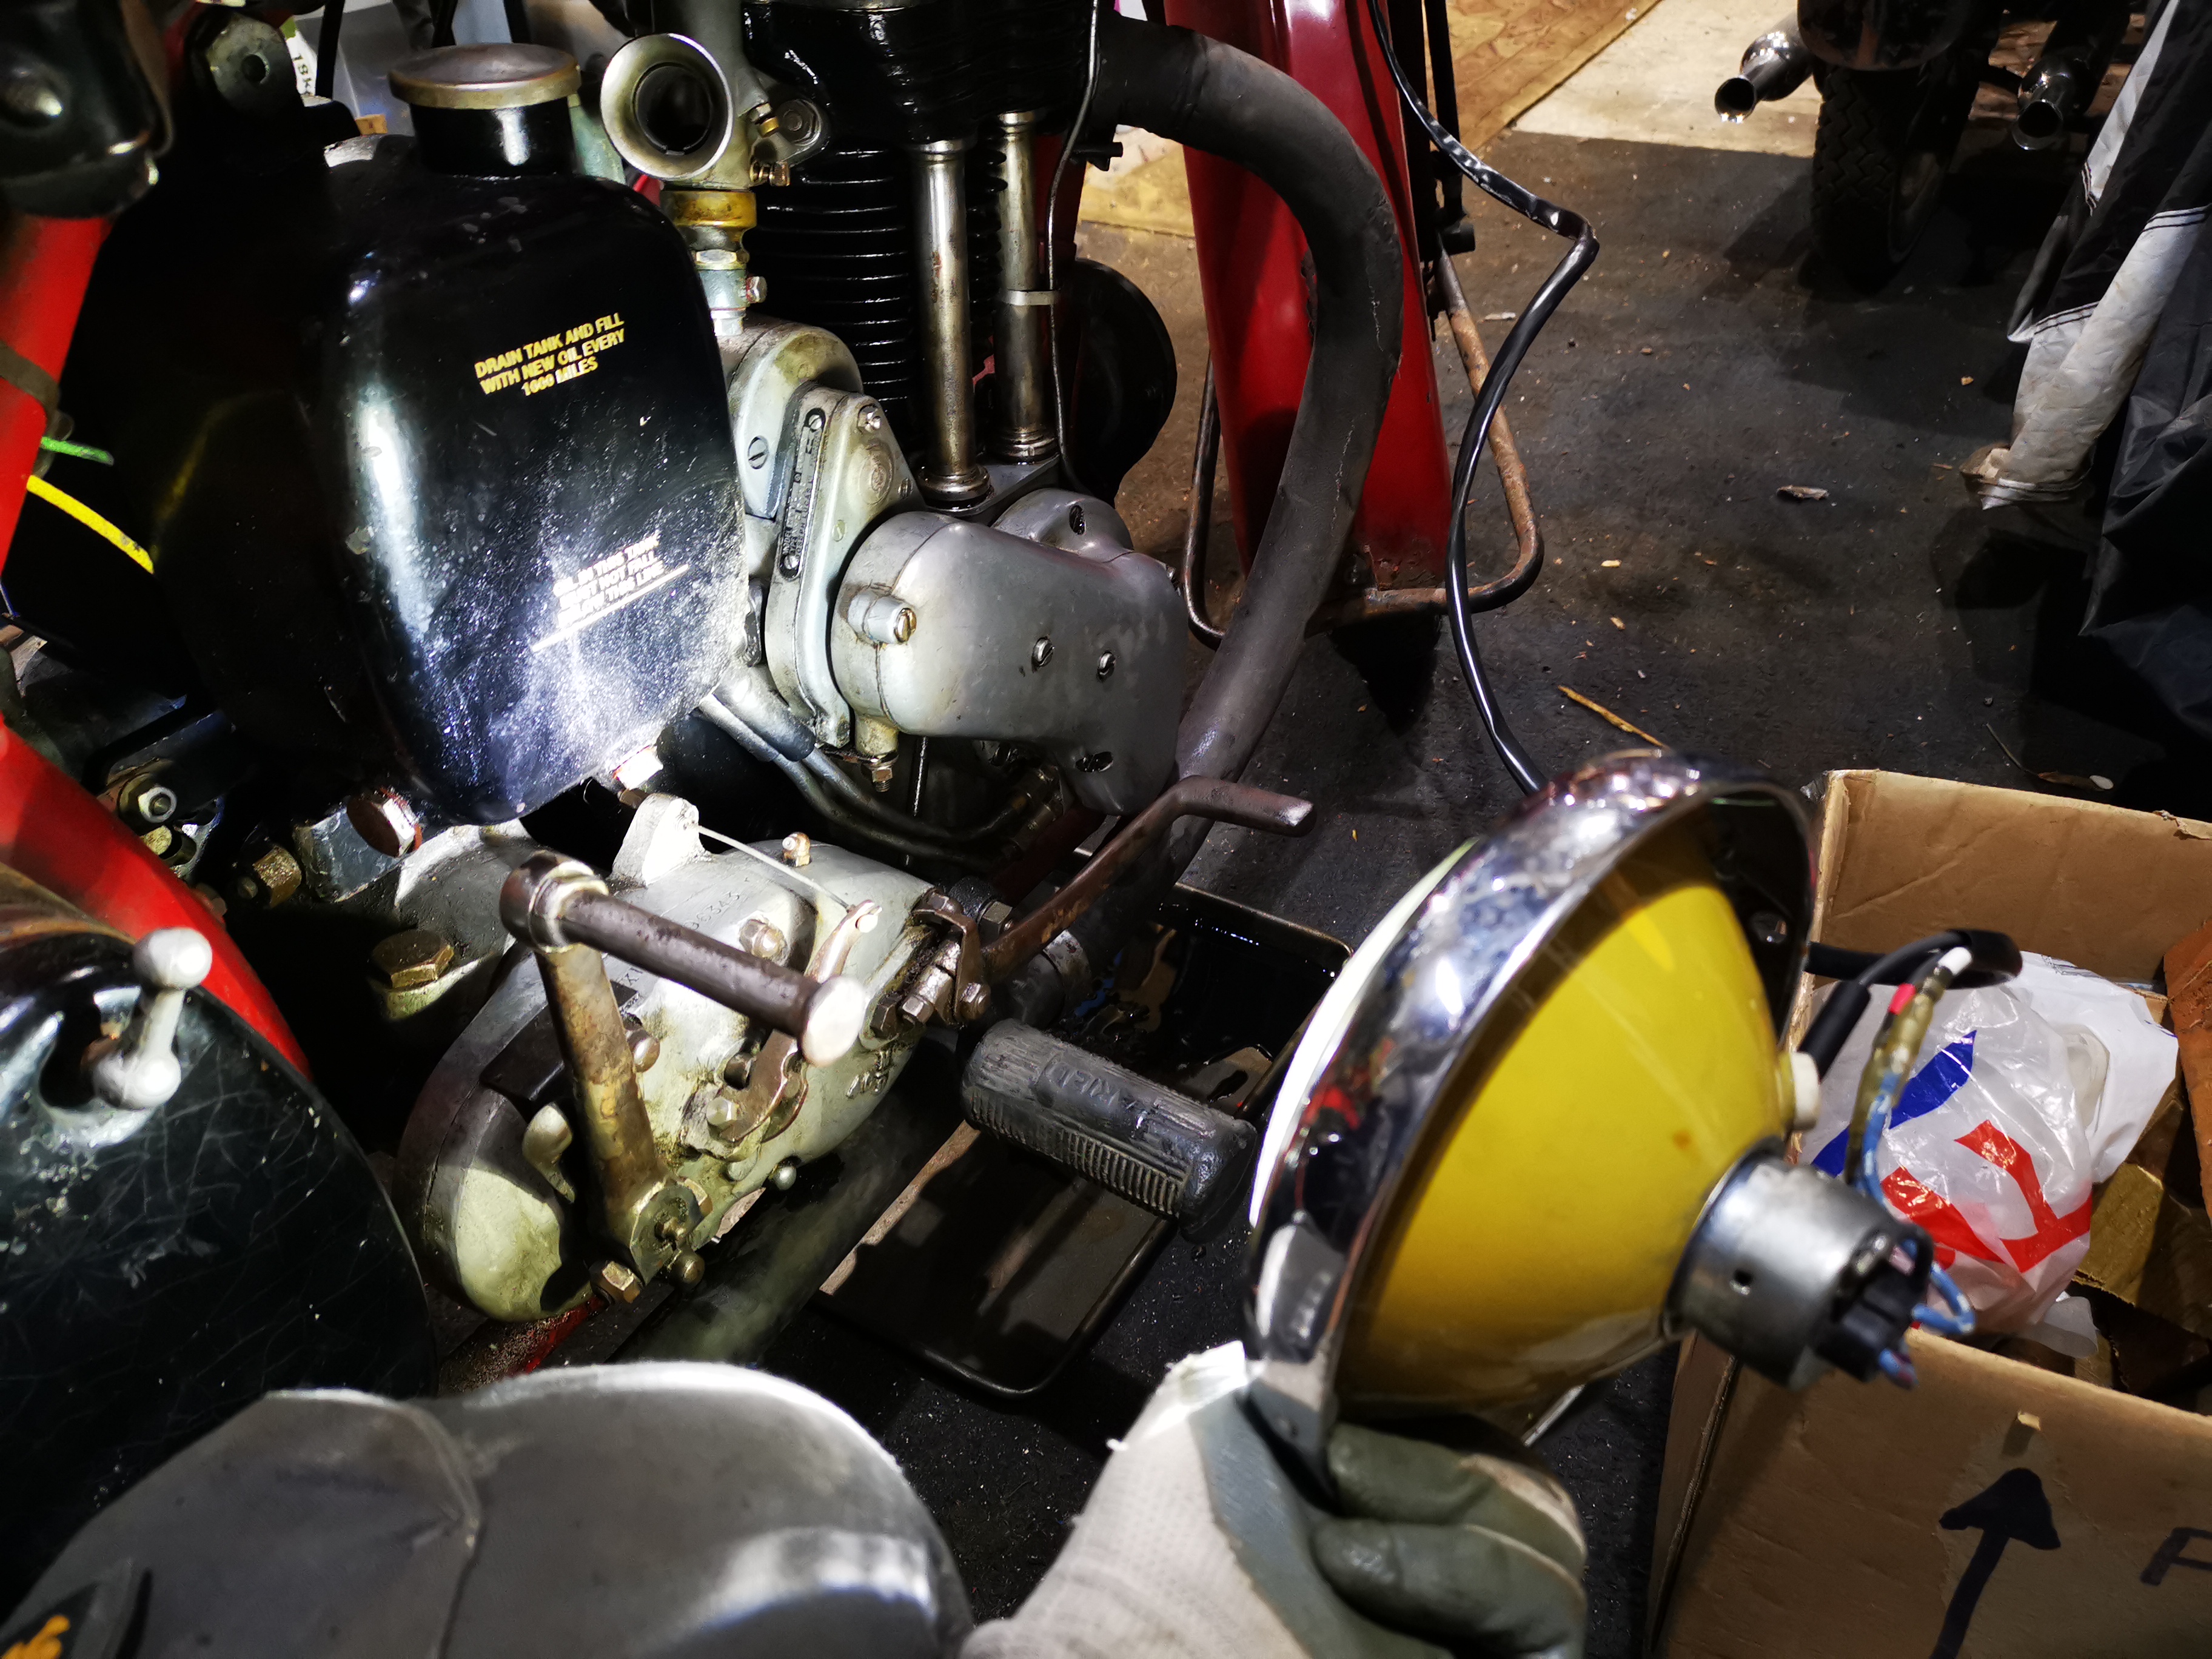
With the Square Four away it's time for the Huntmaster to step up and become go-to bike. The W/NG is going on the bench for a bit of a look around and some little jobs .
It's quite oily and I know that the decompressor is still leaking. What I didn't expect was to see that the leak appears to come from the main decompressor body and not from the spindle - it appears that the Dowty washer isn't doing its job and perhaps that is because the mating surface isn't as flat as it might be. I've cleaned up the nut and mating surface and replaced the Dowty washer with a new one, as I don't have a fibre washer of the correct size.
I've also replaced the (missing) gasket in the exhaust inspection cap - see that drip?
On a club run a couple of years ago, the horn fell off and it's retaining bolt was replaced by a 5/16 screw from the spares kit. I've replaced this with the proper 3/8 screw and I've also moved the horn bracket a little bit so that the terminals don't touch the engine plates and the horn body doesn't press the cable against the frame. The horn is now free to vibrate properly.
I've taken the opportunity to reroute the cable as well.
There are always tiny little things that bug you about a bike, particularly one which is in patinated condition like this. The washers under the headlamp bolts were very large and unsightly, being chromed. I've replaced these with some rough old washers of the right size which look a lot better.
I've stripped the carburetter and cleaned the idle ports, but I didn't really find anything.
In other news, the Huntmaster has most definitely wet-sumped. There's probably a pint of oil here in this pan which I drained from the sump, being unable to start the bike. You could feel the oil in the crankcase being churned up when you kicked it over.
In a post a while back I wrote that given that I couldn't take the horn to pieces to clean the points and that as it worked, I would just go ahead and fit it. The trouble is once I'd wired it up, pressing the button had no effect. It just didn't work. I had it on the bench, checking the resistance of the coil with the multimeter and driving it with a bench top power supply but it was having none of it. It would have to come apart.
The difficulty with these horns is that the armature is retained in the diaphragm by a nut which is extremely tight. It's very difficult to remove, mainly because it's shallow and you have to be careful to hold the diaphragm to avoid it getting damaged. The way I resolved this was to make a wooden clamp that I could put in the big vice and hold the fragile diaphragm against the body of the horn whilst undoing the nut with a closely fitting tube spanner. With a 400 mm tommy bar, which I bent, it eventually came undone.
So that's the horn in bits. Once you've loosened the centre armature nut, you can remove the diaphragm leaving the armature in place. With the diaphragm off, you can slide the armature out from underneath the points assembly and that is about all the dismantling that you will need to do.
The point spring is very strong and it's helpful to use a jewellers screwdriver inserted between the moving point and the fixed point such that you can get a small sliver of wet and dry paper between the contacts to clean them.
Clean all the rust off with the wire wheel and Emery cloth. It's impossible to set the horn up properly if there is still rust on the body and inside the diaphragm and you won't be able to tighten the armature adequately if the nut is still stiff and rusty.
When you reassemble it, if you align these slots in the armature with the peg on the outside of the horn body you will have the armature in the correct relationship with the points assembly. When you have it in the right position you can tighten the nut up again using the same clamping mechanism that you used to undo it.
By the way, that peg is important. You'll note that the diaphragm has an inclined slot which engages with the peg? Well, the diaphragm can be rotated such that the slot causes the diaphragm to move up and down in relation to the body of the horn. This is how the armature air gap is set on these later HF1441 horns. The earlier Altette horns use a big grub screw and a nut on the back of the body for the same purpose. The diaphragm is held in place after setting with a clamping ring around the outside.
The easiest way to test the deflection of the diaphragm is to set the horn up on the bike with a magnetic DTI base sitting on some suitable surface, in this case the pillion footrest mount which on a PRF framed Ariel is quite flat. To test the deflection, back out the horn adjustment screw fully so that the points will not open when the push button is operated. Don't forget to undo the lock nut before you attempt to move the points screw.
When you press the horn button with the screw all the way out, you will hear the diaphragm deflect with a click. If you don't hear anything it's likely that the deflection is insufficient or non-existent so use your hand to increase the deflection of the diaphragm by turning the whole diaphragm anticlockwise slightly.
According to the Lucas instructions the deflection is supposed to be 11 to 13 thousandths of an inch.
When you've got the deflection correct, you can replace the clamping ring to hold the diaphragm in position. Then it's time to adjust the horn points setting: undo the locking ring and adjust the points using a small screwdriver. Turning the screw clockwise opens the points further for each deflection of the diaphragm.
You have to fiddle a bit with this screw to get the tone you want. Don't be afraid to turn it half a turn each way or more if necessary and test the horn each time until you get a tone that's consistent and doesn't sound like a dying parrot. When you fit the tone ring you'll hear it change substantially.
When you're happy with the sound you're getting from your rebuilt horn, don't forget to do up the locking ring, put the tone ring on and do up the acorn nut. I made this tool to turn the locking ring:
While waiting for bits for the QR50, I took the opportunity to refinish the horn for the Huntmaster. It tests OK in that it pulls a current and deflects the diaphragm, so some adjustment will have it working.
Lucas catalogues are very useful. This is catalogue 716A, section F - six pages of horns and horn pushes. The application page tells you which part number you should have:
In the case of my 1958 Huntmaster, it's a HF1441 model horn, part number 70048. The spares list tells us a bit about it:
It's black, and looks like this:
So, I had the correct horn (bought from eBay I think - it was missing from the kit) and all I needed to do was strip it and give it a coat of paint.
First up was the various bits of bracket:
It’s good to clean the points in these horns, but this nut is usually very tight and it retains the diaphragm to around the moving point. I had it soaking in Plus-Gas for a few days but I couldn't shift it:
Since the horn worked I gave up and cleaned the old paint off with emery tape.
I painted it with the usual U-Pol etch primer and gloss black. I know the tone disc is supposed to be black, as is the nut, but it looks nice like this:
Well it's been a week of cracking through little bike jobs, alongside welding up rust holes in the fuel tank of yet another Eastern Bloc two-stroke, this time an MZ TS125 - but more of that later.
For some while the W/NG horn has been a little touchy, because the horn adjuster doesn't work very well due to a stripped brass lock nut, though I improved it a lot in the middle of last summer by squashing the nut slightly. It has an odd thread, 0.209" x 36 tpi which I found by luck on eBay - it's a bicycle tyre valve core thread!
The adjuster lives behind the tone ring nut:
The one that was fitted had a 10 mm hexagon and was a half nut - it may have been 0 BA at one time and forced on, but I suspect it was the original as it was cadmium plated, or perhaps faded nickel over brass. I made a new one out of 0.445" EN1 hexagon bar, turned with a significant chamfer on one side to clear the inside of the domed tone ring nut:
It works beautifully.
That's it for a bit on W/NG repairs. I still have the bum pad to make and the dynamo bearing felt to put in, and I have to monitor the new seal in the decompressor. The jury is still out on the field stand springs - they still have a safety chain on, though it hasn't made another bid for freedom since I tightened and retempered the bottom spring.
The Model A has no horn. It has the £5 10s electric lighting option, which doesn’t show in the despatch record so perhaps I shouldn’t be surprised that the horn is not mentioned either.
That being said, Ariel offered both bulb and electric horns in the 1930 catalogue, both from Lucas
I found this Lucas Spartan horn on eBay. It's a 6 volt horn, but I've no idea if it's the right one.
I spent a bit of the afternoon doing some routine maintenance on the W/NG, using the excellent on board tool kit:
I was surprised to find the tappets had a bit of movement in them, though it was tea time before I could attend to them.
The clutch was a bit oily, but only in the cover, reflecting the fact that the chaincase was over-full. The pressure plate lifts level though, and the new plates have settled into the basket nicely. There is about an inch of oil in the chain case
All the chains tensions are good, including the magneto chain:
I put a cup full of oil, and many pumps of the grease gun in the gearbox. The lead light is very useful:
Oh, and I fixed the horn by squashing the adjuster lock nut slightly. It has an odd thread, 0.209" x 36 tpi which I found by luck on eBay - it's a bicycle tyre valve core thread!
Back in January, before I started work on the crankshafts and before my little Grandchildren laid us out with those pre-school viruses they love to share, I was assembling the toolbox and some bits around it. I wrote about it here.
Workshop time for bikes often occurs as a distraction from something domestic you are supposed to be doing but have become tired of - or maybe I have a short attention span; so it was that yesterday found me building shelves for my off-grid battery bank and making a horn bracket while the glue dried.
You'll recall that I have a toolbox which may be too early for my FH. The bottom bracket looks like this
Ariel do not list a separate horn bracket for 1958 and here's why - the horn bolts directly to the toolbox tab as shown in MickD's picture below. As you can see, I don't have those holes on my toolbox! The swinging arm toolbox carried a -54 part number through to the end of four stroke production, so I must have an earlier incarnation of the same part, designed to be used with an Altette and not the Lucas HF1441 horn used in 1958.
I needed to make an intermediate bracket, or modify my toolbox. I have the correct Lucas HF1441, which I think came from eBay. It has a right angle bracket, retained to the multi-leaf horn bracket with two 2BA hex head screws:
As always with any sheet metal work, we mock up the required part in cardboard and test it for fit:
Then, with some Dykem marking blue we can lay it out on a bit of 4mm sheet. It's hard to see with the lighting, but I have punched witness marks around the perimeter of the part to help me see the shape during the filing & linishing that will happen later:
Cut out commences with the hacksaw, and carries on with files and the linisher - a very useful tool that I acquired recently.
The holes were actually drilled while the part was still square - so that it could be clamped securely in the machine vice on the drill press:
Test fit - good to go to paint I think, though it's very close to the upturn on the toolbox bracket. I'll need to deal with that as the toolbox may get powder coated.
Last night included a bit of dry building activity around the toolbox, regulator and horn. I added the primary case and the clutch cover to understand the space and fastener requirements.
The toolbox hangs from one of the seat mountings using a bolt passing up through the top of the box, through the seat mounting and into the seat - all quite straightforward.
The other fixing point is this tab, beneath the toolbox which allows the toolbox to bolt to a mounting on the frame. This tab is shared with the horn.
Here's a puzzle: Ariel do not list a separate horn bracket for 1958 and here's why - the horn bolts directly to the toolbox tab as shown in MickD's picture below. I don't have those holes on my toolbox! The swinging arm toolbox carried a -54 part number through to the end of four stroke production, so I must have an earlier incarnation of the same part, designed to be used with an Altette and not the Lucas HF1441 horn used in 1958.
I will have to make an intermediate bracket, or modify my toolbox.
Post script, April 2019: This bracket was made here.
My Lucas HF1441 horn, for the FH.
Here's a Lucas voltage regulator fitted in position behind the toolbox - but this is the 40W MCR1 regulator, smaller than the correct RB108.
Here are two views of the large void from above:
And behind, complete with an up the nostril shot. Sorry about that.