Showing posts with label oil pump. Show all posts

Saturday, 9 August 2025

SQ4 - after the service

 A few little teething troubles appeared after the recent service, most notable of which was the oil pressure. Normally the oil pressure sits at 75 psi when cold and rolling at main road speeds, dropping to 25 psi idling after 15 miles or so.

Today, it was going up to 75, but intermittently dropping to 40 or so - very odd. I bled the Morgo again:

When that appeared to be happy - there were no bubbles I turned my attention to the relief valve.


See that bit of debris half way along the spring? I cleaned that out, and after a suggestion from Richard in the AOMCC, I changed the ball and reseated it.

I then rode to Cromer and back, clocking up about 13 miles - until it warmed up, it sat solidly at 75 psi and was still showing 50 psi when I got home. Back to normal.

It’s a bit snatchy at low speed. Initially I thought this was carburetion (not that I have changed anything), then perhaps transmission snatch, but all is normal there.

I’m going to retard the timing a bit.

Monday, 21 July 2025

SQ4 - back to the road

 A couple of days ago, the Square Four came off the bench to be replaced by the FH in order for me to torque down the cylinder head at 270 miles. The Square rolled easily onto the floor as it's great weight dictates with little left to do than fill the oil  and fuel tanks. 

It had been off the road for something like 4 weeks for a service and one evening I ladled in a gallon of fuel drained from the FH tank. It wasn't until I went to start the engine that I realised the fuel was pouring out of the fuel tap. It had dried out. Choosing the easy solution I soaked it in fuel overnight to see if I could get the cork to swell up again: 

This worked a bit but not well enough. The next day found me replacing the cork with a new one and also replacing the two o-rings in the reserve plunger that I made some years ago. 

Finally getting the engine started revealed another problem - no oil pressure. I ran it for 10 to 15 seconds or so with no success and shut the engine down. I realised that I would have to bleed the feed to the Morgo oil pump. I don't believe I have drained the tank before - the last time I changed the oil I didn't wash the tank out so the oil lines from tank to engine would never have been drained since I built the engine all those years ago. 

Bleeding the pump is very easy as it has a built-in hole for the purpose:

I was pleased to find the timing chest very clean and the sprockets and chain in excellent condition with the tensioner working properly. A few minutes with a screwdriver had oil seeping from the bleed hole and the whole thing sealed up again. 

Restarting the engine found the oil pressure leap up to 50 psi immediately. There is a little niggle here however in that normally the oil pressure will rise to 75 psi on startup from cold, but we do have different oil this time. I'm using Motul 20W-50 in place of the old green tin Duckhams lookalike that I used to buy from Halfords. 

Secondly the engine is not running very cleanly, misfiring a little. There may be some investigation to do.

Monday, 21 October 2024

FH - we have oil! And where we want it!

 Today I applied a bit more elbow grease to the ratchet spanner I was using to turn the mainshaft and attempt to get some oil circulating in the engine. I realised that if I put the machine in fourth gear I could achieve the same thing turning from the rear wheel, perhaps with a bit less effort because I'd have the full diameter of the wheel as leverage to turn the engine. 

This worked really well and I was able to get the engine moving quite quickly by pulling on the tyre. I persisted with this routine each time I visited the workshop during the day.


Suddenly, it all started to get easier. This happened with the Square Four - the oil reaches the major bearing areas and they start to slide much more freely. I decided to give the big drill another try.

Even turning the wheel I had started to see a lot of oil around the pump. This would be emerging from the cam and idler bearings I think. With more engine speed derived from the drill, this area became a lot wetter but I still wasn't getting anything at the tank.


I was on the verge of giving up for the day and heading home for some tea, when oil appeared at the tank return. It takes a while to get up here when you have a filter, because of course the filter has quite a significant volume to fill:


A couple more minutes on the big drill had oil appearing at the rocker feed banjos.

So that's that - very pleasing. The next step is to close it all up and get it running. Oh, and by the way - this is Morris SAE 30 Running-in Oil. I'll be using Morris SAE 40 generally.

Sounds so easy when you say it like that!

Sunday, 20 October 2024

FH - creeping forward

 That hasn't been much of a week. My wife and I have both been in bed with the flu, so nothing much has happened on any of my bikes or any other job come to that; I even had to cancel a railway trip this week. 

However, the oil tank is hooked up and I started to try and crank over the engine using the gearbox mainshaft nut as an access point. It was quickly shown to me that using a power drill here was not an option, because of course we're driving through the clutch and a primary gear ratio to get to the engine unlike the last time I did this which was directly to the square four front crankshaft.

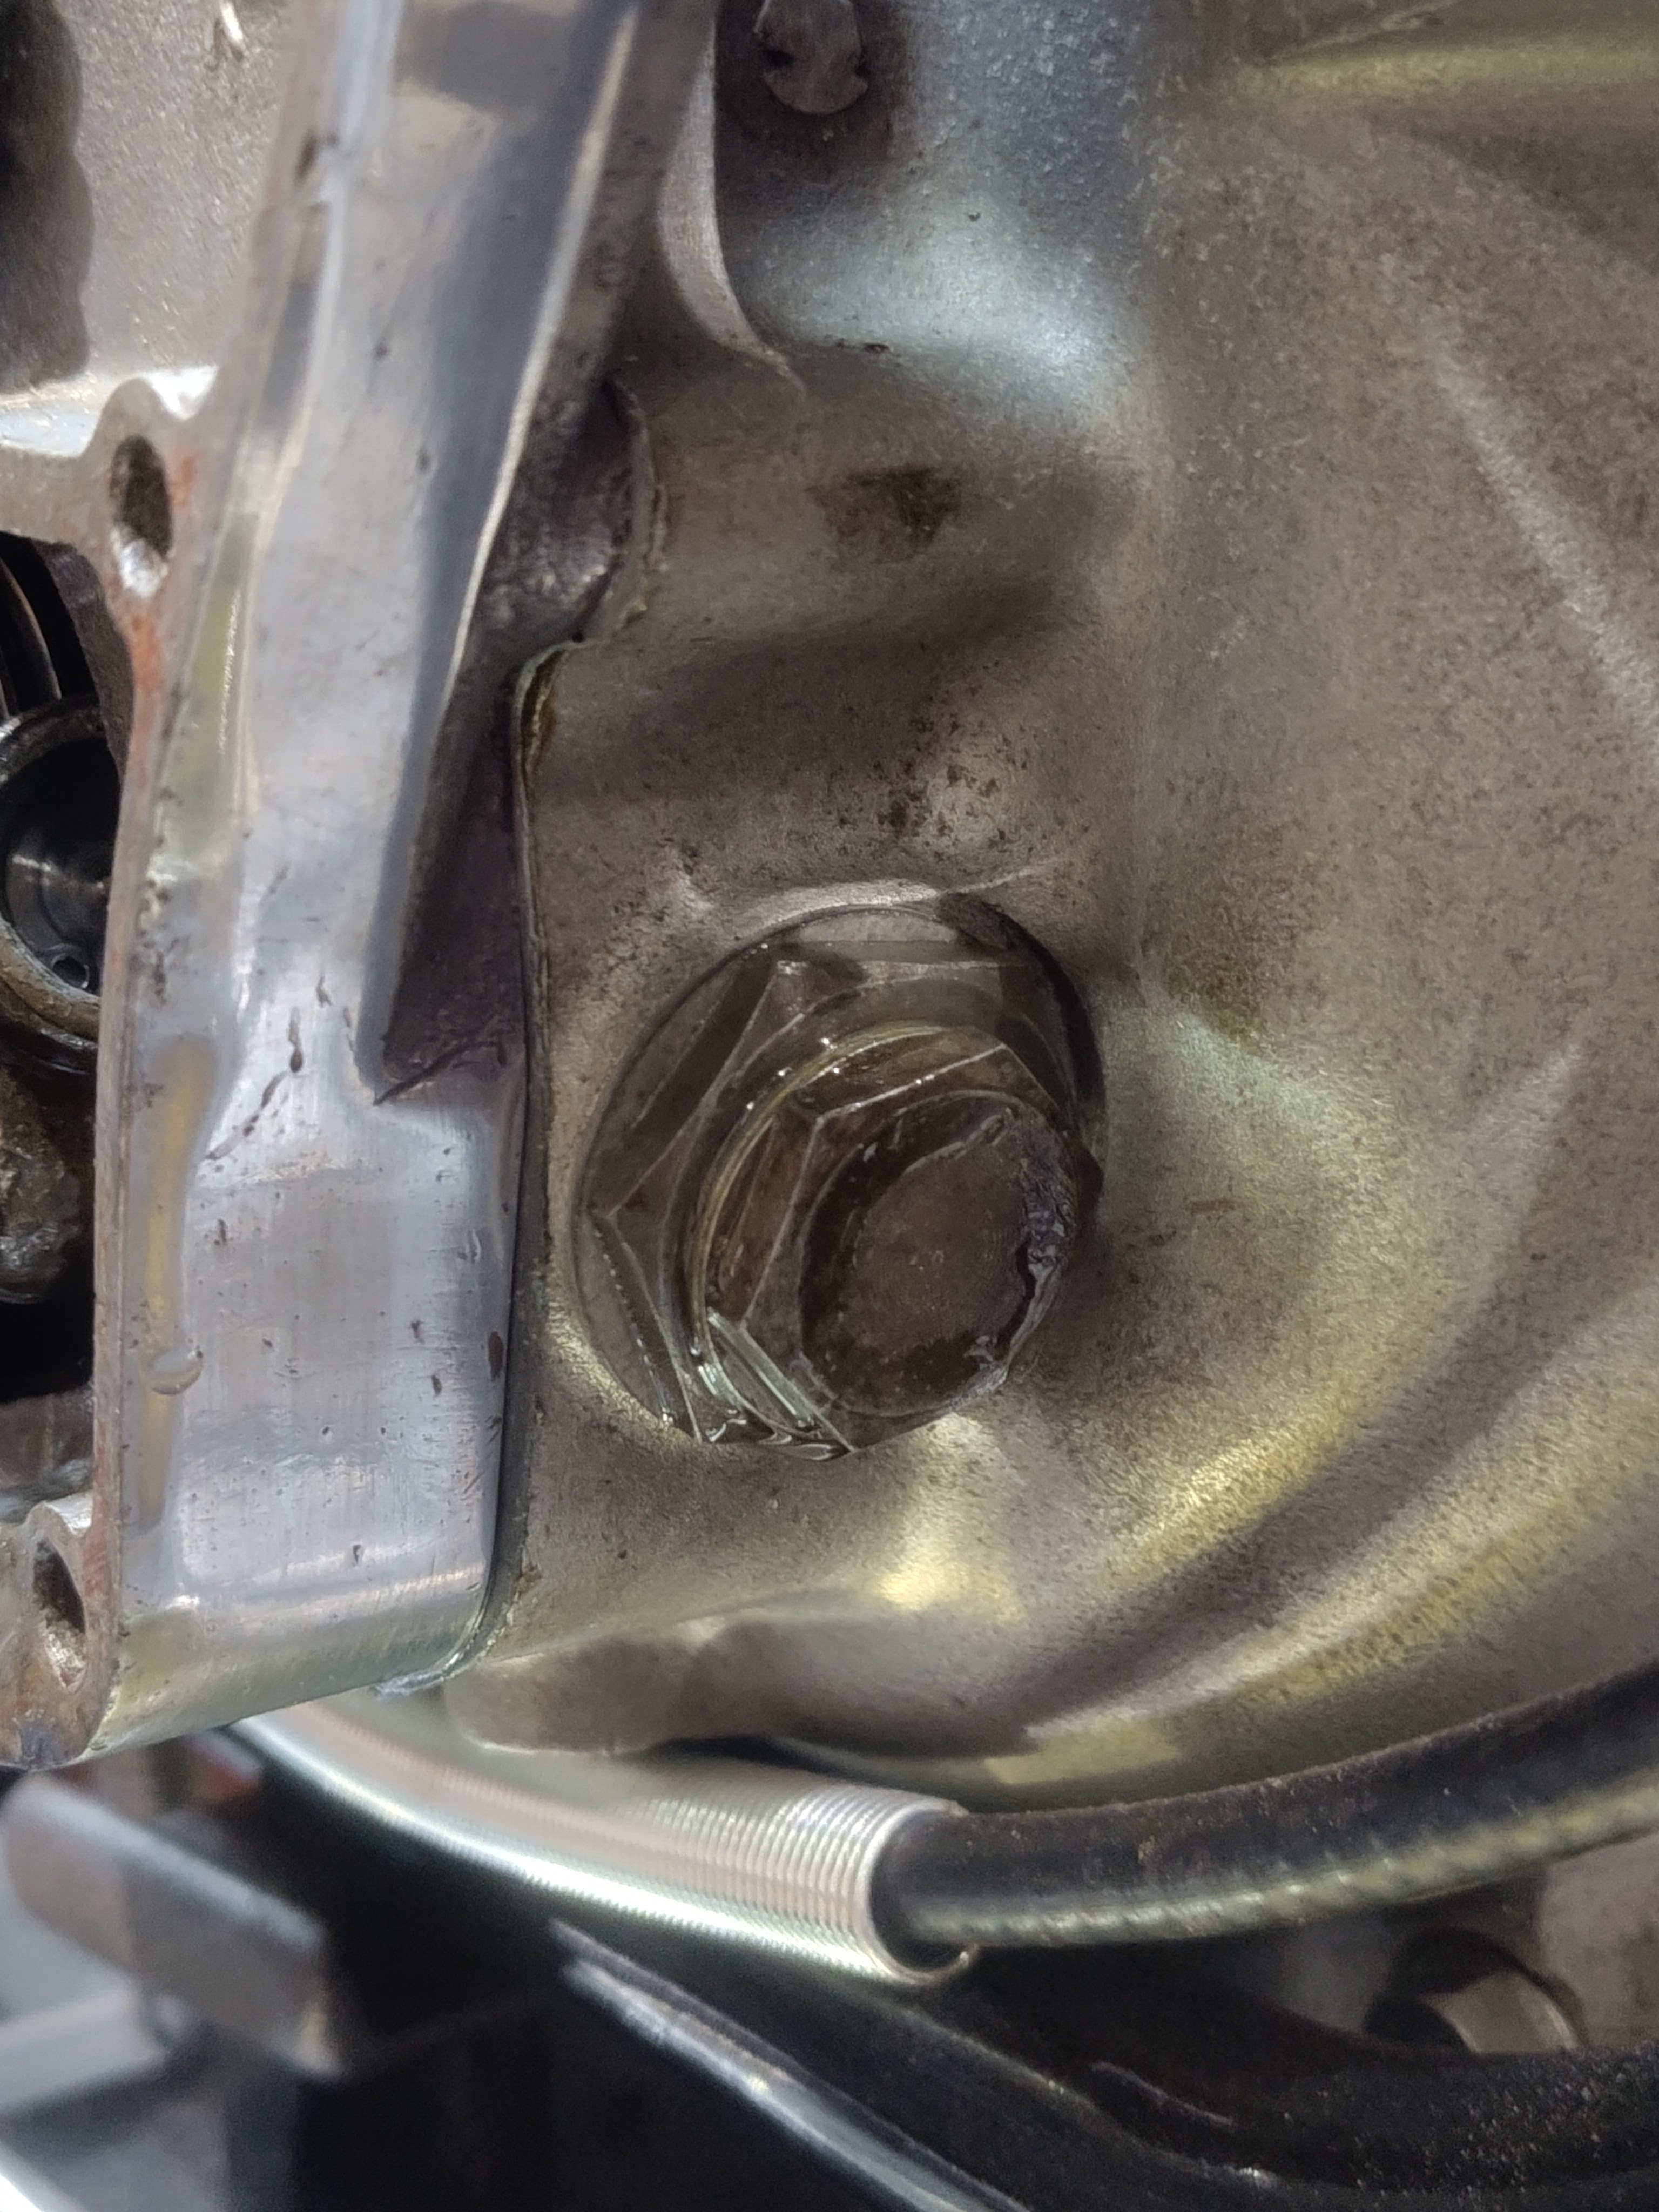
I've been cranking by hand using a half inch ratchet spanner. I've got oil at the relief valve:


I've got oil at the return filter, which proves that the return filter union connections weren't tight enough. 


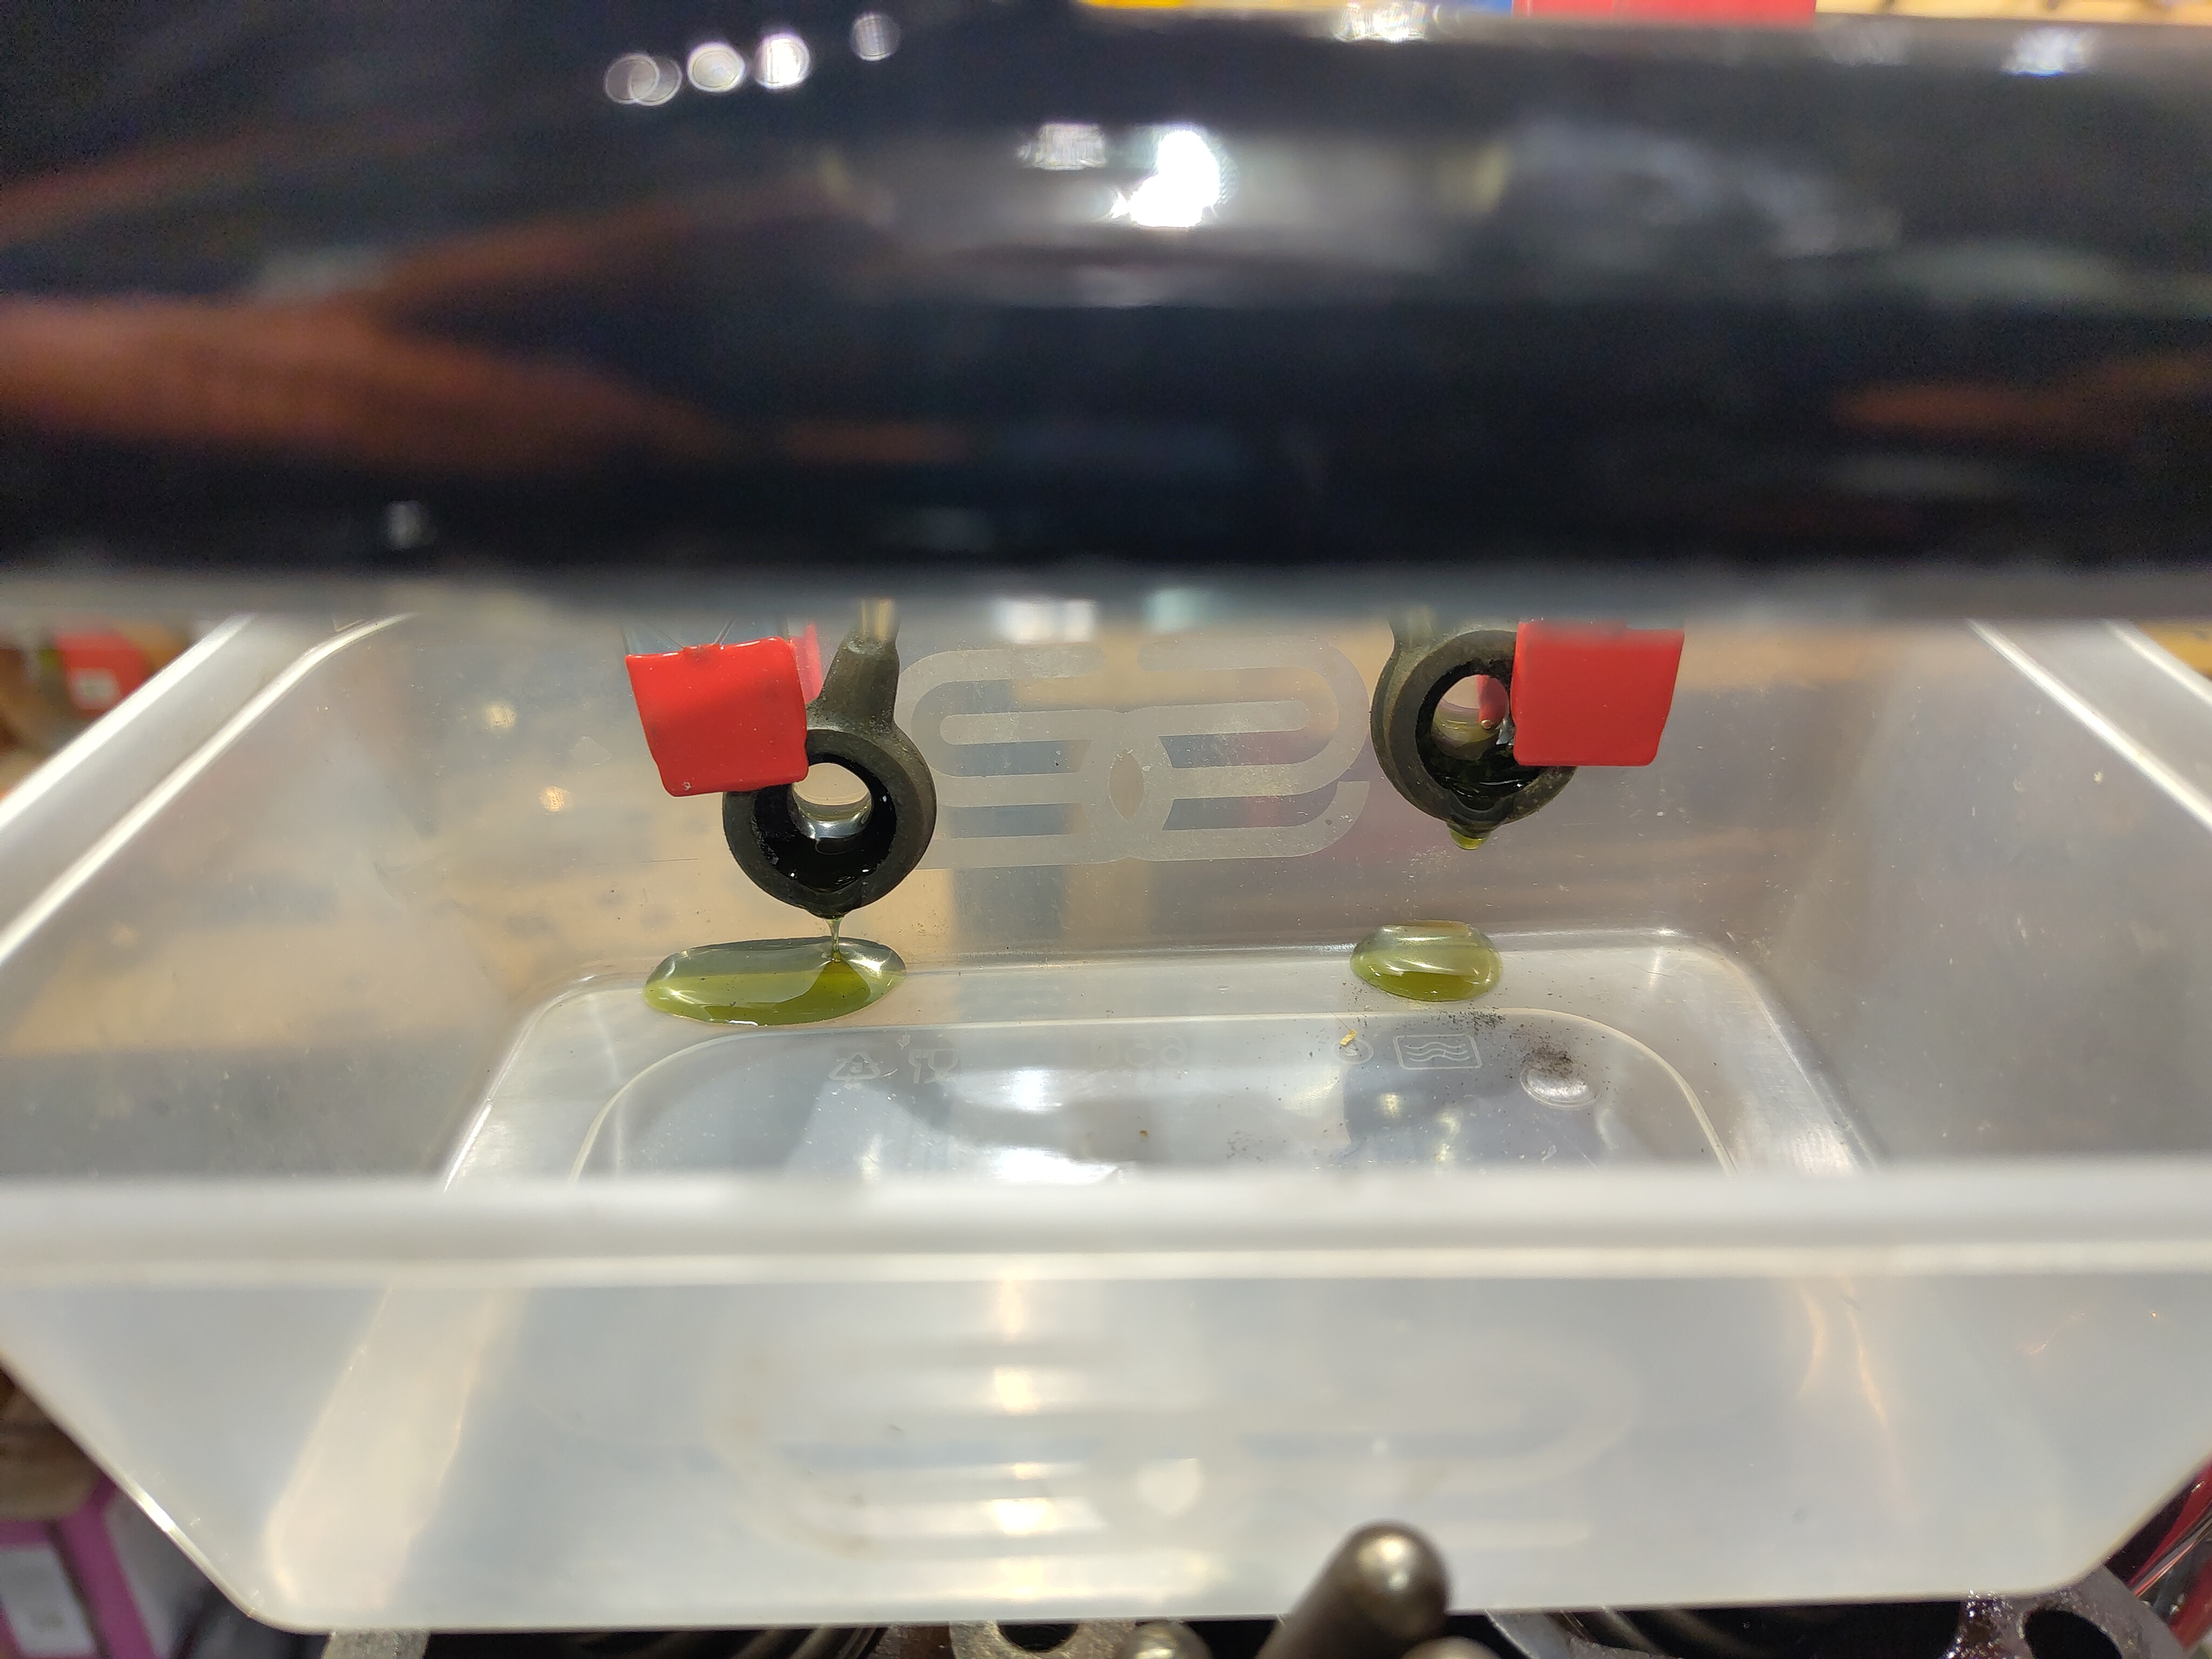
Trouble is I don't have oil at the tank return connection yet, nor at the rocker box banjo connections:

More cranking required. Maybe I’ll roll it down the hill?

Monday, 6 May 2024

FH - assembling the inner timing case

 Lots of work faces now, but an interim look at the cylinder head reveals that the valves and guides are beyond use - there is a couple of millimetres of rock at the edge of the valve head, with the valve half out of the guide. 

So, while I wait for a new set of guides, valves and springs let's start on the timing gear. Fitting the pinions is straightforward once I have deburred the Woodruff keys. The timing is set to the marks:

I've cleaned the dynamo straps since you have to have the inner timing case off to fit them. I'll plate these at some stage if I'm not too busy riding the bike:


The oil pressure release valve has been through the ultrasonic bath and has a new 5/16" ball. The old one was grooved and rusty:


Next, for the record, the pump drive washer is fitted:


I've made a small spacer from gasket paper for the end of the pump. Each of the stud threads has been cleaned up and fitted with blue Loctite thread lock:


I've used the original deep nuts - I've flattened these and recut the threads, adding a chamfer:


If you read my last post, you'll know that there is supposed to be a thrust washer in the nose of the pump, under the circlip. It needs to be 14.5 mm OD x 2 mm thick.


I had a bit of 3/4" EN11 in the lathe to make a late-pattern QD hub nut spanner, so I've used a bit to make the thrust washer:


I've left the pip in it to make it easier to get out. Next, the pump drive lock washer - the inner tang fits in a groove (like a keyway only less deep) in the end of the crankshaft. The tang on the new one is much wider than the remains of the one on the old washer  - time to get the needle files out:


With that in place, we can knock the tab washer down. On the crankshaft, I have bent the washer over both the lock nut and the pump drive sleeve:


For the record, the cam drive tab washer is knocked down too:


I've also finished polishing the timing cases:


I had to clean a lot of carbon off the timed breather sleeve before it would fit, and relieve a pip on the outside. It's fitted with the thickest cork washer available (5/32") and the gasket is coated with Wellseal. I've only done the inner face for the moment as I will want to take it off again.


Test fit:

That's it for now. Next I will probably fit the dynamo drive sprocket and it's seal, but then to do any more in here I need the dynamo and the Automatic Timing Device. Both of these bits need rebuilding.

FH - oil pump

Over three years ago now I pulled this sludgy oil pump out of the timing case, planning to look at it and consider it for further use. It would barely turn.


Since then, much has come and gone (some of it twice) but I have stripped the pump and freed the high spots in the drive that caused the seizure. With these Mazak/Zamak castings, impurities in the alloy corrode and cause the casting to swell and crack, in this case causing high spots in the drive gear bore and damage to the circlip recess - though fortunately nothing irreparable. 


The body casting had a bit of carbon in the smaller bores:

The ultrasonic bath fixed that, and revealed some scoring. If this leads to excessive wet-sumping we will have to replace the pump.


With it all back together and working, I realised there was a thrust washer missing, which is supposed to fit under the circlip. I'll have to make one.

Tuesday, 12 January 2021

QR50 - Oiling System

The little QR50, as a two stroke, has an oil injection system consisting of an engine driven pump supplying metered oil direct to the carburetter float chamber from a reservoir in the frame spine. Keen readers might recall the stopper I made for the oil filler behind the headstock.

As we near the end of the project we need to think about hooking up the system; the pump has been ready for a while and is a replacement for the original which had a smashed casing. I’ve got a twist grip with the two into one cable which operates both the throttle and the oil pump, so we just have to pull it all together.

The first step is the banjo which takes the oil from the frame tube to the pump, and to a tube leading back to the headstock as a visual indicator of oil level:


Typical of Honda, this couldn’t be anything easy could it - like a standard banjo that I could buy. No! The fitting in the frame is M9 x 1.0, so I have to make the banjo bolt from scratch. For me that is the tricky bit as I don’t have much experience cutting threads on the lathe and I am certainly not going to buy an M9 die that I will never use again.

Next, we need a banjo to go with it. Tricky again, because the banjo needs an internal annular groove for the oil to run around. We need a tiny boring bar, like this one:


This is ground from a blunt 5 mm twist drill and mounted in a bit of 1/2” bar, retained with an M4 grub screw.

Using the new tool, the interior is bored to give an annular space:


When the internal features are ready, I put the banjo in the tail stock v-block to drill the holes for the oil line connections:


With the banjo parted off I can do a trial fit on the bike to think about where the lines will route:


I’d planned to use 3/16” hydraulic tubing, which I had knocking about:


Whilst this was functionally a sound idea, it transpired that the feed to pump and the connection to the filler neck were going to need 5 mm bore line, so these 3/16” stubs were too small. I went home for tea, as it was below zero outside and I couldn’t feel my fingers.

Next day, I made some 6 mm stubs from some brass round bar and sweated them into the banjo:


That looks much better.

Regular readers might wonder why this takes so long. Look closely - with the oil pump in place, the dummy swinging arm doesn’t fit properly:


Inching closer, I made this brass fitting to hold the cable adjuster. I'll slim that nut down for appearances sake.

Friday, 23 October 2020

W/NG - Oil pressure

One of the more hair-raising aspects of rebuilding an engine is making sure the lubrication system is working before you go out on it. You fire it up, and then hold your heart in your mouth waiting for the spurts of returning oil coming into the tank to tell you that all is well.


When I built the SQ4, I ran the engine up on a big power drill, as I wrote in this post. I should maybe have done that this time, but I have sealed up the primary case now and anyway the drill might undo the shock absorber nuts - you cannot get to the timing side of the crankshaft on a single, with the oil pump in place.

You are reduced to some right leg exercise on the kick starter. Waiting for oil to come back in the return will take a long time, but you can see it much sooner either here, at the blanked oil pressure gauge take off:


or here, at the rocker oil line connection to the timing chest. Slackening either fastener should see oil dripping out if all is well with the pressure side of the pump. 


Of course, oil at these two points does not mean it is getting to the big end - you will have to wait for it to drip out of the sump plate (if that is still off) or return to the tank.

You'll have to cope with living on adrenaline and biting your nails for a bit longer.


Sunday, 4 October 2020

W/NG - Oil Pump

 Whilst I have no problems with the original 1942 oil pump, it pays to have a look when you have something apart.


All I have done with the pump is to clean it, measure it and function test it. Both supply and return plungers are within tolerance, as are their bores, and the check valves are working.


I've oiled it and refitted it with a new gasket. These eventually show patent number 325226. I wonder when the patent was granted?

Friday, 10 April 2020

QR50 - Oil Pump

The QR50 engine uses a crankshaft driven oil pump to force 2 stroke oil from the spine tank into the carburetter. This is controlled through a cable operated cam which restricts pump stroke; the cable is operated in tandem with the throttle. The original pump was damaged, in that the operating cam and the cable operated lever was broken out of the casting:


Rather than attempt to repair this casting, which would have meant machining a new one from bar stock and guessing at what the operating cam looked like I bought one from a chap on eBay:


It cleans up OK. All we need is a repaint: