Showing posts with label headlamp. Show all posts

Monday, 3 November 2025

Model A - Lucas H52 headlamp

The Model A is fitted with a Lucas H52 headlamp which was sold to the industry between 1930 and 1932. It's distinctly different from the lamps that succeeded it as you will see. 

Outwardly the lamp fitted to my Model A looks a bit bashed, and indeed it is. The rim has obviously taken the brunt of a collision, but the nearside mounting is pushed right in as well.

The shell is brass, deeply drawn or spun - it's likely to be hard, so we may have to normalise it to avoid cracking.


To straighten out the front end requires adjusting the headlamp mounting bars and I can't do this with the headlamp bowl bent out of shape. In parallel with the clutch dome I have got out the panel beating hammers and dollies and set about straightening the bowl.

It's a little better in this shot but the near side mounting is still not positioned correctly. You can see the connections panel on the back of the switch here - the H52 has no internal wiring for the headlamp and side lamp but uses this Tufnol panel with sprung copper leaves for connection to the bulbs and ammeter.


Here is the inside of the main switch - it's retained to the Tufnol panel by two brass posts and sleeve nuts. You can see the half charge resistance and the switch in the middle. It's interesting that this switch is clearly a predecessor to the later commonly seen Lucas U39 switch, and you can see how it connects to the Tufnol connector panel from four of the terminal screws and from that central brass plate.


Here is the wiring diagram for the H52 - indeed for the whole bike. I suspect that since the headlamp is the centre of all things electrical, Lucas would have supplied the headlamp with the wiring for the whole bike already installed:


Here's the shell again with the nearside mounting almost correct. I think that to get it much better I will have to remove the rivets, straighten it and replace it with new rivets - these are round head copper rivets quite easily available.

There's also a flat on the shell around 2 o'clock.


The view from above shows that it is a bit better than before. We will need to buy a new rim and a new glass, but we will keep the old reflector. We will probably use one of the LED headlamp bulbs with an integral lens which doesn't use the reflector at all - I've got one of these on the W/NG and they're quite effective.


These bits are available from Jiri Horace at https://www.vintage-replica.com in the Czech Republic, so when we have a better handle what everything we could buy from him we will send an order.

Sunday, 26 October 2025

Model A - headlamp supports

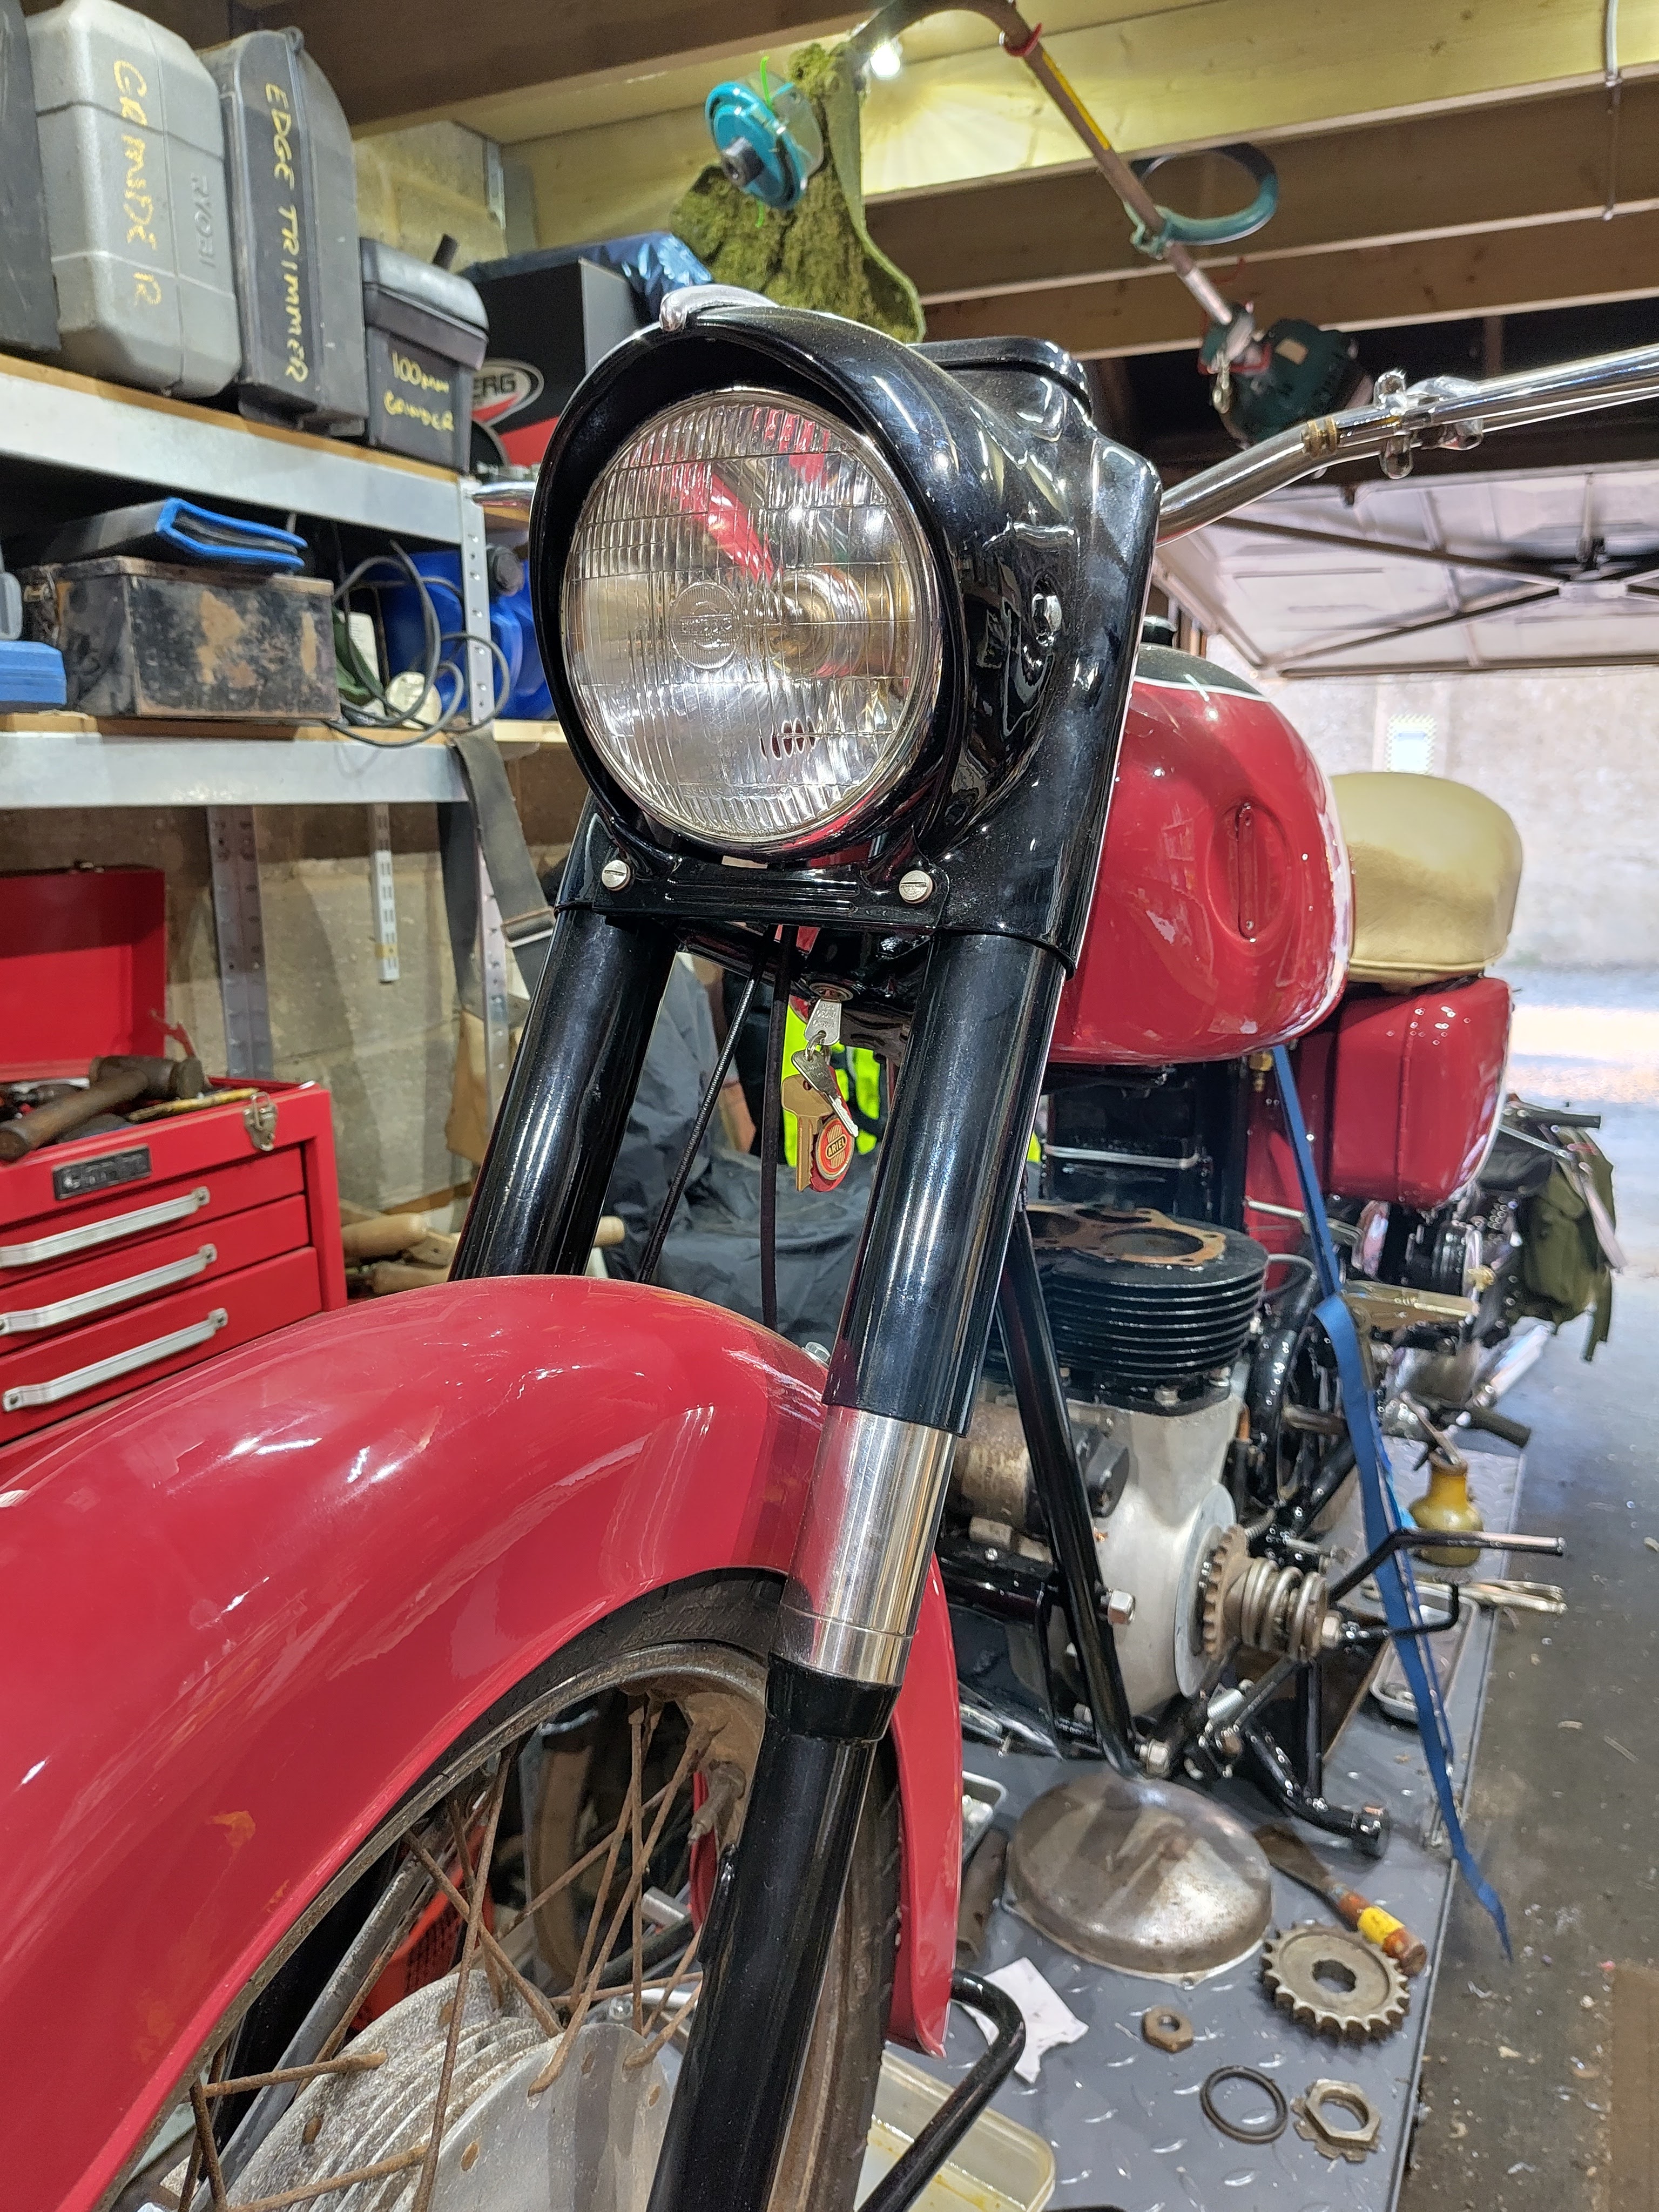
 Well I guess you have to start somewhere. Looking around the bike I realised that the headlamp supports - which are just bits of flat bar - weren't fitted correctly, and one of them was very bent. 

Take a look:


The other side was upside down as well, but not as bent as this. This is how it is supposed to fit:


Here it is again, after I have done most of the straightening work on the headlamp bowl. The riveted mounts on either side are now in the correct place and I have straightened the nearside lower headlamp mounting bar.


It's still not sitting centrally though - the headlamp mounting bars don't match: the near side is more straight than the offside pushing the shell towards the offside. I will have to look at some pictures and try again. The top bars aren't helping either:


The top headlamp mounts seem to be usually fitted outside of the ears on the forks, and outside of the lower mounts at the headlamp. 

Monday, 29 September 2025

W/NG - on the bench

 With the Square Four away it's time for the Huntmaster to step up and become go-to bike. The W/NG is going on the bench for a bit of a look around and some little jobs .

It's quite oily and I know that the decompressor is still leaking. What I didn't expect was to see that the leak appears to come from the main decompressor body and not from the spindle - it appears that the Dowty washer isn't doing its job and perhaps that is because the mating surface isn't as flat as it might be. I've cleaned up the nut and mating surface and replaced the Dowty washer with a new one, as I don't have a fibre washer of the correct size.

I've also replaced the (missing) gasket in the exhaust inspection cap - see that drip?


On a club run a couple of years ago, the horn fell off and it's retaining bolt was replaced by a 5/16 screw from the spares kit. I've replaced this with the proper 3/8 screw and I've also moved the horn bracket a little bit so that the terminals don't touch the engine plates and the horn body doesn't press the cable against the frame. The horn is now free to vibrate properly.


I've taken the opportunity to reroute the cable as well.


There are always tiny little things that bug you about a bike, particularly one which is in patinated condition like this. The washers under the headlamp bolts were very large and unsightly, being chromed. I've replaced these with some rough old washers of the right size which look a lot better.


I've stripped the carburetter and cleaned the idle ports, but I didn't really find anything.

In other news, the Huntmaster has most definitely wet-sumped. There's probably a pint of oil here in this pan which I drained from the sump, being unable to start the bike. You could feel the oil in the crankcase being churned up when you kicked it over.


Tuesday, 19 November 2024

FH - a bit more done

 Eventually I found the indicator switch in a box marked 'Lucas SSU700' - which had no headlamp in it, but a complete set of Lucas indicators - which allowed me to finish the wiring in the headlamp, and put the wiring tools and materials away. All I have left is the speedo lamp, and for that I need the speedo back - oh, and the indicators work, save for the fact that they are currently fitted with 12 V bulbs. I've ordered some new bulbs.


The choke lever that came with the kit is not an original Amal lever - it looks like a Doherty to me, and it's pretty corroded:


The 1958 Amal catalogue shows levers with ball ends - fortunately I had one in a box of levers:


That's it for the bits and pieces jobs. Now I have this package from Draganfly - with these bits I can do the dynamo chain and close up the timing case, and I can finish and fit the rocker box.

Unfortunately those finned clamp screws are the wrong size - my fault, not Draganfly's, so if I can find some 0.445" hexagon bar in stainless I will make some.

Saturday, 16 November 2024

FH - baby steps

 Aside from fixing the horn, there were a few more little steps towards completing the Huntmaster today. The package from Draganfly arrived this morning and in it we have the throttle stop which goes straight into position on the twist grip:


There's a few more bits of wiring we can do as well. First off the BPF connector in the headlamp has poor quality wires and undersized bullets so we can replace those by desoldering the terminals, replacing the wire and adding some good quality English bullets for connection to the headlamp wiring. We can also add a splice and a couple of extra bits of wire to earth the BPF connector to the headlamp shell and onward to the main earth and the battery. 

Additionally the pilot lamp holder was in really poor shape. The wire had started to degrade so it was really necessary to replace it. I used a small pop rivet to replace the terminal, and used a new piece of wire crimped into the pop rivet and provided with a bullet connector at the other end. 

I just need to find a full set of LED lamps from Paul Goff to complete the work on the lights.


The last thing was to fit one of the pillion footrest rubbers. The other one is waiting on a repair to the screw retaining the footrest to the frame.


Monday, 13 May 2024

FH - fitting stuff and testing the dynamo

 A few minutes in the workshop yesterday allowed a bit more progress on the Huntmaster. The headlamp is now fitted, with the grommet at the top. This seems to be the only way I can fit it and still allow access to the rim clamp:


Next, the tank badges. All this needed was to clear the paint out of the threads with a 3BA tap and fit the badges with some short countersunk stainless screws from stock:


Finally, I've refitted the toolbox knob using a plain washer on the outside, Thackeray washer on the inside, another plain washer and two nuts - curiously the knob appears to have a BSF thread?


Last thing for today, and this is a bit lazy, is to look at the dynamo. I've cleaned it, motored it and fitted it - it motors ok and in the right direction so it is working and polarised correctly:


It's smooth and quiet, so maybe I won't overhaul it just yet. The cork washer is missing though, so I will need to make one:


One thing I forgot - I've fitted the oil line unions to the engine, with new washers from the gasket set. The bottom one is the feed, the top is the return:


Tuesday, 27 December 2022

W/NG - Lucas DU42

 Originality creeps closer with every passing blog post at the moment, this time with a genuine Lucas DU42 headlamp. The bike has worn an Indian replica since I've had it, and since one came up within the club a while back I've had a plan to replace it, with a bit of help from Wali Taylor who came up with the proper flat glass.

This picture comes from the W/NG workshop manual and shows the BA15 bulb holder, with adjustable focus (C), held in place with the long spring clip and the early rim clip (A) my bike would have worn:

The long spring clips (B) are retained to the reflector with two little sheet metal clips, riveted to the reflector. One of mine was rusted away, so here is the replacement made from a scrap of 0.5 mm sheet steel:


Here's the beginning of a rivet made from 2.5 mm² annealed copper wire:


The next thing we need is the gasket and the glass, shown in this later diagram from a 1944 parts book where the ammeter has been deleted and the headlamp switch moved to under the seat, with the new hi/lo pushbutton in the headlamp panel:


I've decided to use round section foam strip for the gasket; the glass is original, from Wali Taylor of the AOMCC.


The clip came from eBay, but didn't fit until I gave it some attention. The rim was full of dents too, but with a panel beating hammer and a dolly I soon had that smoothed out.


The clip is retained with a bit of piano wire - this is about 2 mm in diameter:


Onto the bulb holder. This is a military pattern bulb holder - there is only one contact for the main bulb, and I guess I will make another. Also very visible here is the clamping screw that allows the bulb holder to move backwards and forwards to position the filament at the primary focal point of the reflector.


Here's the view from the other side. Needs a clean but it is in good shape - it's not distorted at all.


Next is the instrument & switch panel. This is the illustration in the manual:


This is the one that came with the shell: it's a bit early for the W/NG as it has the fitting for the half charge resistor - that little casting between the ammeter and the switch hole:


This switch panel would be 1932-36, as the earlier H52 headlamp is quite different and the half-charge resistor disappeared with the introduction of the MCR1 mechanical charge regulator in 1937. I might use this or perhaps the repro one that is fitted to the bike at the moment.

This is the only original Lucas shell I have with the holes for the rubber string seal. Here it is in place - it’s a 2 mm sponge EPDM round section:


There will be a bit of wiring to do as the repro ammeter currently on the bike has terminal posts and ring terminals, and the headlamp is wired up with Japanese bullets:

I've chosen a CDRC Double Dipper Pro projector headlamp bulb:


This is the beam it produces, in a picture taken on my phone using the 'night' setting.

With the camera set for daytime you can see the bulb is using the high beam LED and the low beam LED:

The completed headlamp:

Installed: