Showing posts with label air filter. Show all posts

Wednesday, 22 October 2025

W/NG - Air Filter: improving the kit

I saw this air filter on eBay some while ago. It's an Indian made copy of the Vokes air filter used on military bikes towards the end of WW2. It looks OK, but it needs to be treated as a kit of parts to be fettled, supplemented and perhaps bits will need to be replaced...

As the bike has only just arrived from long-term storage the air filter hasn't been near it until today. Let's take a look. 

In this picture I have adjusted the feet so that they lift the main body of the filter clear of the tank. I've fitted the brackets used to retain the filter to the tank more or less in the right position.


The quality of this piece of equipment is nothing to write home about but the main body is more or less ok - the threaded retainers holding it to the tank are awful and are probably not usable. You can see how the misplaced bolt holes do not allow both bolts to be fitted. The retainers don't actually look very much like the originals anyway.


You can see here that the main box is fitted such that the inlet hose going to the carburettor will route down the back of the tank.


Here's another view from above which gives an idea of where the hose will run.


So we need to think about what we're going to use and what we're going to replace. At the moment my thinking is that the retainers will be replaced completely as will the brackets they bolt to on the filter itself. The eBay purchase did not include the hose to the carburettor or the felt filter tubes.

The filter tubes are made from some 2 mm thick felt sheet cut into 3 1/2 inch widths and sewn on the machine. They will be cut to length, turned inside out, and retained with some spring clips.


Here's all five felt tubes cut to length and completed.


I've bought these clips from eBay which look a lot like the original ones, though they are a bit wider. We may have to make a special tool to open them and get them in position!


I can't do much more with the felt tubes at the moment which I really only made to get them off the sewing table and because it was raining. We'll move on to some metal work on the main air filter box.

I've removed the nasty brackets which were braised and riveted to the main box. They are unusable, or at least this one is because the holes are completely out of position and at any rate whilst some of the original WD equipment is quite cheaply made it's not this bad!


Now that I have removed this bracket and flattened it out we can use this as a template to make a new one. I have some excellent pictures of an original Vokes air filter from the WD motorcycle forum.


This is the new one I have made to replace it, cut from a sheet of 1.5 mm steel. The nuts are M6 and brazed in position and the whole thing has been pickled to get rid of the flux.


The trunnions supplied with the Indian kit were completely hopeless - way too small for a 1/4" thread or even the M6 thread they were supplied with. Here's the Mini-Lathe in action parting off some new ones, drilled 6.5 mm in the tailstock V-block for clearance on 1/4".


Here they are finished, with the tool that I used to create the dome in the ends. Looks very authentic!


Here are the new straps for the trunnions - these look a lot more like the originals and are a more appropriate size. There will be slots such that the straps can move around on the bracket on the filter body to align the filter retainers with the holes in the fuel tank.


Here they are again coming along a bit further with the slots cut and the holes drilled. These will be slotted eventually and the whole strap will be made a little shorter.


Here's one finished and in place:


Here's the other side. The next step is to fit the hose and see how it is going to pass the seat nose and the tank:


Saturday, 18 January 2025

FH - air filter

 You might recall that I recently oiled the air filter element with Morris SAE50 engine oil:


I left it sitting for most of a week before I assembled it. 

Here it is in place with the carburetter hose, which I got from 'Rubberman' Jeff Hunter Engineering.


Not cheap, but very nicely made.


Monday, 13 January 2025

FH - getting on

 It's really time to get on with some woodwork projects, but I have a few minutes passing by the workshop where I can get some jobs done. The first one is a strange problem with the brake light on the Square Four, which has stopped working. This appears to be down to me replacing the battery in its box and knocking off the live feed to the brake light switch from the fuse box. Easily fixed fortunately.

That strange contraption in the picture is part of the air filter for the Huntmaster. The filter box, or at least the top half, is behind it. I've poured straight 50 engine oil into the top and its soaking through the gauze ready for me to put the element back in the filter box and the filter back on the bike.


We'll leave that to drain for a bit and fit it tomorrow.

On my short ride round the yard I found that I could not get the bike into gear - not because of the gearbox at all but because the footrest was too far forward and the gear lever was too low - I just couldn't get my foot underneath the gear lever to put it in first.

You have to remove the exhaust pipe to get to the nuts that hold the footrests on, but that's easily done and the situation is soon remedied.

I've also oiled the side stand pivot, and I've ordered the rims, spokes, tyres, tubes and rim tapes.

Gulp.

Sunday, 5 November 2023

FH - Burgess Air Filter

The original Burgess air filter was missing from the Huntmaster kit, so I bought this one on eBay at an exhorbitant price. It was complete apart from the rubber hose which I got from Jeff Hunter Engneering.


It’s in pretty good nick apart from the loose and damaged mesh:

After a trip to the painter, it’s looking even better. I bought some brass mesh on eBay and cut a bit with shears:

These three items I’m using to weigh the mesh into the bed of Araldite are locomotive keys:


You need one to make this beast go:


Air filter in situ. Looks great!

Tuesday, 18 May 2021

Charlie's Shed - 276 air filter adapter

This is an exercise in turning as a favour for fellow AOMCC member Lee who is currently building a KH - a 500 cc twin. One of the delightful things that happen in the AOMCC is that members trade bits and information with each other - Lee gave me a new clutch adjuster for the W/NG recently, so it's my turn to return the favour and get some good turning and screw cutting practise at the same time.

His KH has a Vokes pancake air filter, which he wants to attach to a 276 carburetter. These are the dimensions:


They will be a 60° form - it's a CEI thread but in a non-preferred diameter.

We'll need a bit of this 2" brass bar:


I've faced this both ends and turned a section down to the required outside diameter of the larger thread: 


Next job it to cut the bore to the minor diameter of the inside thread, starting with drills up to 3/4" and finishing with a boring bar:


I'll cut the outside thread first - it's easier and I can test the setup. In this picture, you can see the thread is not fully formed - it's flat on the peaks:

I obviously didn't take too many pictures - I have finished both threads in this shot and have test fitted onto a 276 of my own. I did actually turn a 1/2" length of the inner thread from a bit of thick wall tube to test it properly - this carburetter is in very poor shape so it's not a very good test.

Here's the finished adapter ring:


And here it is on Lee's carburetter. He says the thread into the filter is a bit tight - but we don't want it falling off now do we!

Sunday, 4 April 2021

QR50 - Fabricating the Airbox

Building a replica airbox seems like overkill for a little motocross bike that's going to be worth a few hundred quid when done, doesn't it. The original plan was to use a cheapo Chinese pod filter on the carburetter intake, £6 max and you are done, and maybe put a toolbox in the airbox space. However, as usual my OCD took over and fuelled by the fact that the carburetter moves relative to the frame and a pod filter wouldn't fit in the space available without an elbow, and then it would need support... you see how the job grows. I elected to fabricate the airbox along the lines of the original - then I'd have support, the space filled, an air filter, no cash outlay and something that could accommodate the carburetter moving up and down. Plus, I'd have more experience to help when I came to manufacture the toolboxes for the 1930 Ariel Model A.

So, out with the cardboard to make a model, the beginning of a lot of my fabrication jobs. Cardboard is great - you can make an airbox, cut it where it doesn't fit, take it apart, make a better one and eventually you end up with one that fits, like this one:


Here it is in situ:


The next step is to cut it apart again and make the net - the pattern that will be used to make the part in steel. I like to use these magnets to hold the net on the piece of sheet - this is 0.9 mm thick cold rolled sheet, part of an old bread bin.


You can use the bandsaw to cut this stuff easily, though some of the internal features need a file. It's important to deburr and to file your corners square before you start folding:


First job, cut the hole for the air outlet. Normally, it's better to cut holes after bending when the hole is near a fold, because the bending the sheet will stretch the hole out of shape. In this case, I wanted to corner weld the tube in from inside, so the hole had to be cut and the weld completed before the sides were folded up. It's critical to plan the process to make the folds as easy as possible - it is all too easy to make one fold only to realise you have prevented yourself getting access to make the next one.

I always drill holes using cone drills - it's much easier to get a circular hole in sheet metal than using a twist drill.


The air goes into the carburetter through a 1" tube, welded into the box:


The most complex fold is this curve - it's there to go around the frame. I made it round a bit of scaffold pole and when it was almost there I folded up the sides to make sure it was the right shape


In case you were wondering, I burnt the blue powder coat off...


At this stage, I welded up the edges of the curve, before I made the next folds - to ensure the material would stay in place while I subjected it to more bending. This picture shows most of the bends complete and welded:


Here, I've folded up the flanged edges and tacked on the lower mounting bracket. The tube going to the carburetter has been trimmed to length:


This is the lid, made in a similar way:


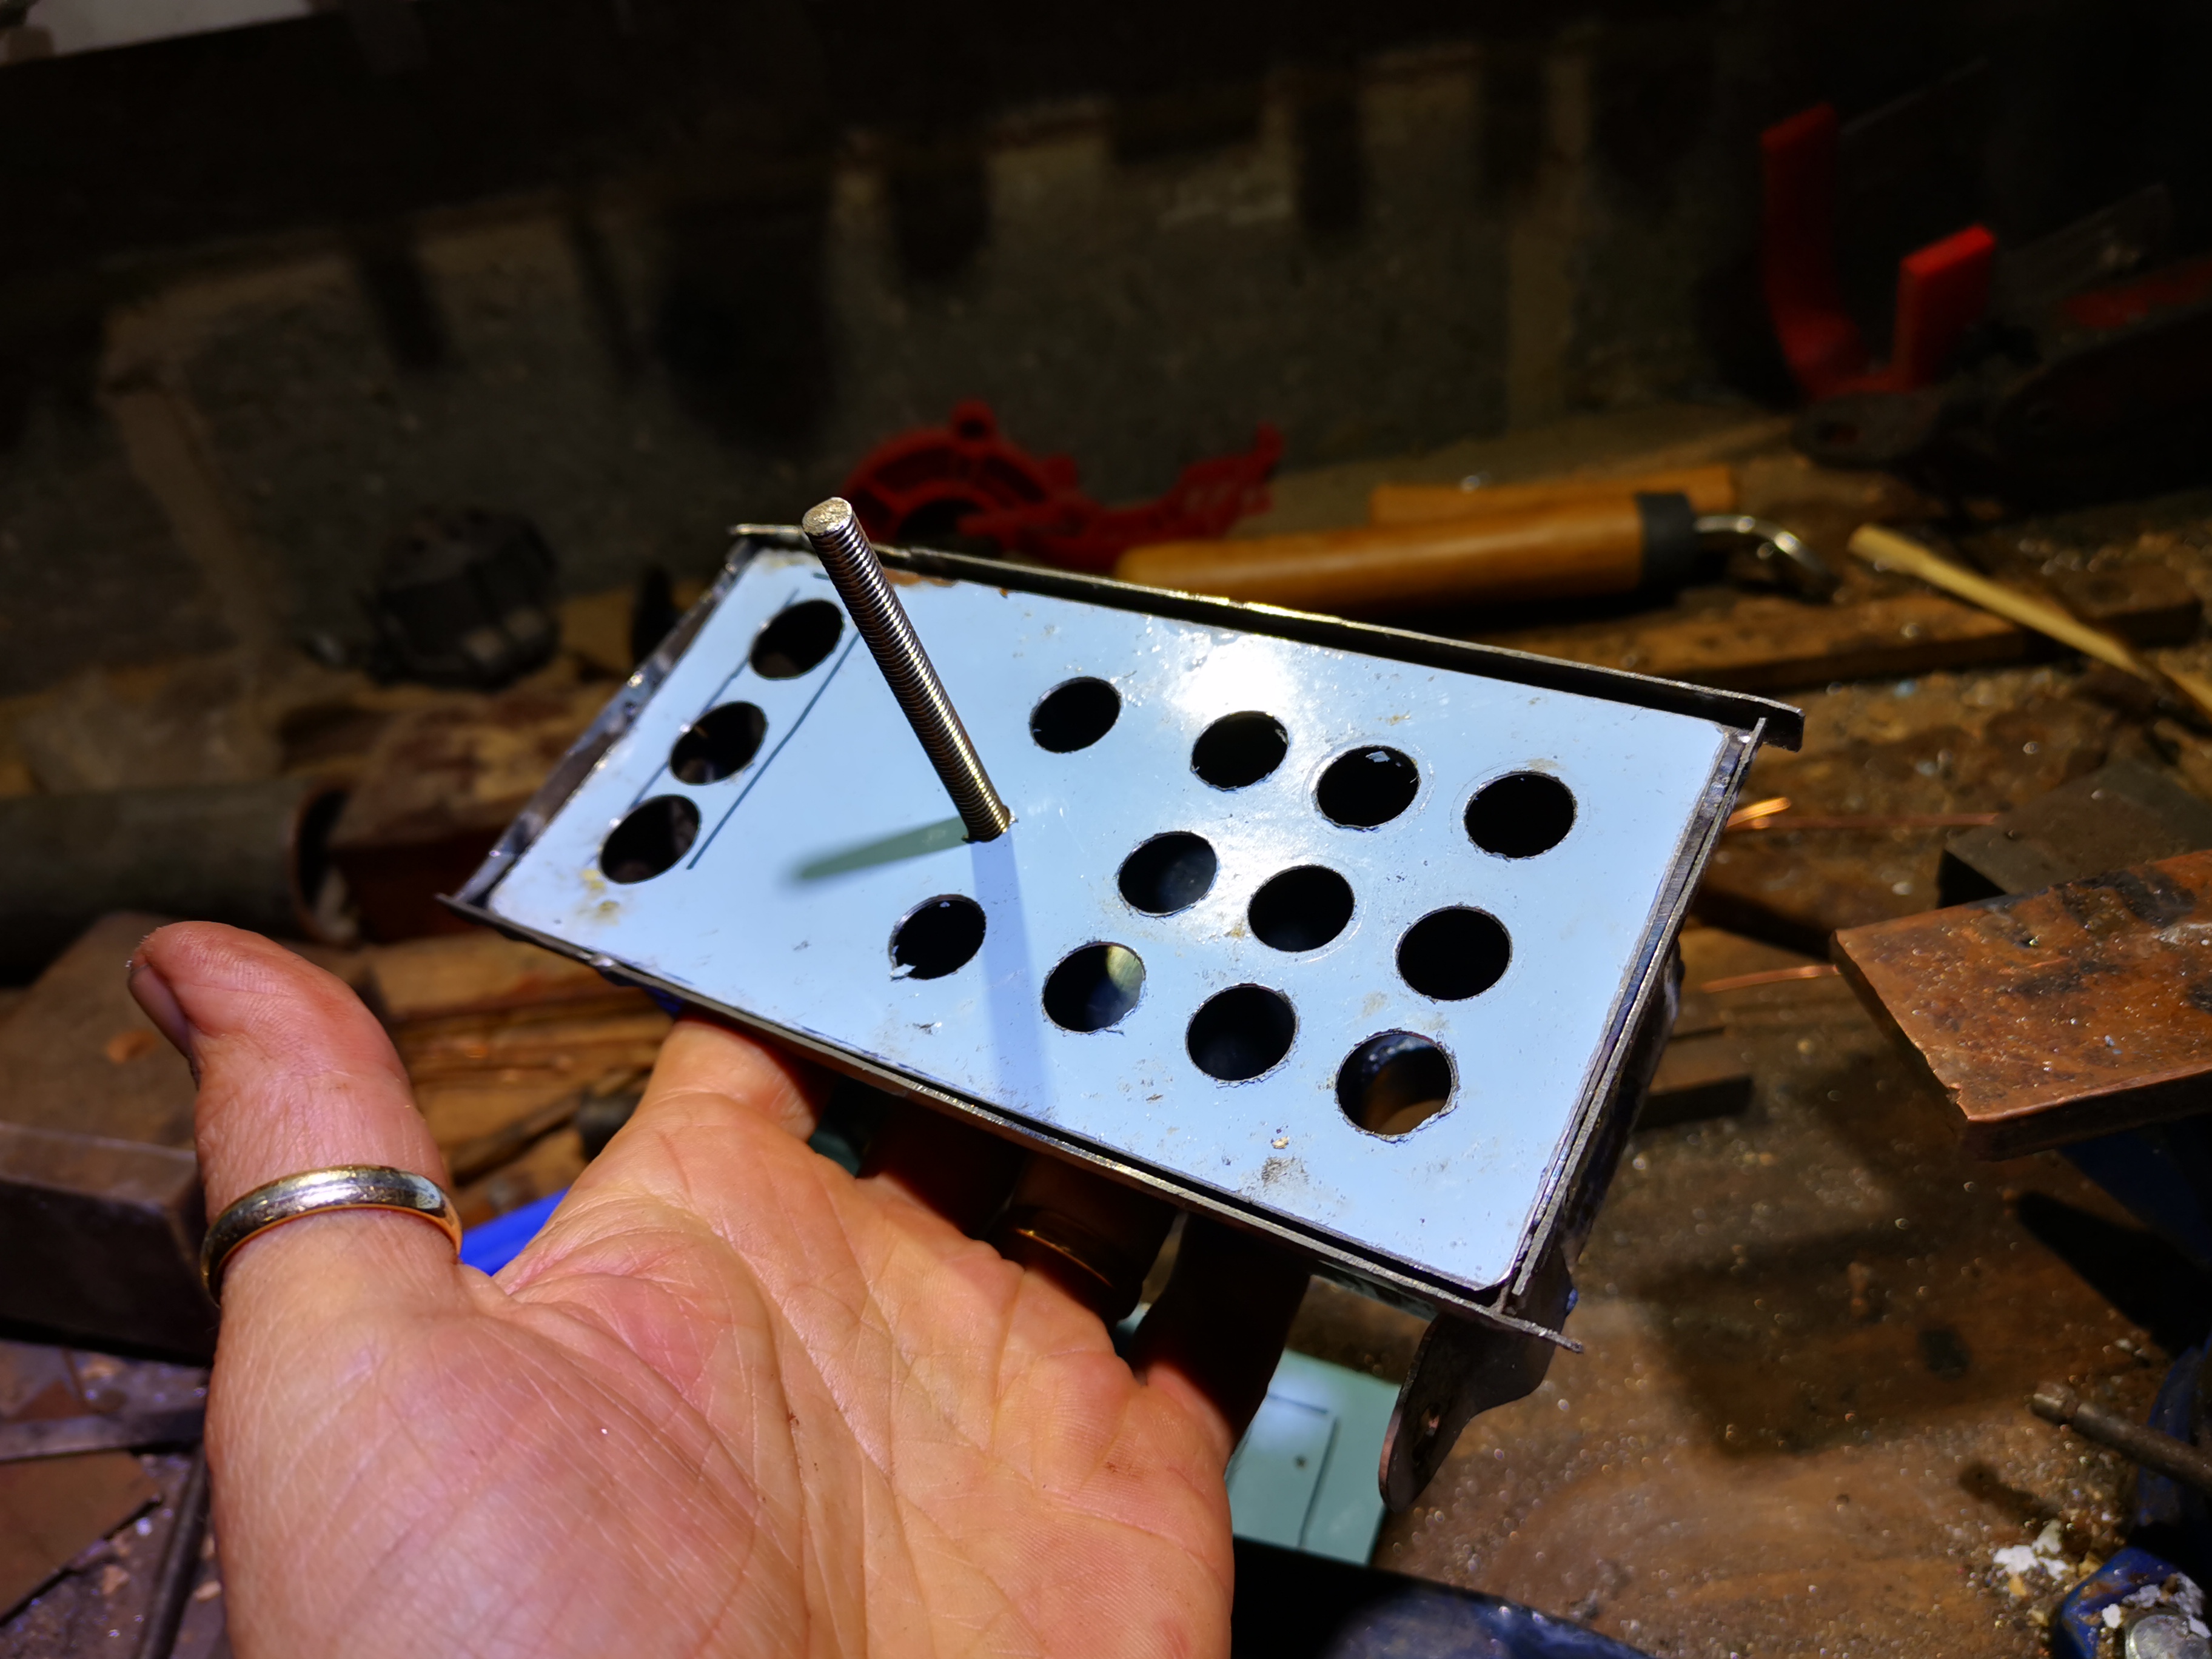
Back to the airbox again, this blue panel supports the foam:


Here's the other side, showing the inlet to the airbox which shields the oil line banjo and ensures the air inlet is protected from flapping trousers:


View from the front. That nut is attached to a stud that passes right through the lid, filter element and box and is welded into the back of the box:


Next I spent half an hour tidying up some welds - I used the linisher, some files and a small wheel in the Dremel just to smooth it out before painting. It's not perfect - I'm not spending hundreds of hours ironing out every nick and scratch but we will tidy up the worst of it. So next it's paint, starting as usual with U-POL etch primer.


Here's the completed airbox, coated in U-POL satin matt black. The parts are held together with hot melt adhesive and the element is hand cut from a piece of open cell foam:


Here it is in situ, from the top. I had to change the top bracket since it wasn't sitting square in the frame