Showing posts with label luggage carrier. Show all posts

Friday, 9 December 2022

W/NG - Luggage Rack 3

A bursting need to achieve something other than walking the dogs in these days of dire weather saw me retreat to a cold garage and put the newly painted luggage carrier and pannier frames, complete with brackets, on the W/NG:

Nearside rear:

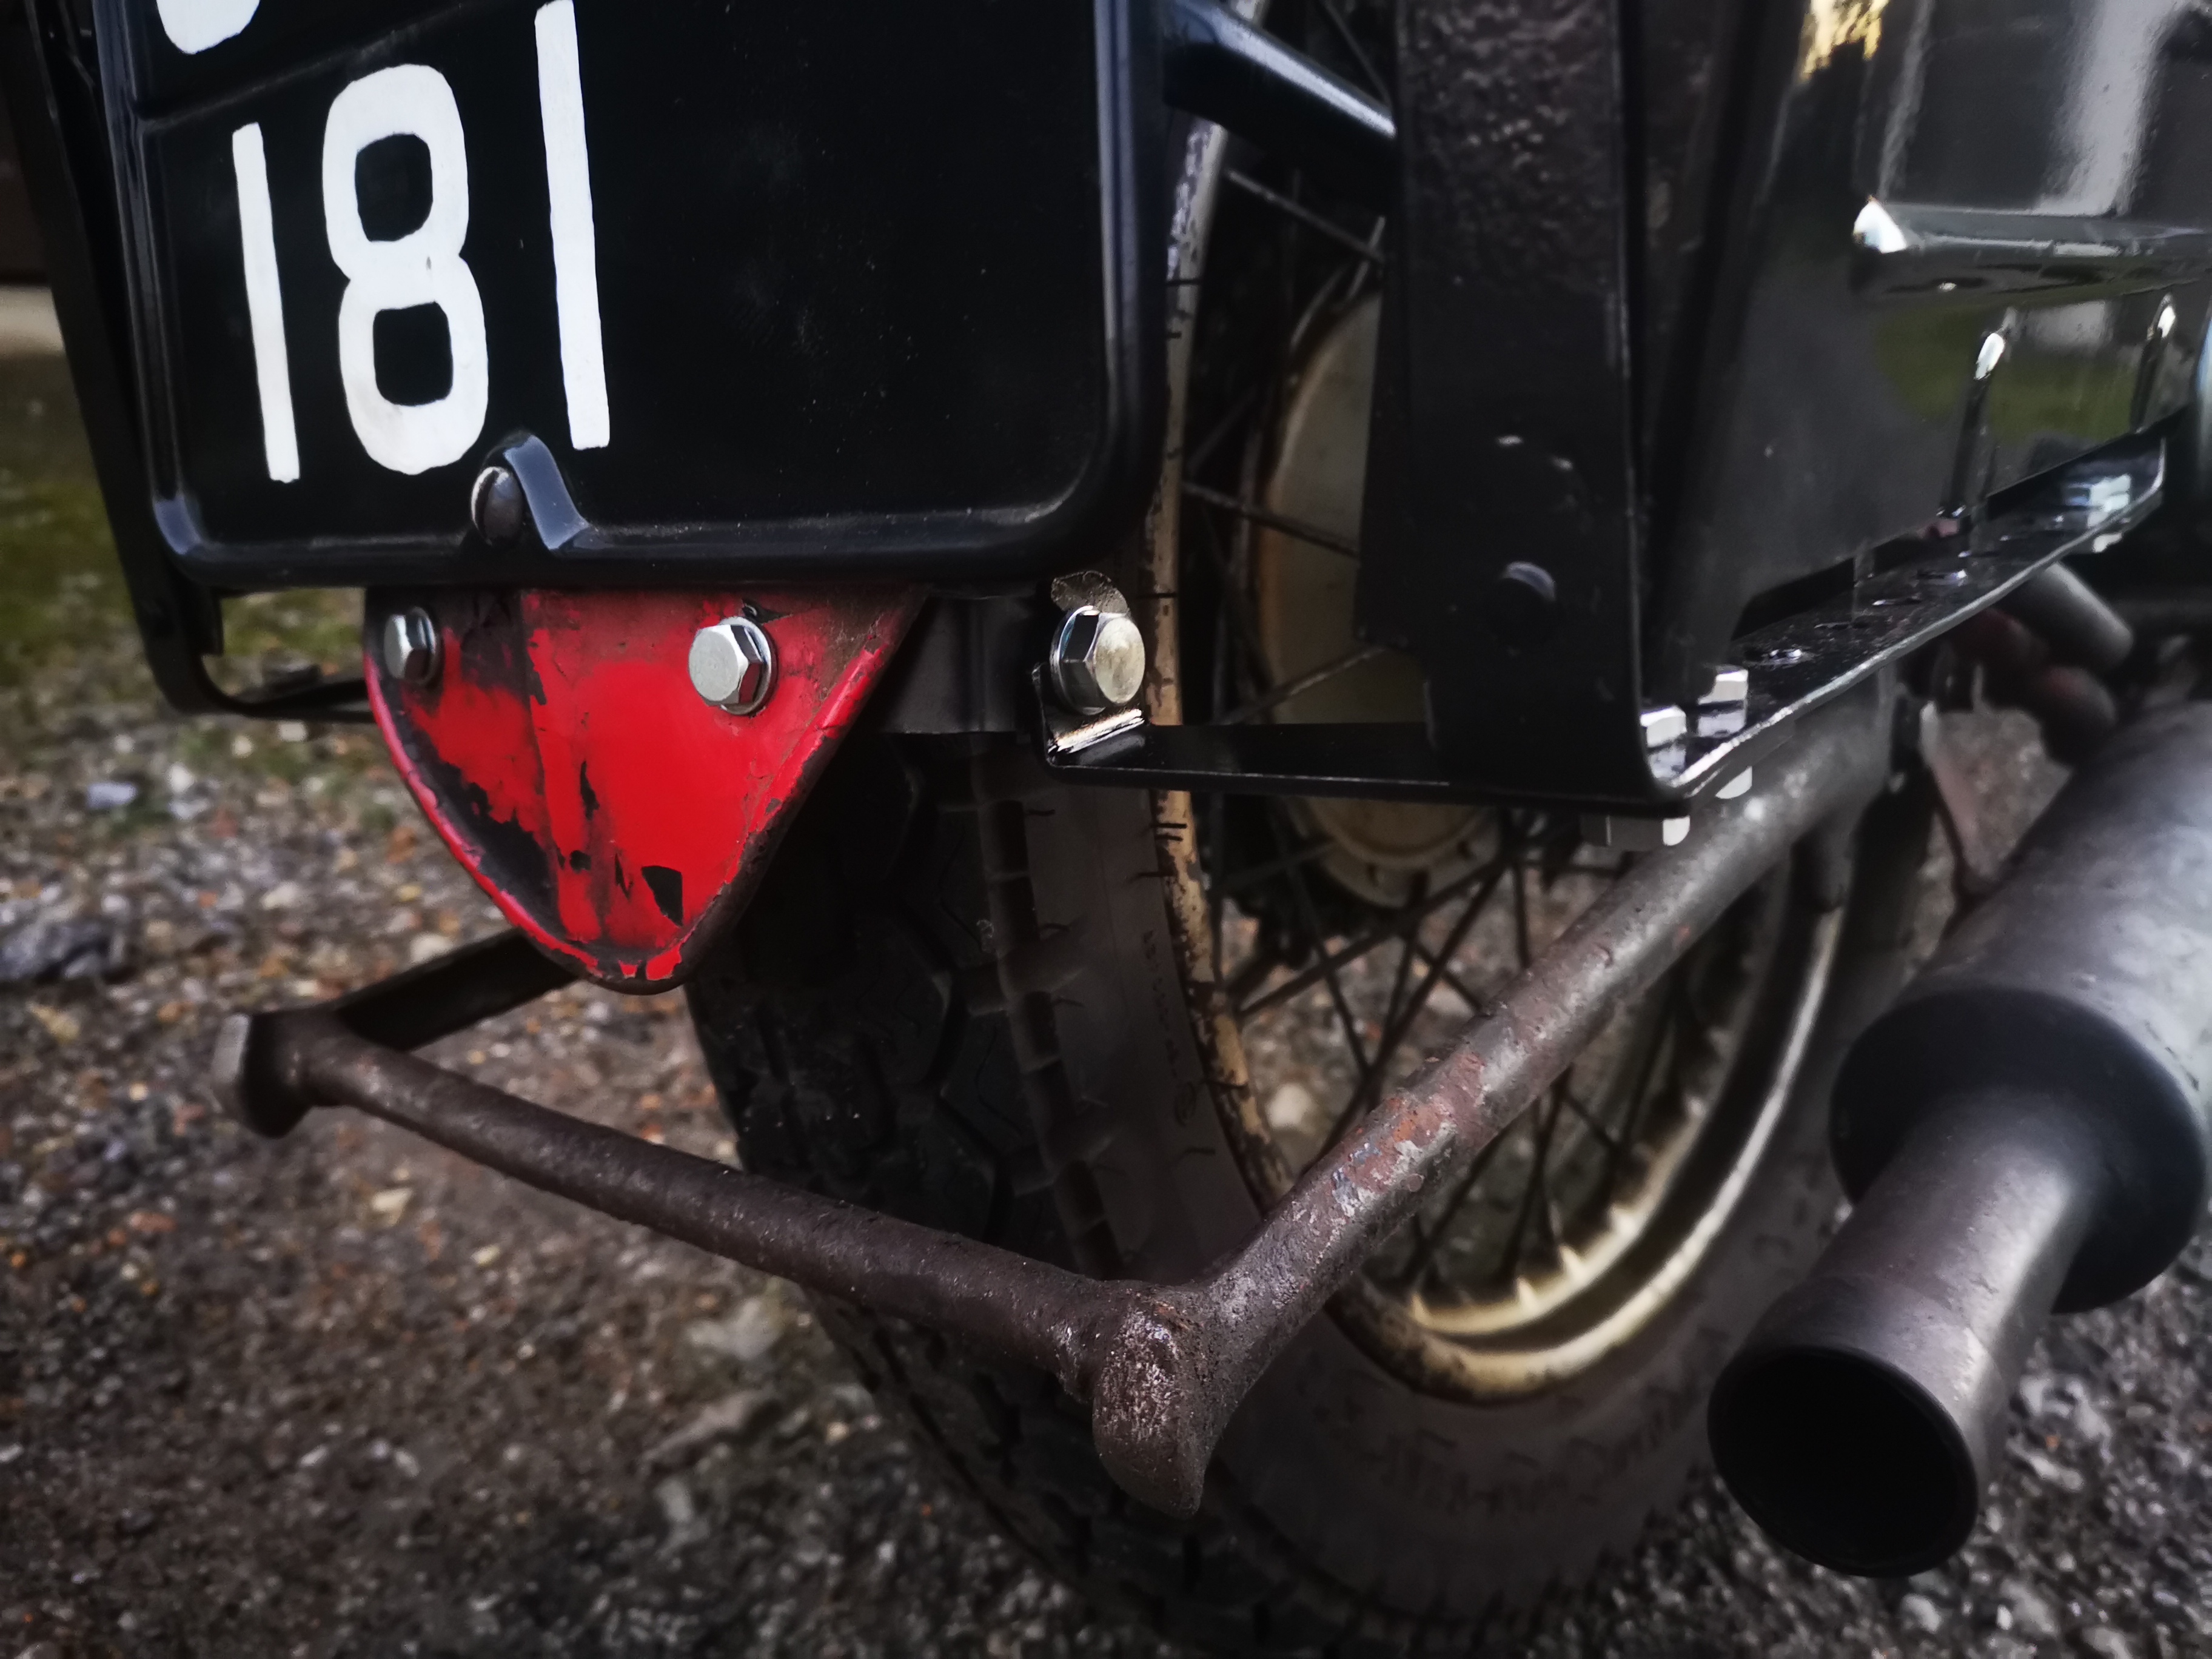
Rear brackets - the stand must be fouling somewhere, it usually comes to rest higher than that:

Front bracket, lightly modified from the Drags one to make it look more like an original:

I think the answer is that the spring lug on the stand is hitting the pannier frame bracket. Here's the offside view:


 A bit of railway tomorrow - then I will take some pictures with the bags in place.

Here's one now:


Monday, 5 December 2022

W/NG - Luggage Rack 2

 Armed with a full bottle of Argon I set about making the pannier frame brackets to hang off the carrier. These are cut from a bit of 25 x 3 mm flat bar, actually an Ikea towel rail that I took off a scrap door.

The rear bracket is a bit tricky to bend. I used heat and a bit of scaffold pole to put the curve in, then made the 90° bend before drilling the hole last. It took a bit of adjusting to make the curved part land on the carrier properly:

As you see here, it's not quite there yet. The front bracket is much easier.


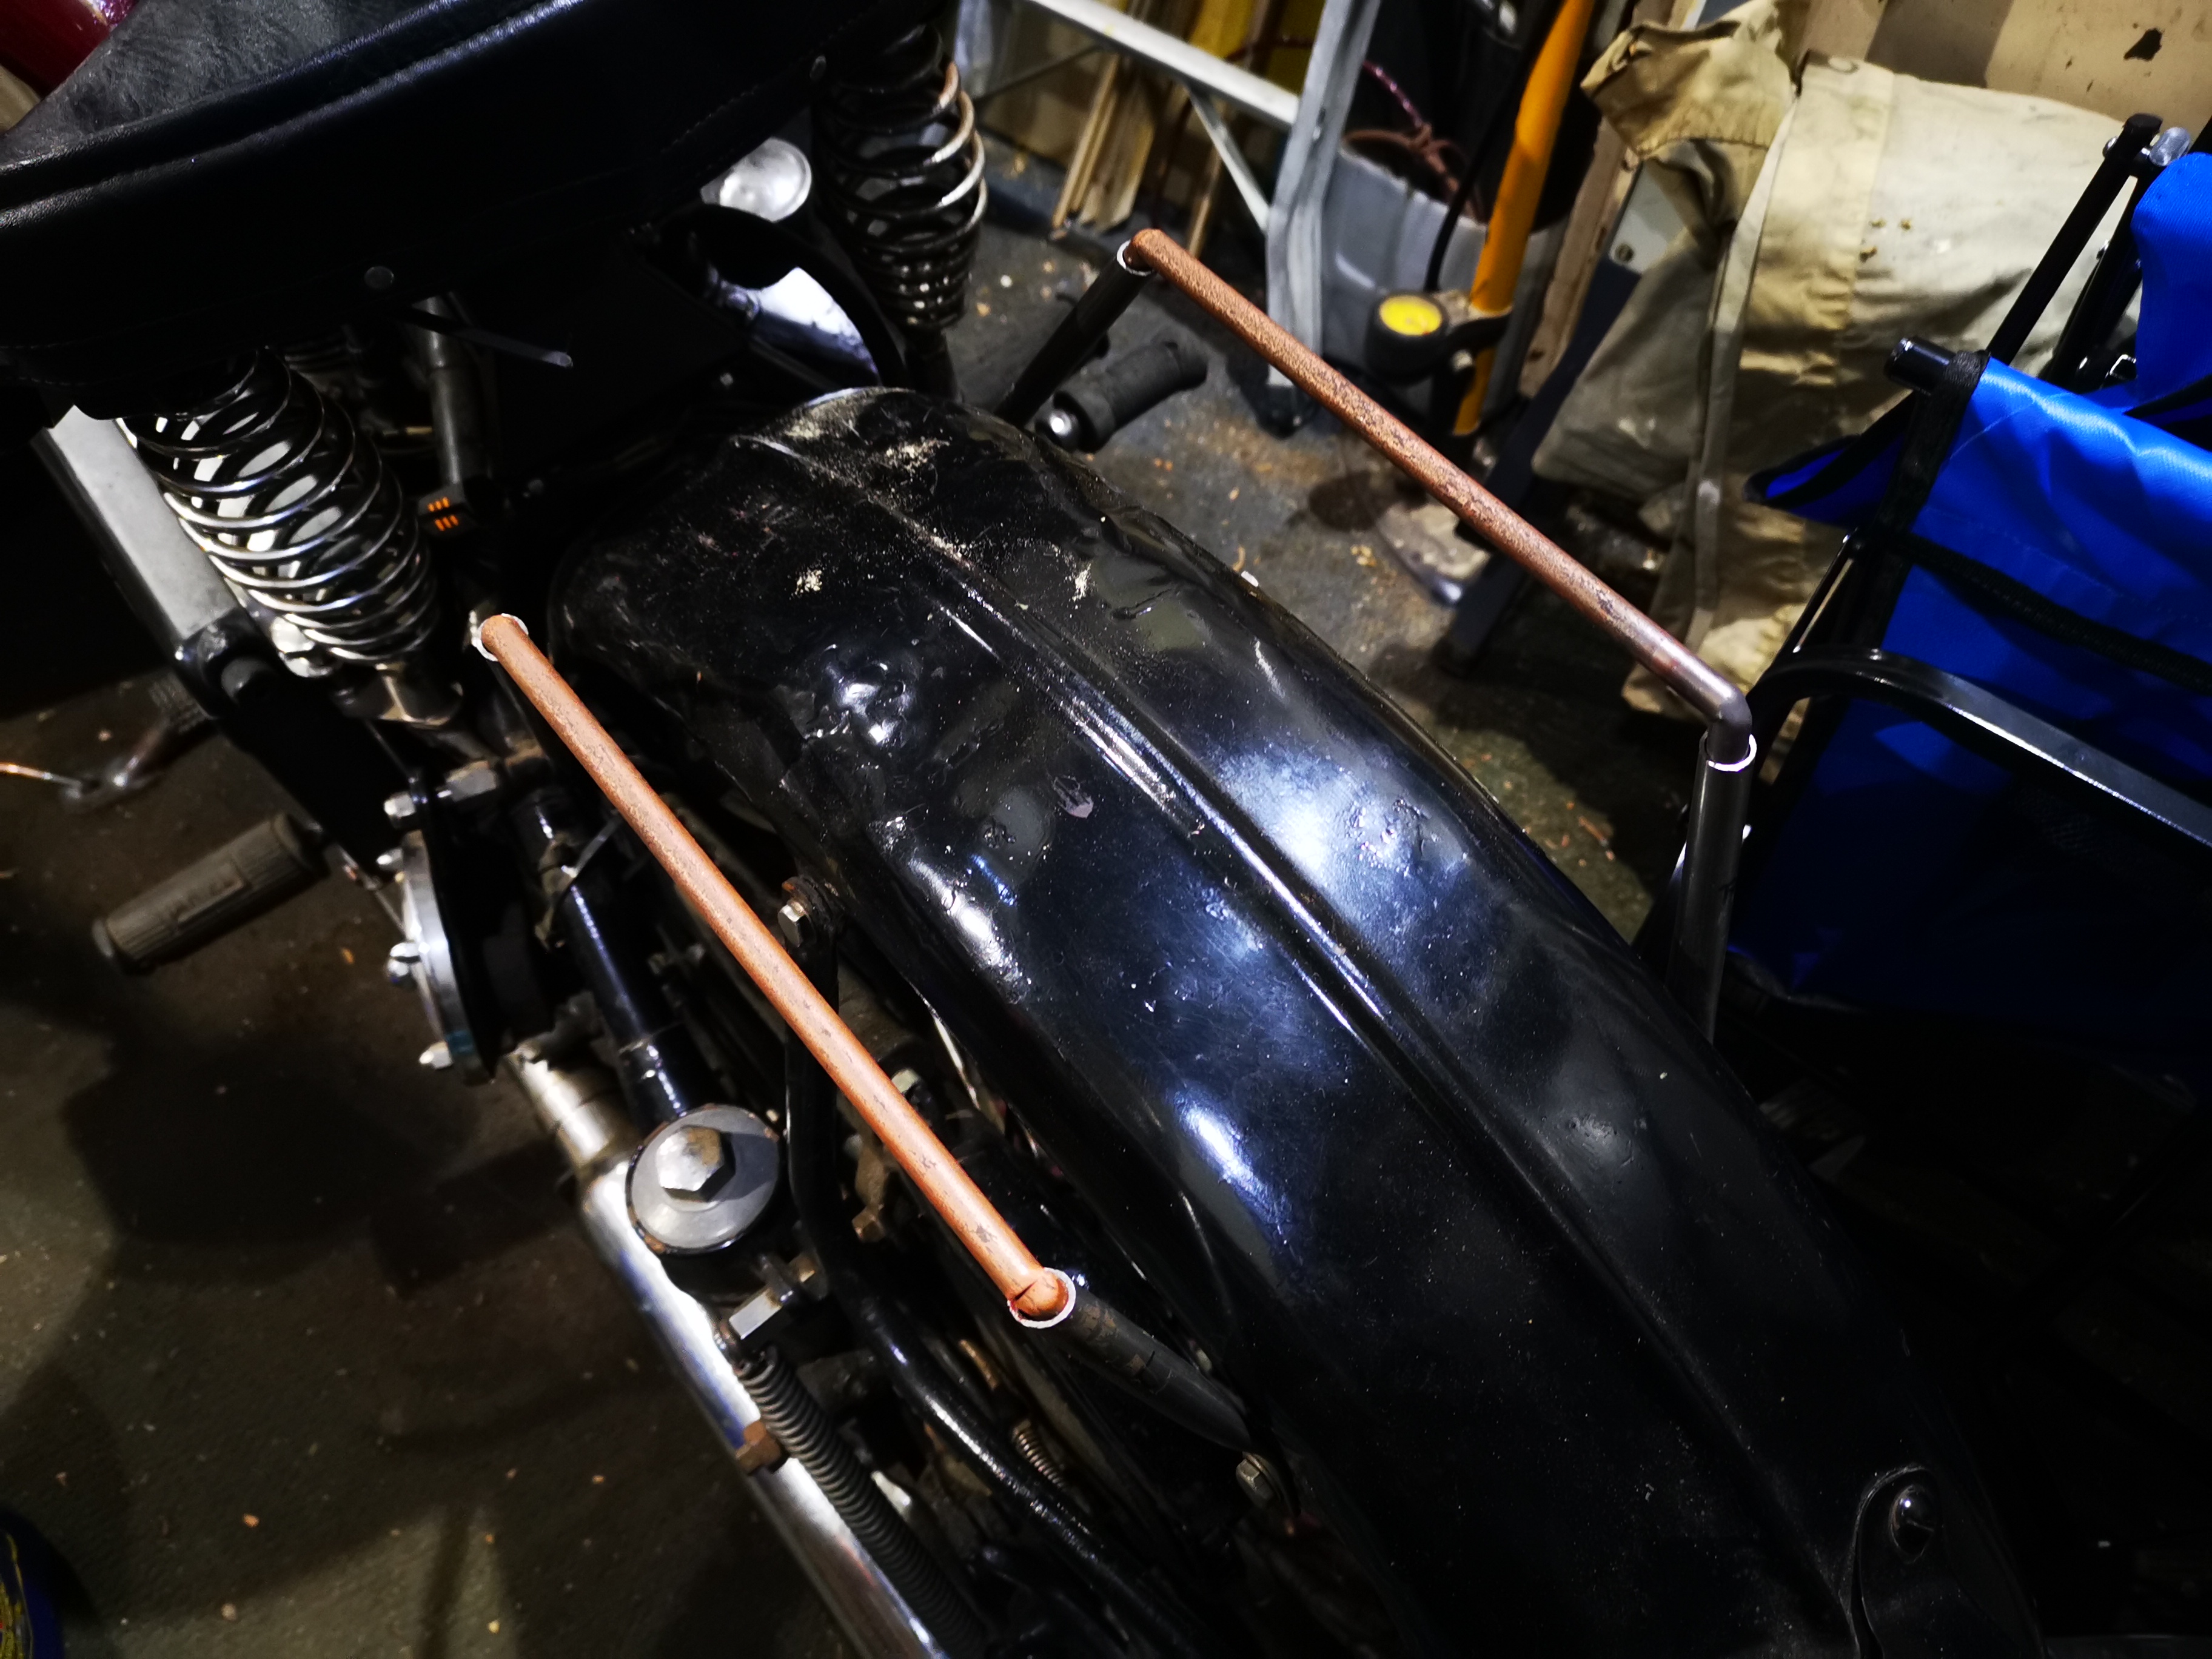
Here are the two tacked in place, with the pannier frame. Of course I used the holes in the pannier frame to locate the brackets - the bit of copper wire was holding the frame with the brackets bolted to it while I tacked the brackets on the carrier.


Fully welding the bars at 90A. I'm amazed at what the little TIG machine will do, even if the battery voltage drops quite low - the inverter low voltage alarm was beeping away when I let the arc get too long, but then it was dark outside when I did this:


More brackets for the offside:


These were a lot more difficult. Eventually I realised that the holes in the second pannier frame were not in the same place as the first one and needed a bit of adjustment.

With a bit more welding it was soon finished:


No apologies here - I wanted to keep the red finish to maintain some part of the Italian influence this bike had - and is steadily losing as I bring it back to standard.

I won't be painting it khaki though!

Sunday, 20 November 2022

W/NG - Panniers

 Here are the panniers I'm fitting - replica WD panniers from eBay, probably made in India. They are rather nice:

The frames are powder coated steel and fold up and down, just like the originals, though the pannier bags themselves are identical - originally they were handed to the extent that one was provided with a buckle to receive that central strap on the back, so you could sling them over the luggage carrier like a pair of modern throw-over panniers:

I made this little strap to allow them to be tied together. It's a new bit of 2" webbing stitched to a pair of original buckles:

I've got this set of brackets from Draganfly - very nicely made too, though I had to clear the threads of scale, open the holes to clear 1/4" CEI and replicate the slots shown in the Ariel parts list:


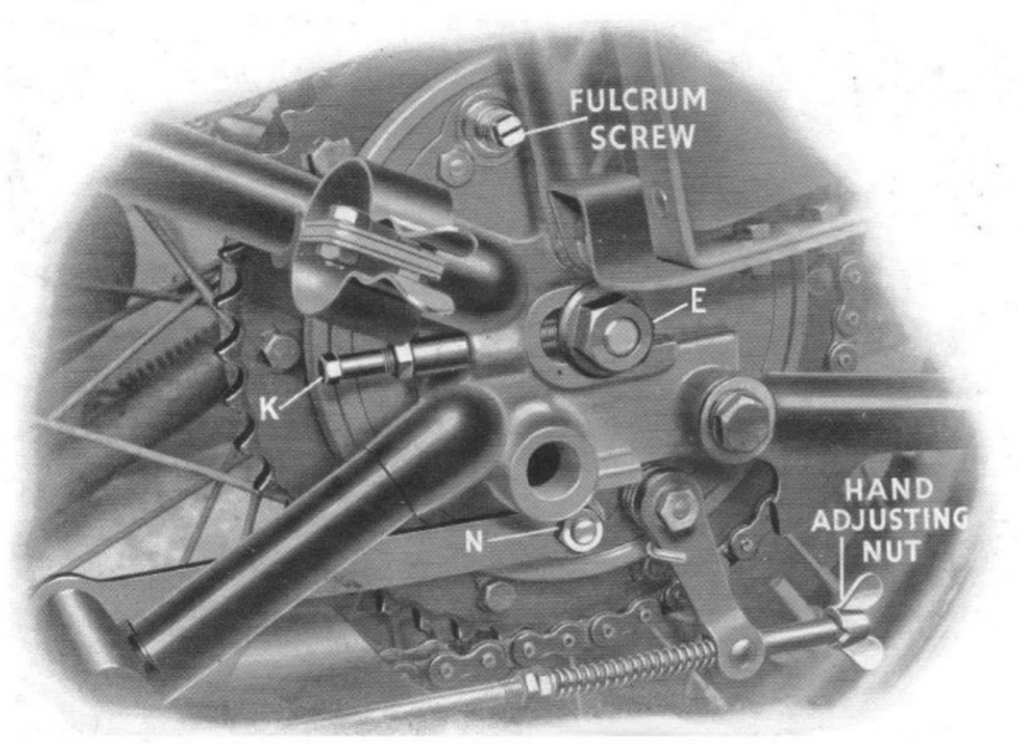
Position 'B; shows the rear mounting, with the end of the mudguard bracket just visible. There's a 5/16" CEI bolt at 'B', which you use when you want to lift the tail of the mudguard or remove the pannier frame:

The other end shows the pannier frame and the front bracket above the axle nut 'E'. It's retained behind the mudguard stay bolt:

More later, when I have finished the luggage carrier!

Friday, 11 November 2022

W/NG - Luggage Rack

 As you will know, the W/NG has worn a small non-standard luggage rack for many years - probably since the 1950's and while I am sorry to depart from the modifications the previous owner made all those years ago, I have recently lost my Chilly coffee flask and today my Rothenburger Surefire blow torch off the back of it, through not having big enough bags.

What I've decided to do is splash out on a set of reproduction military panniers and frames, which are readily available and probably come from India. You can't buy the rack, so I'll make that myself as many others have done before me. These dimensions were recorded by fellow Arielist Vincent van Ginneke of the Dutch branch of the AOMCC and posted on the forum:


And this one:


Since I don't have a tube bender, and most commercial benders don't have the right size dies anyway, I am going to use round bar for the carrier - like the one in Vincent's pictures. Others you see are made from tube which is lighter and easier to swage for the ends but would need a bender to form the corners without flattening.
The trusty bit of scaffold tube comes to the fore again for the bends at the rear end. I make the bends in both the two main members - I plan to put a weld in the middle, rather than try to form it up from one piece. I've actually bought four 1 metre lengths of round bar.


This next picture shows the two main members clamped in a bit of angle to keep them aligned while I make the 40° bend, so that I can match the two sides:


The ends of the main members fit between the frame and the mudguard stay, here:


Swaging the ends is a bit tricky. They would have been made hot with a power hammer, giving them that neat 'one hit' appearance in Vincent's pictures - I can get them hot enough, but trying to make that shape with a big ball pein hammer just doesn't work. Time to try something else.


What I'm doing is building the sides up with weld, after cutting the flats with a hacksaw. It's a bit time consuming and rather obsessive, but a session with the angle grinder will make them look the part:


Soon I have all the bits I need ready for tacking up. I've welded the two halves of the main carrier together with the welder set to 100 A - higher than required as it turned out but the off grid system managed it easily in daytime:


With the front drilled and fitted, I use a cardboard box and an electronic level to set it in the right place. I'm putting one of the cross bars in here to make sure the spindly legs are lined up properly and the bends are in the right plane:


The two short side legs go in next, with the angle of the flattened tab adjusted to sit flat on the mudguard stay:


Next, I fit the long legs up from the rear wheel spindle, wire them in place and tack:


Here it is, with all the elements tacked together bar the small frame brackets which I will make next. Unfortunately, I've run out of Argon...

Sunday, 24 April 2022

SQ4 Luggage Carrier

 The Four has never had a luggage carrier - they are pretty unusual for that period in Ariel history if surviving examples are anything to go by. Tom and I have a notion to do the VMCC Round Norfolk run this year, and I had realised that I really needed something better than 1958 Pattern Webbing 'Large Packs' suspended from the rear mudguard.

So, we start with the carrier - the ladder part is available from AOMCC Singles Spares:


It’s very nice indeed - 18 swg cold rolled sheet. Loosely laid on the lifting handle, which is not fitted when the carrier is used we can see how it’s going to look:


The members of the ladder frame are about 1/2" wide, so we will use 1/2" tubing for the stays.


The rear stays are swaged to one side - I have arranged two heavy rolled steel angles in the vice with the tube clamped against them, and I squash the tube between this and one side of my swaging die, as shown below:


The test piece comes out reasonably well:


The front stays are swaged both sides, so I need two shaped swaging dies:


The first attempt at rear stays is a bit long, leading to the carrier sitting too high:


I believe this is Markus Nikot's KH, with original carrier. See how low it is compared to the rib in the mudguard?


Shortening the stays has mine in a similar position:


Now, it doesn't appear that the ladder provides the strength the carrier needs to replace the lifting handle, or to carry much of a load without failing through fatigue so we will connect the front and rear stays with a solid 3/8" bar. The bends in these are made with a mitre cut 2/3 of the way through the bar and welded up again:


The original luggage carrier on my Model A has the rearmost member, the one you want to grip to pull the bike onto the rear stand, rolled into a tubular shape around a solid bar - which makes it much nicer to hold. I've replicated the arrangement with a piece of 3/8" folded into the rear-most rung of the ladder:


Here it is, swaged in:


Next step is to weld the bars into the stays while they are in position on the bike. These are just tacks, and the welds were completed off the bike:


The carrier is coming on nicely and looks the part. Having got this far, I could investigate how the carrier interrupted the raising of the mudguard; in fact, the guard hits the wheel at the bottom long before the carrier hits the seat, so you have to remove the wheel to find out if it really still works.


Here's the round lifting bar welded in at each end:


The next step is to attach the ladder to the side bars. I want to preserve the shape of the pressing, so I have decided to plug weld the ladder to the bars from above. I've realised that the secret to good plug welding is to drill a big enough hole such that the arc strikes the bar underneath, and not the edge of the hole - then you can back fill the hole completing the weld in a controlled fashion. These holes are 8 mm:


I tacked through these holes to fix the whole carrier together whilst it was still on the bike. When I removed it, I welded the stays to the carrier on the inside, and left the outside free of weld to emulate the original.


Next I finished off the plug welds:

The final step is to dress the welds and apply some paint, then when it's dry and hard we can reassemble the back end of the bike.

And here it is, with several coats of U-Pol:


It's actually bent down slightly at the front, drive side corner


It might need a bit of adjustment, but it looks good for now!