A while back, I made a post in which I converted a Anstey-frame single cylinder lower chain guard into a rigid frame one for my W/NG - and I also spoke about making one for the SQ4.
I had a rigid frame chain guard for a SQ4, which I was planning to convert but I have since been approach by someone who needs just that, so I plan to make a Anstey Frame chain guard from scratch.
I have the rear bracket spare from the one I used for the W/NG, so I just have to make the front bracket and the guard itself which I will copy from the rigid frame version... Simples!
Here's a 'patinated' sheet of 18 SWG cold rolled sheet, just like the original was made from all those years ago.
Using a tape on the original guard, we find that it is 13 cm wide, so we mark a suitable strip on the sheet and draw around the original with a spirit marker:
The old jig saw makes short work of cutting it out:
Next up, bending up. I'm using a piece of timber as a bending 'iron' here, it has a radius planed into the edge to mimic that of the original chain guard, and the flat side of the guard is clamped securely to the board:
You can bend a piece of 18 SWG this size by hand, and the fact that the board is more narrow than the chain guard's final width means you can over-bend it a little, to finish at the required 90 degree angle:
With the first bend done, we can swap sides and make the second bend in the same way. This is possible, but more difficult to bend by hand because of course we have much less length to lever with. Turns out OK though, but there are a few adjustments needed to align the ends:
Here's a view from underneath of the guard and the front mounting point looking up at the chain oiler channel. At this point in time, the guard needed some adjustment to the width:
Here's the other end:
And the point where the rear mount will go:
And the front mount, from the outside:
Tacked up and trial fitted:
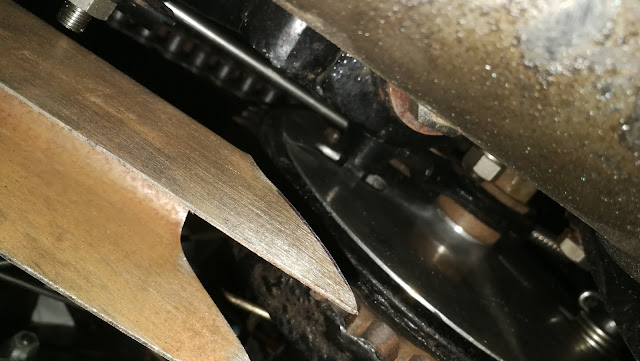
Clearance looks adequate, though some adjustment might be required at the front:
With welding complete, I've used my favourite U-Pol etch primer on the chainguard:
And U-Pol gloss black:
And fitted:
As a small post script to this, the chain guard came off again a few weeks later as the chain was rubbing on it. 70 odd miles did this:
I recreated the unsightly bends (that I had taken to be damage) from the original, adjusted the rear bracket so it sat a little higher and it no longer rubs.
For the record, the chainguard now looks like this:


No comments:
Post a Comment