As you will know, the W/NG has worn a small non-standard luggage rack for many years - probably since the 1950's and while I am sorry to depart from the modifications the previous owner made all those years ago, I have recently lost my Chilly coffee flask and today my Rothenburger Surefire blow torch off the back of it, through not having big enough bags.
What I've decided to do is splash out on a set of reproduction military panniers and frames, which are readily available and probably come from India. You can't buy the rack, so I'll make that myself as many others have done before me. These dimensions were recorded by fellow Arielist Vincent van Ginneke of the Dutch branch of the AOMCC and posted on the forum:
And this one:
Since I don't have a tube bender, and most commercial benders don't have the right size dies anyway, I am going to use round bar for the carrier - like the one in Vincent's pictures. Others you see are made from tube which is lighter and easier to swage for the ends but would need a bender to form the corners without flattening.
The trusty bit of scaffold tube comes to the fore again for the bends at the rear end. I make the bends in both the two main members - I plan to put a weld in the middle, rather than try to form it up from one piece. I've actually bought four 1 metre lengths of round bar.
This next picture shows the two main members clamped in a bit of angle to keep them aligned while I make the 40° bend, so that I can match the two sides:
The ends of the main members fit between the frame and the mudguard stay, here:
Swaging the ends is a bit tricky. They would have been made hot with a power hammer, giving them that neat 'one hit' appearance in Vincent's pictures - I can get them hot enough, but trying to make that shape with a big ball pein hammer just doesn't work. Time to try something else.
Soon I have all the bits I need ready for tacking up. I've welded the two halves of the main carrier together with the welder set to 100 A - higher than required as it turned out but the off grid system managed it easily in daytime:
With the front drilled and fitted, I use a cardboard box and an electronic level to set it in the right place. I'm putting one of the cross bars in here to make sure the spindly legs are lined up properly and the bends are in the right plane:
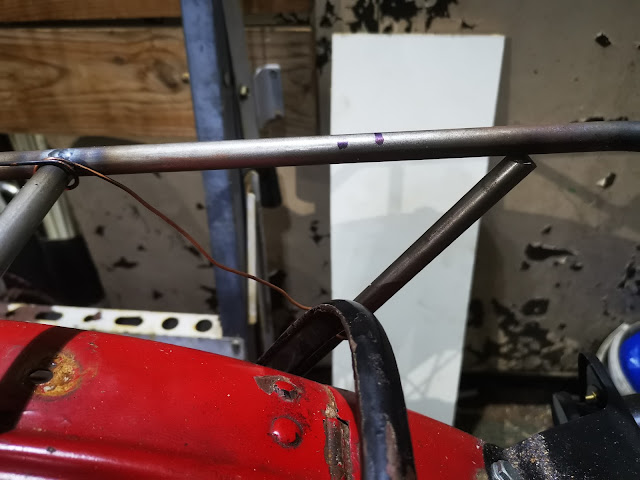
The two short side legs go in next, with the angle of the flattened tab adjusted to sit flat on the mudguard stay:
Next, I fit the long legs up from the rear wheel spindle, wire them in place and tack:
Here it is, with all the elements tacked together bar the small frame brackets which I will make next. Unfortunately, I've run out of Argon...


.JPG)


No comments:
Post a Comment