
The Four has never had a luggage carrier - they are pretty unusual for that period in Ariel history if surviving examples are anything to go by. Tom and I have a notion to do the VMCC Round Norfolk run this year, and I had realised that I really needed something better than 1958 Pattern Webbing 'Large Packs' suspended from the rear mudguard.
So, we start with the carrier - the ladder part is available from AOMCC Singles Spares:

It’s very nice indeed - 18 swg cold rolled sheet. Loosely laid on the lifting handle, which is not fitted when the carrier is used we can see how it’s going to look:

The members of the ladder frame are about 1/2" wide, so we will use 1/2" tubing for the stays.

The rear stays are swaged to one side - I have arranged two heavy rolled steel angles in the vice with the tube clamped against them, and I squash the tube between this and one side of my swaging die, as shown below:

The test piece comes out reasonably well:

The front stays are swaged both sides, so I need two shaped swaging dies:

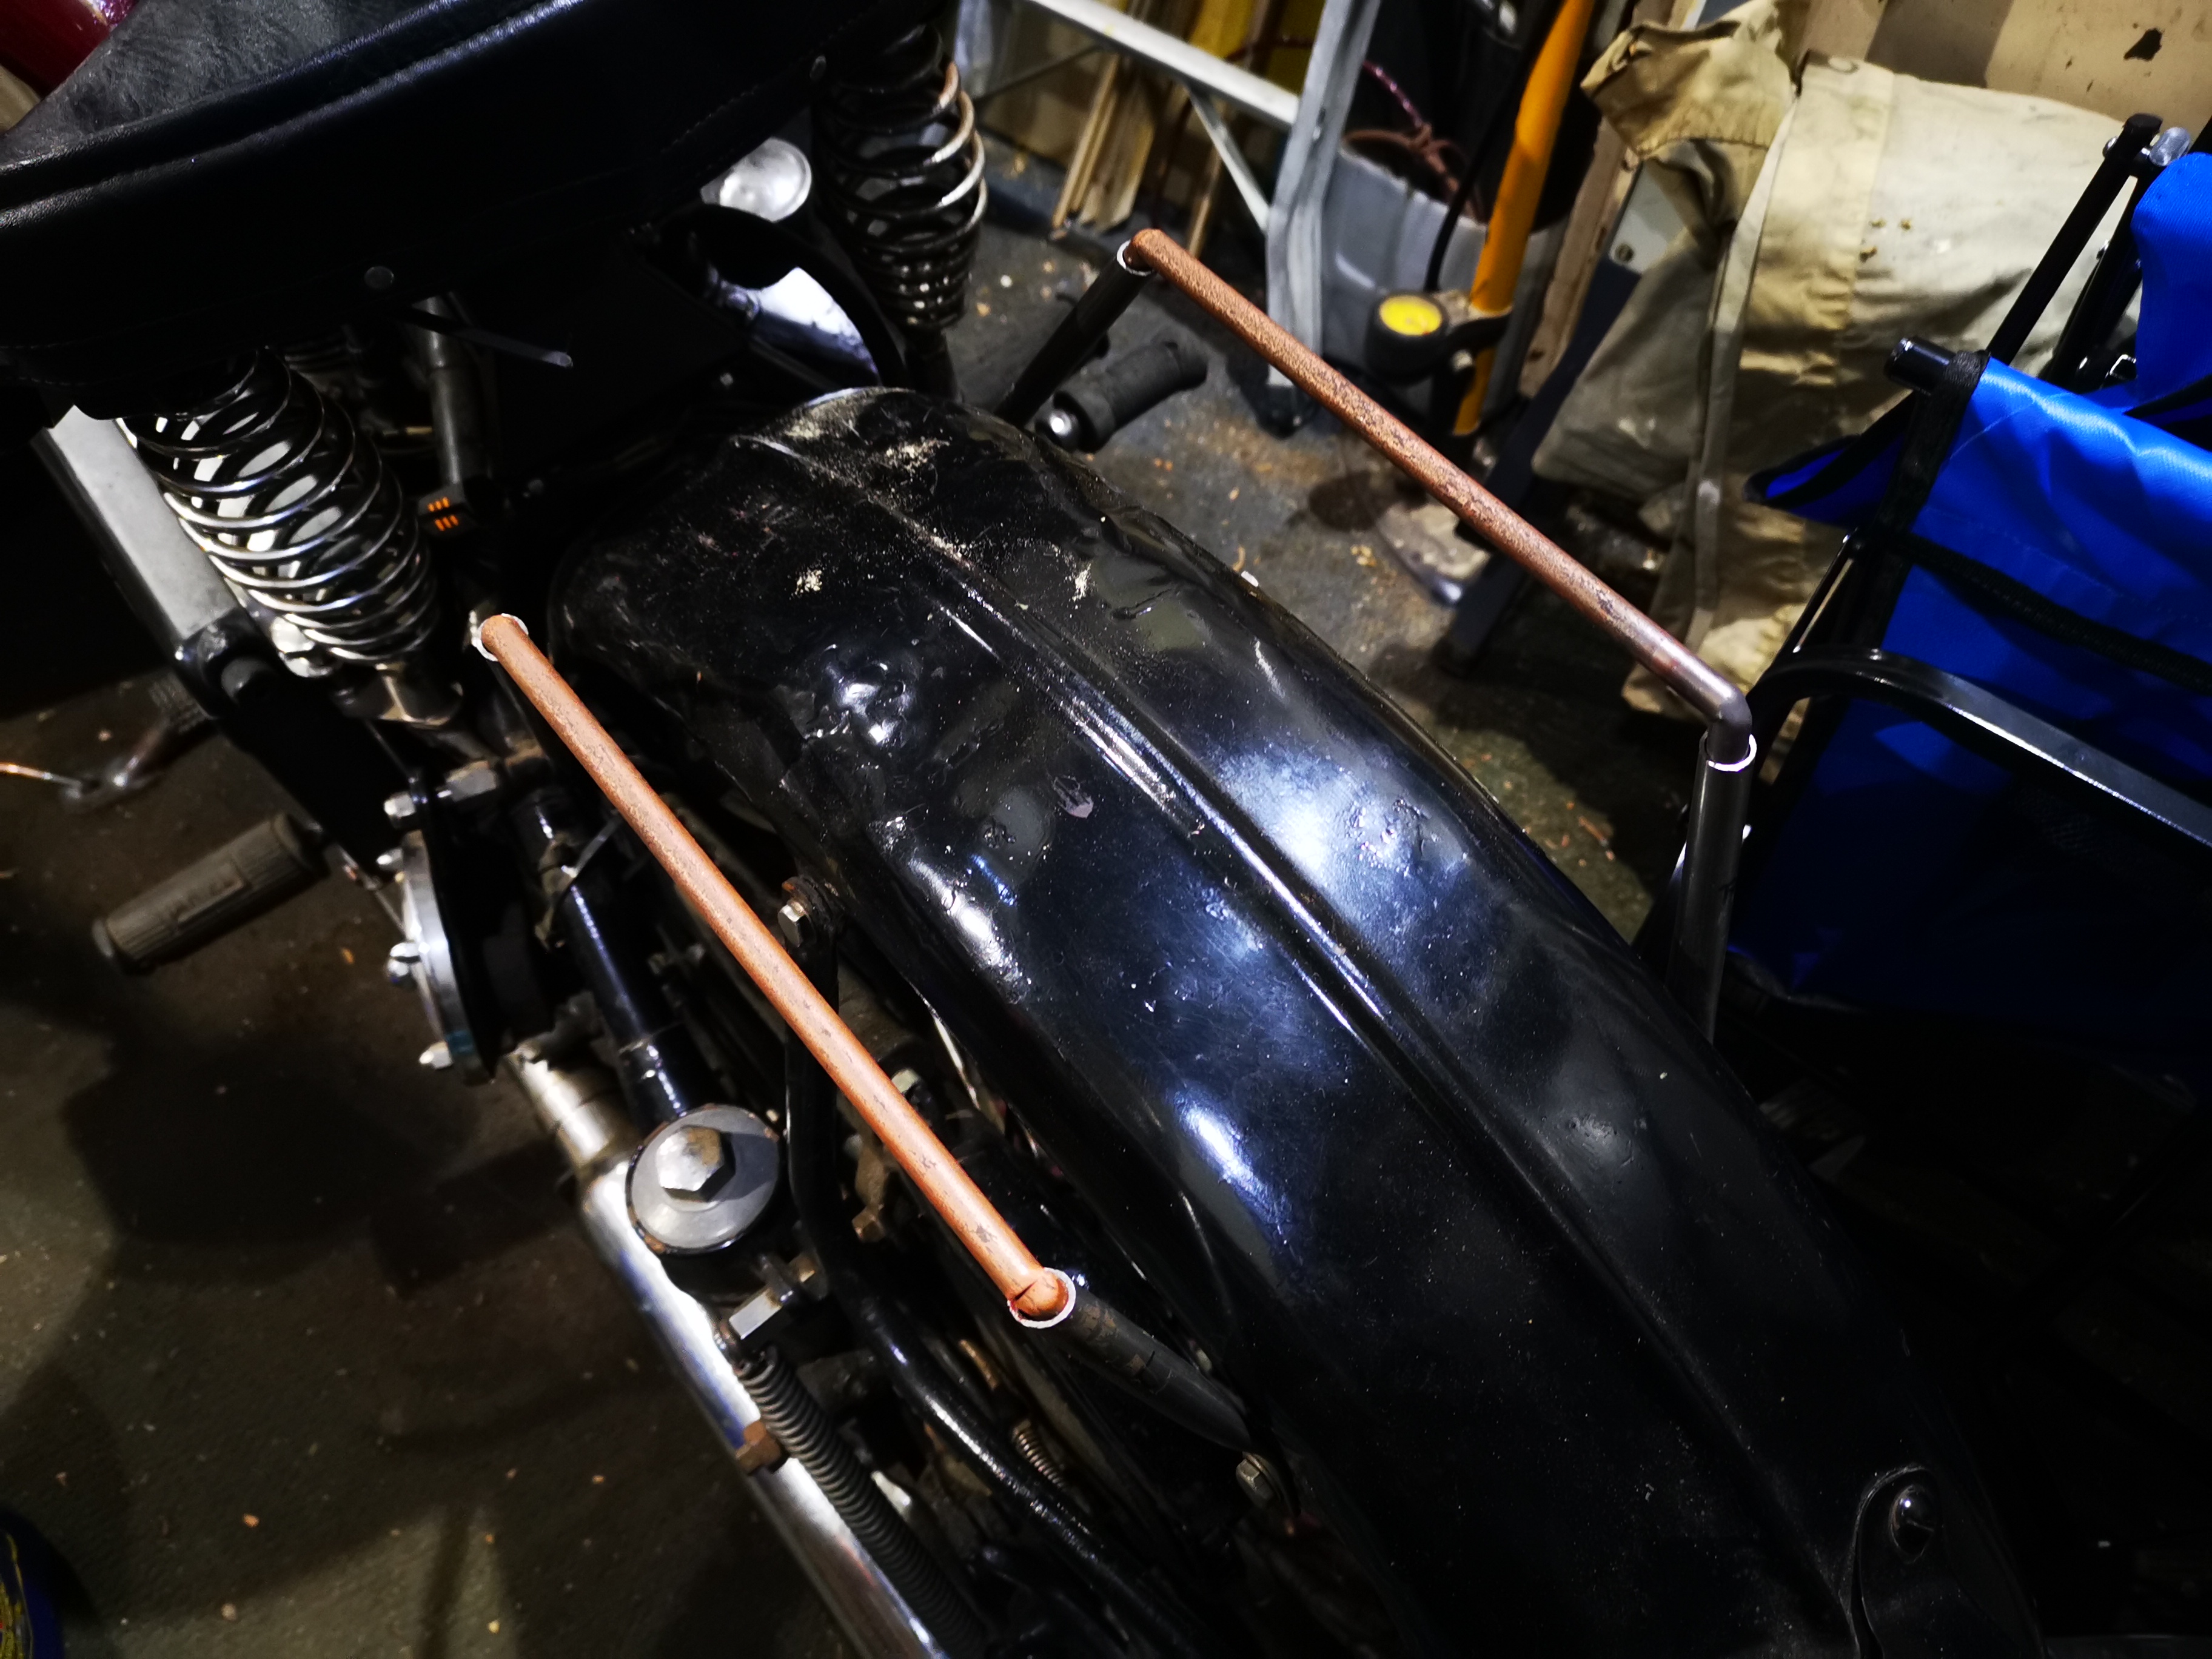
The first attempt at rear stays is a bit long, leading to the carrier sitting too high:

I believe this is Markus Nikot's KH, with original carrier. See how low it is compared to the rib in the mudguard?

Shortening the stays has mine in a similar position:

Now, it doesn't appear that the ladder provides the strength the carrier needs to replace the lifting handle, or to carry much of a load without failing through fatigue so we will connect the front and rear stays with a solid 3/8" bar. The bends in these are made with a mitre cut 2/3 of the way through the bar and welded up again:
The original luggage carrier on my Model A has the rearmost member, the one you want to grip to pull the bike onto the rear stand, rolled into a tubular shape around a solid bar - which makes it much nicer to hold. I've replicated the arrangement with a piece of 3/8" folded into the rear-most rung of the ladder:

Here it is, swaged in:

Next step is to weld the bars into the stays while they are in position on the bike. These are just tacks, and the welds were completed off the bike:

The carrier is coming on nicely and looks the part. Having got this far, I could investigate how the carrier interrupted the raising of the mudguard; in fact, the guard hits the wheel at the bottom long before the carrier hits the seat, so you have to remove the wheel to find out if it really still works.


The next step is to attach the ladder to the side bars. I want to preserve the shape of the pressing, so I have decided to plug weld the ladder to the bars from above. I've realised that the secret to good plug welding is to drill a big enough hole such that the arc strikes the bar underneath, and not the edge of the hole - then you can back fill the hole completing the weld in a controlled fashion. These holes are 8 mm:

I tacked through these holes to fix the whole carrier together whilst it was still on the bike. When I removed it, I welded the stays to the carrier on the inside, and left the outside free of weld to emulate the original.

Next I finished off the plug welds:

The final step is to dress the welds and apply some paint, then when it's dry and hard we can reassemble the back end of the bike.
And here it is, with several coats of U-Pol:

It's actually bent down slightly at the front, drive side corner

It might need a bit of adjustment, but it looks good for now!

No comments:
Post a Comment