
Now we need to look at the crankshaft.
First up is the sludge trap. Keen readers will know that we cleaned this out some while ago, so all I have to do today is run a cloth through the hole to clear any dust and debris:

The sludge trap was cleaned at the same time, so we just give that a rub over with a cloth.

One of the flywheel bolts passes into the sludge trap - perhaps to stop it rotating. It's safely in place:

I'm using the hexagon type sludge trap plugs. This one locates the drive end of the sludge trap:

It's held in place with medium Loctite threadlock:
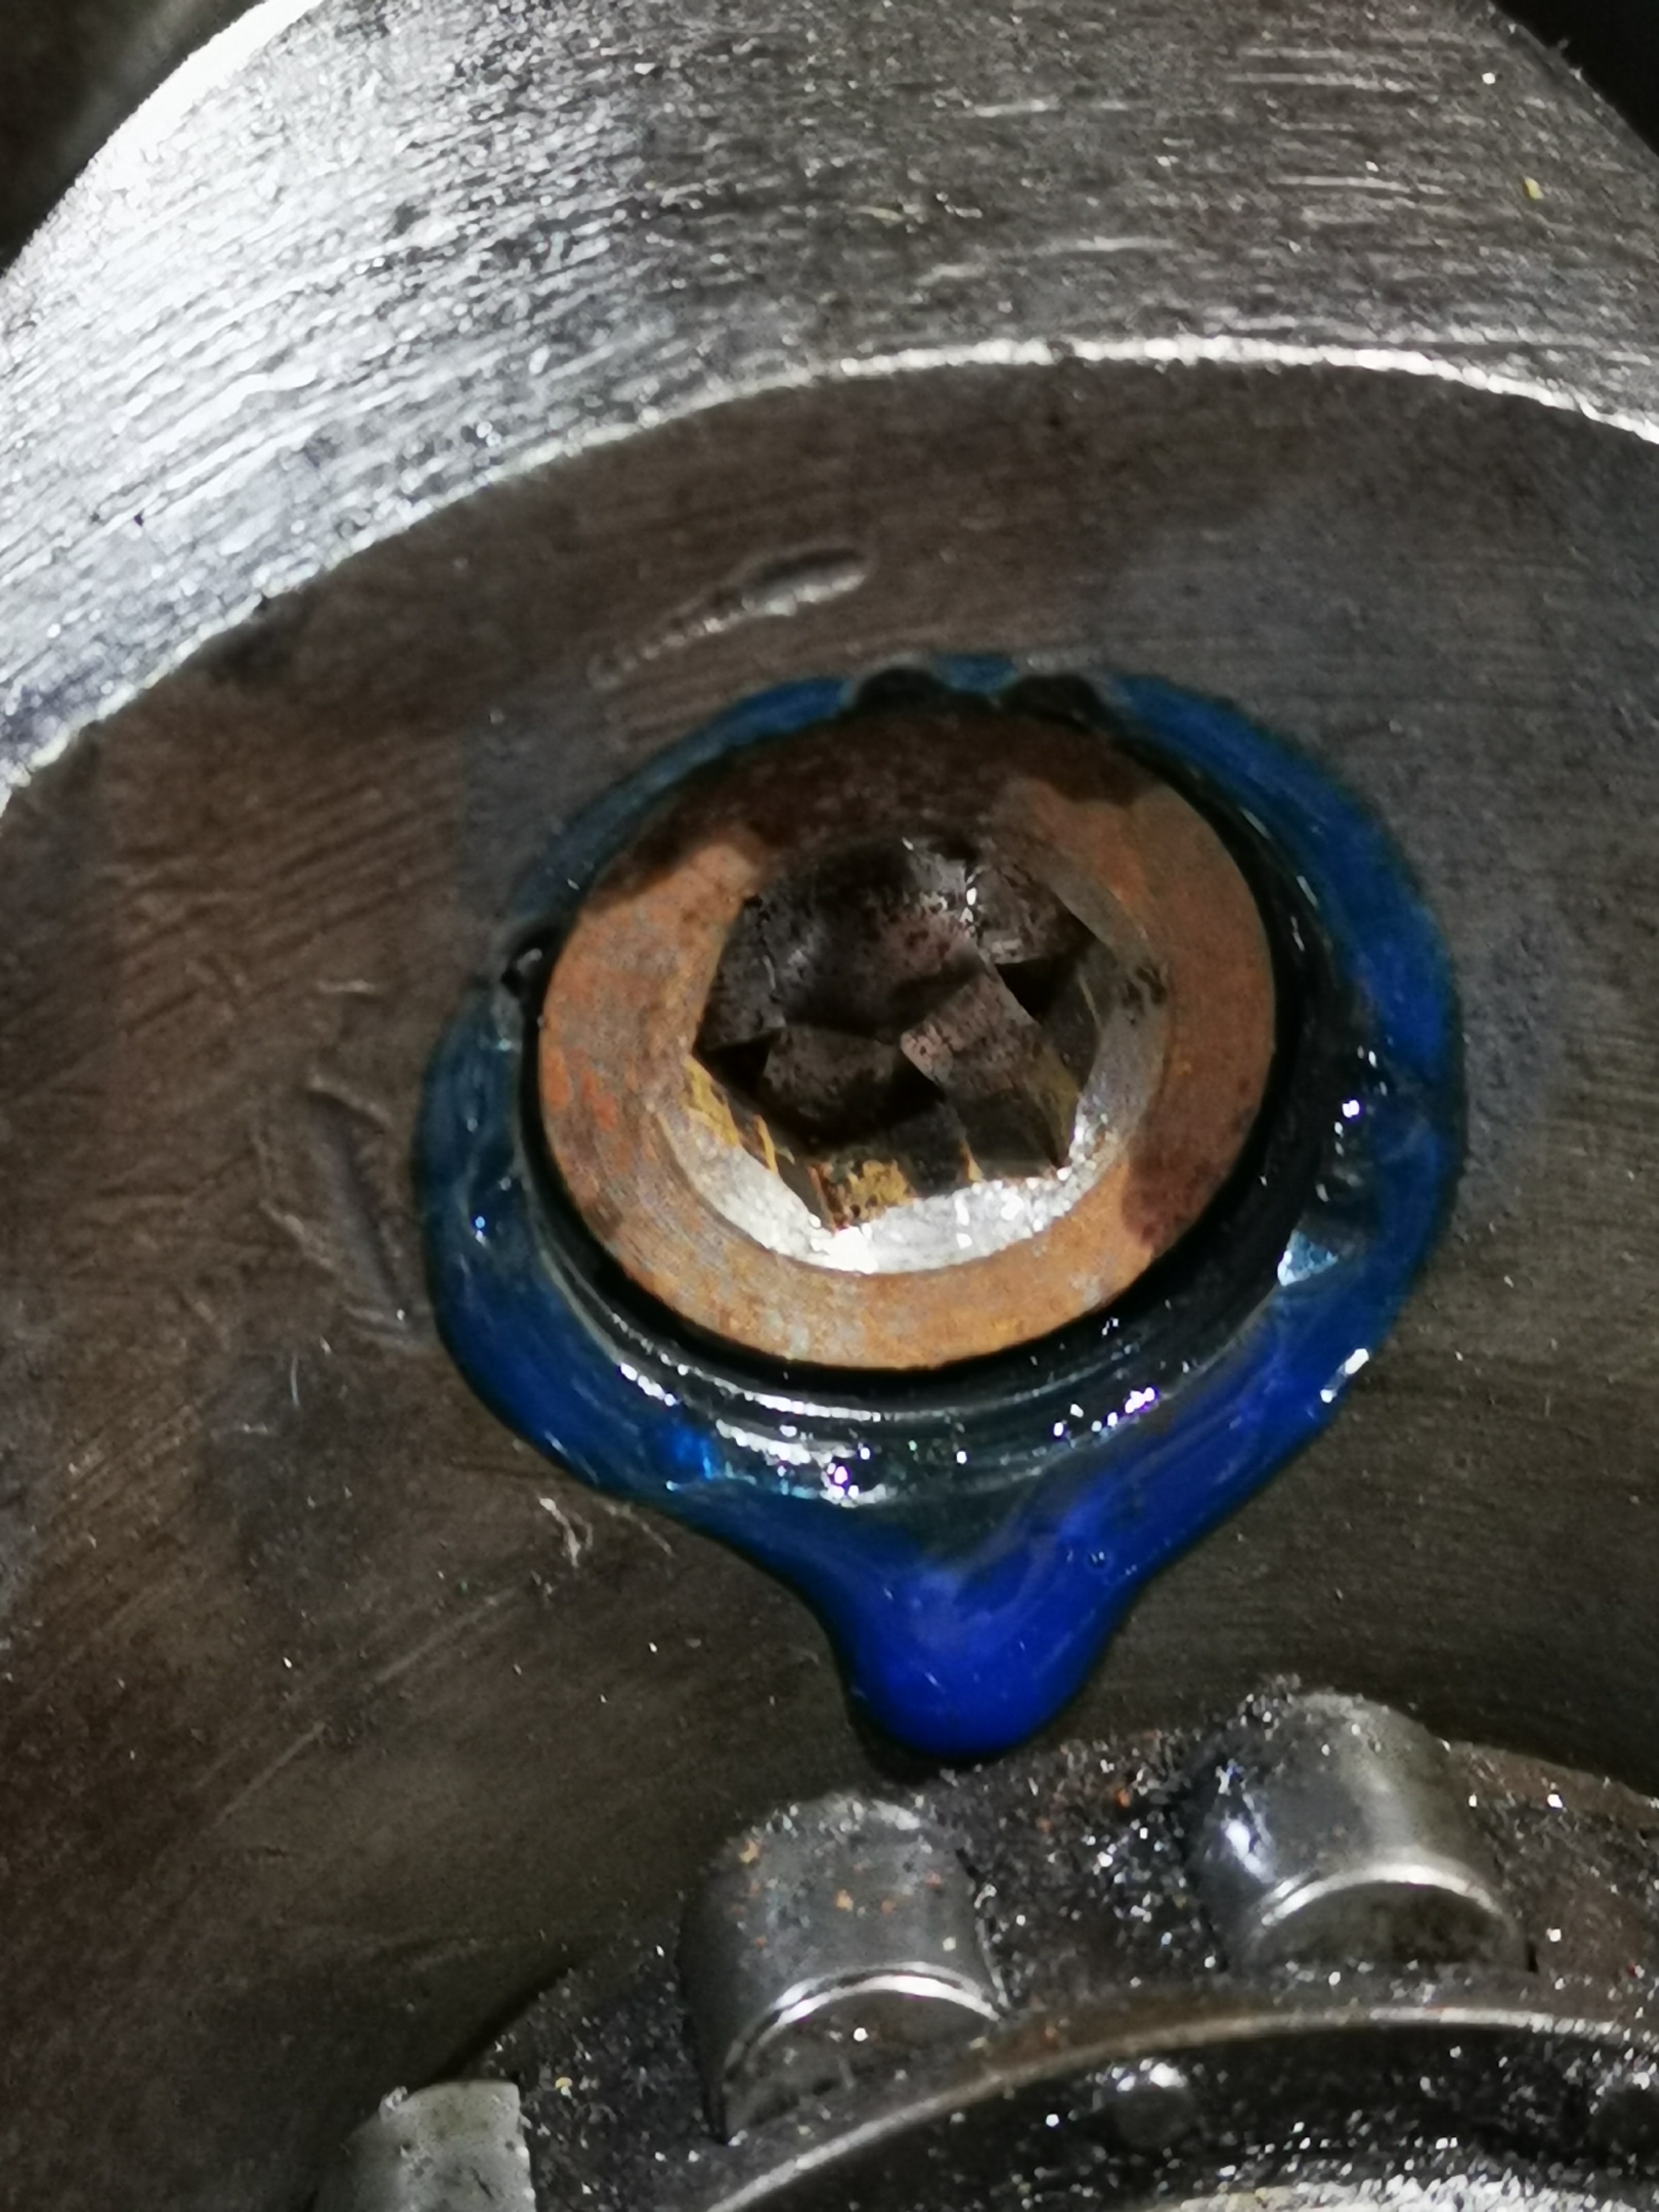
This is a terrible picture, but it serves to show the plug has successfully located the end of the sludge trap:

The plain timing side plug is also held in with Loctite medium threadlock.

Next, with the sludge trap closed up and the flywheel bolts done up tight, we can trial fit the connecting rods using ordinary nuts. We don't want to use the real nuts yet, since they cannot be reused.
Now, these big ends should be 1.657/1.6565" according to the BSA data sheet; this one measures 1.656/1.655", so we are 0.0005/0.002" undersize. I felt this was close enough and ordered the corresponding -0.030" shells from the twin spares man at the AOMCC.
The first trial assembly is now complete, and you can feel a small amount of play with dry big ends; this disappears when the bearings are oiled.
I've ordered some Plastiguage to determine what the clearance really is.

No comments:
Post a Comment