Tuesday 22 April 2014

Cylinder Head Assembly

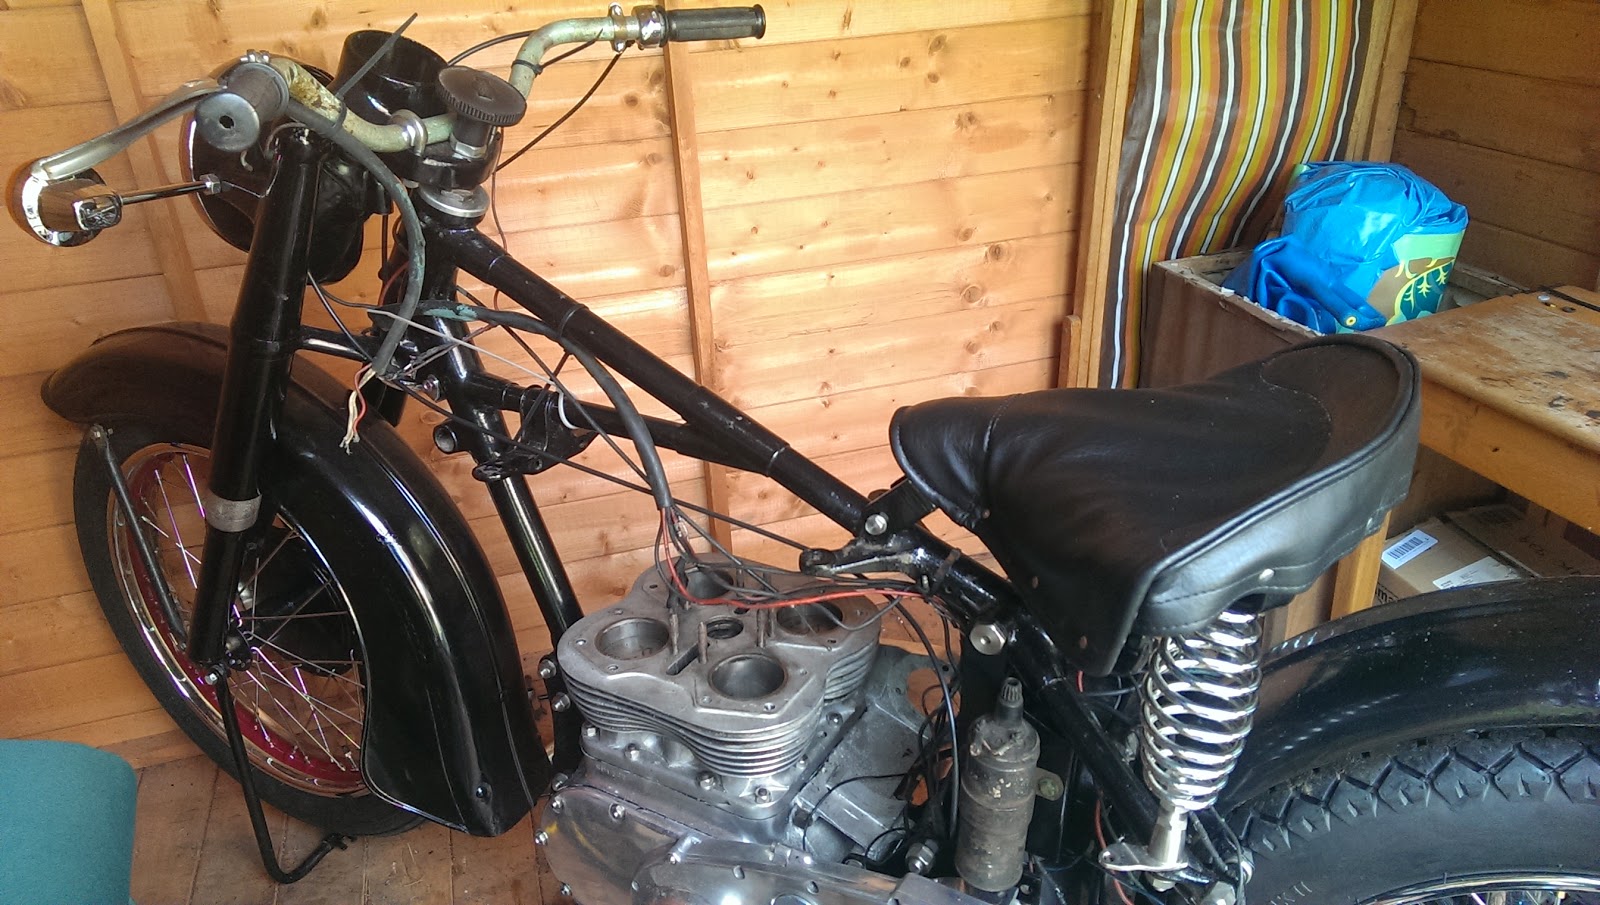
So, I have most of the parts to replace the head, apart from the high temperature sealant recommended by Bruce Longman. Over the past couple of days I have fitted the new head studs:


The thread into the head on later engines is 3/8" BSW, and there is a parallel section on the stud which has to engage with a counterbore in the head. You can see these here:


As the head had been skimmed, much of the counterbore had been machined away. To deal with this, I recut all the head stud threads and remachined the counterbore. Hours later, I have all the head studs in place. After I'd done all this work I ran the 5/16" CEI die down the eight studs in the block, just to make sure there would be no trouble when the head went on.

Next up was the polishing. It's fairly clear from the state of the casting that the fin edges, the 'V' along the top of the exhaust ports, and possibly the sides of the rocker box were polished - maybe also the carburetter flange. Personally I'm not sure that Ariel would have done this, since the rocker box sides would be quite difficult to polish without resorting to small buffs and hand work - there is no access for a polishing wheel, so this would have been time consuming & expensive. I've polished the fins for now; I also like the contrast between the polished rocker covers and the unpolished rocker boxes.


Final thing is the assembly of the rockers themselves. These are all back in, with a couple of replacement shafts (thread damage). One of these went in and out several times - and turned out to be too large on the OD, and with the two grooves for the 'U' washer in the wrong place. The best of the old ones went back in and the replacement will go back to the supplier.

So, now I am waiting for the high temperature sealant and the head can go on!


Sunday 20 April 2014

Compression Ratio

I know the head has been skimmed, so I measured the combustion chamber volume with a graduated syringe. It measures 38 cc. Adding 6.63 cc for a head gasket nominally 2 mm thick and 2.7 cc for the dish in the piston gives me a combustion chamber volume of 47.33 cc, and a compression ratio of 6.26:1, quite an increase on the 6:1 stock figure.

Wednesday 16 April 2014

Wiring Up

While waiting for head studs, I have the tank off, some spare time and some wire...

I can make the wiring harness. I have the old harness, which conveniently shows me how the various branches broke out of the rubber tubing to go under the tank and off to the dip switch, horn push and other places. It also shows me how it was constructed:


So, having fitted the old harness back on the bike, we can construct the new one around it.


I'm using rubber covered wire, as was originally used, obtained from a solar-panel supplier. It's a lot less shiny than the PVC coated wire we get now, but I'm not wholly statisfied - it is not as black as the original wire. I'll use some cheap tie wraps to keep it bundled together until I am ready to put the sleeving on:


You might recall that I made a wiring diagram, and we will use that to build up the new harness. I start by fitting some of the components so that I can lay in enough wire to reach them, like the dynamo and the ignition switch.


Then we lay in the wires, one by one, using loose tie wraps along the frame, handlebars and mudguard stays:


I'm using clear spiral wrap to hold the harness together for now, until I have finished laying it all out. I know from experience that it's better to work with this temporary arrangement until you have all the wires in and marked. There is always something to add or re-route, or lengthen!

These little uninsulated bootlace ferrules are very useful for tidying up areas like the ignition switch, horn and lighting switch, where the terminal is designed to clamp bare wire:


.


Sunday 6 April 2014

Two heads are better than one

Regular readers might remember that I was lucky enough to find a reconditioned head at Draganfly a year or so ago, and wrote about it here.
 
Here it is again, ready for the head studs to be transfered to it from the old head, so that it can be fitted this week:
 
 
 Good plan, flawed by the condition of the old studs:
 
Worn threads


Worn & distorted threads

A bent stud
 
So, back to Acme for more studs... and nuts... and money...
 
And guess what? It wasn't until I wrote this blog post that I noticed that my 'new' head has a chunk out of the bottom fin at the back...

Tuesday 1 April 2014

Small steps...

Just a little bit more. Front brake cable finished, fitted & adjusted. adjuster from Acme Stainless, boot from Draganfly, cable parts from VWP.