
While waiting for head studs, I have the tank off, some spare time and some wire...
I can make the wiring harness. I have the old harness, which conveniently shows me how the various branches broke out of the rubber tubing to go under the tank and off to the dip switch, horn push and other places. It also shows me how it was constructed:

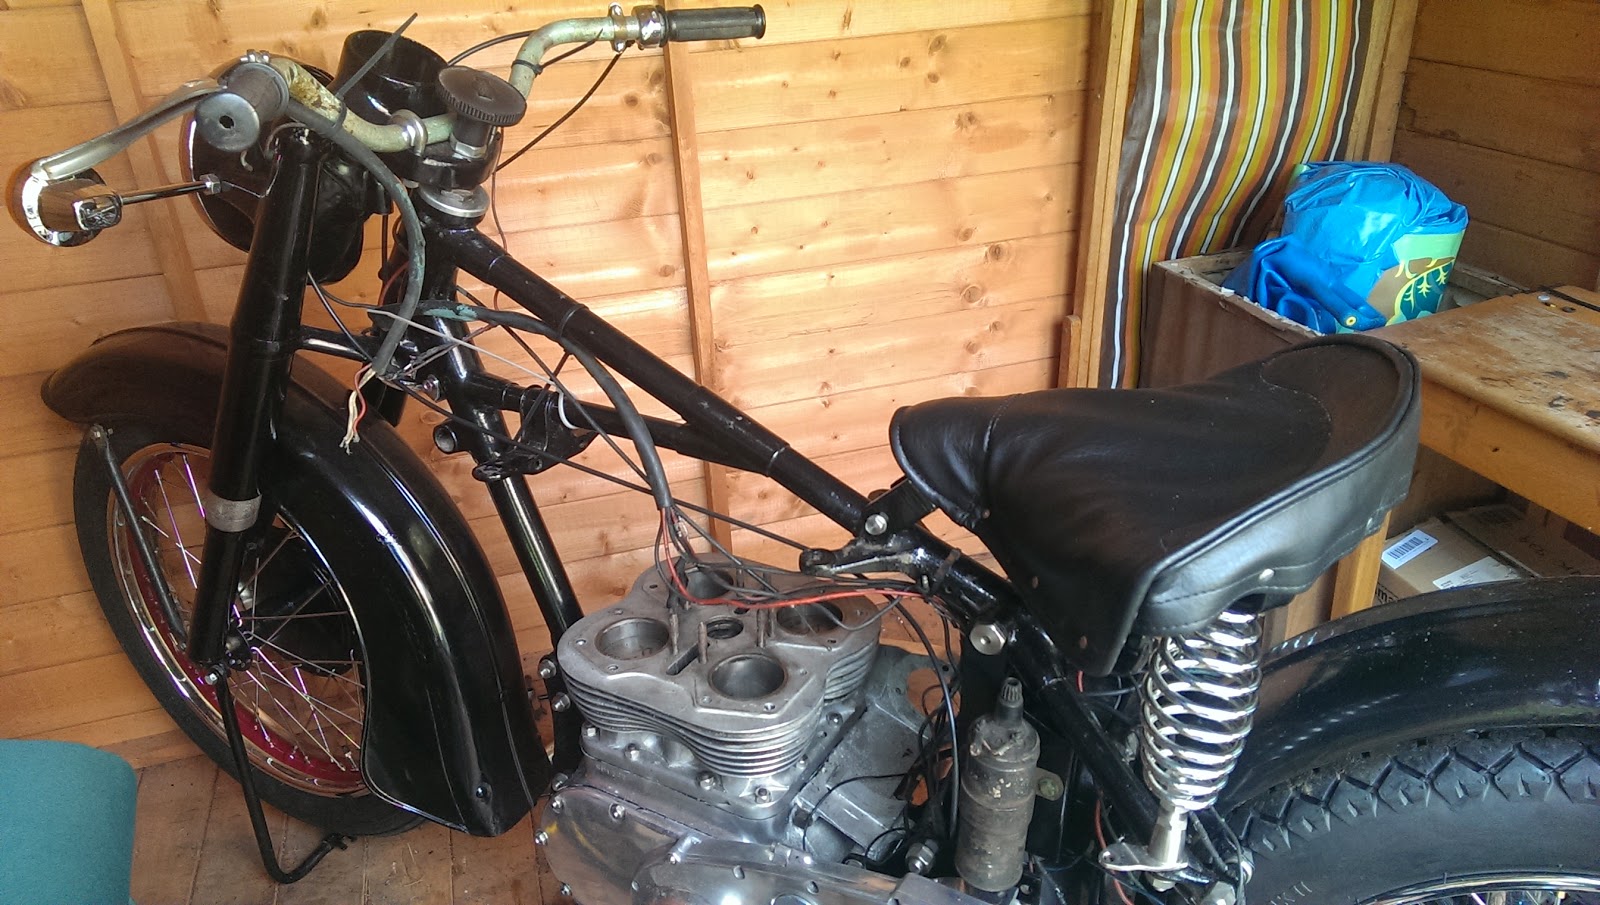
So, having fitted the old harness back on the bike, we can construct the new one around it.
I'm using rubber covered wire, as was originally used, obtained from a solar-panel supplier. It's a lot less shiny than the PVC coated wire we get now, but I'm not wholly satisfied - it is not as black as the original wire. I'll use some cheap tie wraps to keep it bundled together until I am ready to put the sleeving on:

You might recall that I made a wiring diagram, and we will use that to build up the new harness. I start by fitting some of the components so that I can lay in enough wire to reach them, like the dynamo and the ignition switch.

Then we lay in the wires, one by one, using loose tie wraps along the frame, handlebars and mudguard stays:


I'm using clear spiral wrap to hold the harness together for now, until I have finished laying it all out. I know from experience that it's better to work with this temporary arrangement until you have all the wires in and marked. There is always something to add or re-route, or lengthen!
These little uninsulated bootlace ferrules are very useful for tidying up areas like the ignition switch, horn and lighting switch, where the terminal is designed to clamp bare wire:

These little uninsulated bootlace ferrules are very useful for tidying up areas like the ignition switch, horn and lighting switch, where the terminal is designed to clamp bare wire:
No comments:
Post a Comment