I've been meaning to take a few hours to write up the removal of a couple of broken screws.
These two examples are both parts of my Huntmaster - One is a fork clamp bolt, in which the screw retaining the headlamp casquette has become seized in the past and broken by someone; the other is a engine mount spacer, which in these bikes is provided with a small 2 BA lug to retain a pressed metal cover, which enhances the appearance of the engine mount and prevents it getting full of road dirt. Of course, in this exposed position these little screws seize solid. I managed to get one out, aided by some prehistoric oil leak, but the other was dry as a bone and broke as I worked it.
So the process for fixing this kind of problem is this:
Put the part solidly in the vice, and file the broken bolt flat; then centre punch the broken fastener right in the centre.
 |
| File the broken screw flat |
Using a small drill, make a pilot hole right through the broken fastener. As you start it, make sure it's still on-centre
 |
| Pilot hole in the old 2 BA engine mount screw |
Using a larger drill, open the hole out until you are approaching the minor diameter of the thread
 |
| Small pilot drill hole in the old screw |
 |
| Continue drilling out the old screw |
Try an Easy-Out in the hole, selecting the largest one possible that will bite in the hole. Turn it gently with a tap wrench. Don't force it - if you break it in the hole you are in real trouble.
 |
| Small Easy-Out |
If you don't have any success with an easy-out (and I can't remember when one worked for me), go to the next drill. You will be able to see if you are approaching the major diameter of the thread - if you have already cut into the thread, stop.
Using a small punch or a chisel, tap out as much of the old fastener as you can - you can often shift a lot of it from the top of the hole, tapping toward the centre. Removing a couple of threads from the top of the hole is sufficient to go to the next step:
 |
| Finished drilling - only the old thread remains |
 |
| Peeling the top threads away |
Using a taper tap of the appropriate size, start the tap in the hole and attempt to recut the thread. Give it a few turns, and then disassemble everything and knock all the debris out of the bottom of the hole.
 |
| Starting the thread with the taper tap |
Clean it out will so there is room for the second and plug taps.
 |
| All that remains of a 5/16" BSC screw |
Move on to the second or intermediate tap and then the bottoming or plug tap, and complete the recutting of the hole. There will be a lot more debris in the hole and you will have to clean it all out again.
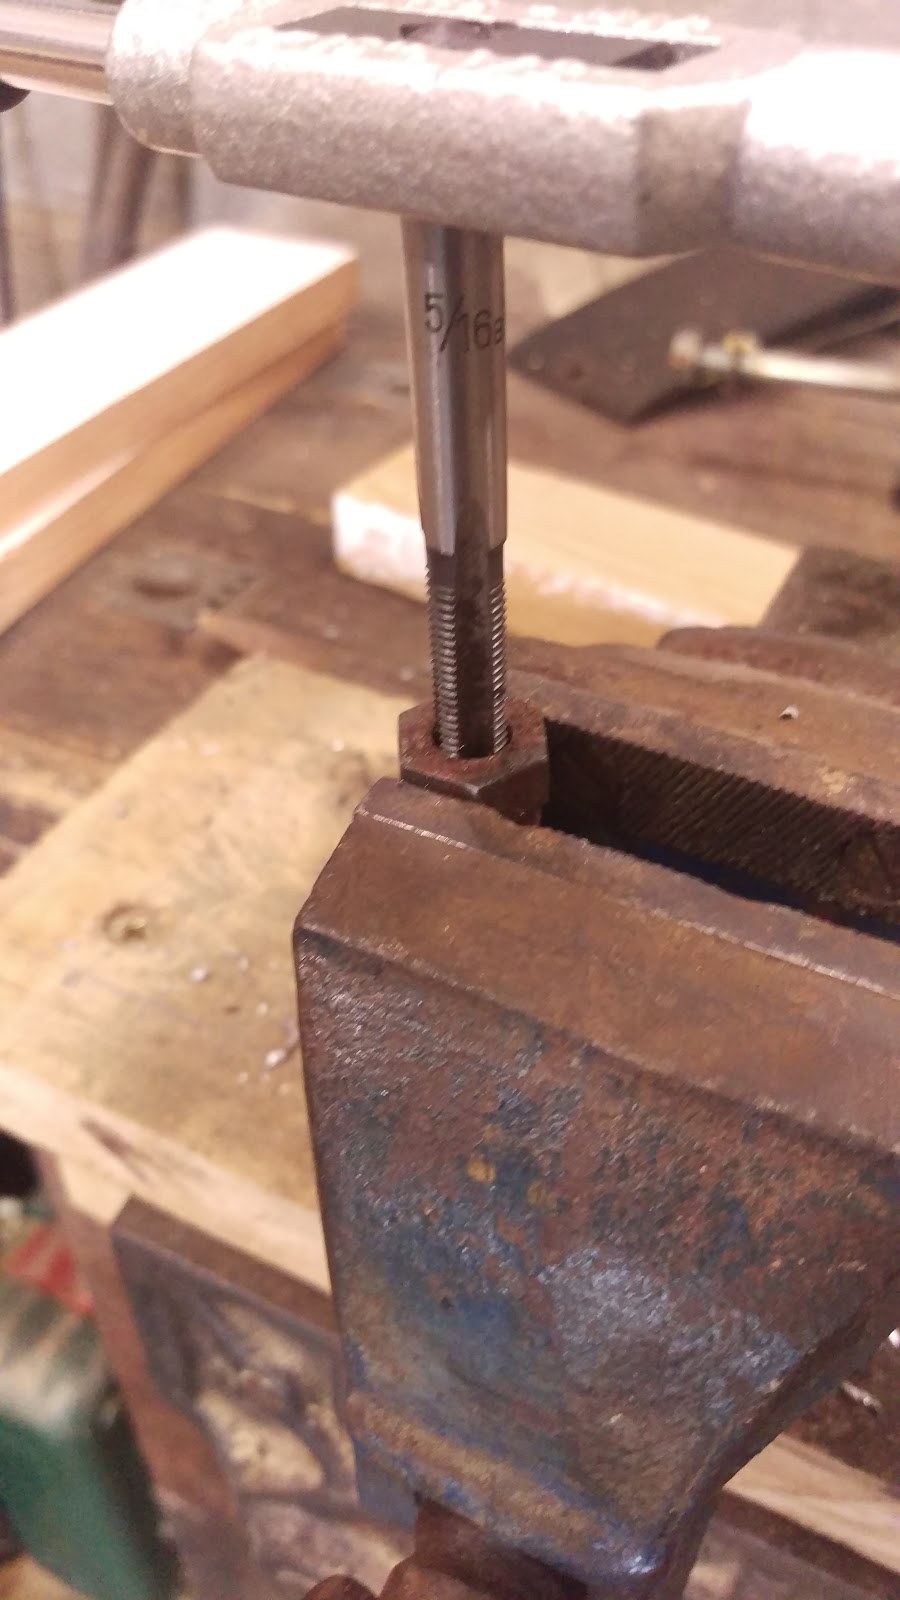
 |
| 5/16" BSC Plug tap |
 |
| Ariel Huntmaster engine mount repaired |
Test it with a new fastener and you are done.
 |
| Ariel fork bolt repaired |


No comments:
Post a Comment