Thursday, 1 September 2016

Charlie's Shed - Curly copper fuel pipe

We'll need a new copper fuel pipe for the W/NG, like this fine example from Paul Slootheer:


It will need curls to give it some flexibility and it will need to be annealed after bending. We don't want a fracture out on the road, pouring fuel over the dynamo.


We'll use these soldered unions & nuts.


Here is another reference point:

Barn find NH, stored since 1960
Using Paul's guidance & some hints from Nev Hunter I've made a pattern from a thick piece of plumbers solder. You can see the fuel tap here as well, which is a re-sealed original but has a repro hexagon shaped reserve plunger:

Three tight curls
Two looser curls, more suited to 1/4" tube
Using some 1/4" copper pipe, we'll bend up the real thing. It's important to think this through, bend by bend and perhaps to buy enough pipe to have a second crack at it if it all goes horribly wrong!

Take it slowly; you have to realise that in bending the pipe you are aiming to stretch the copper on the outside of the bend. You can avoid flattening the pipe by filling the pipe with sand or solder, but if you are gentle and controlled this is not really necessary and was certainly not done by the factory. Use a hardwood former - I used a 1 3/4" oak dowel, that I used as part of a kitchen worktop project.

The first bend
The first bend is an easy right angle bend around the former. Make sure there is enough length to bend up the tail into the bottom of the float bowl later on.

First bend against the pattern
Start to form the curls by clamping the downward tail against the former in the vice This is probably the most difficult part of the whole operation.

Holding the first bend in the vice and starting the first curl around the former
The design of the vice usefully allows you to trap the downward tail in several positions as you form the first curl around the former.
Moving the downward tail around the vice and continuing bending the first curl

Moving the downward tail again, and complete bending the first curl

Moving the downward tail around the vice again and starting the first second around the former

The curls, finished
Once the curls are finished, have a good look at them against the pattern. This is where the pattern is most useful, as until you cut the copper pipe to length you cannot really fit it against the bike.

Add the upward bend toward the tap

You can now put in the last bend, which is the U bend beneath the float chamber. This is simply bent around the former, making sure that start of the bend is in the approriate position to allow the finish to land in the union beneath the float bowl.

Roughly trimmed to length
I'm currently waiting for the tank mounting rubbers to turn up. Until they do, I'm not sure of the final resting place of those ends...

So, with the tank bolted in the correct position we can try the new fuel line in place and trim it to fit. Attach the nipples with their nuts (but without the fuel line) to the petrol tap and carburetter and offer the fuel line up - I put the end of the line in the carburetter float bowl union first since this is least accessible. The most important thing here was to get the fuel line to avoid the dynamo and the advance retard cable:


This meant that I had to cut the carburetter end of the line as close as possible to the bottom bend, to get it as high as possible. This done, I could set the line in the carburetter end and see where the other end was going to fall. With a little trial and error, remembering not to cut too much off at once, I got pretty close:


I need about another 1/4" off the tap end. Cut with a tube cutter or a hacksaw, deburr properly and blow out the line:


Since you are cutting tiny lengths off at this stage, its easier to use a hacksaw. A tube cutter crushes the tube a little which is a problem when cutting short lengths. Another 1/4" should do it:


With the nuts in place, it is stiff enough to do some final tweaks on the bends, in my case to avoid the dynamo:


Ready for annealing & soldering up. Not looking too shabby:


Next step, before soldering the nipples on, is to anneal the pipe - in other words to remove the work hardening stresses that have built up during bending - I am sure you noticed it got stiffer after bending? You don't want to leave the pipe in that state, because it is going to bend a little in service, through vibration, and this will make it harder still eventually leading to a fatigue failure.

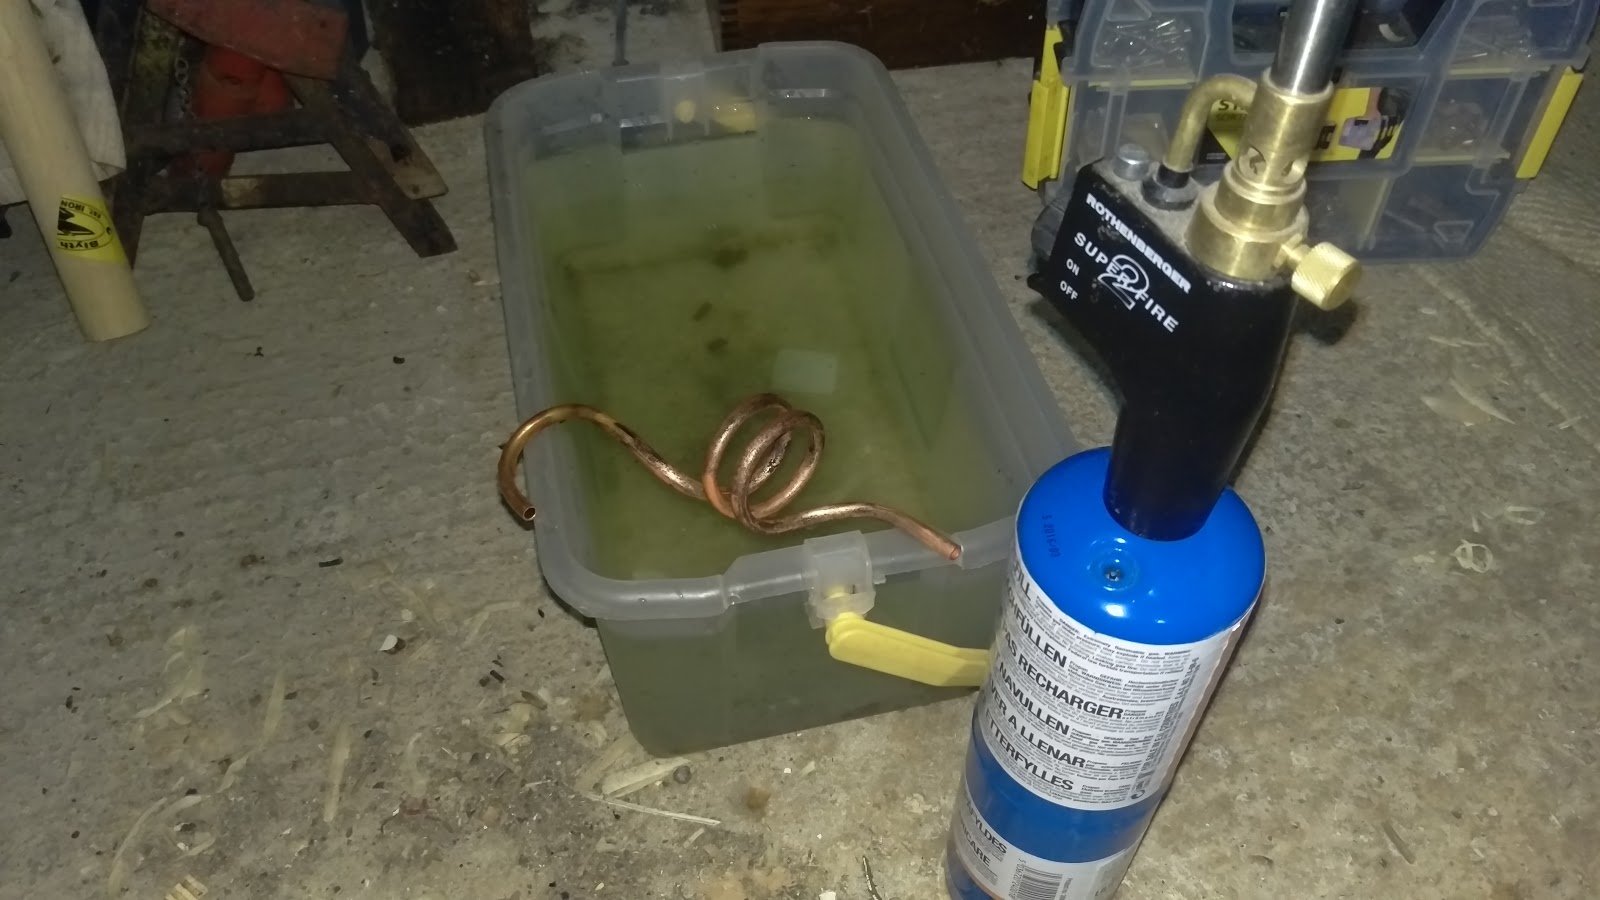
For copper, the annealing process involves heating the material to cherry red and quenching in water. No problem for the mighty Rothenburger torch, even with propane in the tank. You will want to clean the scale off with wire wool after annealing.

Be careful with the pipe from now on - it is very soft and will bend very easily.


Tin the ends with solder after fluxing; put the nuts on the right way round, and sweat the nipples on. I use a small butane torch for this - do not overheat the joint, or the solder will not take.


Finished.


Monday, 29 August 2016

Rear End Styling

To me, it always seems a bit of a shame when someone fits a non-period part to a bike that affects the style of it, but sometimes its unavoidable and its only a matter of taste anyway.

One of the things that really appealed to me about this W/NG is that its a unique bike in that it has I think a very Italian flavour to it, despite being a more of less stock W/NG:


Of course, bringing it from Italy it needs to have a UK number plate adding at some point, and the existing Italian style rear light is in poor shape, as is the number plate:


Having looked at a few Guzzi Falcone rear lights, this definitely looks period Italian


I'm inclined to restore this cheapo aftermarket rear light and keep the rear end as-is, but I could fit a period civilian Ariel number plate with an MT110 or similar. The number plate looks very old, so it would be ashame to change it - though obviously the Italian number plate has to go.


Thursday, 25 August 2016

Sunday afternoon jaunt

I had a nice Sunday afternoon jaunt into the Norfolk countryside to visit my Mum & her sister from Australia:


You spotted it. Forks are stuck again!

Wednesday, 24 August 2016

Tinkering...

With a bit of time to myself this evening, I was able to get the M01 magneto HT circuit back together with a clean, properly terminated HT cable and a new pickup brush out of my magneto spares box:


This works well now - nice fat spark. I need a few bits - a new HT lead boot, a pickup screw - but for now it is good.

I have a stock of fuel taps & bits, which I add to when things come along and I was able to remove the Italian fuel tap, which had a metric outlet (or so I think - nothing I have would fit) and fit an old Ewarts double plunger tap:


It's go two round plungers at the moment (it should have a hexagon one for reserve) which now have new corks. For the moment, I've made a flexible fuel line to use temporarily.

I've adjusted the rear brake & footrests to try to get the rudimentary footrests in a better place and I've added the dummy 'star' to the nearside of the girders:


So having got it all working, I took it outside the garage to fire it up, and two or three kicks in, it thumps into life! I was able to ride it up the road and back before stopping the engine on the exhaust lifter. The clutch is fine, the front brake works after a fashion as well...

Then it started going a bit pear shaped with a few leaks. A bit of wet and smelly investigation later in the evening revealed a hole under the nearside front tank mount:


The float chamber was also leaking. It's 'straight' Amal float chamber with a banjo type bottom feed, so the float bowl is canted over potentially preventing the needle valve operating correctly.


It also uses a banjo fitting at the bottom, which is wrong. Taking a look at the parts lists for early 1942 and early 1943, we see that a top feed Amal 2N float chamber was fitted for engine numbers up to BH6554, which has a copper pipe to a banjo on the float chamber, all illustrated in the parts list. Later bikes have the 1J float chamber which has a bottom feed - no banjo, but with a crank in the copper pipe and a solder nipple & nut. Fortunately, I was able to find one of these on eBay.

Amal 1J float chamber
So with a new float chamber, petrol tap corks and fuel pipe I should be able to solve the fuel leaks.

Apart from the effects of these over-long fuel tank bolts... They are not so much over length, as the fact that four of the rubber tank buffers are missing so that winding them in without paying attention neatly punches a hole in the bottom of the tank...

Villains of the piece
I'll see if a tank liner will do the job.

Meanwhile, I need to get the AOMCC dating certificate going, and get the machine insured.


Saturday, 20 August 2016

Regulator Cover

Fitted the protection cover to the SQ4 regulator today:


Not very exciting, but been a long time coming.

Friday, 19 August 2016

W/NG Wiring

As I received it, the W/NG has very little wiring remaining. This is the wiring diagram I will use, but it will need a brake light and a dip switch adding:

I've made a cable list showing destinations, colours, lengths & ratings:


I know that the W/NG used coloured cotton braided cable, because it is still there and there is no evidence of the rubber cable markers that the SQ4 wiring harness was fitted with. This must have changed during the war, as the W/NG workshop manuals show pictures of the headlamp instrument panel with banded wires.

Cotton covered cables. Wonder what colour they are?
I've bought some cotton braided cable from https://www.vintagecarparts.co.uk/. Looks fab:


Wednesday, 17 August 2016

More bits

The postman has been earning his money this week, as they do now that we do so much shopping online and so little in-store.

From Pete Kemp we have two 6170-37 regulator covers, one for the W/NG and one for the SQ4:


Now painted:


From Jorgen Andersen, of the Danish Ariel club we have a lower chain guard for the SQ4:


And there are some fuel system parts coming from eBay...

Thursday, 11 August 2016

Replacing parts

Well, its been in the workshop for more than 24 hours, and who couldn't resist having a little look.

Courtesy of Pete Kemp, AOMCC singles spares officer, we have an old-stock kick start lever:
And we've had a look at the carburetter, moving the float chamber to the correct side:
Not sure what that loop cast into the rocker inspection cover is for!

Further investigation shows the magneto has no spark, and that the throttle slide is pretty worn.


Altette

Nice ex-WD, period Lucas Altette for the W/NG:


Just needs the right brackets, like this one:


Which looks like this when it has been beaten into submission, painted and installed:


Here's the horn bracket fitted:


...and here is the horn in place. A very tight fit indeed:


Wednesday, 10 August 2016

Transporting the W/NG

As you will have seen from my 'Old Warrior' post, the bike was located in Tuscany; I needed to learn about shipping bikes around the world. Speaking to various folk, including a colleague with a penchant for vintage OHC bikes (think Velocette KTT, Norton International, Ducati etc and you will the the idea) I lucked upon Chas Mortimer Ltd.

Chas began his racing career at Brands Hatch in July 1965, aged sixteen. His father Charles Mortimer Senior raced cars and motorbikes at Brooklands in the 1930’s and then after the war both his parents raced cars at circuits such as Goodwood and Silverstone. Chas’s maternal grandfather was the chief test pilot for Vickers Armstrong in Weybridge (a few 100 metres from my office window!) and flew the first test flight on the Spitfire. He was also the pilot who did all the tests with Barnes Wallace on the bouncing bomb, a weapon that succeeded in destroying the Ruhr dams with 617 Squadron in 1944.

Coming from such a family it seems inevitable that speed was in his genes and that Chas went on to become a professional motorcycle road racer for nearly twenty years. His first ever racing bike was a 250cc Greeves Silverstone but Chas eventually became an official Yamaha factory rider during the 1970’s and 80’s winning eight Isle of Man TT races during the same period.

Today Chas still rides for Yamaha in Classic events throughout Europe during the summer months as well as running the company.
Chas Mortimer on the Yamaha TD-1
There is a very interesting story which has never been told about that bike. In Chas's own words:

Yamaha was invited to attend the centenary celebrations in the Island and they were asked to bring one of the original 4 cylinders, which were ridden by Phil Read, Bill Ivy, Mike (Michelle) Duff and the Japanese Yamaha test rider Motohashi in period (1965/6 ?). At the end of the season after the big bust up between Read and Ivy Yamaha pulled the plug on the team and all the bikes were sent back to Japan where all except this bike and a 125 were crushed. These two were sent to Yamaha's museum where they resided until the invitation to the Centenary meeting which arrived in January. They decided only to bring the 250 and took the bike from the museum and put water in it to see if it would start but it poured out as quick as they could put it in. Therefore the stripped it down and manufactured new magnesium crankcases, cylinders and heads etc to get the bike up and running. There is still one of the original mechanics alive and he rebuilt it and it fired up with the new parts on first push.

I was invited to ride it in the big parade and Michelle Duff rode it in the Yamaha Parade. We went to Jurby to set it up and we got it running sweet as a nut but I remember Bill telling me that when they seized they gave absolutely no warning unlike the old TZ’s. The Japanese mechanic had all the settings from Bill (in 1965 I think) but I was fearful of having the thing seize on me at Glen Vine or Alpine Cottage so I told him to put a size bigger jet! He tried to dissuade me telling me that it would start to misfire in 6th.and 7th.gears on full song but I insisted. Needless to say he was absolutely right and by the time I got half way down Bray Hill in 6th.it started misfiring. Anyway it was an absolute missile even with a misfire and the Japs were over the moon because I caught and passed Phil around the Nook and crossed the line in front of him (he was on a Gilera 4). It was the best Island lap that I have done for years. Fantastic memories.


Chas's love for motorcycles led him to form the company and you can be sure that your vehicles will be treated with as much care as one of his own motorcycles. Chas and his team collected my 1942 Ariel from sunny Tuscany, where it had spent the last 74 years. Really helpful, great to deal with, and they handled the cash as well. The bike arrived this morning, well strapped down in the van in perfect condition.


It's a service run for enthusiast bikers by enthusiastic bikers; the driver was a man who clearly enjoyed himself, driving all over Europe chatting to bikers. Who wouldn't!


Here's the W/NG still in the van; I had hoped the driver would leave that lovely Mk1 Le Mans in my garage as well, but that will have to wait for another day. They will be getting my business next time.

Monday, 8 August 2016

Oil Pressure

So how is the oil pressure situation now we are into the summer riding season? Amelia's engine is loosening up nicely but I am nervous every time I dip my head to look at the pressure gauge between my knees. This summer, we are in the low-mid twenties (degrees C) and the gauge is still showing the 10 psi at idle, 25 psi at 40-50 mph that Mark Walsh described in this blog post:

http://ariel-square-four.blogspot.co.uk/2015/03/temperature-testing.html

My initial runs were done on a cheap 20W/50, followed by Morris SAE 50. Nothing wrong with this oil, but with a new build engine it was difficult to start and after a few hundred miles the gauge was dropping to near zero at idle. I then discovered Penrite Shelsley Heavy, which is 40W/70 and is designed for older engines with some wear - you all know that my big ends have not been reground and are near the factory wear limit; I did this because they were just about within tolerance and I did not want to risk ruining my cranks with a poor grind.

With this oil, it's quite difficult to turn the engine over in the winter (down to zero Celsius), but there is a Shelsley Medium (25W/70) which I might try; the upside is that the pressure is always above 10 psi, and sees 25-30 at higher speeds. The engine is loosening off now and the bike is starting to really fly! I'm hoping that the loosening off will see some reduction in temperature which in turn will increase the oil pressure a little.

The real truth though is that I am going to have to bite the bullet and get the big ends reground at some point.

Watch this space!

Tank Strip

Here's a nice little eBay find - an original tank strip for the Huntmaster. This is an original Ariel part, rechromed -its been polished very thin, but it was a good price and its usable, unlike the one I have!