I’ve got a few Lucas U39 switches - in fact they are on most of the bikes. I have two on the bench at the moment, a civilian one from the FH and a military one destined for the W/NG, which has an extra position which illuminates the tail light only.
These notes are intended to record a few areas where these switches get damaged and to show ways they can be repaired. You’ll need a few simple tools and materials.
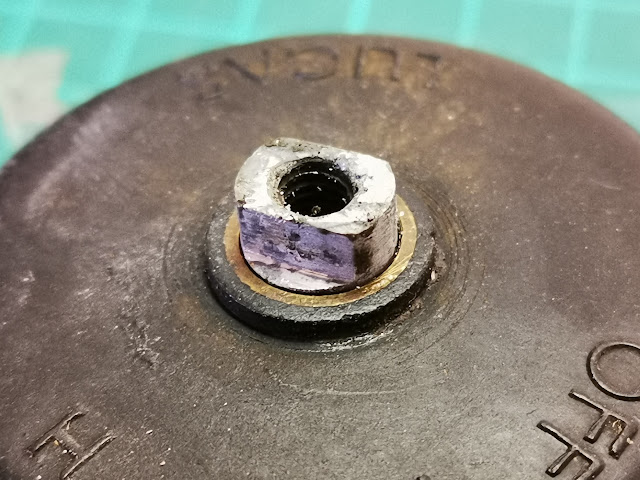
The first problem is the rotor - the part that fits in the knob is worn. It’s supposed to be a cylinder with two flats, but the flats are so worn & corroded that the knob wobbles about. What I’ve done here is make a fence around the shaft with sellotape and filled in the centre with JB Weld. It had previously been thoroughly cleaned with alcohol.
Here is a close up view of the finished rotor - I have used needle files to restore the shape of the flats fitting into the knob, being careful to ensure the pointer aligns with the text moulded into the top of the switch:
Next is a Bakelite repair, again with JB Weld. Someone has tried to prise the switch out of a panel with a screwdriver and broken the moulding in several places:
To fix these problems, the first thing to do is clean it all down with degreasers, brushes and scraping. I built a fence around the repair with some plastic card:
Removing the fence reveals hardened resin ready for shaping:
A short session with a flat file produces something we can paint:

Here we go. A little matt black U-Pol finished with a smear of silicone grease brings the Bakelite up nicely:
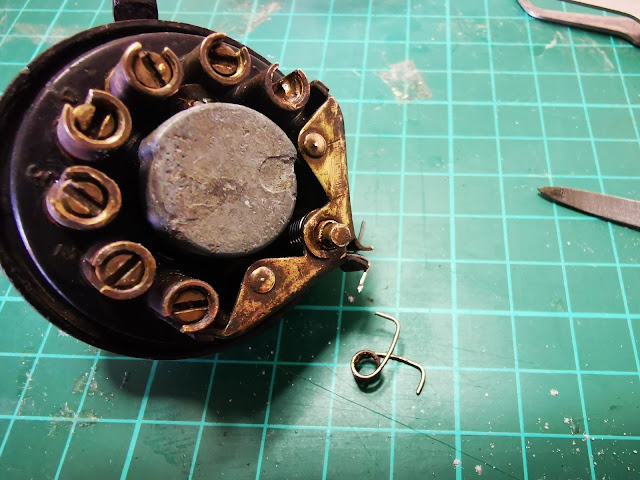
Next up, the contacts. Some of these switches have moving contacts operated by the rotor, which get corroded and full of muck. In this case, the spring had corroded away; to remove these contacts you have to withdraw a tiny split pin. I had to drill what remained of the split pin out with a 1 mm drill in a pin chuck.
You can buy these torsion springs on eBay, but once you have made a few and perhaps have a few bits of piano wire lying around in various diameters it is easier to make your own.
The last job is to soak the brass parts in an ammonia based cleaner for a few hours. This removes all the tarnish:


How to prise the swich from the panel without damage ?
ReplyDeleteHave a look behind the panel. Originally there was a wire clip holding the switch in place - remove that if it is still there. Then use your thumbs to push against the terminals and push the whole switch out of the panel. It will be very tight.
DeleteHow to prise the switch from the panel without damage ?
ReplyDelete