Inspecting the cylinder head of the Huntmaster revealed that the valves and particularly the guides were very poor shape. There was 2 mm of movement at the edge of the valves when they were in the open position - so they were going to have to come out.
As you can see a lot of carbon came out with them.
Feked provided a set of valves, guides and springs at a very decent price. I guess the fact that these are BSA A10 parts provides some economy of scale.
The new guides are 0.565" diameter; the old ones are 0.562". Guide bores measure 0.561 - 0.5615". The most interference we would want would be 0.0015”, especially if they are cast iron guides - and even at that they would need reaming to finished size after fitting. That means the guides need to be 0.5625 - 0.563 for a 1 1/2 thou interference fit or 0.562 - 0.5625 for a 1 thou fit.
It was quite tricky to take two thou off on a lathe whose bearings allow half a thou movement on the diameter but I persisted, setting them up with the DTI in the ER25 collet chuck which worked rather well. In the end I got them down to the required diameter.
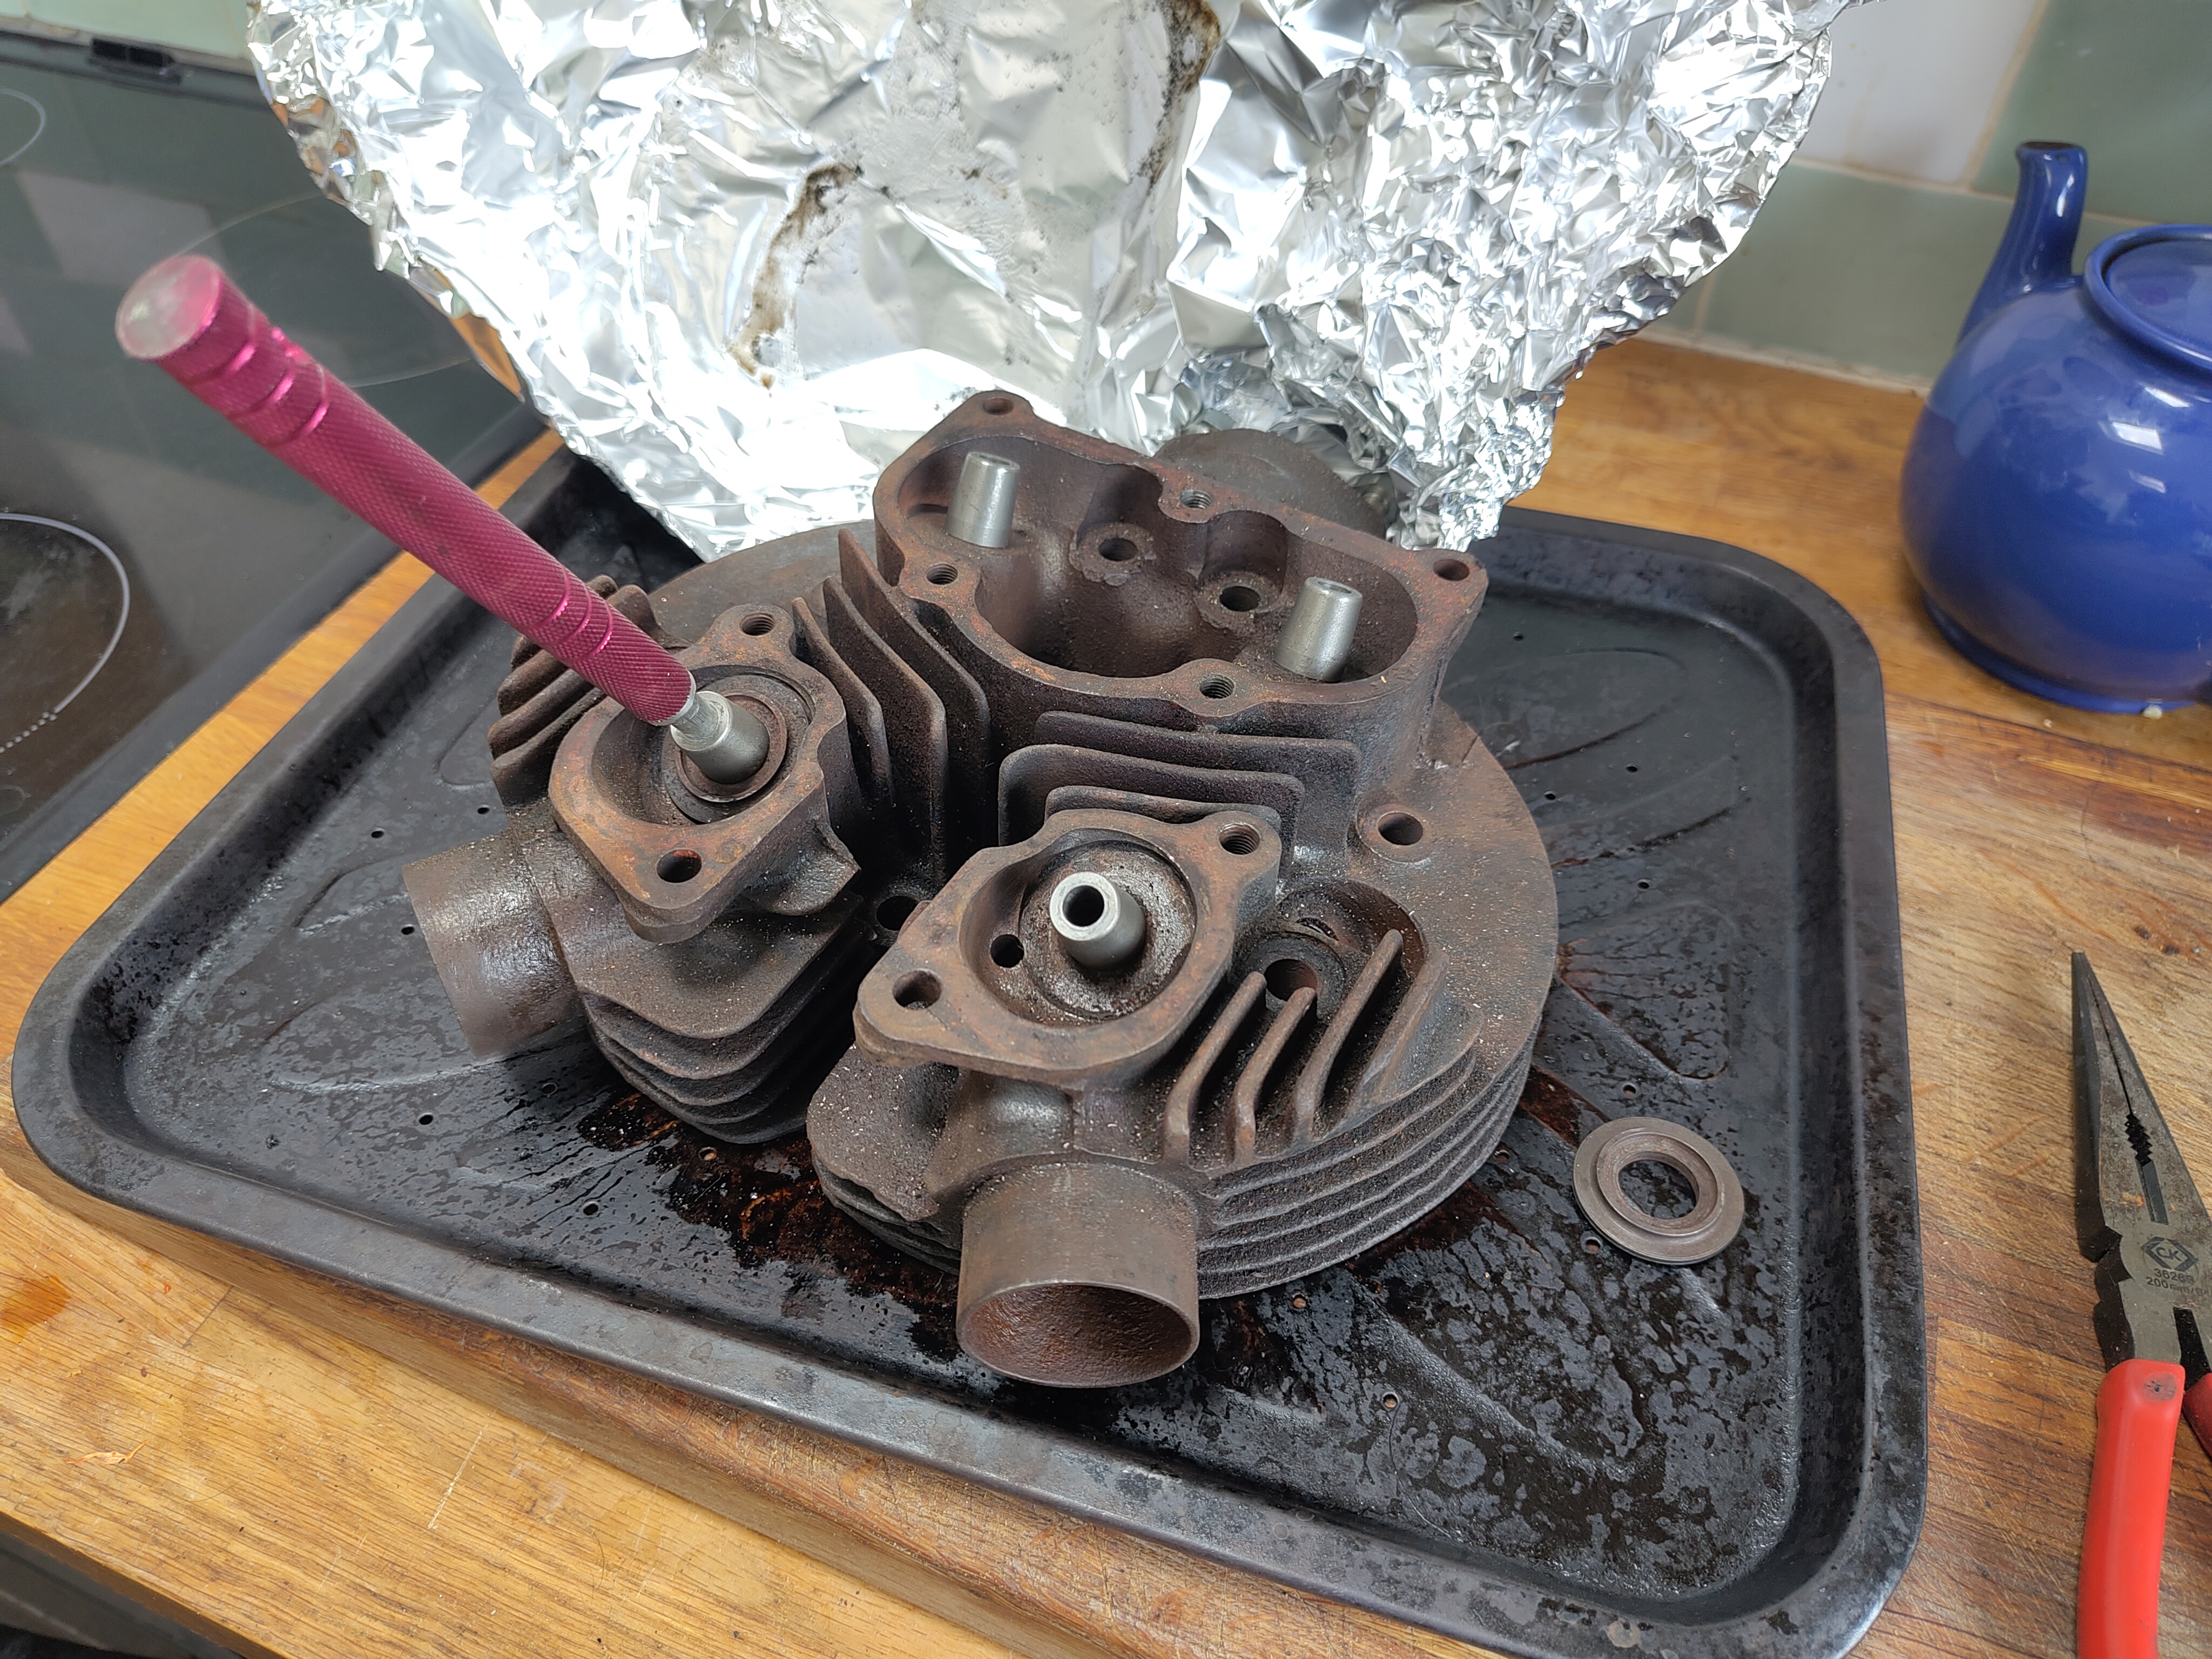
With them all done and the oven hot after a chicken and chips dinner I decided to put them in one afternoon. The valve guides spent half an hour in the freezer whilst the head spent half an hour in the oven set to maximum. In the event the infrared thermometer showed a temperature of 248° C and I was happy with that.
The guides went in relatively easily with help from a small hammer and a drift made from aluminium and bought from Feked; this was ok but I thought a little soft and probably not worth the money. I should have made one from steel.
I discovered during the process that the spring seats did actually fit around the guides and not under them. I wish I had realised that (or at least checked) before I started the work.
The valve seats were badly pocketed as you can see in the picture below. There was really no choice but to recut these and I deliberated for a while over whether to do it myself or to subcontract work to someone else. In the end I don't know why I bothered contemplating it really because it always comes down to the same thing - I'll have a go myself.
Cutting seats in a cast iron head is not reputed to be particularly difficult and indeed these relatively cheap eBay cutters did the job. They did however leave some chatter marks which I was able to refine I gently re-cutting again and again and eventually I got myself to a point where I used the grinding paste technique to remove the last marks.
After a bit of grinding with coarse and fine pastes this doesn't look too bad.
However if you look closely in both of these pictures you can see that the marks are not completely gone and not wishing to remove the head again anytime soon or worse to burn my new valves I resolved to do something better.
I made this cone on the lathe complete with a half inch UNF thread in the middle to fit the same mandrel that the valve seat cutters came with. When I had mostly finished the cone on the lathe I put the mandrel with the cone fitted in the chuck and made my finishing cut on the cone to ensure that the cone was concentric with the mandrel and hence concentric with the valve guide.
That bit of cardboard in the foreground is the template with which you can cut the correct section out of the sheet of wet and dry paper. The system worked well and I was now able to fit the valves.
There's some cleaning up left to do on those gasket faces where I've overpainted a little but essentially the head is ready for fitting.


No comments:
Post a Comment