
Wednesday, 29 January 2020

QR50 - Cleaning Poster Paint

Most of the QR action this week has been focused on buying material for the forks and gently cleaning the red poster paint off the parts.

The bodywork, mudguards and tank are made from polyethylene. You can determine what it is if you burn a sample - polyethylene smells of candle wax when you burn it. This is very difficult to paint successfully because it is so flexible, and cleaning the red poster paint off the parts (with soap and water in the kitchen sink) reveals green acrylic paint underneath, which is stuck except where the material flexes.


Therefore, the plan is to strip the green paint with Synstryp and polish it up with wet and dry. The front mudguard has had some of this treatment (it's up to 400 grit so far) and is looking much better:


Since I took this picture, I have removed the strain mark with heat.

The outer transmission cover is the next candidate:


Again this comes up well, and reveals that it still has the red stripe stuck on:


The bars and the seat are next, along with the bodywork which includes the side covers and rear mudguard in one moulding. Unfortunately this moulding is both cracked and holed.


The front forks are completely shot. The stanchions are unusable; one of the main springs has rusted to dust and the other, and both the rebound springs are not far behind. Since these are unobtainable, I will be making a new set of forks. Meanwhile, I have cleaned up some of the smaller parts


Another area of activity, getting ready for clean up, is the wheels. Like many bikes that have been unused for a while, the tyres on this one are rock-hard and had to be cut off:


Next step is to get the wire brushes into contact with this paint to strip it off. At the weekend, I will pick up the fuel tank and start cleaning that up:


While cleaning the transmission cover, I had a look at the kickstart shaft in the spare Express transmission I have. This is the QR50 one:


Unfortunately, the Express one is very different - longer, bigger splines, bigger quadrant - so it looks like we will have to build this up with weld and machine it back...

Sunday, 26 January 2020

QR50 - Dry Build

After the last instalment, things have moved on a bit. I found a Facebook Group on the QR50 and other mini dirt bikes, and hopefully I have a cylinder head on the way. Reaching out to an eBay seller found that in addition to the bits he was advertising, he also had an oil pump:


And he had the crankcase casting I needed:


I found a complete exhaust on FB as well, but as the seller wanted £100 for it I left that alone. I will either make something or buy something cheap until a real one comes along at a decent price.

Meanwhile, I am roughly assembling it to get an understanding of how it goes together. The suspension strut is in the wrong place...


Here's the frame spine and subframe in place. I realised at this point while wondering why I had two of the long engine mounting bolts that I was looking at a front wheel spindle:


This was a lightbulb moment. I knew the bracket at the top of the picture was the centre stand mount but what I hadn't realised is that it is also the location for the bottom of the suspension strut:


Right side up, from the rear:


The exhaust pipe will run around this gap at the back of the engine:


That's red poster paint. It washes off:


Here's a Honda Express generator. Legend has it that QR50s are based on Honda Express mechanicals. This is not true and goes to show that you should always check your part numbers, then go and check them again... This stator does not fit and cost me £34 - however, it looks like the CDI sensor coil will be OK if I use the old generator coil and stator casting. Shame that both of them are broken...

Sunday, 19 January 2020

QR50 Assessment - Missing & Broken

Today I had a chance to look at the boxes of QR50 bits. My oldest grandson is 5 in a few weeks and I need to get this bike together before he misses out. Lets see:

Frame

As I've shown in previous posts, the frame is in good shape. I need to finish the footrests, but that is in hand and will be completed when all of the other problems find solutions. As you can see, I have left the stubs (to which the folding footrests will be mounted) long enough to carry the footrest rubbers for the time being.


The centre stand and it's bracket are all there, though the pivot hole in it's bracket is pretty worn. It will weld up OK.

Forks

I've assembled the forks today. The fasteners are all there and the yokes and spindle are in good shape; the bushes are completely shot; I suspect the snubbers and rebound springs are missing; one of the main springs is missing and there is no wheel spindle, though this is just a long plain bolt that I can make easily.


There are no gaiters or shrouds for the top of the sliders either. The drawings suggest that the plastic bushes are held in by circlips in the normal way - I will machine some new bushes on the lathe.

Rear Suspension

The main concern here is the metalastik bush lugs on the crankcases - one of them is cracked. I will probably let that one go for a bit, to see if it becomes a problem.

There rear suspension strut is there and will just need painting.


Wheels

The wheels are both there and just need new tyres, painting and possibly new bearings.

Brakes

Brake plates and components are all there and will just need a clean up


Engine

The engine is in a bit of a state, though nothing really serious:

  • The crankshaft has the usual mushroomed thread 
  • There are several (about 6) cylinder head fins broken off. I'm hoping to use the AC MIG set on this and learn to weld aluminium...
  • One of the barrel fins is broken, which is not really a problem.
  • One of the oil pump castings is broken. Unfortunately it looks like this is special to the QR50, so we will have to get inventive... Perhaps I can machine a replacement from a slice of aluminium bar stock?
  • One of the crankcase lugs, used to mount the exhaust, is broken out.
  • The ignition sensor is toast. I may need to buy a complete new stator unless I can rewind the sensor coil.
  • The generator coil appears to have no leads
  • The generator cover is missing. Old saucepan anyone?
This is the broken part of the 2-stroke injection pump. I guess that what is missing here is a facility to operate the pump from the throttle cable, to vary the injection rate - I may elect to run the bike on premix initially.


This is the crankshaft. I'll set this up in the lathe with the fixed steady and machine it true. hopefully there will be enough length for the nut to fit?


Transmission

The transmission looks like it is all there, though the rear drive shaft bearings are missing.

Despite the empty cases in the picture, I have all of the transmission components and have had them assembled.


The kick start quadrant splines are, as usual, completely knackered. Fortunately we have an NC50 transmission with a good one.

Electrics & Controls

The coil is there and in good shape; the small main harness is also there with the CDI unit. The handlebar switches are all missing - I have the left hand lever but not the right one. There's a lot of this sort of thing available very cheaply on eBay though, so that's easily sorted.

The handlebars are a puzzle in that they have conventional clamps and conventional clamp on levers - i.e. the bars are plain. All the parts list illustrations I have seen show bars with a welded lug for the left hand lever and a welded lug for mounting the bars to the top yoke.


Given that these bars look a bit high and wide for the bike - the originals appear much lower to the yoke in some pictures. I may cut, slug and weld them up:


Or this:


I might also make a welded bracket to attach them to the yoke, per the originals:


Then again, it might be an optical illusion. The cables are all there.

Mudguards & Bodywork

The front mudguard is there and in good shape - it's bolts are also present. The rear mudguard/seat unit is holed (looks like a heavy rider wore through the mudguard with a tyre) and the seat will need a new cover.

The number plate is probably damaged beyond repair.

Fuel and Exhaust

The fuel tank is as yet unseen. The exhaust pipe is there but the silencer is missing; the carburetter is there and looks OK.

The air filter is missing, but I can easily find a pod filter.

Summing Up

This is quite challenging. The little bike is financially not worth a lot - you see them for sale at £500-600 or so. Parts are available but very expensive, so this will be a labour of love for a grandparent wishing to extend his restoration skills - this might be a 1982 bike but the skills I will learn could be used on a 1920's bike.

In order of importance:
  1. I need the crankshaft thread fixed in order to assemble the engine
  2. I need the missing bearings to assemble the transmission
  3. I need the forks fixed in order to get the bike to roll around, and I need at least one tyre
  4. I need the generator stator in order for the engine to run
  5. I need some handlebar controls to be able to stop the engine and to be able to brake
  6. I need an exhaust
Everything else I can get around - the engine will run with a shortage of head and barrel fins; it will run on premix with no oil pump (and I don't have to find all the oil lines); one tyre is probably OK since this is not a road bike; I can find an air filter from eBay; the bike will be fine with fixed footrests for a while.

Badge Repair

Motorcycle badges are often held in place with clips over posts, plastic, die cast zinc or otherwise and they are often quite weak. Removing the clips with a Dremel often helps but sometimes you find the badges already broken.

This badge from the front of the CX500 is a typical example. This time, I chose to glue two M3 screws to the back of the badge and retain them in place with nuts and Loctite 243. The badge is fixed to the screws with Araldite 5 minute Metal adhesive.


I prepared the badge by drilling out the broken posts with a 6 mm twist drill.


The screws were held during setting with this simple wooden jig, drilled with 3 mm holes at the proper pitch for the badge. This guaranteed the screws would be parallel to each other and perpendicular to the badge:


I modified the screw heads using the lathe to match the 118 degree included angle of the 6 mm drill, to maximise the contact with the badge:


The CX is back together now and starting to look a bit more presentable:


Monday, 13 January 2020

CX500 - Fixing wiring...

There have been a few posts on the CX500 recently, and hardly anything on my Ariels. The W/NG is on holiday with my son; the FH is waiting time and the SQ4 is running around Norfolk as the daily rider since I fixed it's clutch.

After it's test run, where we found a starting problem and non-functioning tail lights it has been back in the workshop for this mess to be fixed:


Most of this is damage to several splices in the main harness, visible as black dots in the wiring diagram:


To get access to this, I have removed the tank and the headlamp cowl. This has let me strip the harness covering back to get good access to the damage:


Stripping the conductor insulation, the copper is too corroded for soldering so the splices will have to be crimped. This is why I always build a new harness for my ground-up restorations:


Repairing the splices is not a huge problem - just crimps and heat shrink sleeving:


I've re-covered the harness with split sleeving for the movement, which is easy to re-open if there are more faults that are going to emerge. We shall see.

Since I have the front end apart I have had the chance to align the cable and harness routing with the drawings in the manual:


Honda manuals are excellent for this. This diagram shows the brake hoses and other cables:


This one shows the engine and battery wiring:


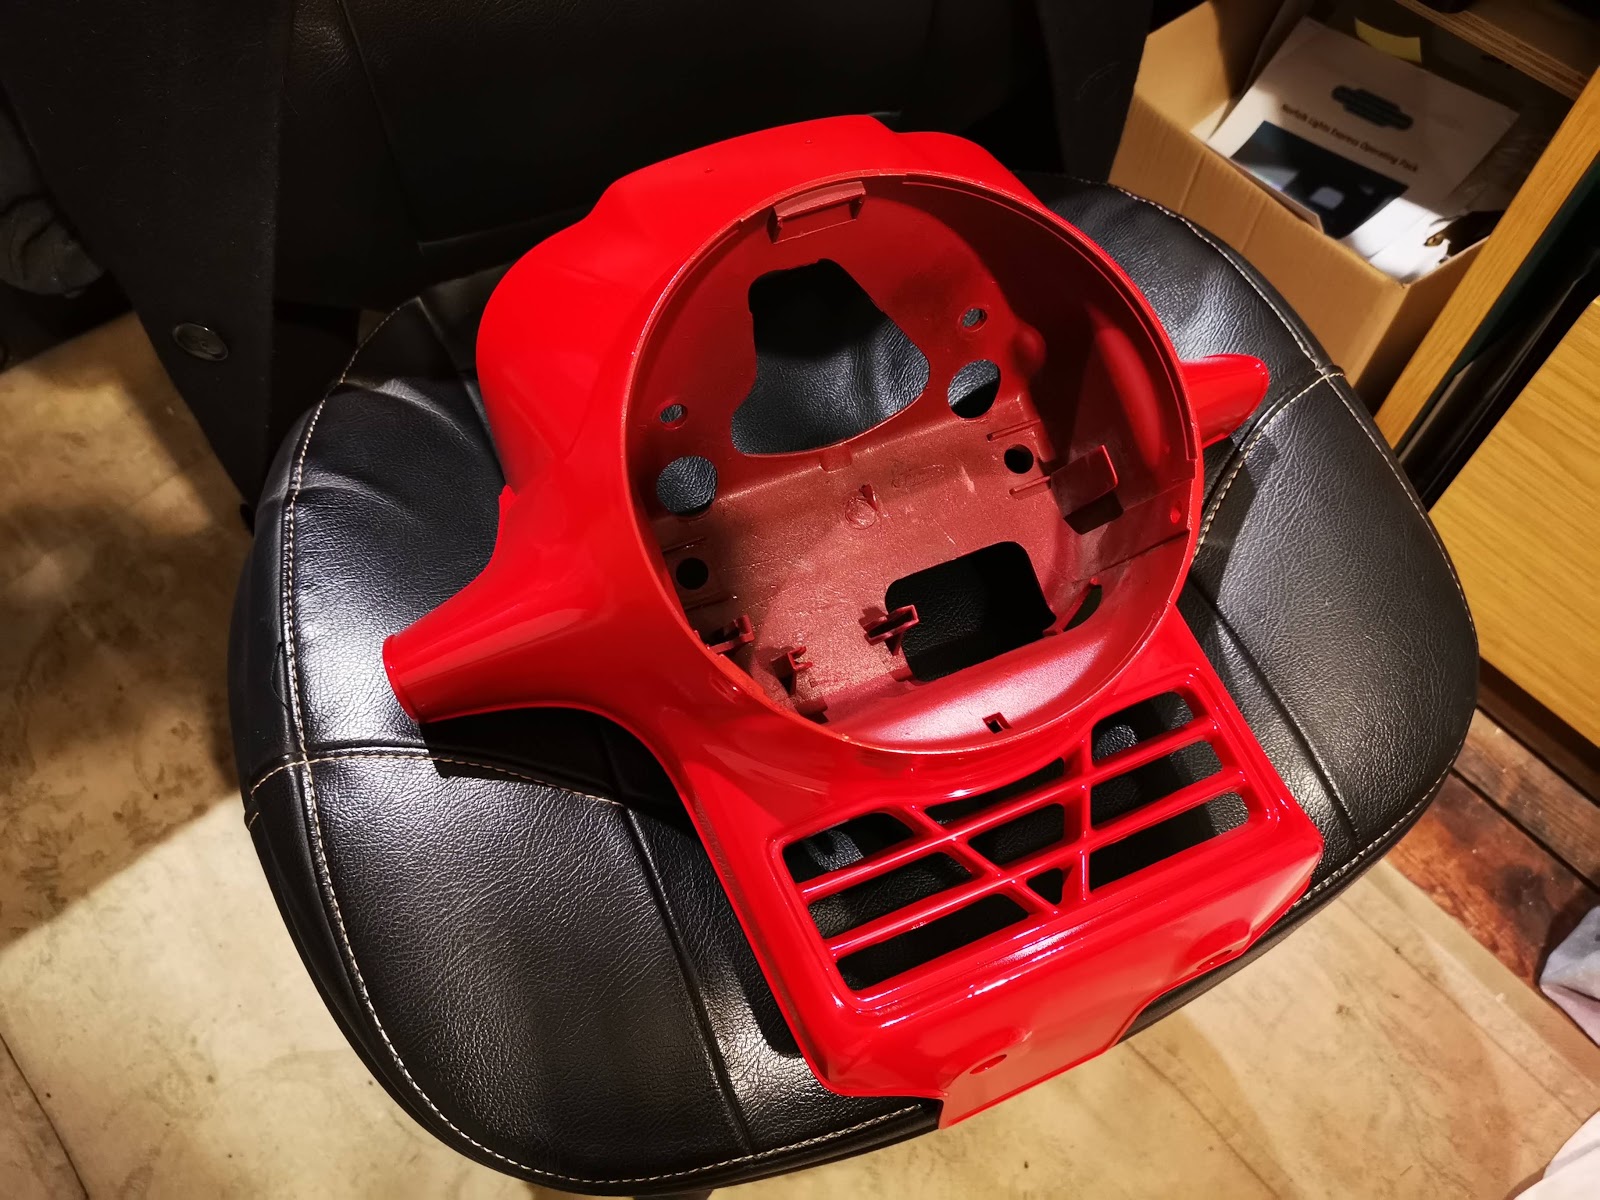
Secondly, I have repainted the headlamp cowl using RS Paints Honda Helios red:


This isn't cheap, but it is excellent paint.


I've also repainted some of the black components in the area:


I masked up the idiot lights - they are glued in place at the factory:

QR50 - Aluminium Welding

A brief look at the crankcases for the QR50 mini-moto reveals that we are either going to be buying some new cases or learning to weld aluminium:

One example of the generator side case has a mounting missing:


The other has damage around one of the casing screws:


Fortunately this has the missing mount present, so there may be some cutting and welding on the cards:


This appears to be part of the exhaust mount:


Wednesday, 8 January 2020

Out & about on the CX

I'm happy to say that the 1978 Honda CX500 is out and about again after I sorted out the front brake and replaced the fork oil. It's been off the road for a while after some tyres, refurbishment, camshaft / rev counter investigation and the repair of the broken caliper bleed nipples.

It rides really nicely on its new Avon Roadrider tyres and it positively flies compared to my SQ4 - but it is also very tall and the riding position feels cramped due to the way it makes you bend your ankles.

Cley, North Norfolk

It's got a couple of problems - the tail lights don't work though I have brake lights and indicators, and the starter circuit has a wiring fault. The system demands the clutch is disengaged, even if the bike is in neutral.

Both faults are a feature of this mess:


I've stripped the tape off the harness here - looks like a previous owner let it chafe through and then bodged it together...

More when I fix it.