Monday, 20 January 2014

Primary Drive

The next step is to fit up the primary case for the second time. First off, make sure all the engine bolts behind the case are good and tight.


Then, a dose of Threebond on the flange between the two halves of the case, and bolt them up. This immediately reveals that we are missing three bolts - we have the nice stainless screw in the top, that came from Acme, but I have not sourced the others. So we can get on, one comes from stock - it's the right bolt, but the wrong material.


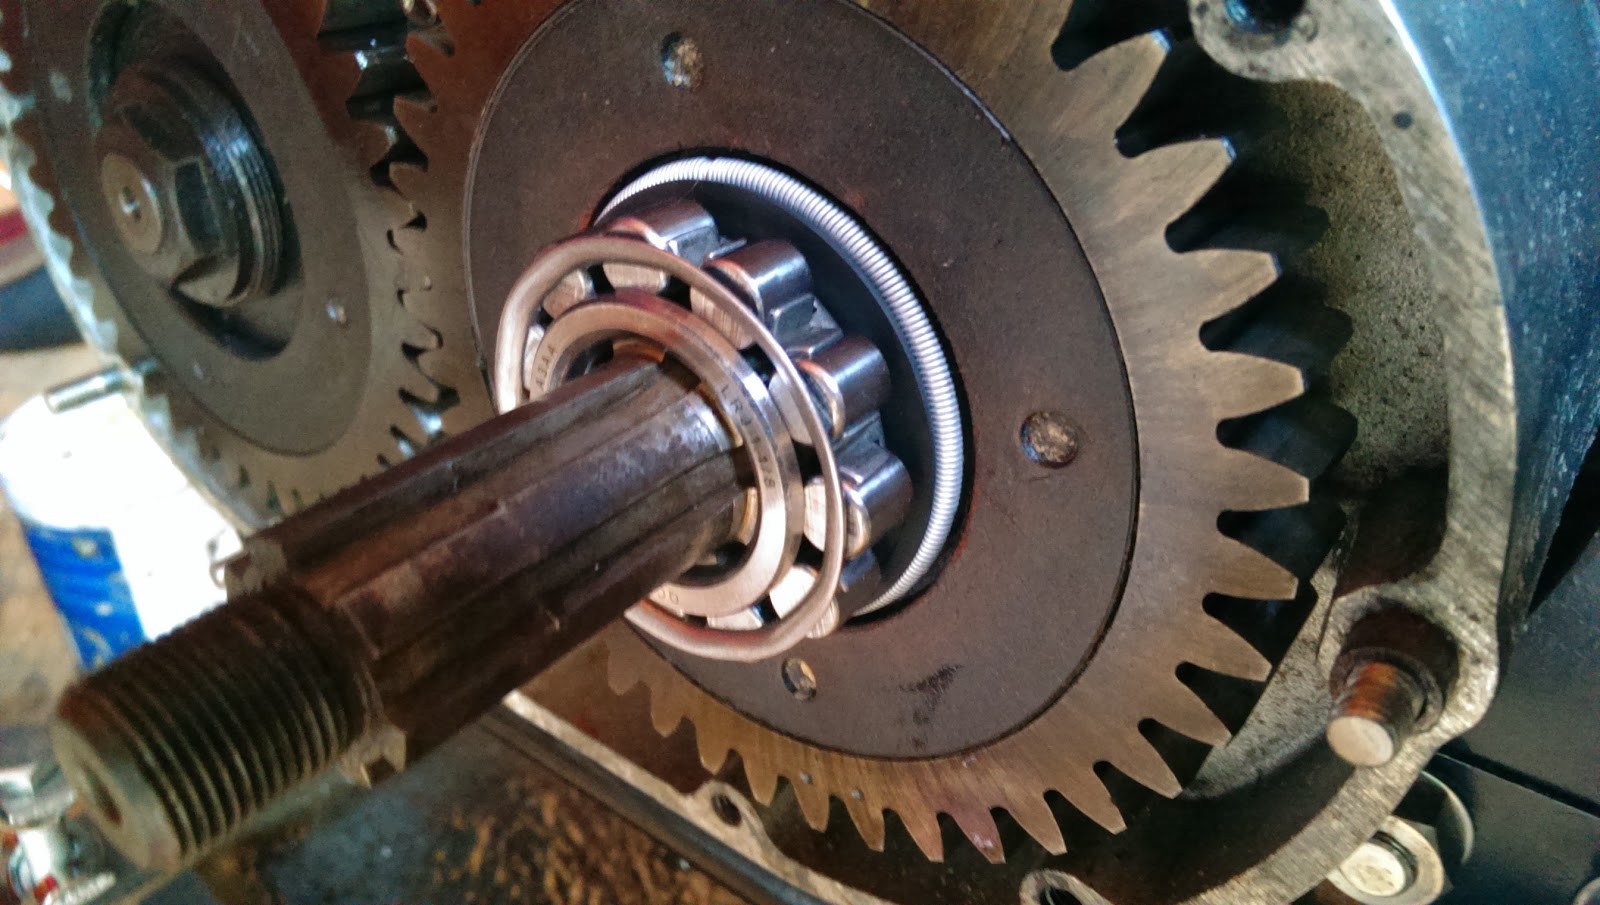
The clutch sprocket bearing cage goes in next, well greased and followed by the twelve needle rollers, courtesty of John Budgen:


Then the chainwheel goes on:


A quick spin reveals a horrible grinding noise... But I know what that is - I've forgotten the ring behind the chainwheel. Primary chain goes on, courtesy of Draganfly, with the clip safely fitted in the right direction:


I found that the primary chain is much easier to adjust if you flip up the rear mudguard - the access to the adjuster is much better.


So, all done. I need a few parts:
  • bolts for the two halves of the rear case
  • the bolt for the lower chainguard to the rear primary case
  • a spacer for the rear case to the frame
  • a split pin for the shock absorber
  • spring washers for the clutch dome screws.
But that's it for the moment. Here it is, all together:


Finish off the Coupling Gear Case

Well, lets get on. Inspired by a post in the AOMCC forum, I am going to fill the coupling gear case with engine oil prior to startup. The coupling gear case is filled by oil draining from a shelf in the crankcase, through a small tube above the gears. This mean it fills using oil splashed from the big ends, so would naturally take a while to fill after starting. I placed this small pvc tube into the drain hole - it passes out of the engine throught the sump plate which is not fitted at the moment:


When the case is bolted up, i'll fill it with oil and then remove the tube. Before we proceed though, does the exhaust bracket bolt fit now or after the cover is on? Best test it. Is this the right bracket for this side? There are two different lengths: 


Next the crankshaft outrigger bearing, held in place with Loctite 603. This is the one that is supposed to be 1 thou smaller on the inner race ID.


Coupling gear cover, new gasket and Threebond:


And all in place. Amelia is now on a drip:


I must remember to fit the spilt pin in that shock absorber nut. One thing I may have to correct later is that the two studs fitted at the 9 o'clock and 3 o'clock positions, the ones that pass through the dowels, are really about 3/16" too short.

The head is just sitting on there - it is the old original one and is not staying...

Saturday, 18 January 2014

Sunday, 5 January 2014

Reciprocating Engine

At last we have a reciprocating engine again.
 

Yesterday, pistons prepped with tinplate/tiewrap compressors, block ready with new gasket stuck in place with Threebond.


It took 6 hours over two days to get to this point. I'd get the block over all the compression rings, and it would persistently get stuck on number 1. After five attempts, which included checking ring radial thickness again, I realized that the 2nd ring on No. 1 had no shiny filed surface on the end - it was straight out of the box and had not been gapped at all.

That's what comes from working sporadically over several weeks. You need military precision on your record keeping, and to meticulously check & recheck what you did yesterday...


Here we have it all bolted down, with Threebond oozing out & Clay Jones shiny stainless steel nuts holding it all together.
 
Magic.

Saturday, 4 January 2014

Todays progress...

One pic today - and you'd have to have eagle eyes to spot what I have done!


Circlips fitted, small ends lubed up with engine oil, cams lubed ready for the block to go on.

I've also stripped the primary case off (& helicoiled a couple of holes), ordered the chains from Draganfly, cleaned out the battery carrier threads (which were full of paint), and tidied up the shed a bit.

Next stop, ring compressors. As it happens, 8-9 hours after writing the foregoing words this morning, I did do a bit more today. I finished my tin-strip ring compressors and did a trial fit of the barrel (well, it would have been THE fit of the barrel, had I not found that for some reason Number 1 piston will not slide gracefully into its cylinder, likes its brothers have done). The compressors work brilliantly though:
 

Base gasket in place ready for tomorrow:


Thursday, 2 January 2014

Before I forget again...

This sprocket has 25 teeth. Standard solo is 24; 23 for sidecar:

 
This one has 44 teeth; you can get a 40 tooth version as well:


And this one has 19 teeth hidden under the chain. This is standard:


The rear brake drum should have 47 teeth.

Tomorrow I need to order the chains.

A monumental day

Pistons in, rings properly fitted!