So, a bit of spare time arrives and I have the camshaft, the cam bush, a 3/4" reamer and a gasket set. Let the bottom end rebuild commence!
First, it's back to the Rothenburger to remove and replace the bush, which I can do in one heat cycle. I'm careful to avoid the new bearing. I knock the new bush into the hot cases, driving the old bush out as I do it - a simple operation when you have enough heat.
Whilst that is cooling, let's look at the camshaft. The principle reason for replacing the camshaft is because the inner journal is badly worn. I reached out to the AOMCC Facebook community and came up with this camshaft, which is actually the profile used for the sidevalve machines. You can see it has a much longer duration than the Ariel F cam normally fitted (the one on the right), but it has the same base circle diameter. This means I will get more fuel in and and exhaust out again, and make more power but I won't have to change the followers or the pushrods.
Coming back to the crankcase camshaft bearings which I fitted earlier. When you buy a bush it is usually undersize, and this was no exception. It needed reaming to size, whilst aligned with the bearing in the timing chest - so I used the timing chest bearing as a guide whilst reaming the crankcase end bearing. In this next picture I have the timing chest bolted in place and a 3/4" round bar passed through both bearings to demonstrate their alignment - the bar turns smoothly and freely.
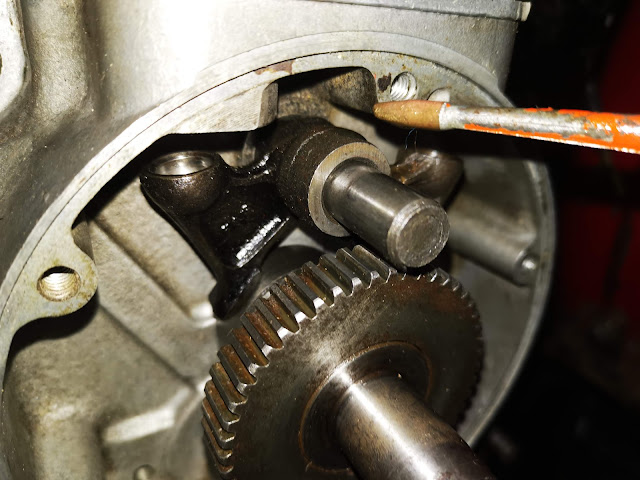
This next picture shows a block of wood I use to support the crankcase whilst working on it. The cam follower pin, crankcase nose etc. fits in the hole.
Before I assembled the engine, I fitted the camshaft so that I could prove the bearings. The camshaft turned smoothly and with no wobble, so I proceeded to dismantle it all again and to assemble the crankshaft into the cases, and to bolt the cases together.
I replaced the assembled cases in the frame and assembled the engine plates. Now that I had the crankcase held securely, I refitted the oil purifier with some Loctite 243, as suggested by Chris Williams at Alpha Bearings. A lot of folks really struggle to get these out and they often come out in pieces; I have had this one out before (and cleaned it before), so it was quite easy, but I was surprised to find it had quite a bit of sludge in it. Chris's point was that they might be difficult to get out, but if they come out when the engine is running the crankcases will be scrap.
Once that was back in, I took the opportunity to use the oil can to pump some oil into the end of the crankshaft, and eventually I saw it emerge around the big end proving that the oil ways were aligned.
Now, I could fit the new half time pinion & camshaft and set the valve timing.
I had a look at the cam followers and selected the best two. The inlet one is quite worn and I should really replace it.
Before I put the timing cover in place I need to fit the magdyno. Before I did that, I cleaned up the slip ring which was a bit mucky.
Here's a new felt seal for the magneto drive:
Next, I fitted the timing gear case with it's small gasket, and added the large gasket with Threebond 1215:
I fitted the timing gear cover and rotated the engine several times to ensure the new gears were quiet and free, adding the camshaft magneto sprocket and the magneto chain, nominally tensioned at this point. I'll finalise that when the barrel is on and I can set the timing.
Since we are nearing the end of activity from this side of the bike, I'll refit the mudguard bracket to the engine plate. The original bolt fitted here looked like it had had an M8 nut forced over a BSC thread, and both were scrap. This is a new stainless 5/16" bolt & nut.
With that done, I can fit the oil tank, hook up the oil lines and fit the oil pump.
Next, I need to clean and paint the barrel, fit the barrel & piston and set the ignition timing. Then I will close up the magneto drive having set the chain tension; I'll then inspect the clutch before I finish building the head. I know that I have to make a valve guide drift and paint the head, and possibly give the valve seats some attention - I'll do that while I wait for the clutch tab washers, nut and any other components I find damaged.


No comments:
Post a Comment