
Now that the barrel is back on and the engine is timed, it is high time I started on the cylinder head. I've stripped it and done a bit of cleaning, and I know the exhaust valve and guide are very worn so I've got some new ones from AOMCC Singles spares. My plan is to get the paint on the head on and setting while I build the primary side, and I have checked over the clutch and ordered some parts from AOMCC Gearbox Spares to allow that to happen, but of course I need to do all the manual work (fitting the valve guides, grinding the valves and probably fitting them) to avoid damaging paint which will probably be soft for quite a while.
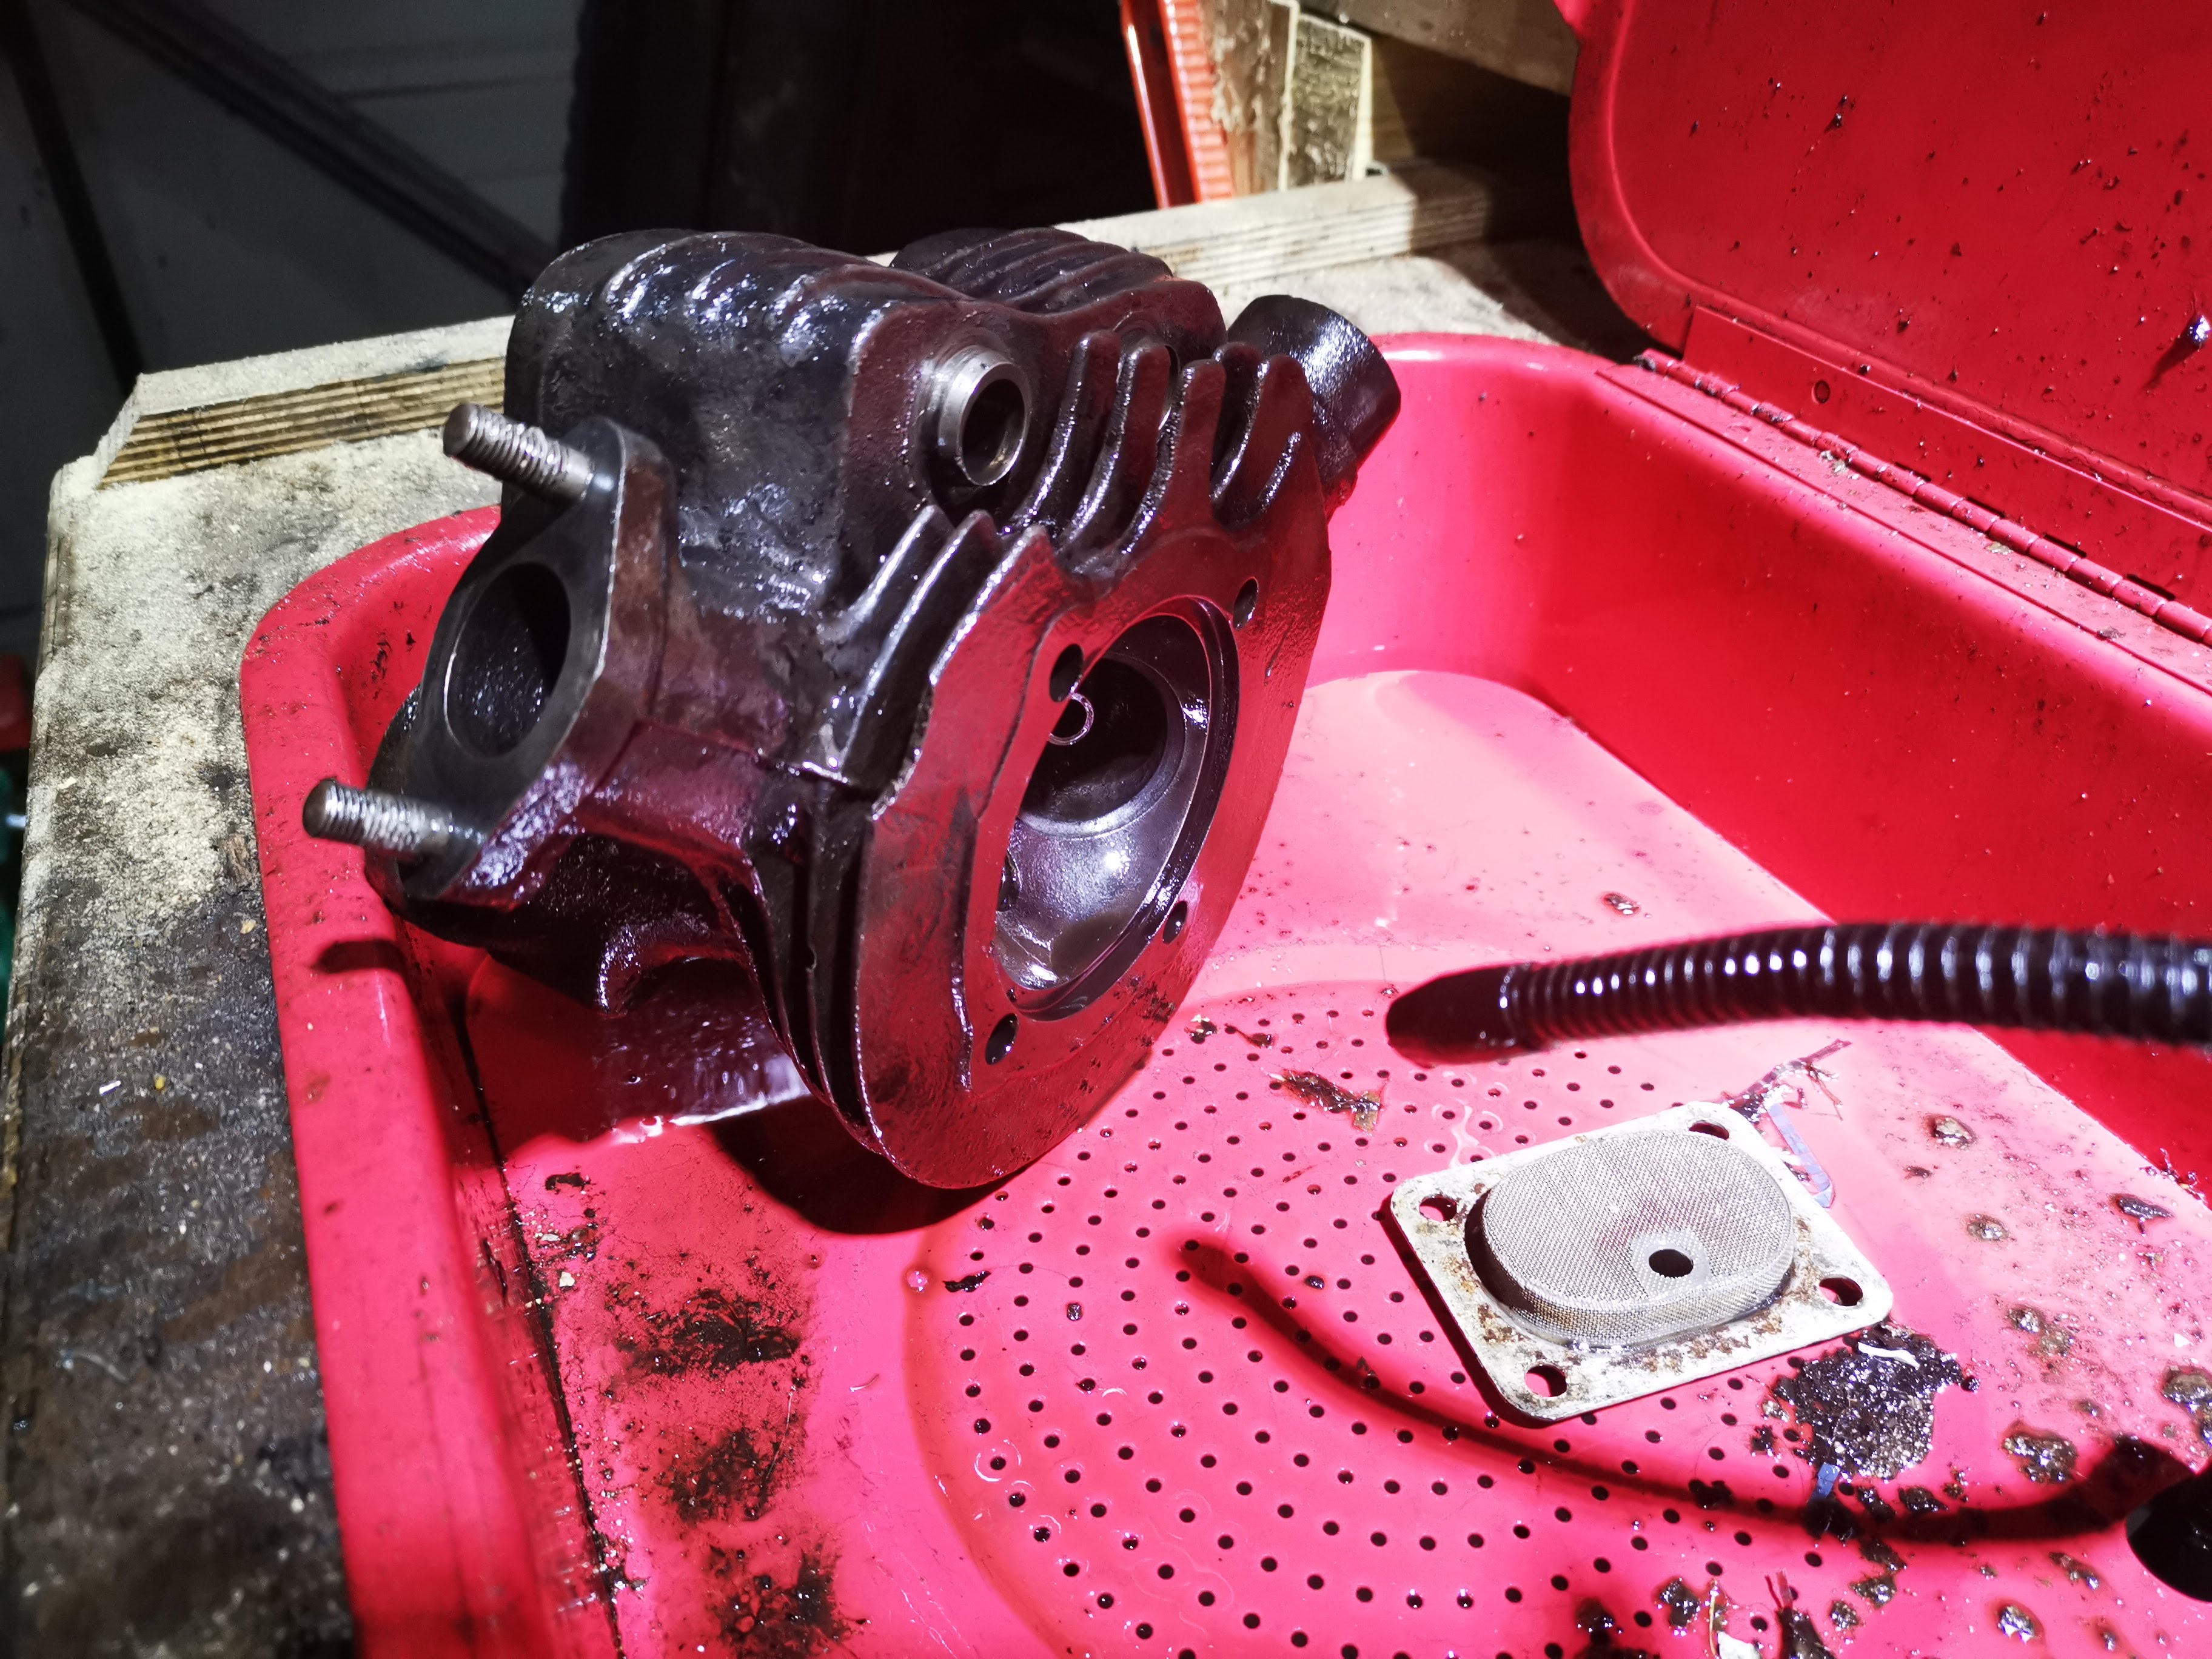
The head was pretty filthy, and after stripping it went in the parts washer for a bit of a clean.

My first job was to put a taper on the inlet valve guide, which for some reason didn't have one. These are iron and machine very easily:

Still on the lathe, I made a drift out of some scrap 3/4" bar to support the mouth of the guide while I knocked them in to the warm cylinder head

With the guides in we can have a look at the valve seats. Here, I'm using the traditional 'sucker on a stick' to turn the valves against the seat - there is a smear of coarse grinding paste on the seat.


However you do it, once you have a continuous grey band around the seat with coarse paste you can improve the sealing capability with fine paste. It should end up something like this:

Now that the valve seats are good and I know that I can assemble the head after painting, I'll start cleaning up. I'll work it all over with a range of wire brushes:

But first off, let's get that greasy head back in the cleaning tank, and give it a dose of brushes and paraffin. I usually do this before I have to go off and do something else, like sleep, have dinner or do some building work so the parts have a chance to dry - this doesn't happen so well in the winter, so I sometimes get the propane torch out and dry them with that.
I'm using the same brushing engine paint that I put on the barrel - time will tell if that was a good idea as it is only rated to 200°C, but my temperature testing with the aluminium-head Square Four does not reach that figure. We will have to see what a thrashed iron head will do.

For the record, I put a couple of coats on the head on the 11th October. It dries in a couple of hours, but I will wait a day or two before starting to assemble it.

Post script: as of November 2022, after a fairly active and very hot summer, the paint is still intact and is showing no signs of distress.
No comments:
Post a Comment